contact us

Use the form on the right to contact us.

You can edit the text in this area, and change where the contact form on the right submits to, by entering edit mode using the modes on the bottom right.


123 Street Avenue, City Town, 99999

(123) 555-6789

email@address.com


You can set your address, phone number, email and site description in the settings tab.
Link to read me page with more information.

Blog

Butteryum food blog recipes

Filtering by Category: dessert recipes

Button Cookies

Patricia @ ButterYum

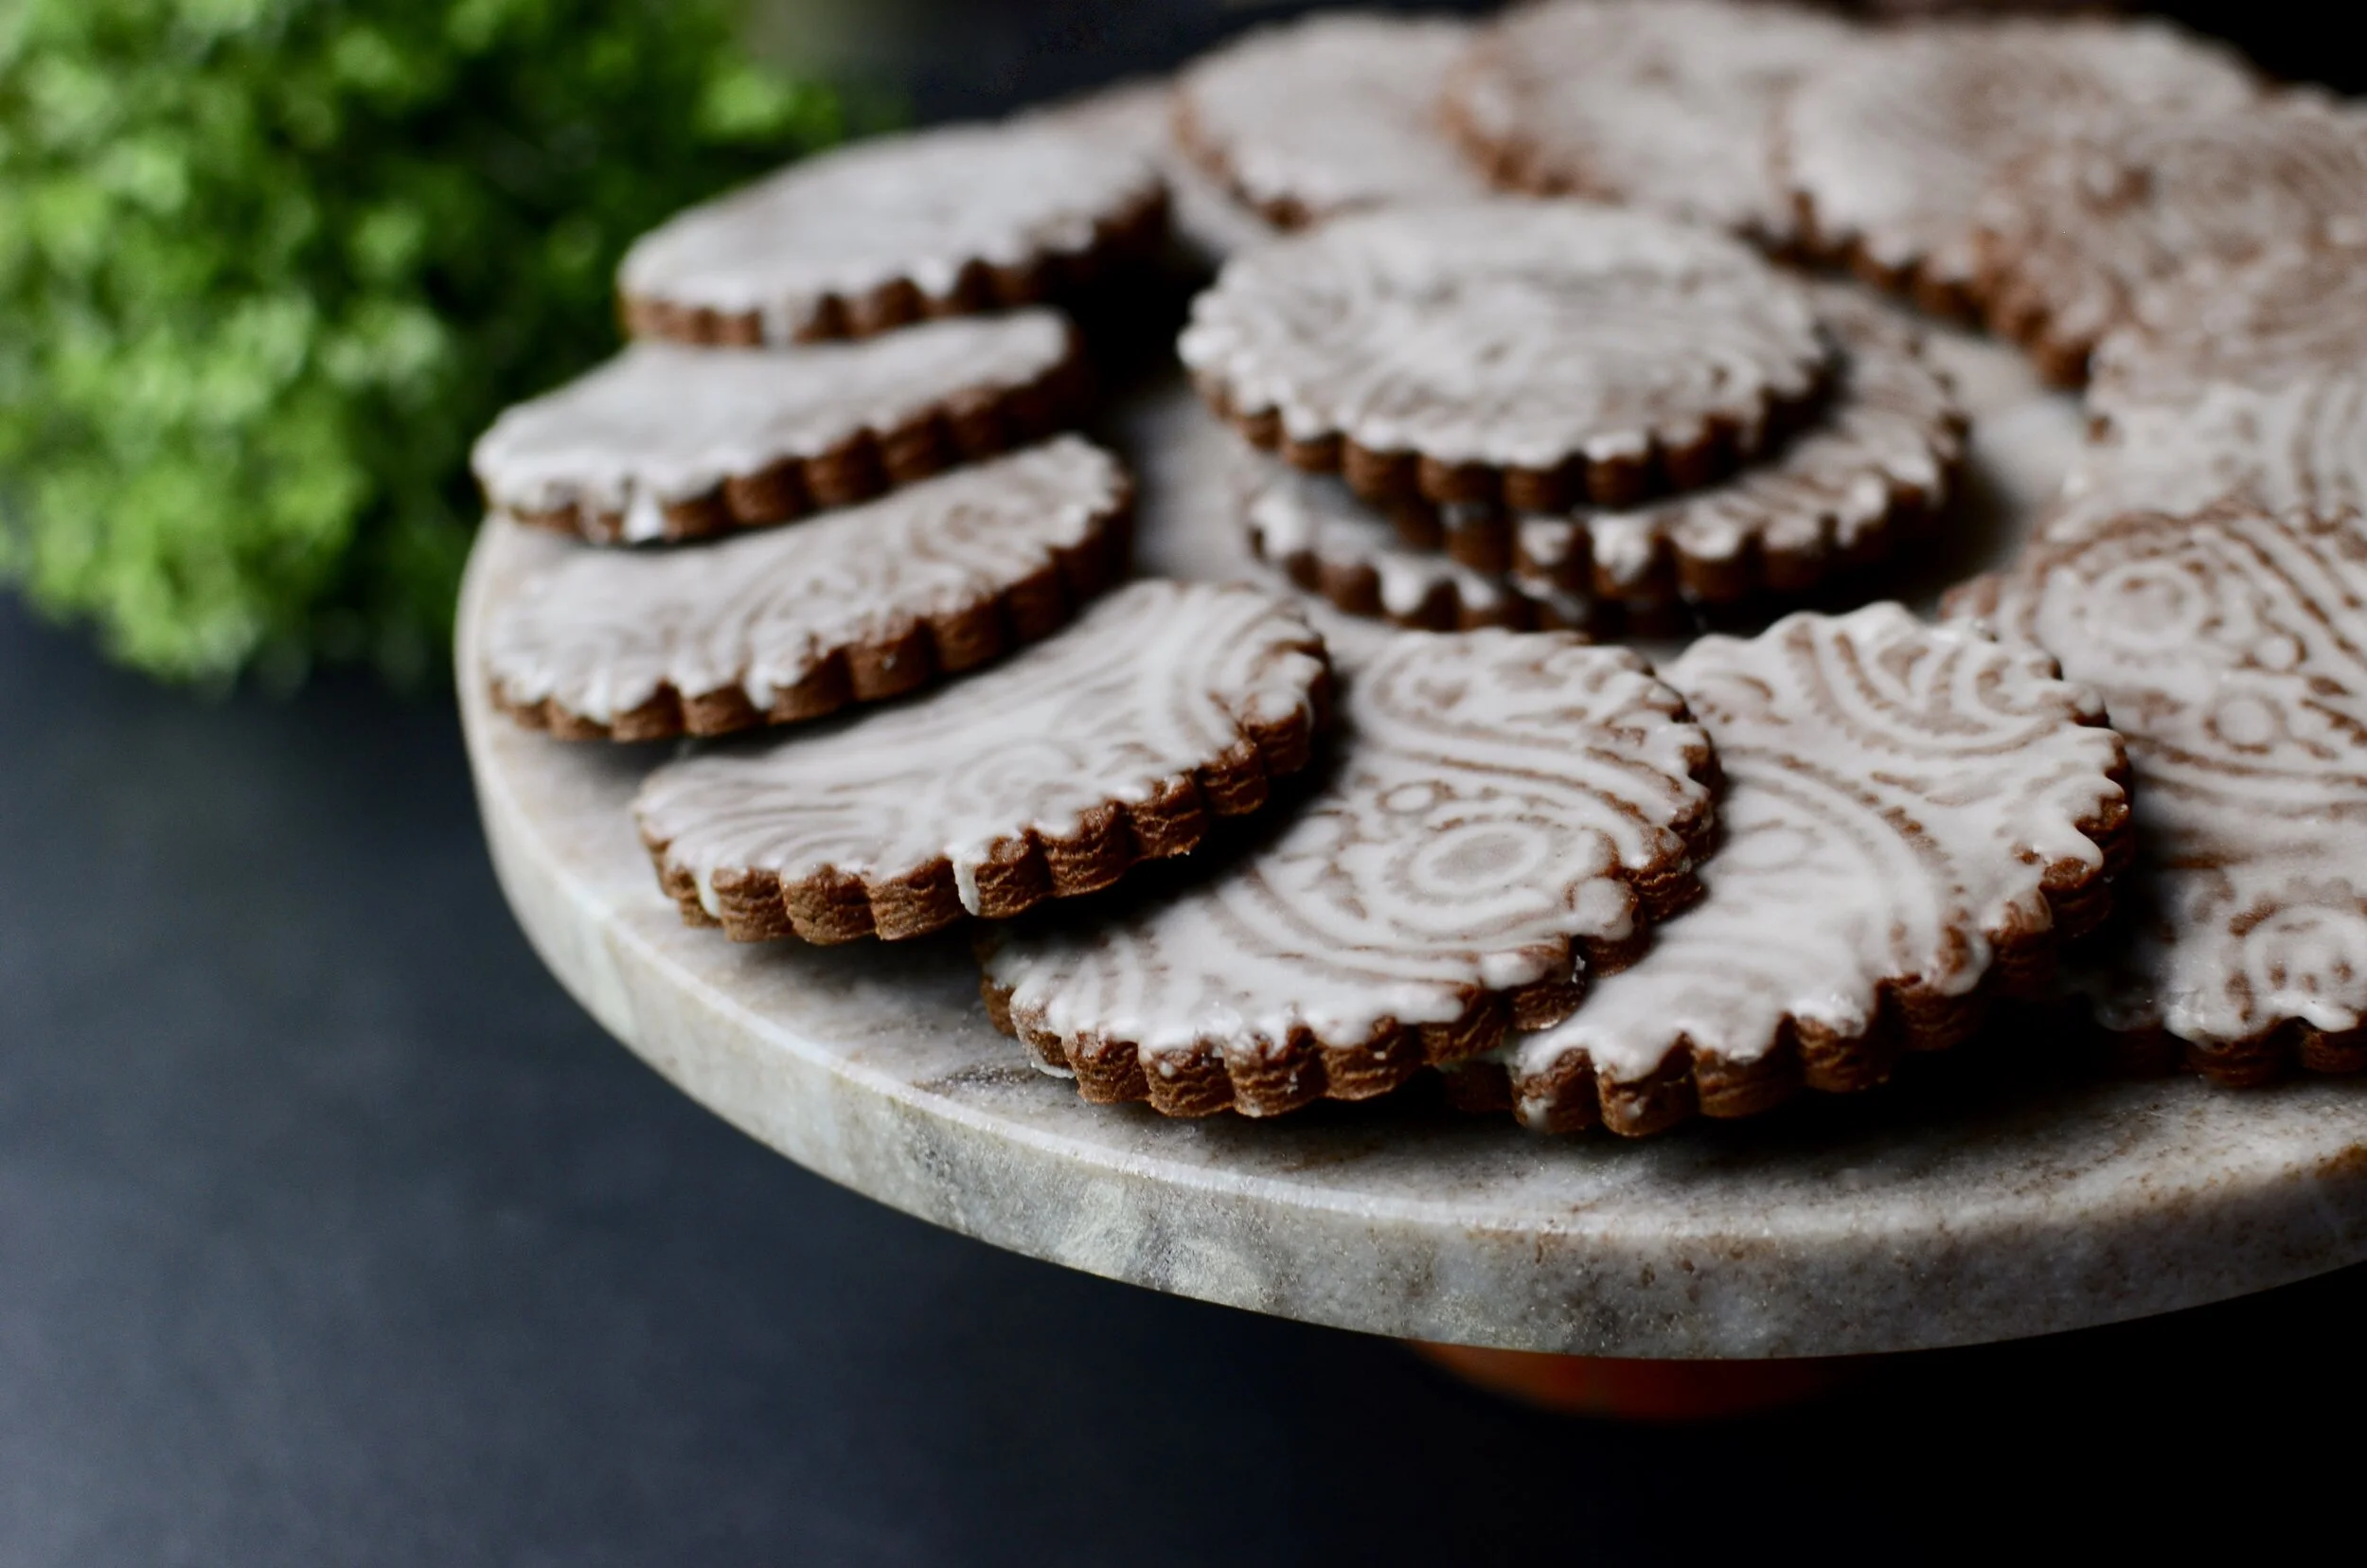
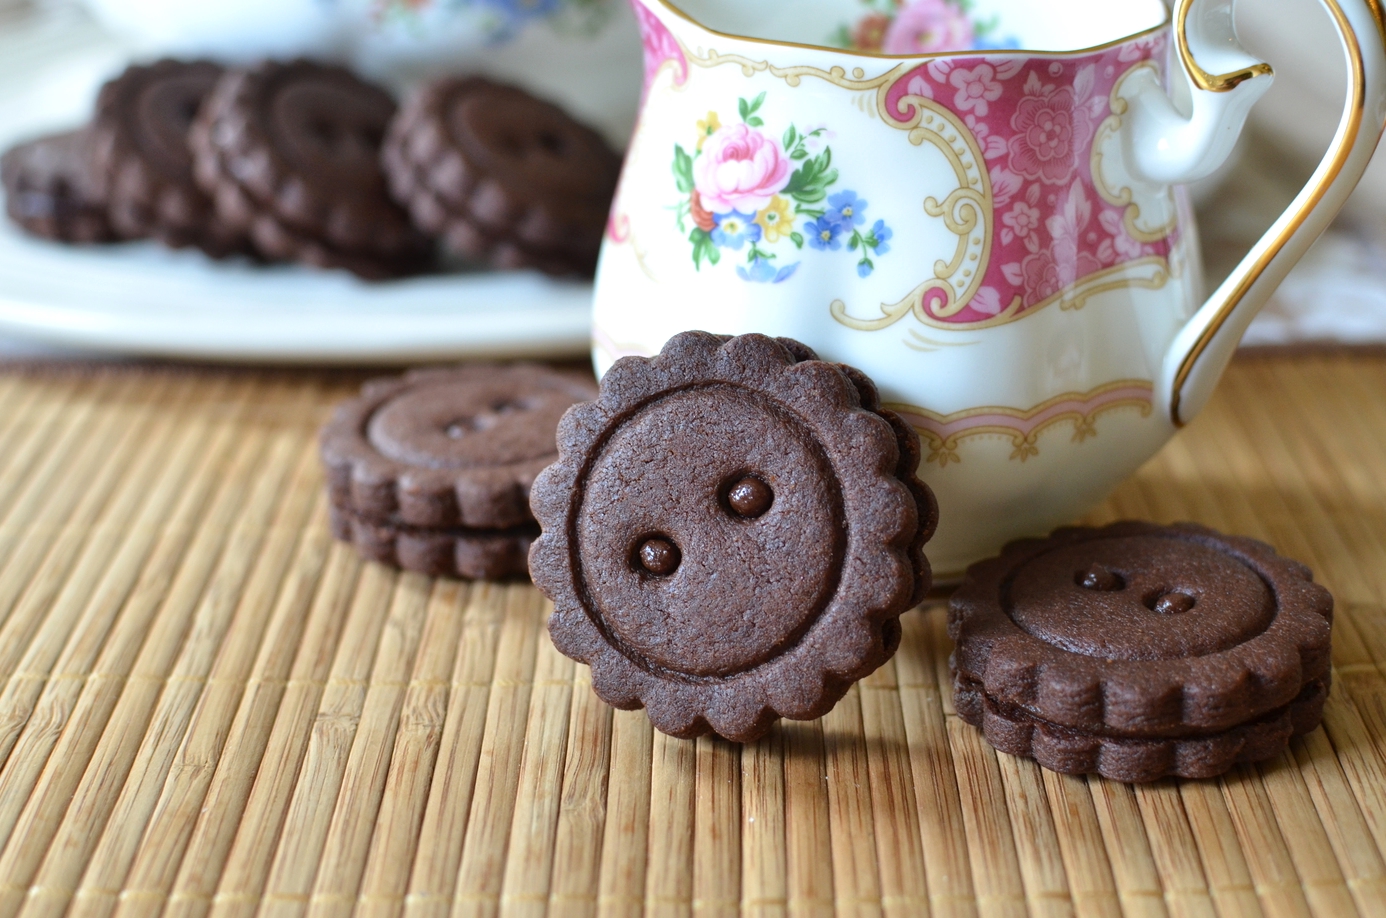
Ok, how adorable are these button cookies?  Everybody loves chocolate sandwich cookies filled with creamy chocolate ganache, but seriously, turn them into big buttons and I can’t stand it! I think mom would especially like them on Mother’s Day.

For this project you'll need a few simple tools. A straw, wax paper, a set of double sided scalloped cookie cutters, and a rolling pin.

If you don't have a pin with rolling guides, use a regular rolling pin and two wooden skewers.

Cut cookie shapes using scalloped cutter. Keep the bottom half of each sandwich cookie plain like this.

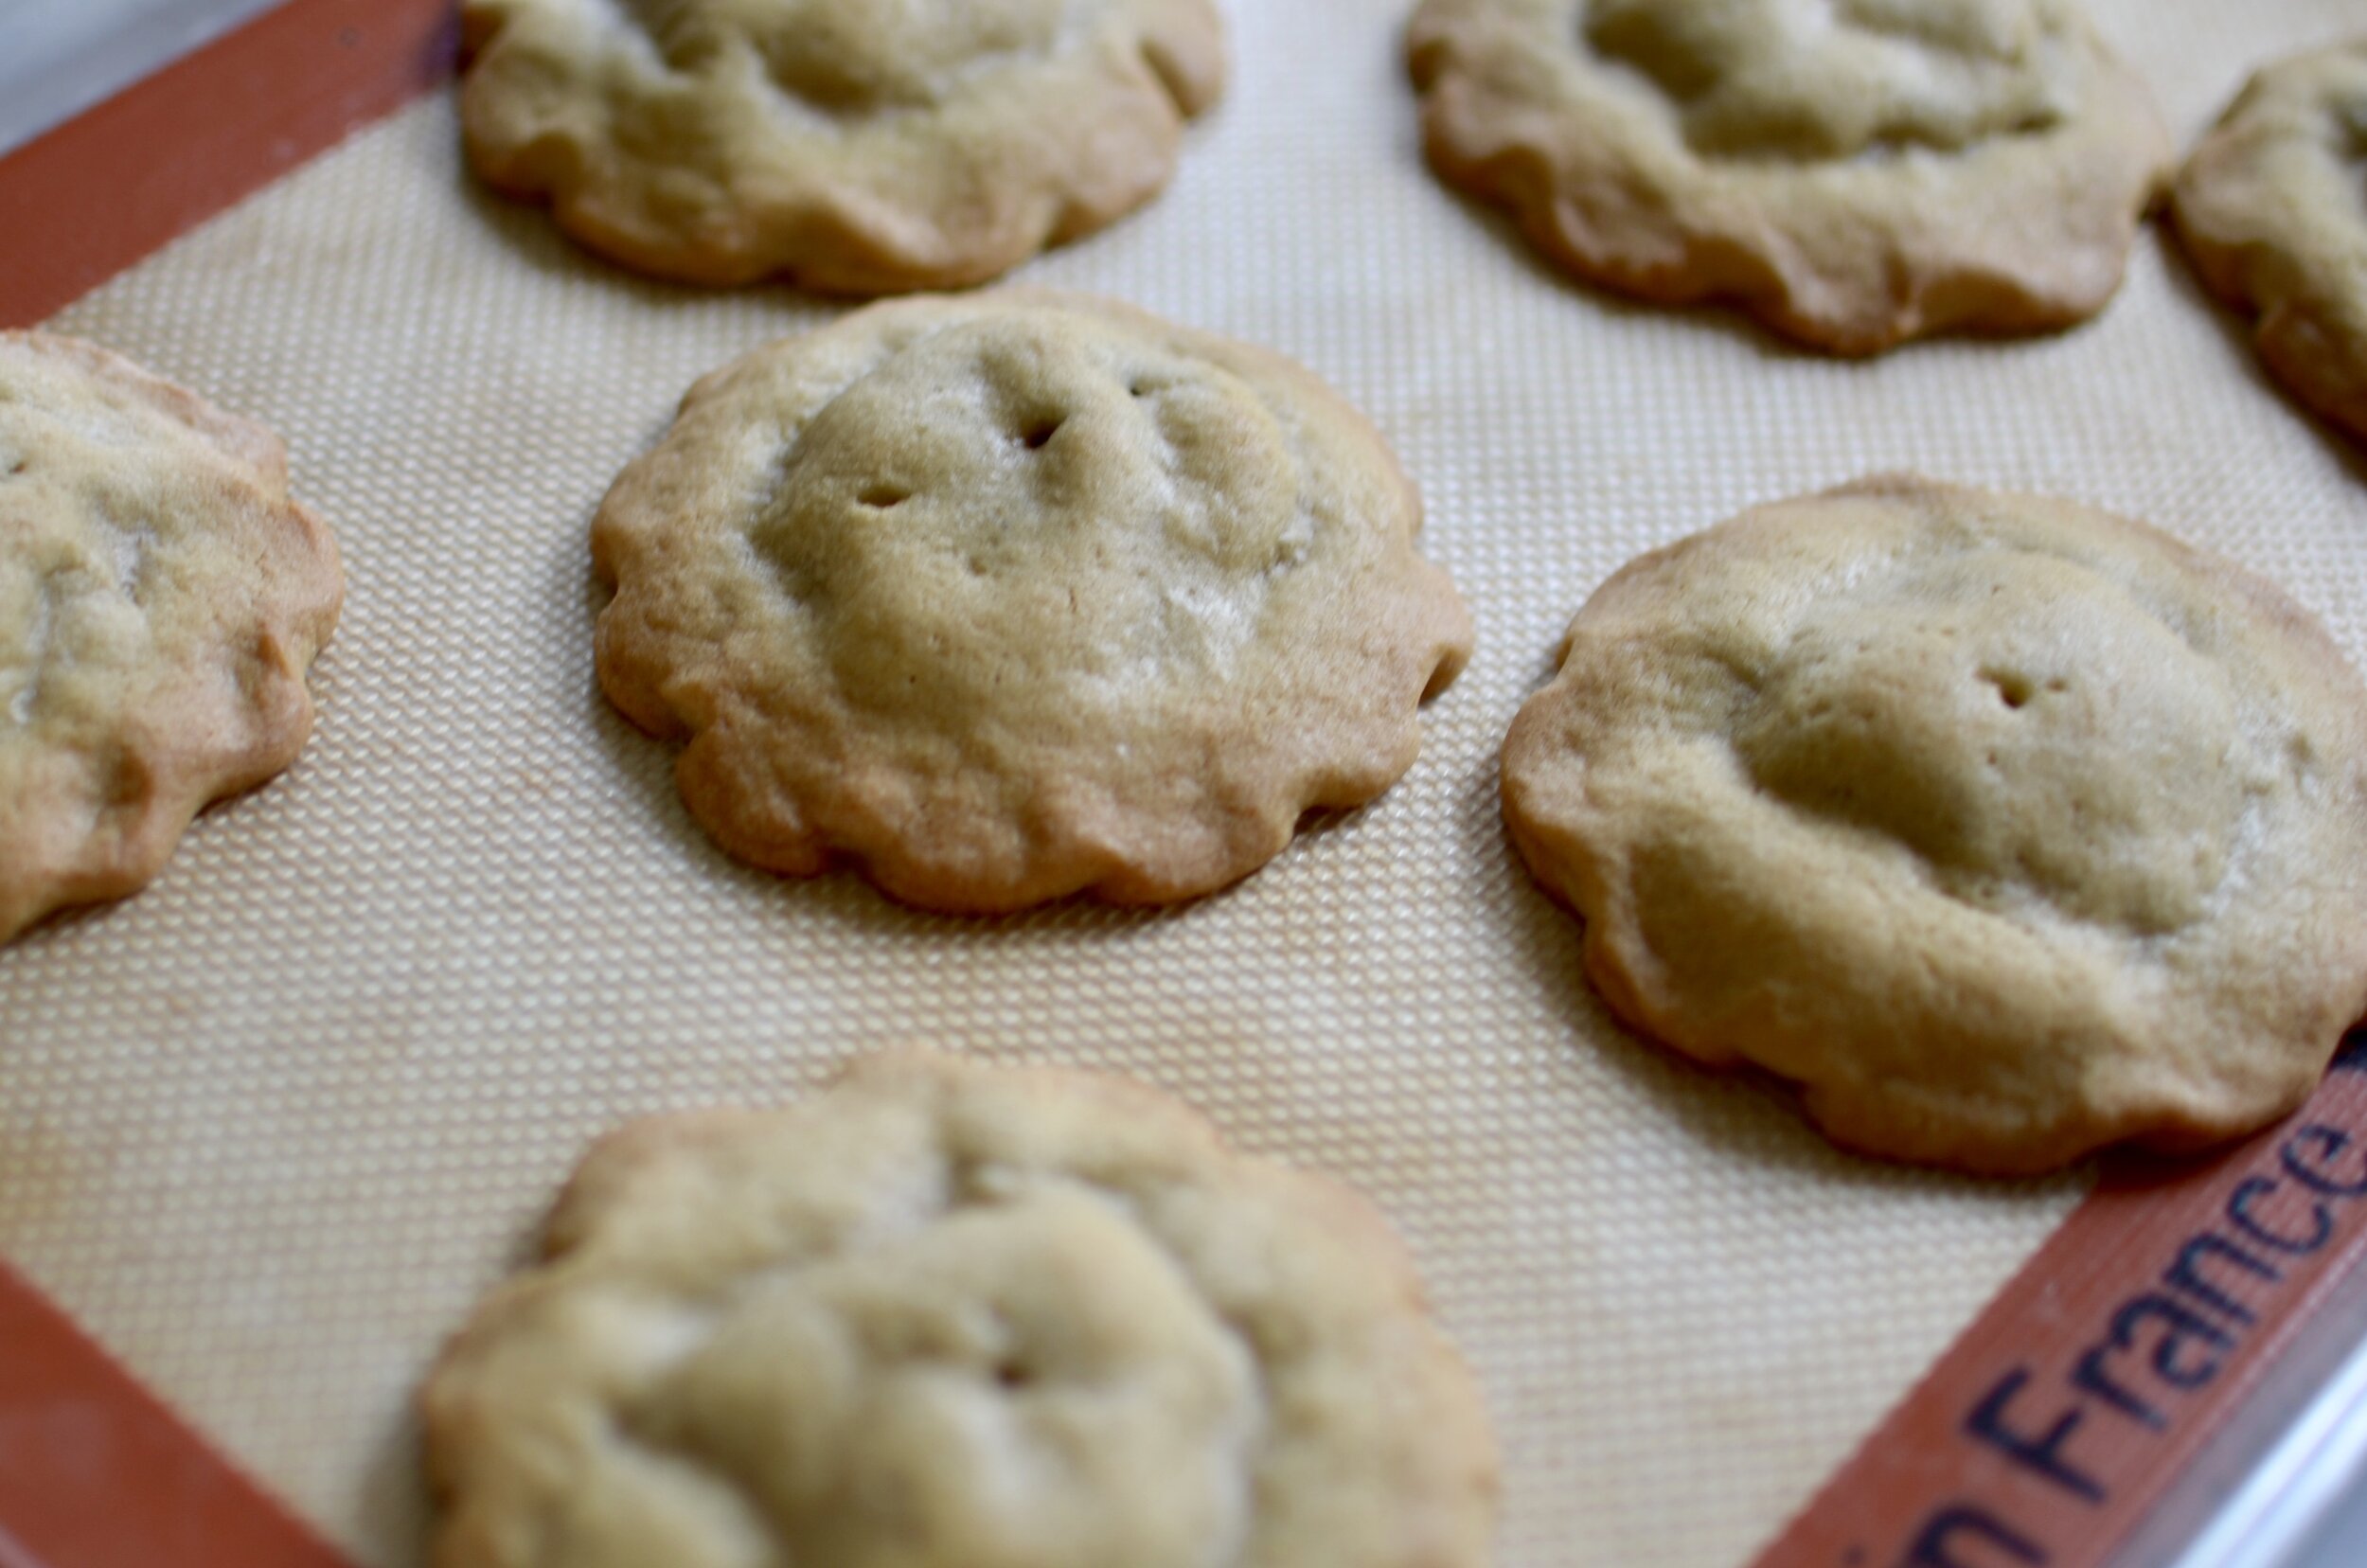
For the top half of each cookie, use something small and round to make an indentation like you see here. Then use a straw to make two button holes. Bake and cool the cookies before filling with ganache.

Use a piping bag or zip-top bag with a corner snipped off to fill the cookies. Turn one of the plain bottom cookies over so the bottom faces up and swirl on a good amount of ganache. Then cover with one of the decorative button cookies. Allow the ganache to set before serving (a couple of hours or overnight).

Enjoy!

Items used to make this recipe:

(affiliate links)


Ganache-Filled Chocolate Button Cookies

makes approximately 30 cookies

Printable Recipe

Ingredients

For the ganache filling:

  • 1/4 cup heavy cream

  • 4 ounces high quality semi-sweet chocolate, chopped

For the cookies:

Directions

To make the Ganache:

  1. Gently heat cream and chocolate together; stirring until completely smooth and combined.

  2. Cover and chill for 30 minutes (or make the ganache several hours in advance and let it sit at room temperature until it reaches the proper spreading consistency).

To make the cookie dough:

  1. In the bowl of a stand mixer fitted with a BeaterBlade attachment, beat the butter on medium high speed for 30 seconds.

  2. Add sugar, baking powder, and salt; beat until combined.

  3. Add egg and vanilla; beat to combine.

  4. Add flour and cocoa powder; mix until incorporated.

  5. Wrap dough well with plastic wrap and chill for 1-3 hours.

  6. Preheat oven to 375F.

  7. Roll dough to 1/8-inch thickness between two layers of wax paper (these rolling guides work really well).

  8. Cut out desired shapes (I used these cutters).

  9. Place cookies 2-inches apart on a silpat or parchment lined half sheet pan; bake for 8 minutes or until edges are set (tiny cutouts bake for 5-6 minutes).

  10. Transfer cookies to racks and cool completely.

To assemble cookies:

  1. Spoon about 1 teaspoon of the ganache in the center bottom of each cookie and make a sandwich by adding a decorative top cookie.

  2. To store, place unfilled cookies in an airtight container, separating layers with waxed paper, at room temperature for 3 days or frozen for up to 3 months. Thaw and assemble just before service.

Note

  • To prevent distortion, I cut my cookie shapes while the dough is still on the waxed paper, then slide the waxed paper onto a cookie sheet and chill for at least 10 minutes before transferring the shapes to a sheet pan for baking. 
Chocolate Baby Shower Cupcakes

Patricia @ ButterYum

I had the pleasure of making these Chocolate Cupcakes with blue Italian Meringue Buttercream for a baby shower this weekend.  The cupcakes bake up with flat tops, making them the perfect platform for festive swirls of the silkiest, best tasting buttercream you can imagine.  

The cupcake recipe will make 36.  You'll have to double the buttercream recipe to decorate them all, but you'll be left with a few cups of buttercream to freeze for another day.  

For chocolate cupcakes, I like to use brown grease-proof liners.  I also love using this heavy weight commercial quality muffin/cupcake pan.  

DSC_8745.JPG

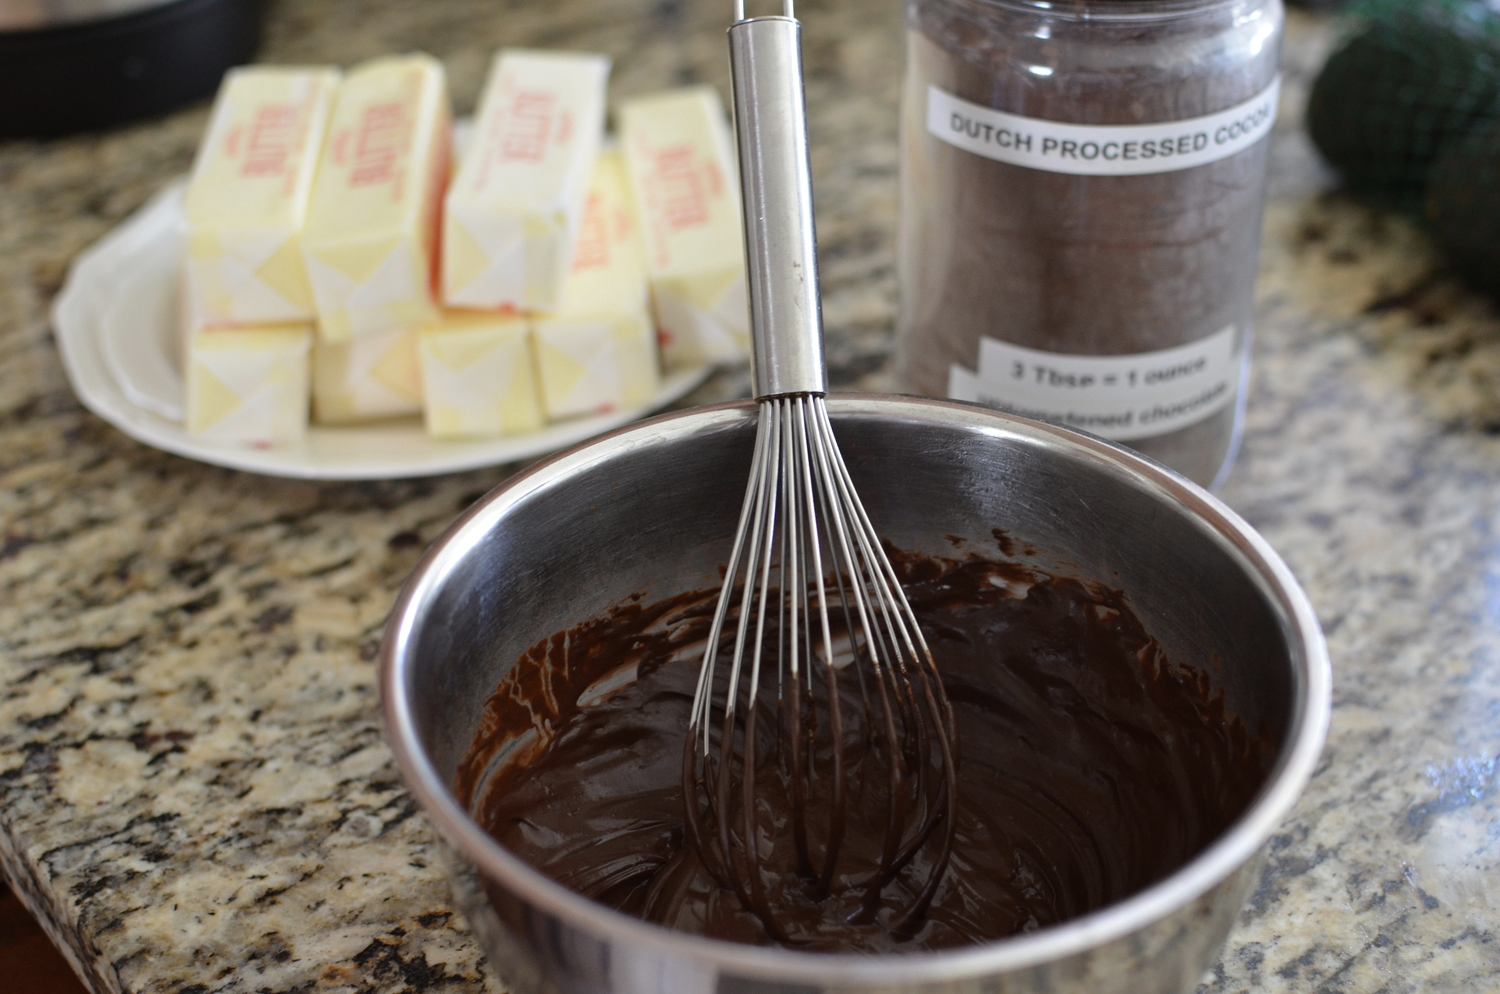
To start the recipe, we need to combine Dutch-processed cocoa and boiling water.  Whisk them together until smooth.

Then set it aside to cool, keeping it covered to prevent it from drying out.

In the bowl of a stand mixer fitted with a BeaterBlade attachment, cream room temperature butter and sugar together.

Add the eggs, salt, and vanilla extract.

Beautiful.

Then add the reserved cocoa mixture, buttermilk, flour, baking soda, and baking powder. 

Done. 

The batter will make 36 cupcakes - be sure to bake just one batch of 12 cupcakes at a time.  Cover the bowl of batter with plastic wrap and allow it to sit on the counter until you're ready to bake the next batch (being sure to allow the pan to cool before filling).  I use a #20 scoop (3 tablespoons) to fill my cupcake liners so every cupcake ends up being the same size. 

The Italian Meringue Buttercream (recipe and how-to photos) can be found here.  Make 2 separate batches to frost 36 cupcakes (a double batch is too big to make in a 6-quart stand mixer, but single batches will fit in a 5 or 6-quart mixer fine).  Note: you may want to use clear vanilla if you plan to tint your buttercream.  I use pure vanilla extract 99.99% of the time, but I make a rare exception when I tint buttercream a light color that would otherwise be affected by the slightly ivory tone pure vanilla extract naturally lends to buttercream.    

For this blue shade, I tinted the buttercream with this brand of gel coloring.  I also used these round sprinkles, and Ateco polycarbonate piping tips (or a Wilton 1M).  I love polycarbonate tips and prefer them to metal for a number of reasons:  they don't bend out of shape, you can see air bubbles through them, they don't rust or discolor, and they don't have a seam so they're super easy to clean.  Love them.  

Items used to make this recipe:

(affiliate links)


Chocolate Cupcakes

makes 36

Printable Recipe

Ingredients

  • 3/4 cup boiling water

  • 3/4 cup dutch-processed cocoa powder

  • 2 1/2 cups all purpose flour

  • 1 teaspoon baking soda

  • 1 teaspoon baking powder

  • 12 tablespoons unsalted butter, room temperature

  • 2 cups granulated sugar

  • 3 large eggs, room temperature

  • 1 teaspoon fine salt

  • 1 teaspoon pure vanilla extract (or clear vanilla extract)

  • 1 cup buttermilk

Directions

  1. Preheat oven to 350F and place rack in center position.

  2. Line muffin pan with paper liners; set aside until needed.

  3. In a medium bowl, whisk together boiling water and cocoa powder until smooth; cover with plastic wrap and cool until needed.

  4. In another medium bowl, whisk together the flour, baking soda, and baking powder; set aside until needed.

  5. In the bowl of a stand mixer fitted with a BeaterBlade attachment, cream butter and sugar for a couple minutes until light and fluffy.

  6. Add eggs, vanilla, and salt; mix until combined.

  7. Add cooled cocoa mixture, flour mixture, and buttermilk; mix just until combined.

  8. Use a #20 scoop to fill cupcake liners and tap the pan on the counter to even the level of batter before baking.

  9. Bake cupcakes for 15-20 minutes until a toothpick inserted in the center comes out clean.

  10. Cool cupcakes in pan for several minutes before transferring to a cooling rack to cool completely.

Note

  • Be sure cupcakes are completely cool before frosting with Italian Meringue Buttercream (recipe and photos found here).  You'll need to make 2 batches to frost 36 cupcakes. 

adapted from recipegirl.com