Mini NY Cheesecakes
Patricia @ ButterYum
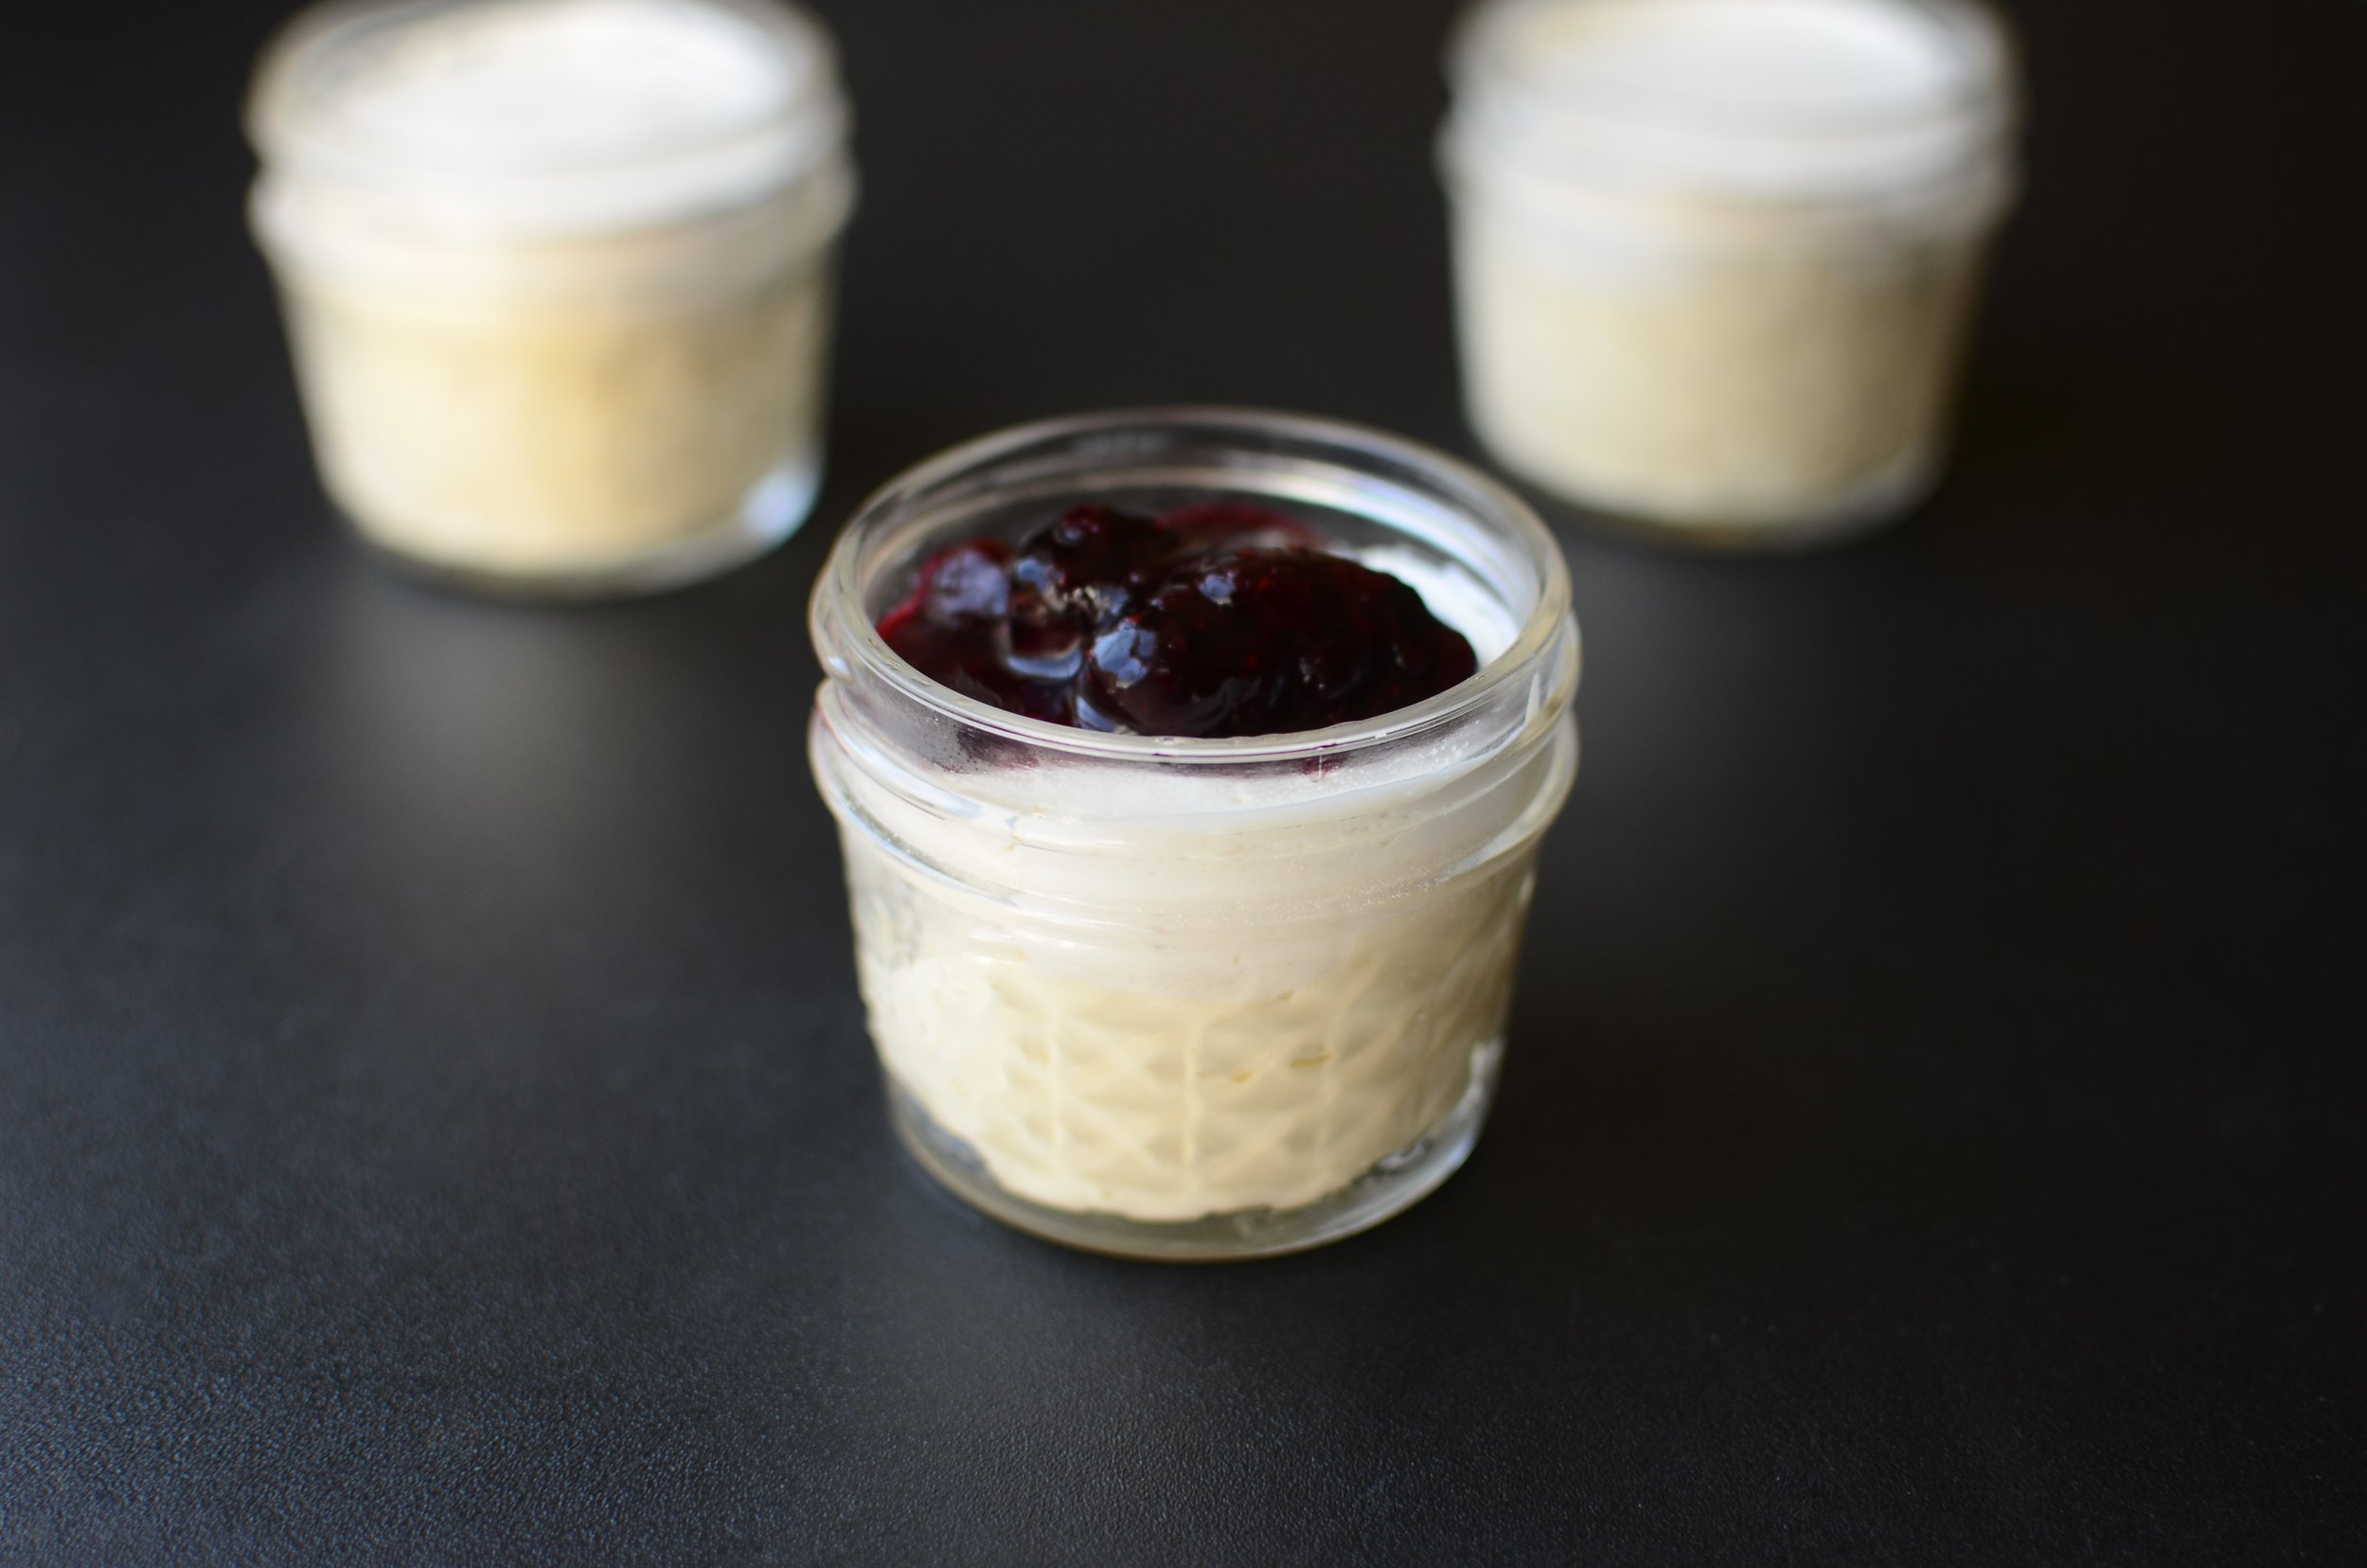
We recently celebrated our oldest son's birthday and, as usual, he requested cheesecake for dessert. I typically make some variation of our family's favorite cheesecake, but on this particular day I simply did not have the 6-8 hours needed to bake and chill a large cheesecake. So I had to come up with a Plan B - which in this case was to make mini cheesecakes that bake and cool in about 2 hours total. An added bonus - they're pretty darn cute and super easy to serve. Here's how they're made.
Line a very good quality muffin pan (so the cheesecakes don't burn) with very good quality cupcake liners. I really like these grease-proof ones (they peel off easily).
Instead of making a crumb mixture to put in the bottom of the cupcake liners, I opted make a base with a store-bought cookie. We like these chocolate sandwich cookies.
A whole sandwich cookie is too much, so I split them in half and scraped out the filling.
I placed the halved cookies into the cupcake liners like this.
Then topped each with a level #20 scoop of cheesecake batter. A #20 scoop is the perfect size!
The mini cheesecakes bake for 20 minutes. When they come out of the oven, they'll be puffed up a little over the top of the pan, but they'll sink down like this while you make the topping.
To make the topping, whisk together sour cream, sugar, and vanilla bean paste. I love vanilla bean paste! If you don't have any vanilla bean paste, feel free to use pure vanilla extract - you won't see any specks of vanilla beans, but the flavor will still be awesome.
Do not skip the topping - it totally makes these cheesecakes!
Pour the topping over the mini cheesecakes, being sure not to overfill the cupcake liners.
Spread the cheesecake topping evenly and pop the pan back into the oven for 8 minutes. Remove from the oven and cool to room temperature before chilling for at least 1 hour.
Oh my - wish you could taste how amazing these are.
Here's the recipe so you can make them yourself. Enjoy!
Items used to make this recipe:
(affiliate links)
professional muffin pan https://amzn.to/3T09U3d
greaseproof cupcake liners https://amzn.to/3ga2ppy
#20 portion scoop https://amzn.to/35CQiiD
pure vanilla extract https://amzn.to/3WsxOYc
pure vanilla bean paste https://amzn.to/3sV0IT2
oreo cookies https://amzn.to/3Hambgi
beaterblade https://amzn.to/3zAvaWb
Mini New York Cheesecakes
makes 24 mini cheesecakes
Ingredients
Crust:
12 chocolate sandwich cookies, split apart and cream filling removed
Filling:
24 ounces cream cheese, room temperature
1 cup granulated sugar
3 eggs, room temperature
1 1/2 teaspoons pure vanilla extract
Topping:
16 ounces sour cream
1/2 cup granulated sugar
1 teaspoon vanilla bean paste (or pure vanilla extract)
Directions
Preheat oven to 350F.
Line two high quality muffin pans with greaseproof cupcake liners.
Place 1 cookie half in the bottom of each cupcake liner.
In the bowl of a stand mixer fitted with a BeaterBlade attachment, beat the filling ingredients together until smooth.
Use a #20 scoop to portion the batter evenly into each cupcake liner; bake for 20 minutes (for best results, bake one pan at a time).
While the cheesecakes are baking, whisk the topping ingredients together until smooth.
Remove cheesecakes from oven and allow them to cool for 10 minutes (they will deflate and sink in the middle - this is a good thing).
Divide topping evenly over cheesecakes (or fill until the mixture reaches the rim of the cupcake liner); return to oven for 8 minutes.
Remove from oven and cool to room temperature.
Chill for 1 hour before serving.


