contact us

Use the form on the right to contact us.

You can edit the text in this area, and change where the contact form on the right submits to, by entering edit mode using the modes on the bottom right.


123 Street Avenue, City Town, 99999

(123) 555-6789

email@address.com


You can set your address, phone number, email and site description in the settings tab.
Link to read me page with more information.

Blog

Butteryum food blog recipes

Filtering by Category: dinner recipes

Sous Vide Eye of Round Roast Beef

Patricia @ ButterYum

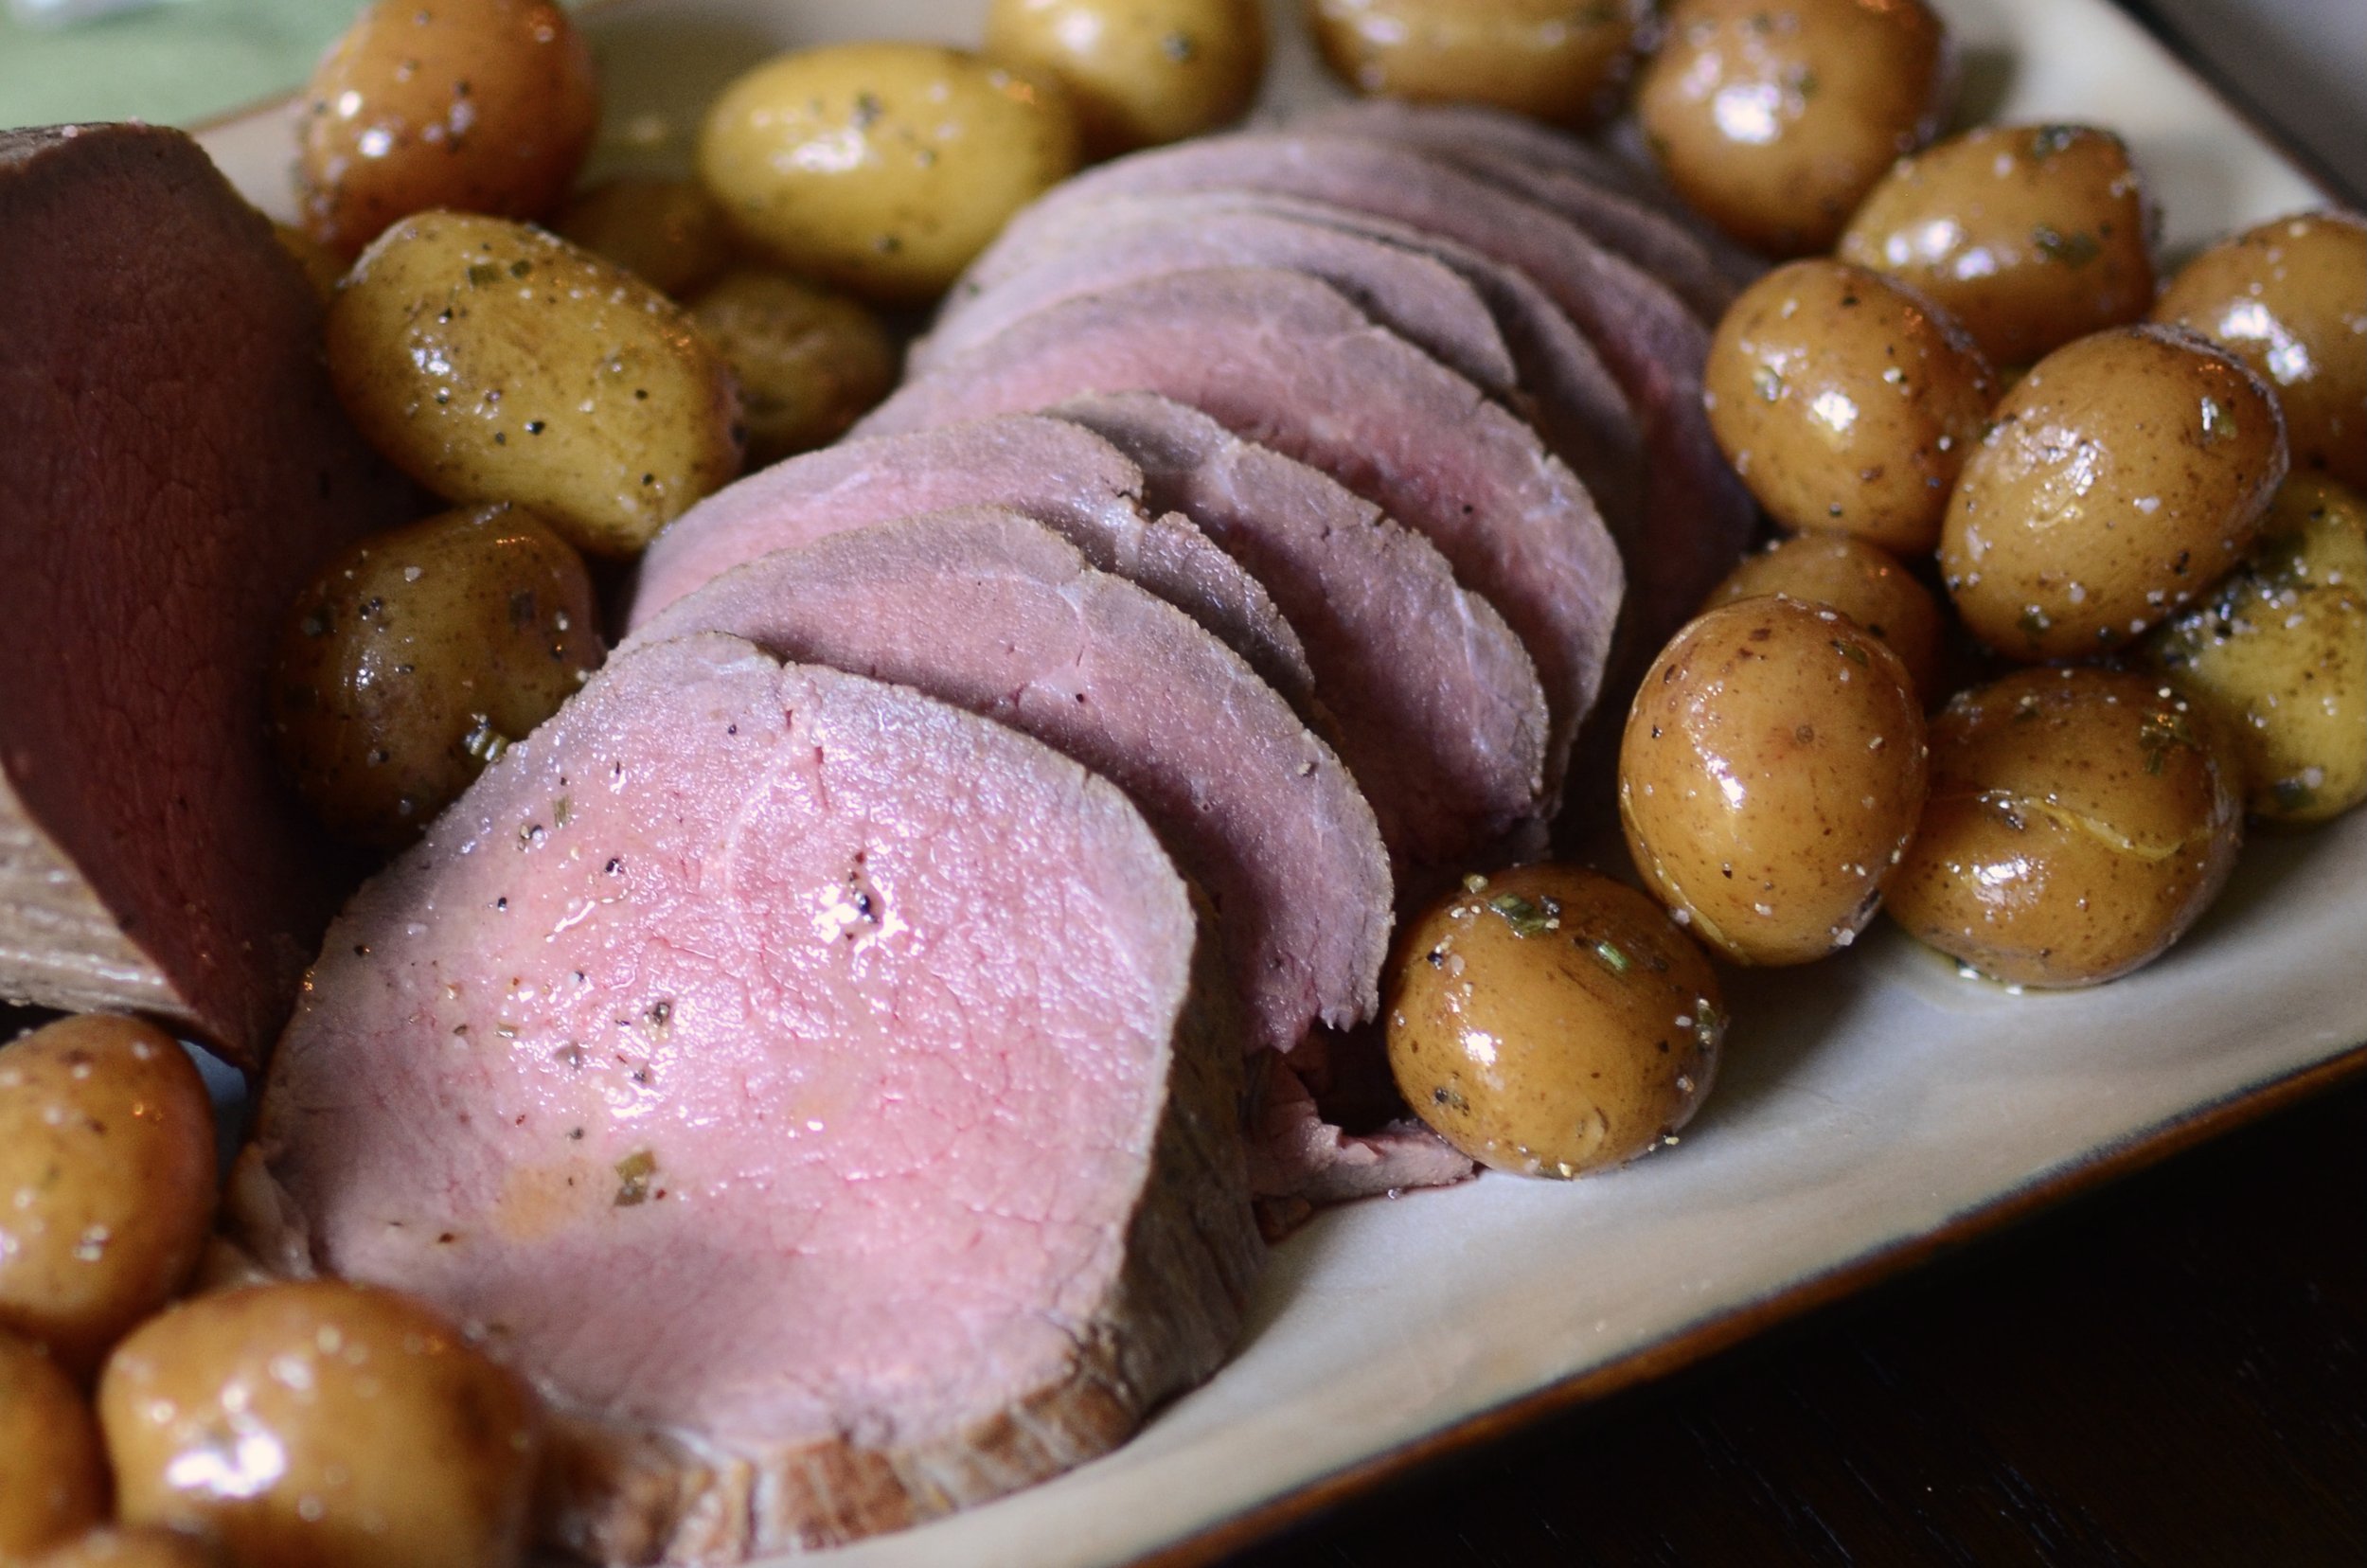
Have you started cooking Sous Vide yet? It produces perfectly cooked everything with almost no effort. It’s quickly becoming my favorite method for cooking proteins. You just have to remember to plan ahead because it takes longer than traditional methods. Today I’m revising my slow-roasted eye of round beef, which usually cooks in the oven, to a sous vide version that I know will turn out tender and juicy because there’s no chance of it over cooking. Let me show you how to make it.

The important thing to remember when cooking sous vide is to place the sous vide circulator in a heat-proof container and fill with water to cover the items being cooked, being sure the water level falls between the minimum and maximum indicators.

Oops, I didn’t get a picture of the prepared roast, but all you have to do is sprinkle it all over with kosher salt (amount listed in recipe below), then place the roast in a sous vide bag, vacuum sealer bag or freezer bags (NOT storage bags), being sure to remove as much air as possible so the roast stays submerged. If needed, you can weigh the bag down with a spoon or butter knife.

Some sous vide containers have lids to keep the water from evaporating and racks to keep whatever is cooking from blocking the circulating water. If you use a make-shift container (like my stockpot), use a binder clip to secure the bag to the side of the container and cover to stockpot with plastic wrap to prevent evaporation.

Set the circulator temperature to the doneness you like (we like our beef around 138F), then set the cooking time for 22-24 hours and walk away. Be sure the container is covered around the circulator, but don’t cover the actual circulator. Check the water level every 6-8 hours and top off with warm water as needed.

When 22-24 hours have passed, remove the roast from the plastic bag and dry it well, then sear it on all sides in a hot skillet with a little oil. No resting time requires, serve immediately. Enjoy!

BEEF DONENESS CHART

  • 125-130F (52-55C) = Rare

  • 130-140F (55-60C) = Medium Rare

  • 140-150F (60-65C) = Medium

  • 150-155F (65-69C) = Medium Well

Items you may need to make this recipe:

(affiliate links)


Sous Vide Eye of Round Roast Beef

makes one 3 to 5-pound roast

Printable Recipe

Ingredients

  • 3 to 5 pound eye of round beef roast

  • 2 teaspoons kosher salt (or half fine table salt)

  • freshly ground pepper

  • oil for searing

Directions

  • (24 hours ahead) Dry roast well with paper towels and sprinkle kosher salt evenly all over; place roast in a gallon-size sous vide bag, vacuum sealer bag, or freezer bag and squeeze out as much air as possible..

  • Place bag in water-filled sous vide container; use a binder clip to anchor the bag so it doesn’t interfere with the circulating water.

  • Set sous vide circulator to your desired finished temperature (see chart above) for 22-24 hours (cover container with lid or plastic wrap to keep water from evaporating; adding more water if/when necessary).

  • Remove roast from bag and dry well; sear all sides (2-3 minutes per side) in a hot skillet with a tablespoon of oil. Slice and serve immediately.
Sheet Pan Shrimp Fajitas

Patricia @ ButterYum

I love a good sheet pan dinner and these sheet pan shrimp fajitas rank high on my list of favorites.

For this recipe, you’re going to need 2 half sheet pans. One for the veggies and one for the shrimp. The reason is because they each cook for a different length of time. Also, the shrimp will release juices that could keep the veggies from roasting.

But before anything goes in the oven, you need to combine the seasoning mix and divide it between the shrimp and the veggies (seasoning mix listed in the recipe below).

When the shrimp come out of the oven, cut them into bite-size pieces.

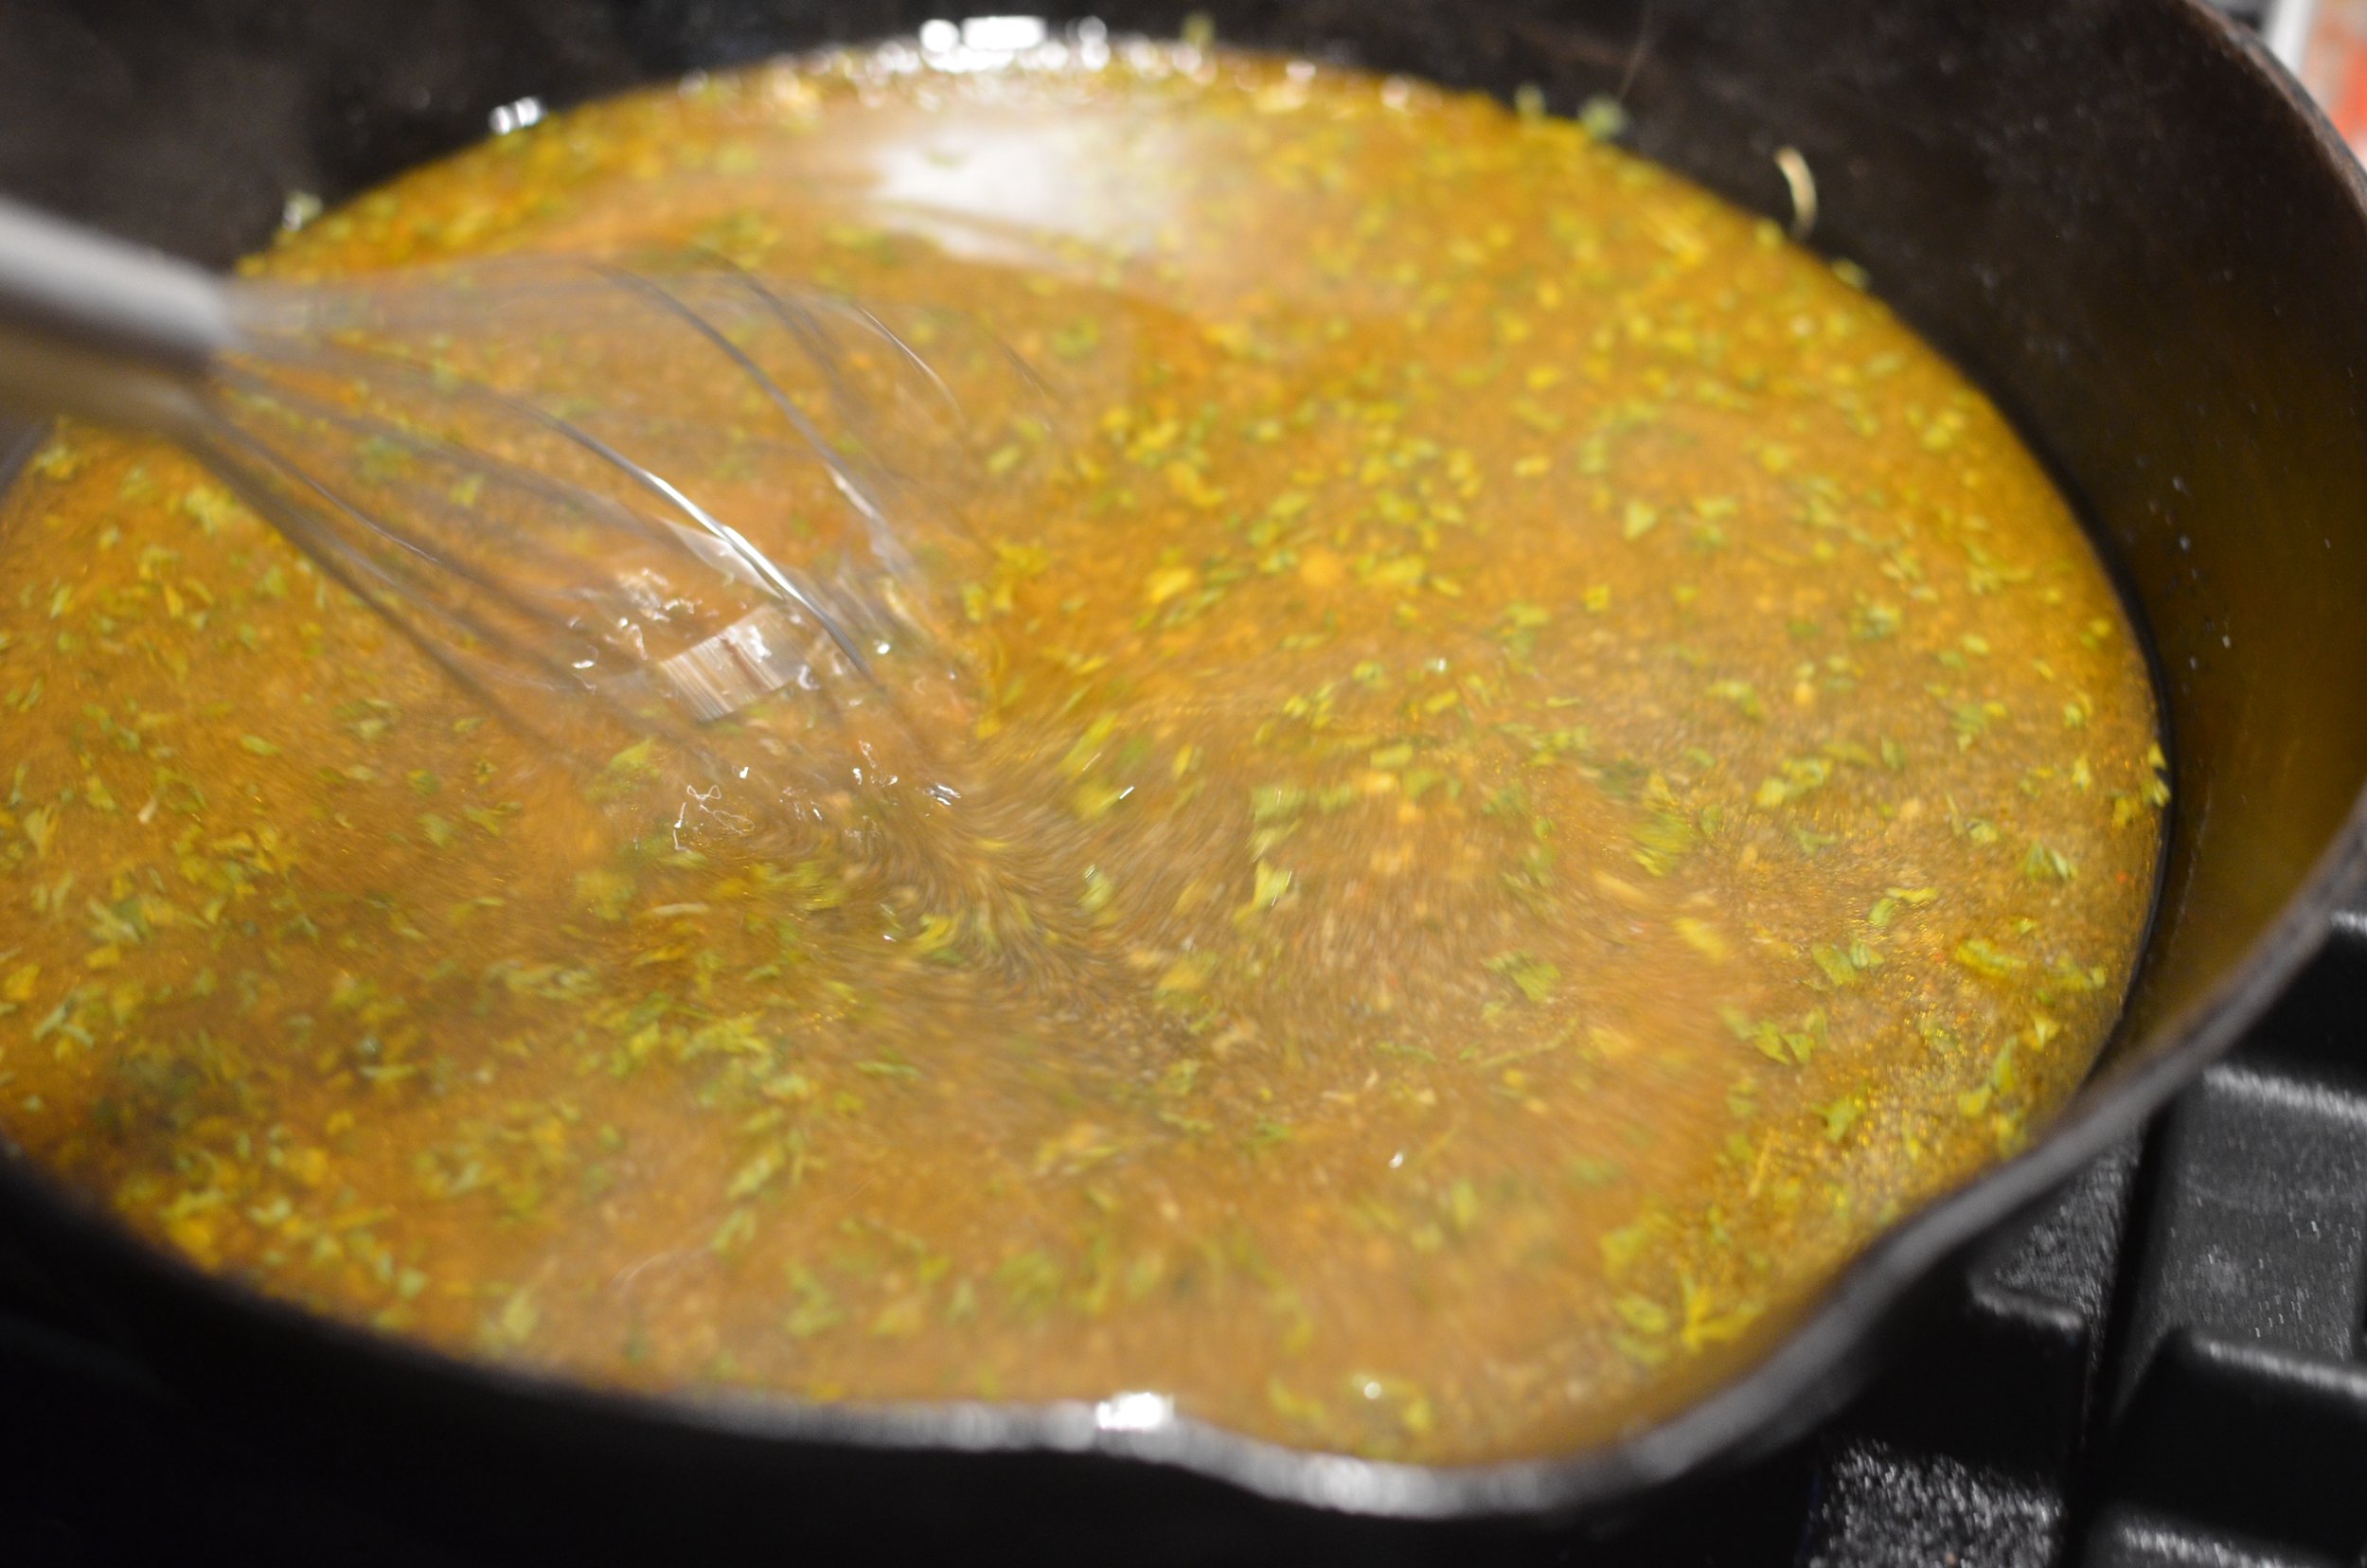
Save any juices that release from the shrimp. I like to reduce them down in a skillet.

I reduce them by half or until the juices thicken a bit. The process will only take a few minutes. This is optional, but if you have any xanthan gum on hand, you whisk in 1/4 teaspoon as the juices reduce.

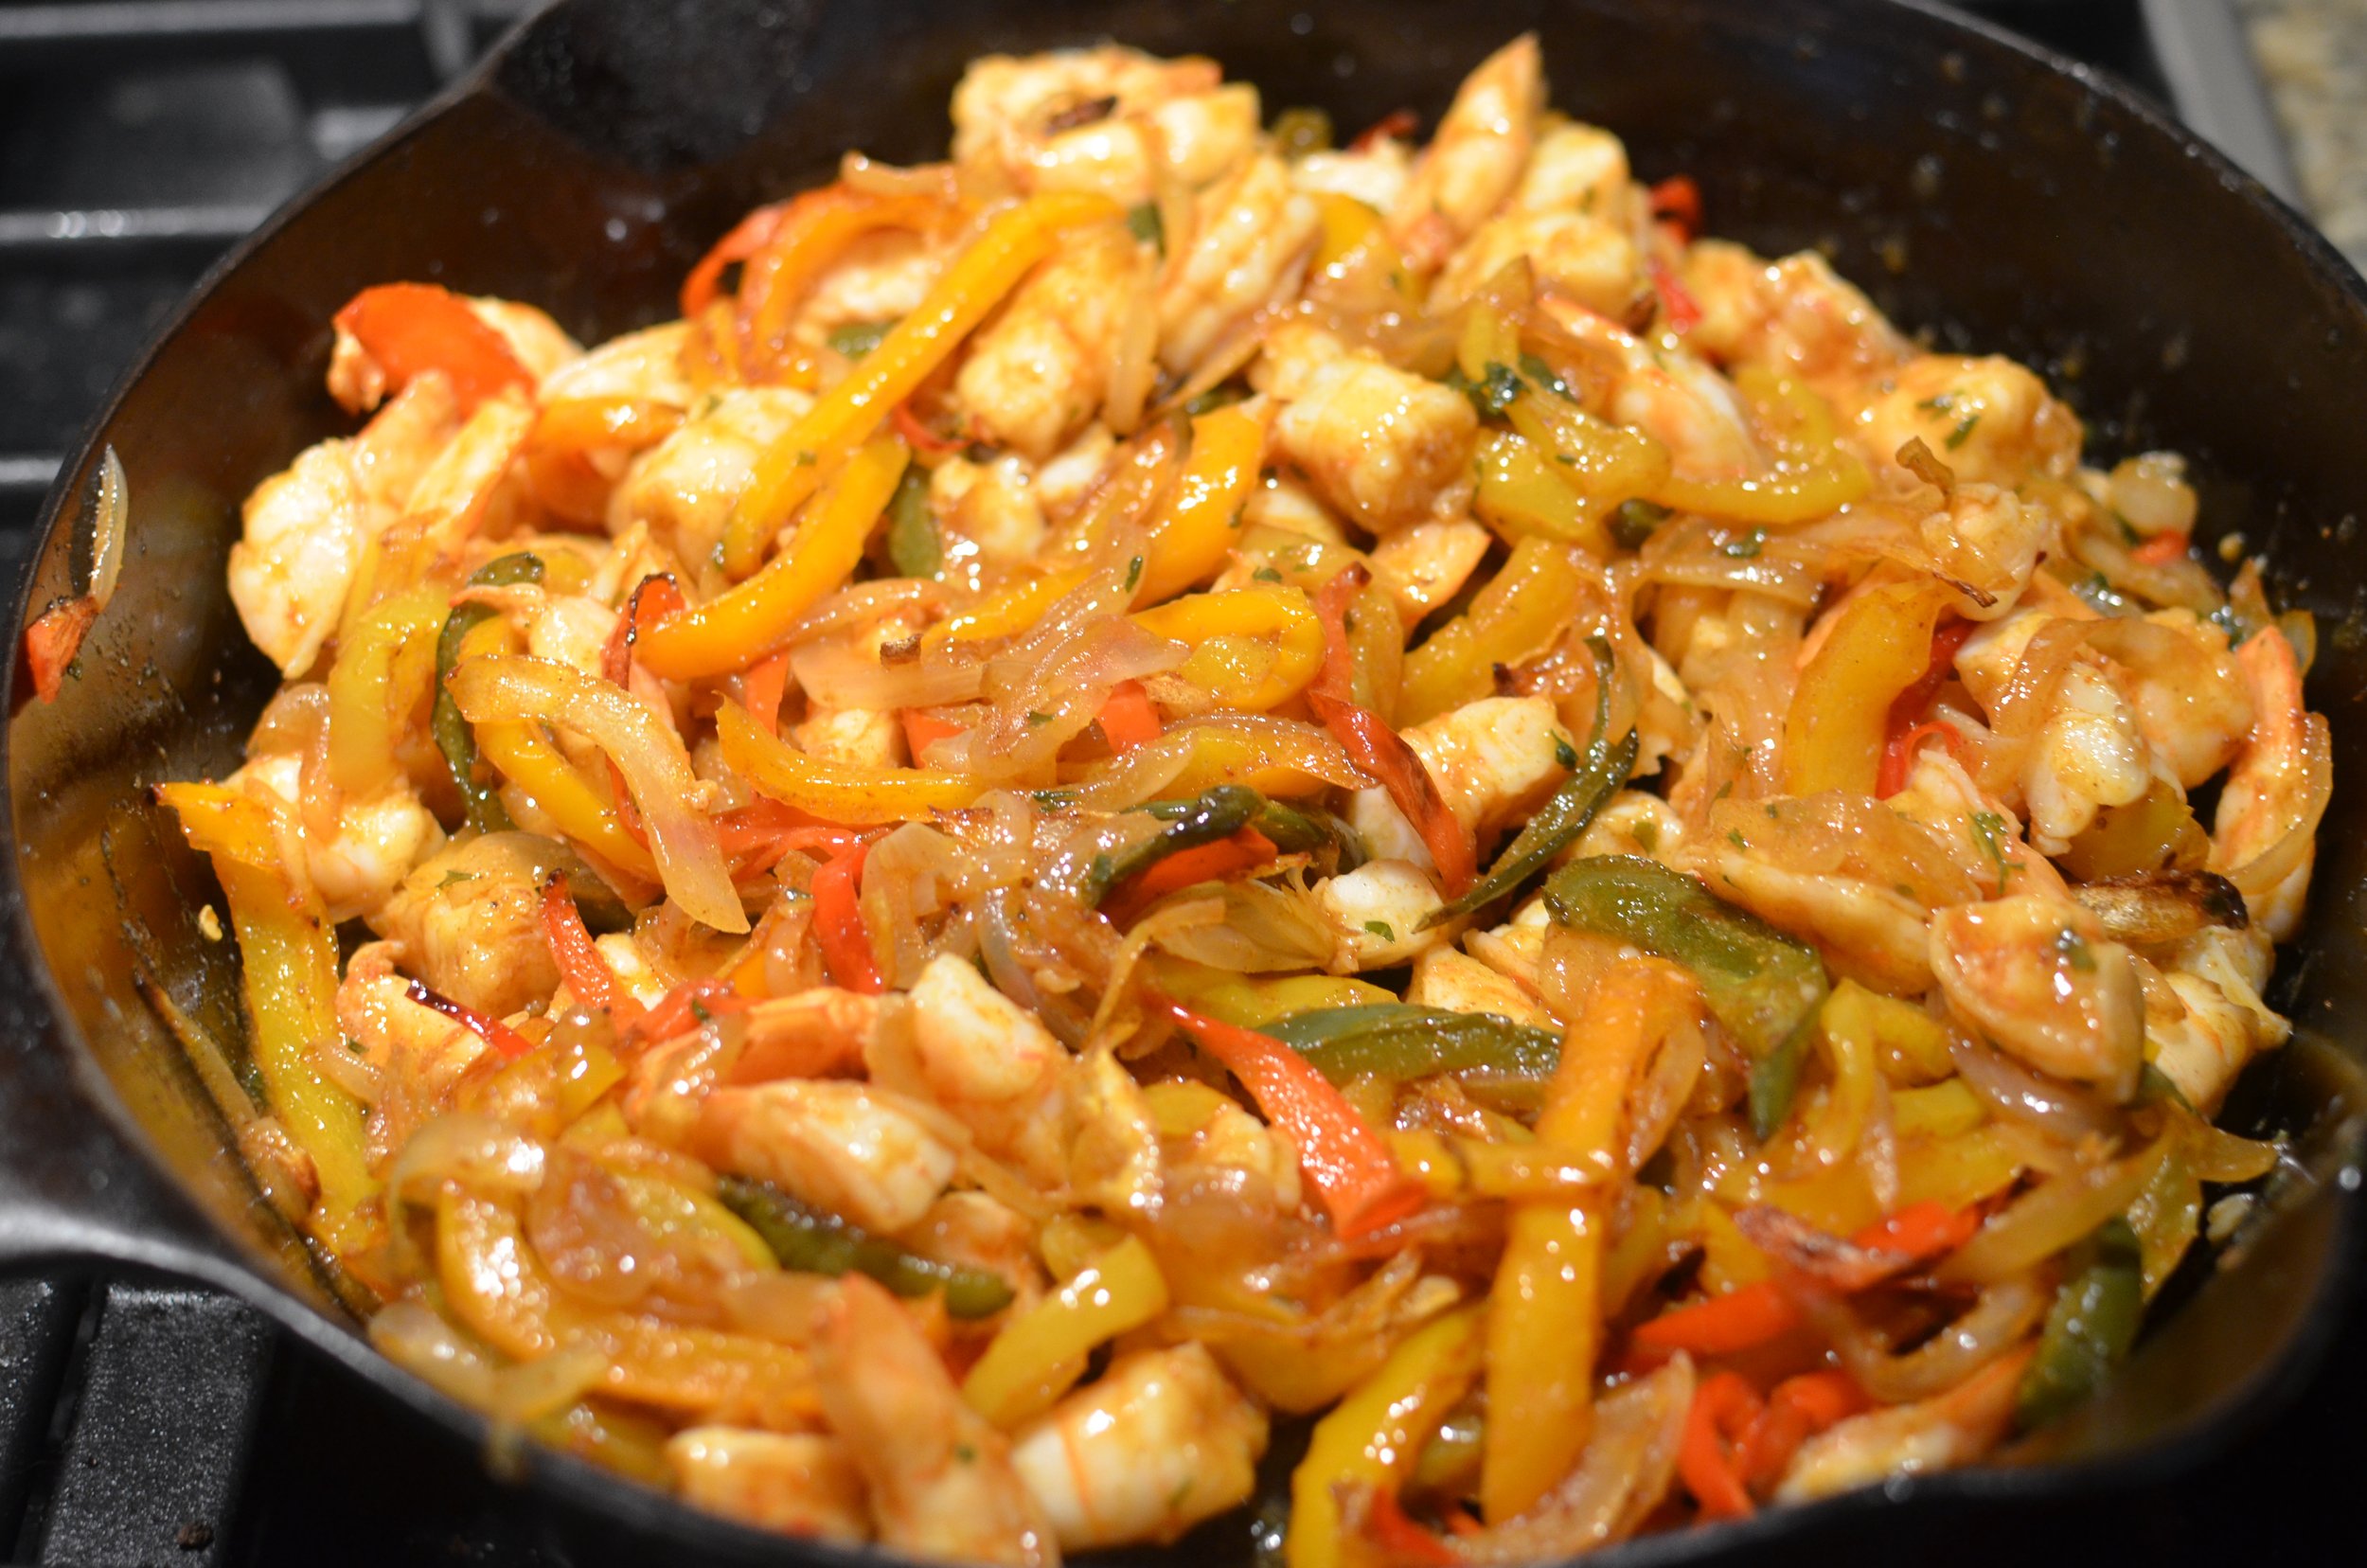
Now stir the roasted veggies and bite-size shrimp pieces into the reduced pan sauce and serve in your favorite tortillas. We like carb balance flour tortillas.

Items used to make this recipe:

(affiliate links)


Sheet Pan Shrimp Fajitias

makes 6-8 servings

Printable Recipe

Ingredients

Fajita Seasoning Mix:

  • 2 teaspoons chili powder

  • 1 teaspoon fine salt

  • 1 teaspoon paprika

  • 1 teaspoon granulated sugar

  • 1/2 teaspoon granulated onion

  • 1/2 teaspoon granulated garlic

  • 1/2 teaspoon cumin

  • 1/4 teaspoon cayenne pepper

Additional Ingredients:

  • 2 pounds jumbo shrimp, peeled, deveined, and tails removed (see notes below)

  • 1 red bell pepper, sliced into thin strips

  • 1 yellow bell pepper, sliced into thin strips

  • 1 orange bell pepper, sliced into thin strips

  • 1 large onion (any color), sliced thin (with the grain - from pole to pole, not across)

  • 4 tablespoons olive oil, divided

  • seasoning mix (above), divided

  • xanthan gum (optional)

  • corn or flour tortillas

Garnish:

  • sliced avocado or guacamole

  • sour cream or crema

  • lime wedges

  • fresh cilantro

Directions

  1. Preheat oven to 425F and arrange 2 oven racks in the upper-middle and lower-middle positions.

  2. Prepare 2 half sheet pans with nonstick spray.

  3. In a large mixing bowl, combine the sliced peppers and onions with half of the olive oil and half of the fajita seasoning mix; arrange in an even layer on one of the half sheet pans and place in the oven on the top rack for 15 minutes.

  4. While the peppers and onions are in the oven, use the same mixing bowl to combine the shrimp with the remaining olive oil and fajita seasoning mix; arrange in an even layer on the 2nd half sheet pan and set aside until needed.

  5. After the peppers and onions have roasted for 15 minutes, remove from oven and toss well before returning to the oven (on the same rack); place the shrimp on the lower rack and roast for 10 minutes (or until cooked through and opaque).

  6. When the shrimp are cooked, remove both the shrimp and the pepper mixture from the oven.

  7. Allow the shrimp to cool for a few minutes until you can easily handle them; cut shrimp into bite-size pieces.

  8. Pour the juices from the shrimp into a large skillet and bring to a boil; sprinkle with 1/8 to 1/4 teaspoon xanthin gum and whisk until thickened; add shrimp/pepper mixture and stir to combine.

  9. Serve on your favorite tortillas with your favorite garnish.

Note

  • I used 11-15ct per pound shrimp, but feel free to use a smaller size - just reduce the cooking time accordingly. Shrimp are cooked once they turn opaque. Properly cooked shrimp should resemble the shape of the letter “C”. If shrimp are cooked until they resemble the shape of the letter “O”, they are overcooked. Overcooked shrimp are tough and rubbery so try to avoid that.