contact us

Use the form on the right to contact us.

You can edit the text in this area, and change where the contact form on the right submits to, by entering edit mode using the modes on the bottom right.


123 Street Avenue, City Town, 99999

(123) 555-6789

email@address.com


You can set your address, phone number, email and site description in the settings tab.
Link to read me page with more information.

Blog

Butteryum food blog recipes

Filtering by Category: easter recipes

Instant Pot Easy-Peel Hard Cooked Eggs

Patricia @ ButterYum

Perfect Easy-Peel Eggs - ButterYum. how to hard cook eggs in an instant pot. how to cook eggs in an insta-pot.

A couple of years ago I shared a technique for steaming hard-cooked eggs that allowed the shells to slip off almost effortlessly (you can read about it here).   If I were to rate that technique, I'd give it 9 out of 10 stars, but today I'm going to share an even better technique.  This one earns 10+ stars.  I've cooked about 6 dozen farm-fresh eggs using this new method and haven't had a single shell stick. I hope you’ll give it a try.

Whether you use the old steaming method, or this new and improved electric pressure cooker method, the only ingredients needed are eggs and water.  I'm using farm-fresh eggs, but older eggs from the grocery store will work too.  

100% guaranteed method for making hard-cooked eggs that peel perfectly every single time.

Place about 1/2-inch of water in the inner pot of an instant pot or any brand of electric pressure cooker; add a rack (stainless or this silicone one with handles that I love).

The eggs should hover over the water so be sure the top surface of the rack sits above the water.

guaranteed Perfect Peel eggs in a pressure cooker

Place eggs on the rack.  I've spaced these apart for a pretty photo, but I usually squeeze as many eggs into a single layer as I can.  I find they don’t always cook through if you stack them on top of each other, but they’ll turn out perfectly as long as you keep them in a single layer.

Put the lid on the pressure cooker and lock it closed.  Also check to be sure the steam vent is closed.

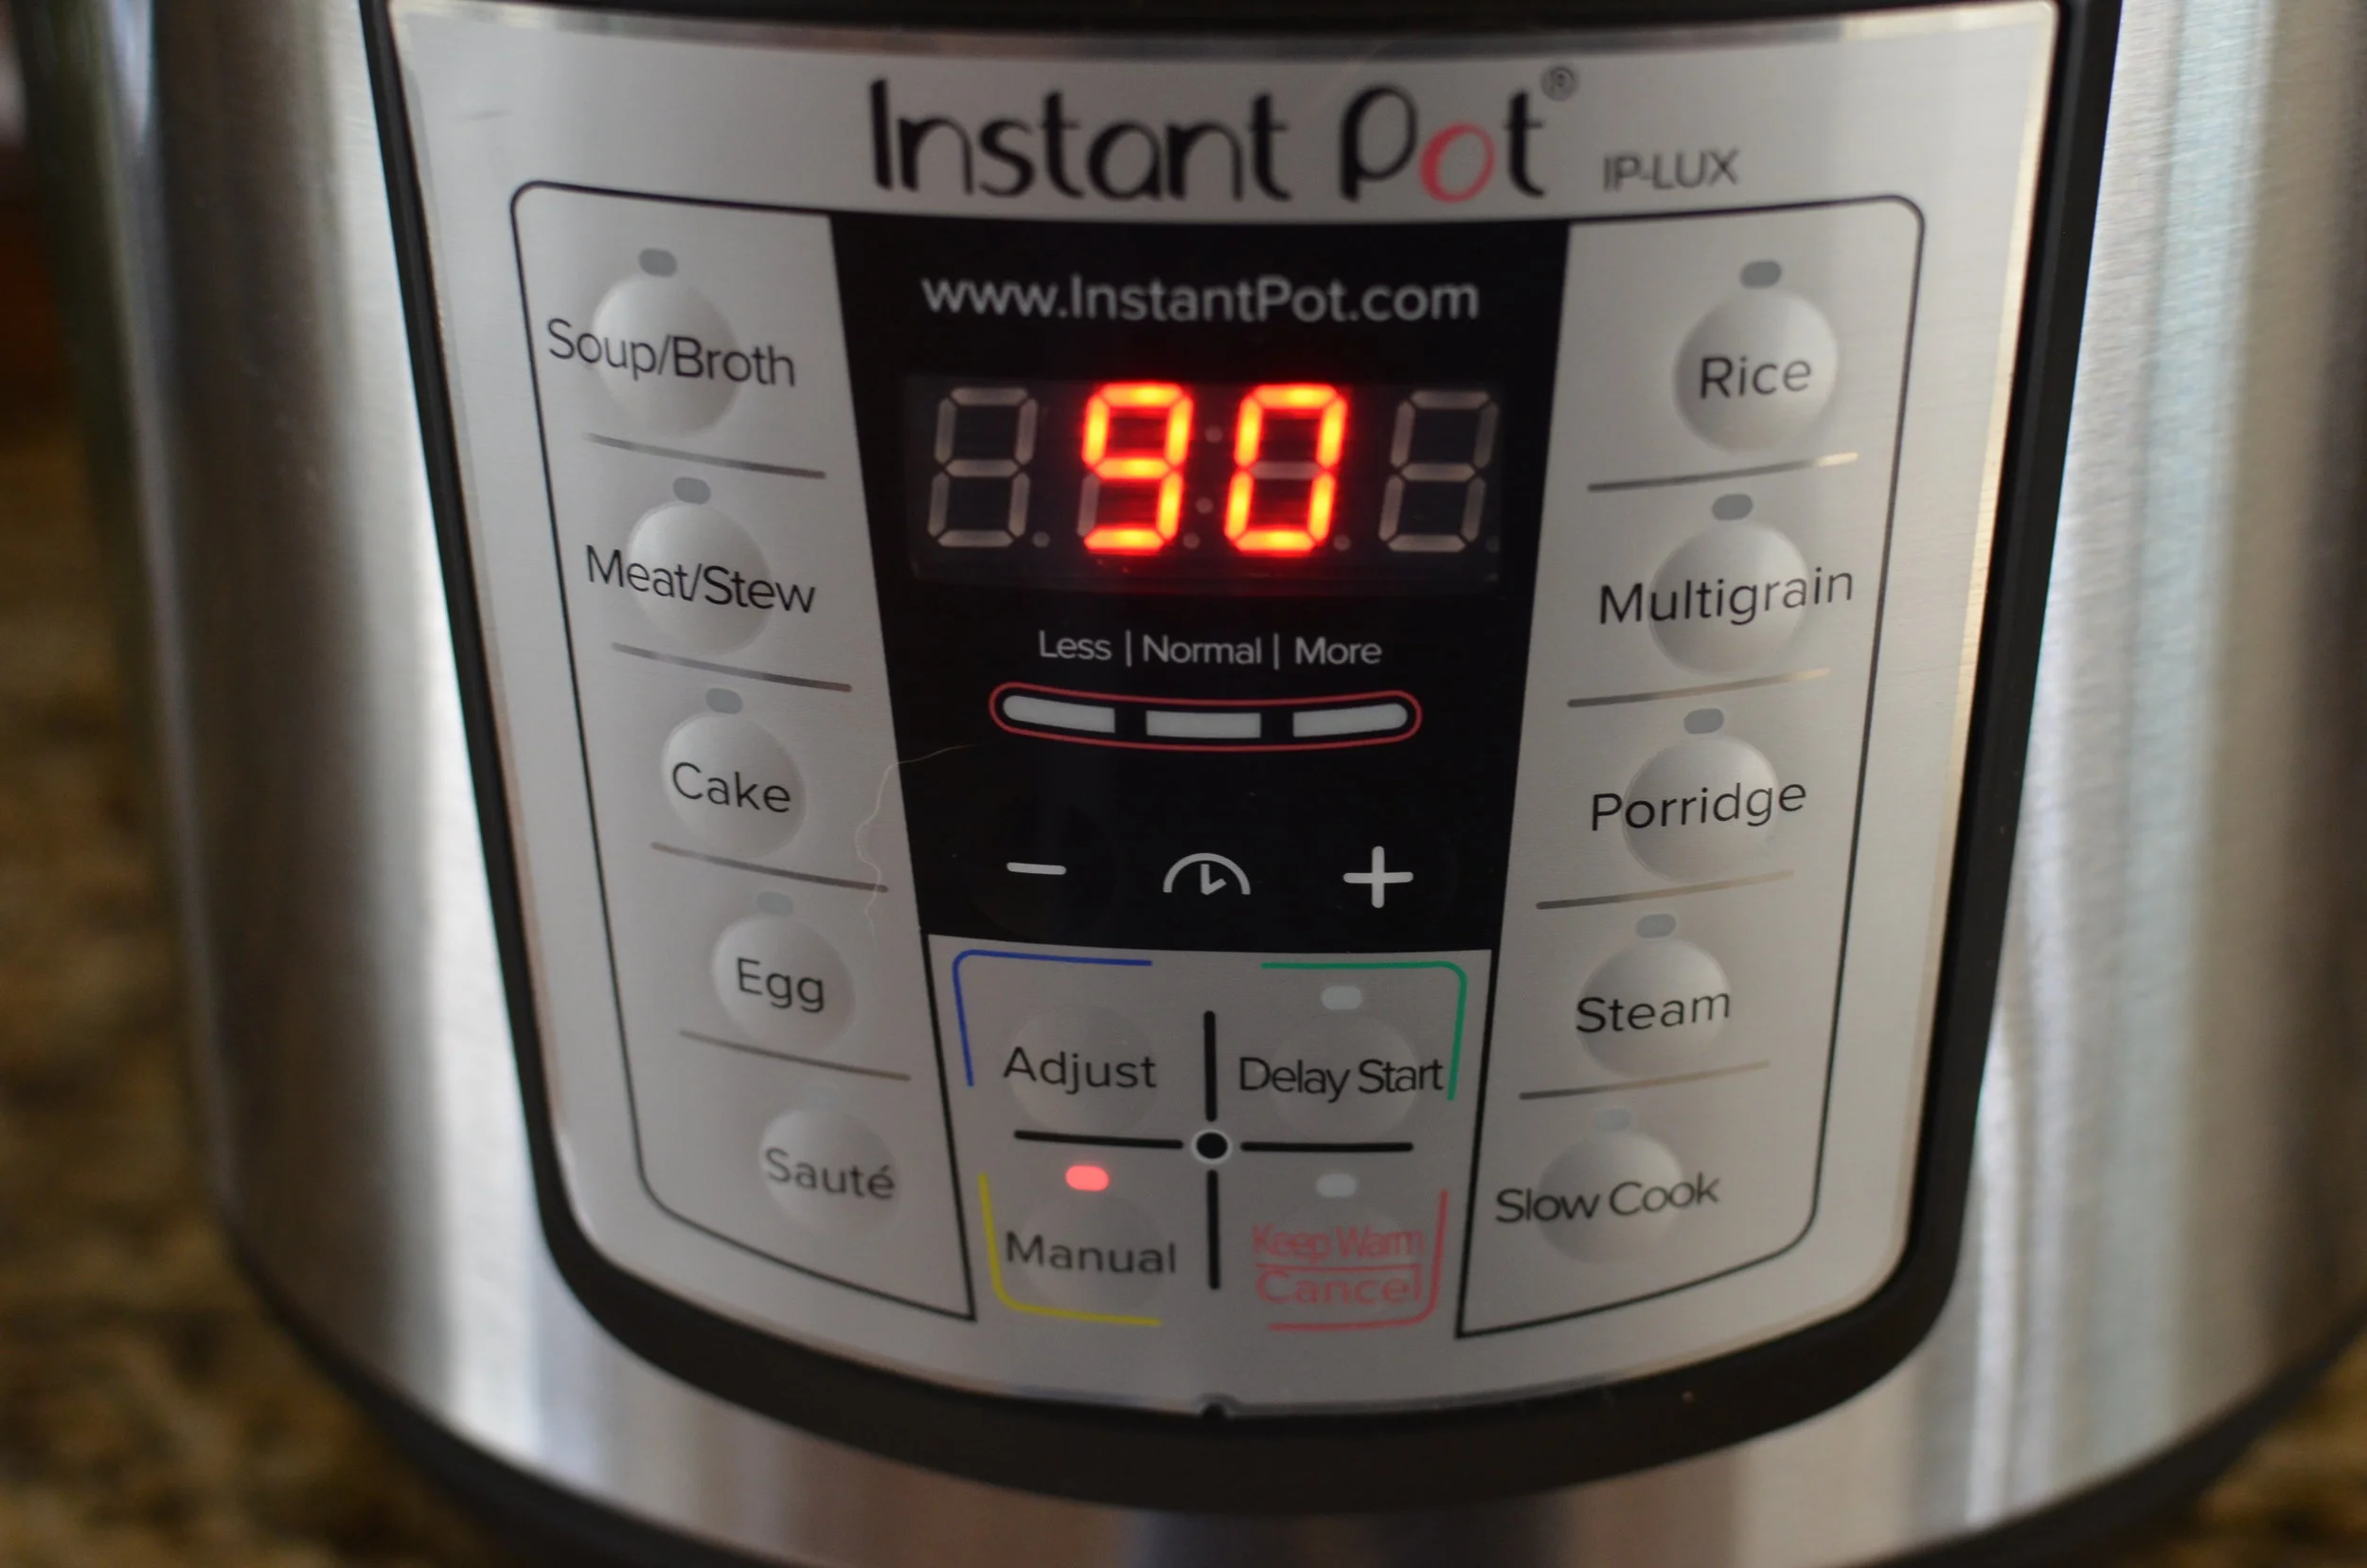
Okay, set the pressure cooker for 5 minutes on the rice cycle.  The cooker will heat the water and come to pressure before the timer starts counting down so the total time in my cooker is actually about 10 minutes from start to finish.

When the timer alerts you that 5 minutes have passed, allow the pressure to release naturally for an additional 5 minutes. Manually release any remaining pressure - careful, there may bee some spitting and spurting.

Almost done....

Alrighty, as soon as all the pressure is released, you can open the lid and remove the eggs.

To help prevent the yolks from developing the ugly green layer, immediately submerge the hot eggs in a large bowl of ice water and allow the eggs to cool for 5 minutes before peeling.

To recap, that’s 5 minutes of cooking under high pressure, 5 minutes of resting, and 5 minutes in an ice bath - 5/5/5. Easy! For extra large eggs, I increase each step to 6 minutes.

As soon as the eggs are done resting in the ice bath, you can start peeling. 

Egg peeling perfection.  Perfection, perfection, perfection.... no sticking shells, no ugly peeled eggs, just perfectly peeled eggs every single time. I LOVE THIS TECHNIQUE!!!

And just look at those yolks, would you?  I can’t wait for you to try.

Items used to make this recipe:

(affiliate links)


PERFECT EASY-PEEL EGGS

Printable Recipe

Ingredients

  • large eggs (farm fresh or from the grocery store)

  • water

Directions

  1. In the cookwell of an electric pressure cooker fitted with a rack, place 1/2-inch of water, being sure the top of the rack is not submerged under the water.

  2. Place a single layer of eggs on top of the rack.

  3. Seal the pressure cooker and set for 5 minutes on the high pressure (or rice) cycle.

  4. Allow pressure to naturally release for 5 minutes before manually releasing any remaining pressure.

  5. Immediately remove the eggs and place in a large bowl of ice water to cool for 5 minutes

  6. When eggs are cool, the shells should come off the eggs with minimal effort.

Dry Brined Turkey

Patricia @ ButterYum

If you're intimidated by the thought of brining in a liquid solution, Dry Brining is the perfect technique for you.  I’ve made turkey all kinds of ways, and dry brining is by far my favorite for a couple of reasons; 1) it’s much less messy than brining in liquid, and 2) it produces the most juicy, flavorful bird imaginable!

Plan to begin the process anywhere from 24-72 hours before you place your turkey in the oven to roast.  Enjoy!
Rinse and dry a 12-14 pound turkey well and place on a rimmed sheet pan. If there’s a pop-up timer in the turkey, remove it (they’re notoriously inaccurate).

Sprinkle the entire bird, inside and out, with kosher salt. Be sure to check the “note” section below the recipe to calculate how much kosher salt you’ll need based on the weight of your turkey.

Place the turkey in the fridge, uncovered, for at least 24 hour (but can be as long as 72 hours).

Be careful about accidental cross contamination - here I placed a barrier of homemade chicken stock in front of my turkey to reduce the risk that someone might accidentally touch it.

After 24-72 hours, remove the turkey from the fridge and pat dry thoroughly with paper towels.

Next, tuck the wings, tied the legs smear butter all over the skin, and insert an oven-safe probe thermometer in the thickest part of the thigh (without touching any bone). Sprinkle the turkey lightly with salt and pepper. Not too much, the salt brine will have flavored the meat already so we’re just adding a little flavor to the skin.

Roast in a 325F oven for 15-18 minutes per pound, or until the internal temperature in the thickest part of the thigh reaches 165F. I check both legs in a couple of places, just to be on the safe side.

Allow the turkey to rest for 30-40 minutes before carving (the internal temperature will rise 5-10 additional degrees - this is normal). That should leave you with plenty of time to make gravy with all the yummy pan juices. Happy Roasting!

Items used to make this recipe:

(affiliate links)


Dry Brined Turkey

Printable Recipe

Ingredients

  • 12-14 pound turkey (thawed if applicable)

  • 6 tablespoons kosher salt (see formula in the “note” section below)

  • 4 tablespoons unsalted butter, softened

  • kosher salt and pepper for sprinkling

  • 1 large onion, sliced

  • 1 large carrot, sliced

  • 1 large stalk celery, sliced

  • 2 cups water

Directions

  1. Remove neck, giblets, etc from inside turkey; reserve for gravy.

  2. Rinse turkey well and dry thoroughly with paper towels; place on half sheet pan.

  3. Sprinkle turkey inside and out with salt, refrigerate uncovered for 24-72 hours.

  4. Preheat oven to 325F and place oven rack in the lower third position.

  5. Pat turkey well with paper towels to absorb any moisture that might be on the surface (pay close attention to nooks and crannies).

  6. Place a roasting rack into a large roasting pan; add sliced onion, carrot, celery and water.

  7. Smear softened butter all over turkey and sprinkle lightly with kosher salt and pepper; place on roasting rack.

  8. Place turkey in oven, uncovered, and roast for 15-18 minutes per pound or until the meat in the thickest part of the thigh registers 165F.

  9. Remove from oven and rest for 30-40 minutes. Strain pan drippings and use to make gravy.

NOTE