Onigiri
Patricia @ ButterYum
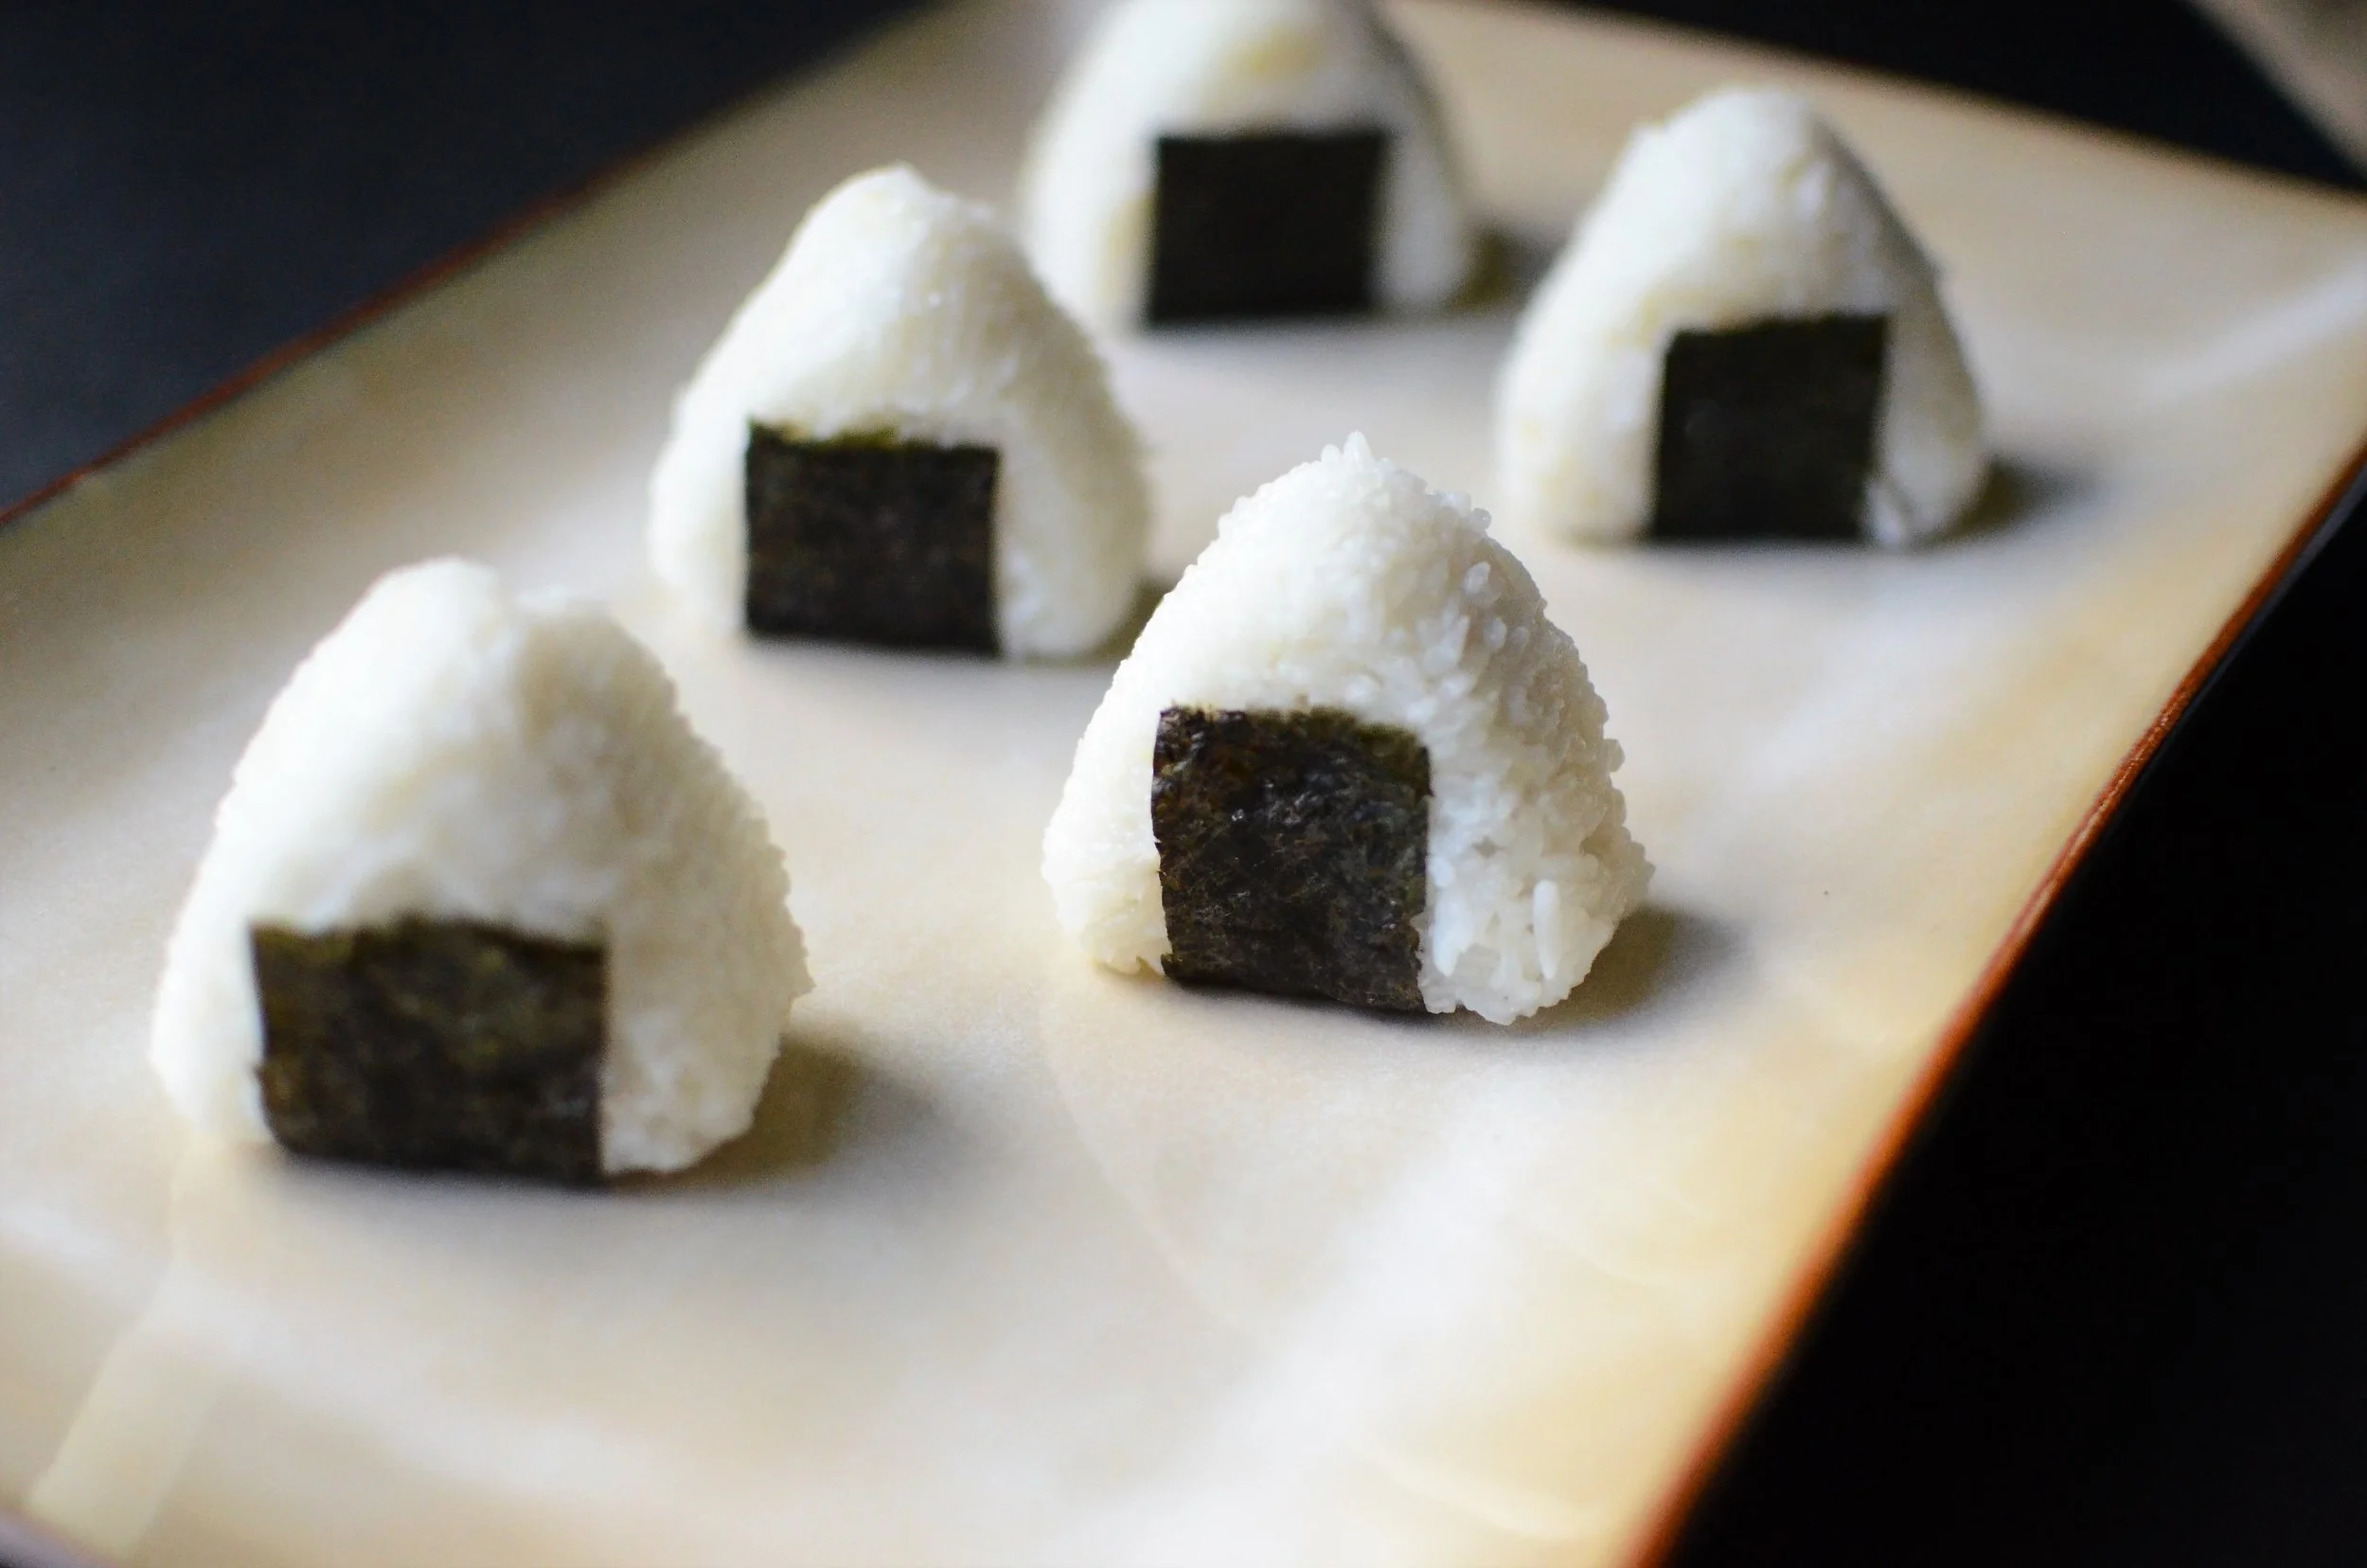
One of my daughters is a Japanophile and she loves to introduce us to Japanese foods that are completely unfamiliar to us. Foods like these onigiri (oh-nee-gee-dee), a rice ball or sorts. They're kind of a rice sandwich filled with something savory like chicken or tuna salad. The salty filling pairs so beautifully with the rice and a strip of nori is wrapped around for flavor and color contrast. They're easy to make in the palm of your hand, but the triangular molds we used are even more fun. Here's how they're made.
Start with about 3 cups of cooked rice. I usually cook my rice on the stovetop, but my daughter loves any excuse to pull out the rice cooker.
Sushi rice is the typical rice used to make onigiri, but any rice that will stick together when compressed will work. When you're shopping, look for Japanese medium or short grain rice.
As I said, you can form these in the palm of your hands, but using onigiri molds is kind of fun.
You'll also need a savory filling. Today we're using my rotisserie chicken salad. If you're interested in my yummy recipe, here it is.
You'll also need nori sheets. They're the same sheets you might use to make sushi.
Cut the sheets into 1-inch wide strips that are 3.5 to 4 inches long.
Alrighty, time to make these adorable onigiri. Keep a small bowl of water nearby to dip your fingers into. Sticky rice won't stick to your fingers if they're damp.
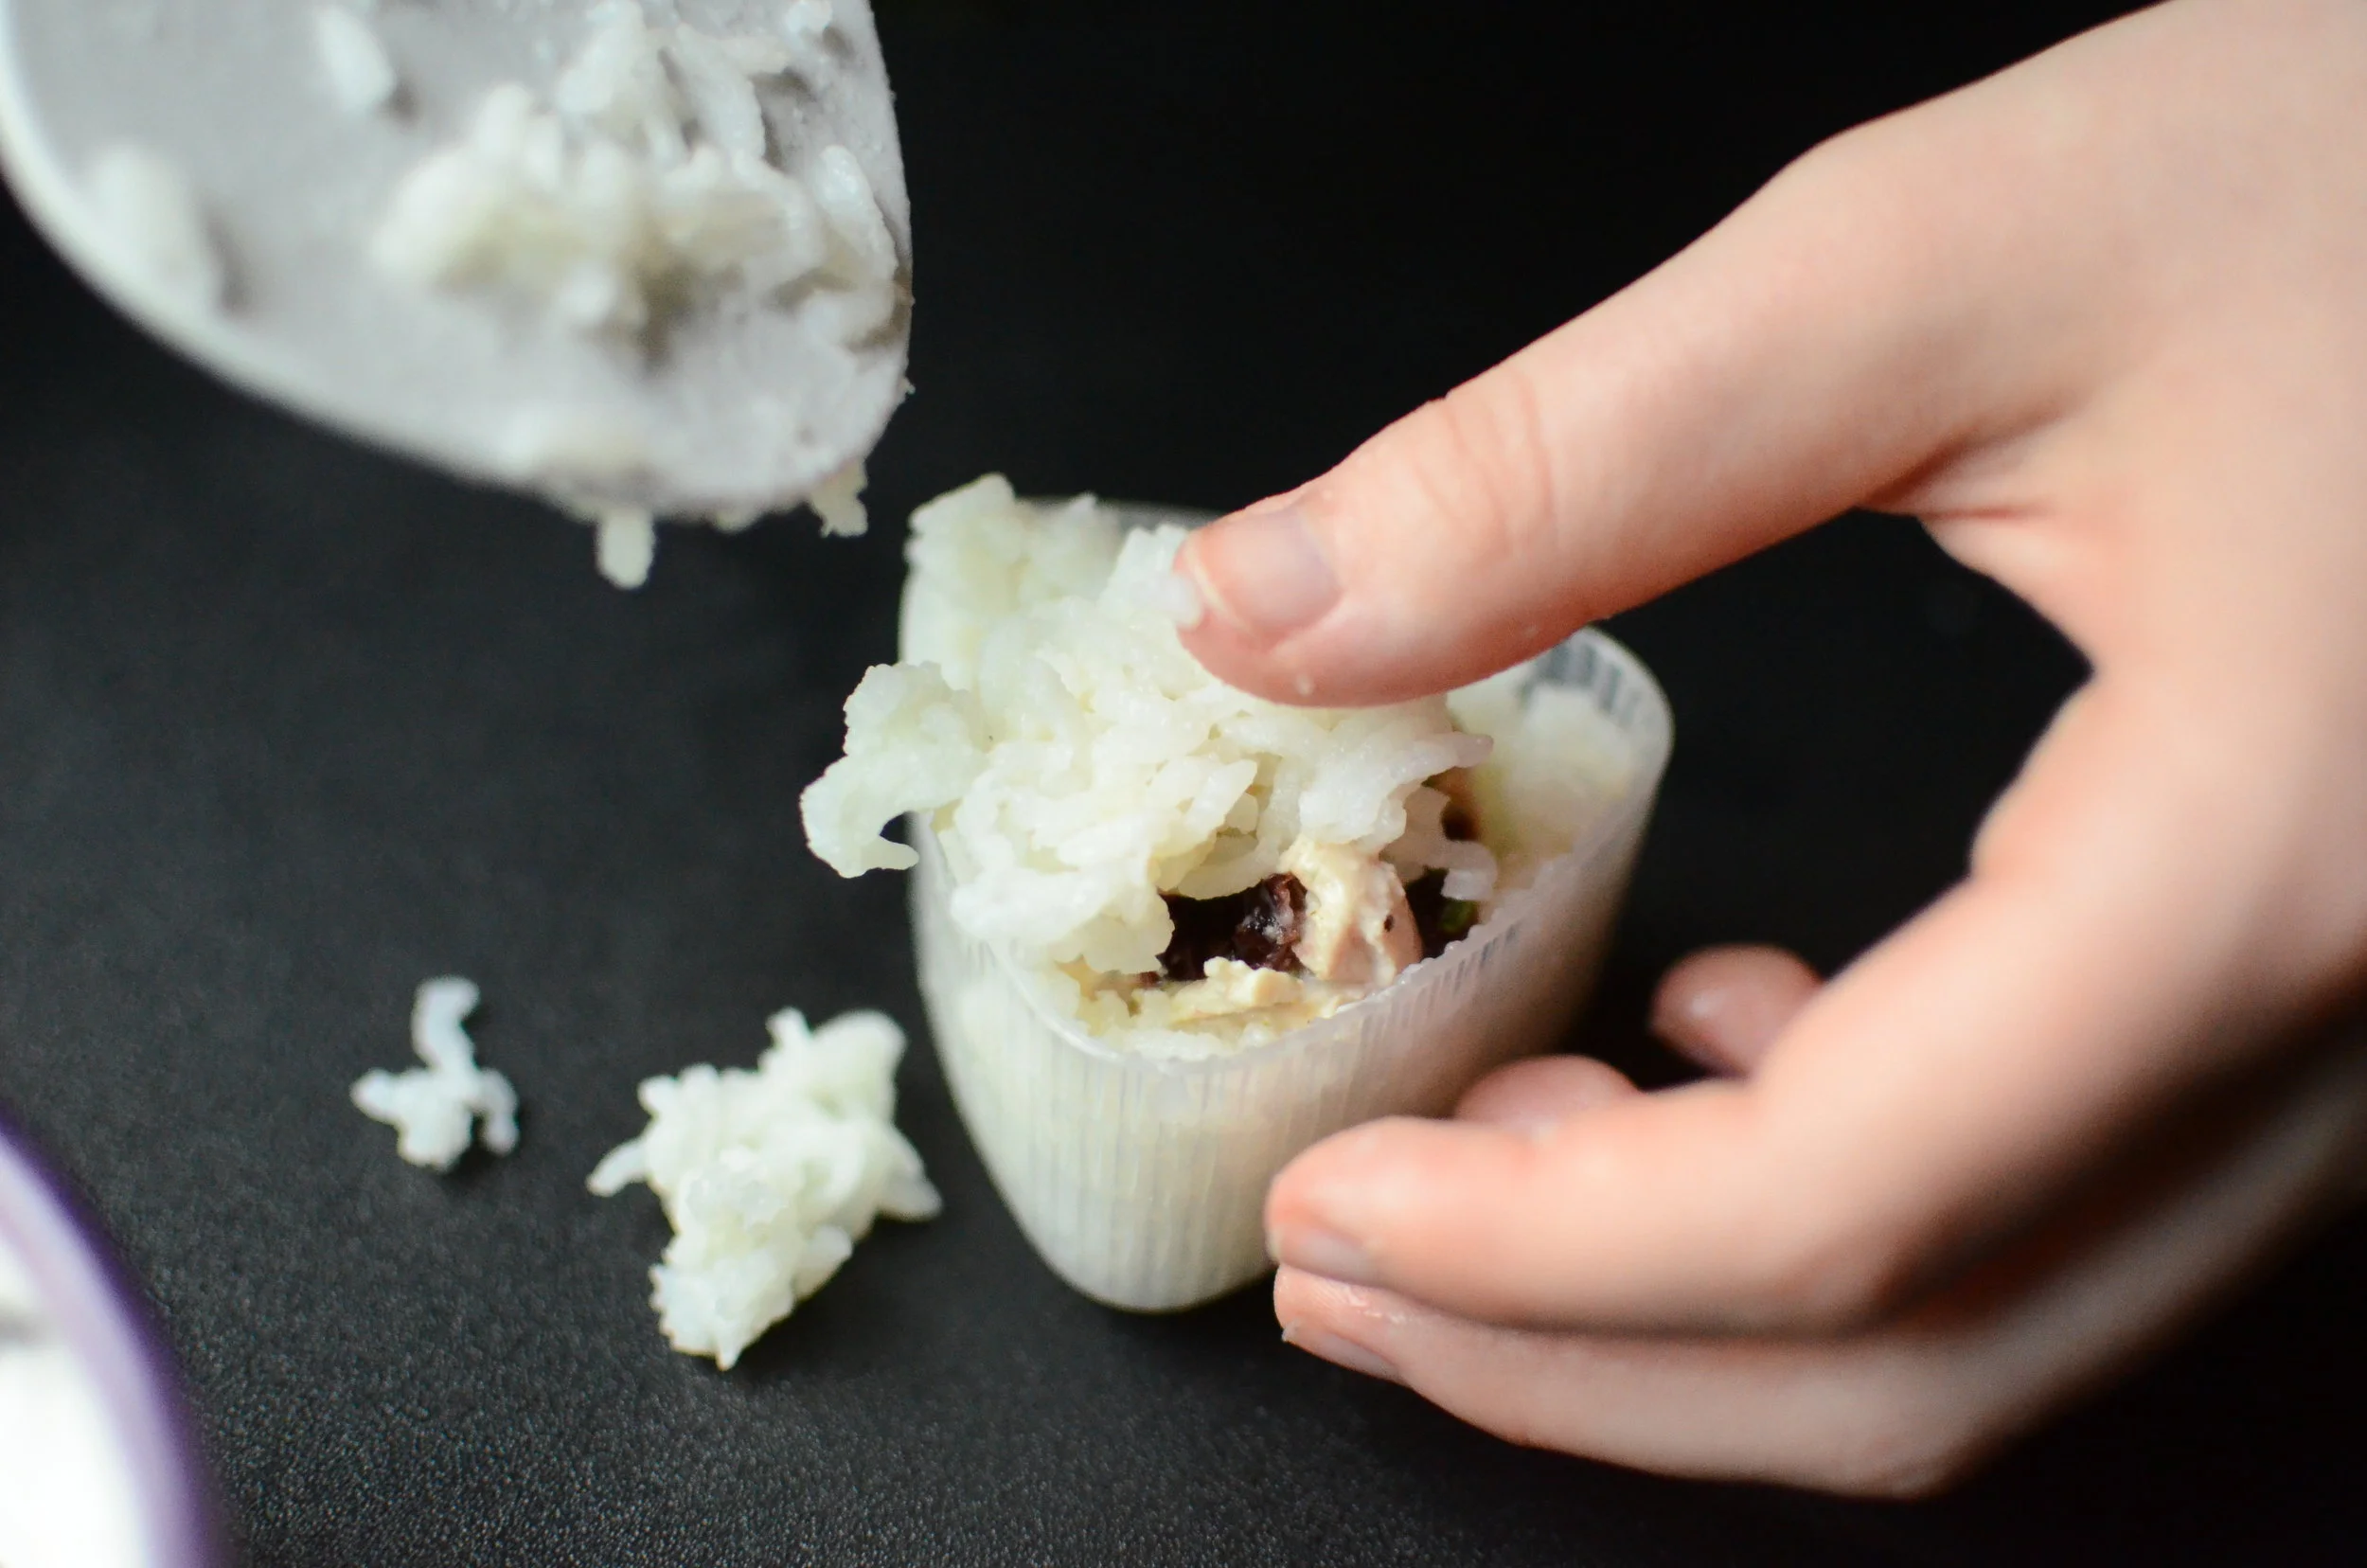
Press a tablespoon or two of rice into the bottom half of an onigiri mold, pressing it across the bottom and up the sides, leaving an indentation for the filling.
Add a tablespoon or so of tuna salad or chicken salad.
Cover the filling with more rice.
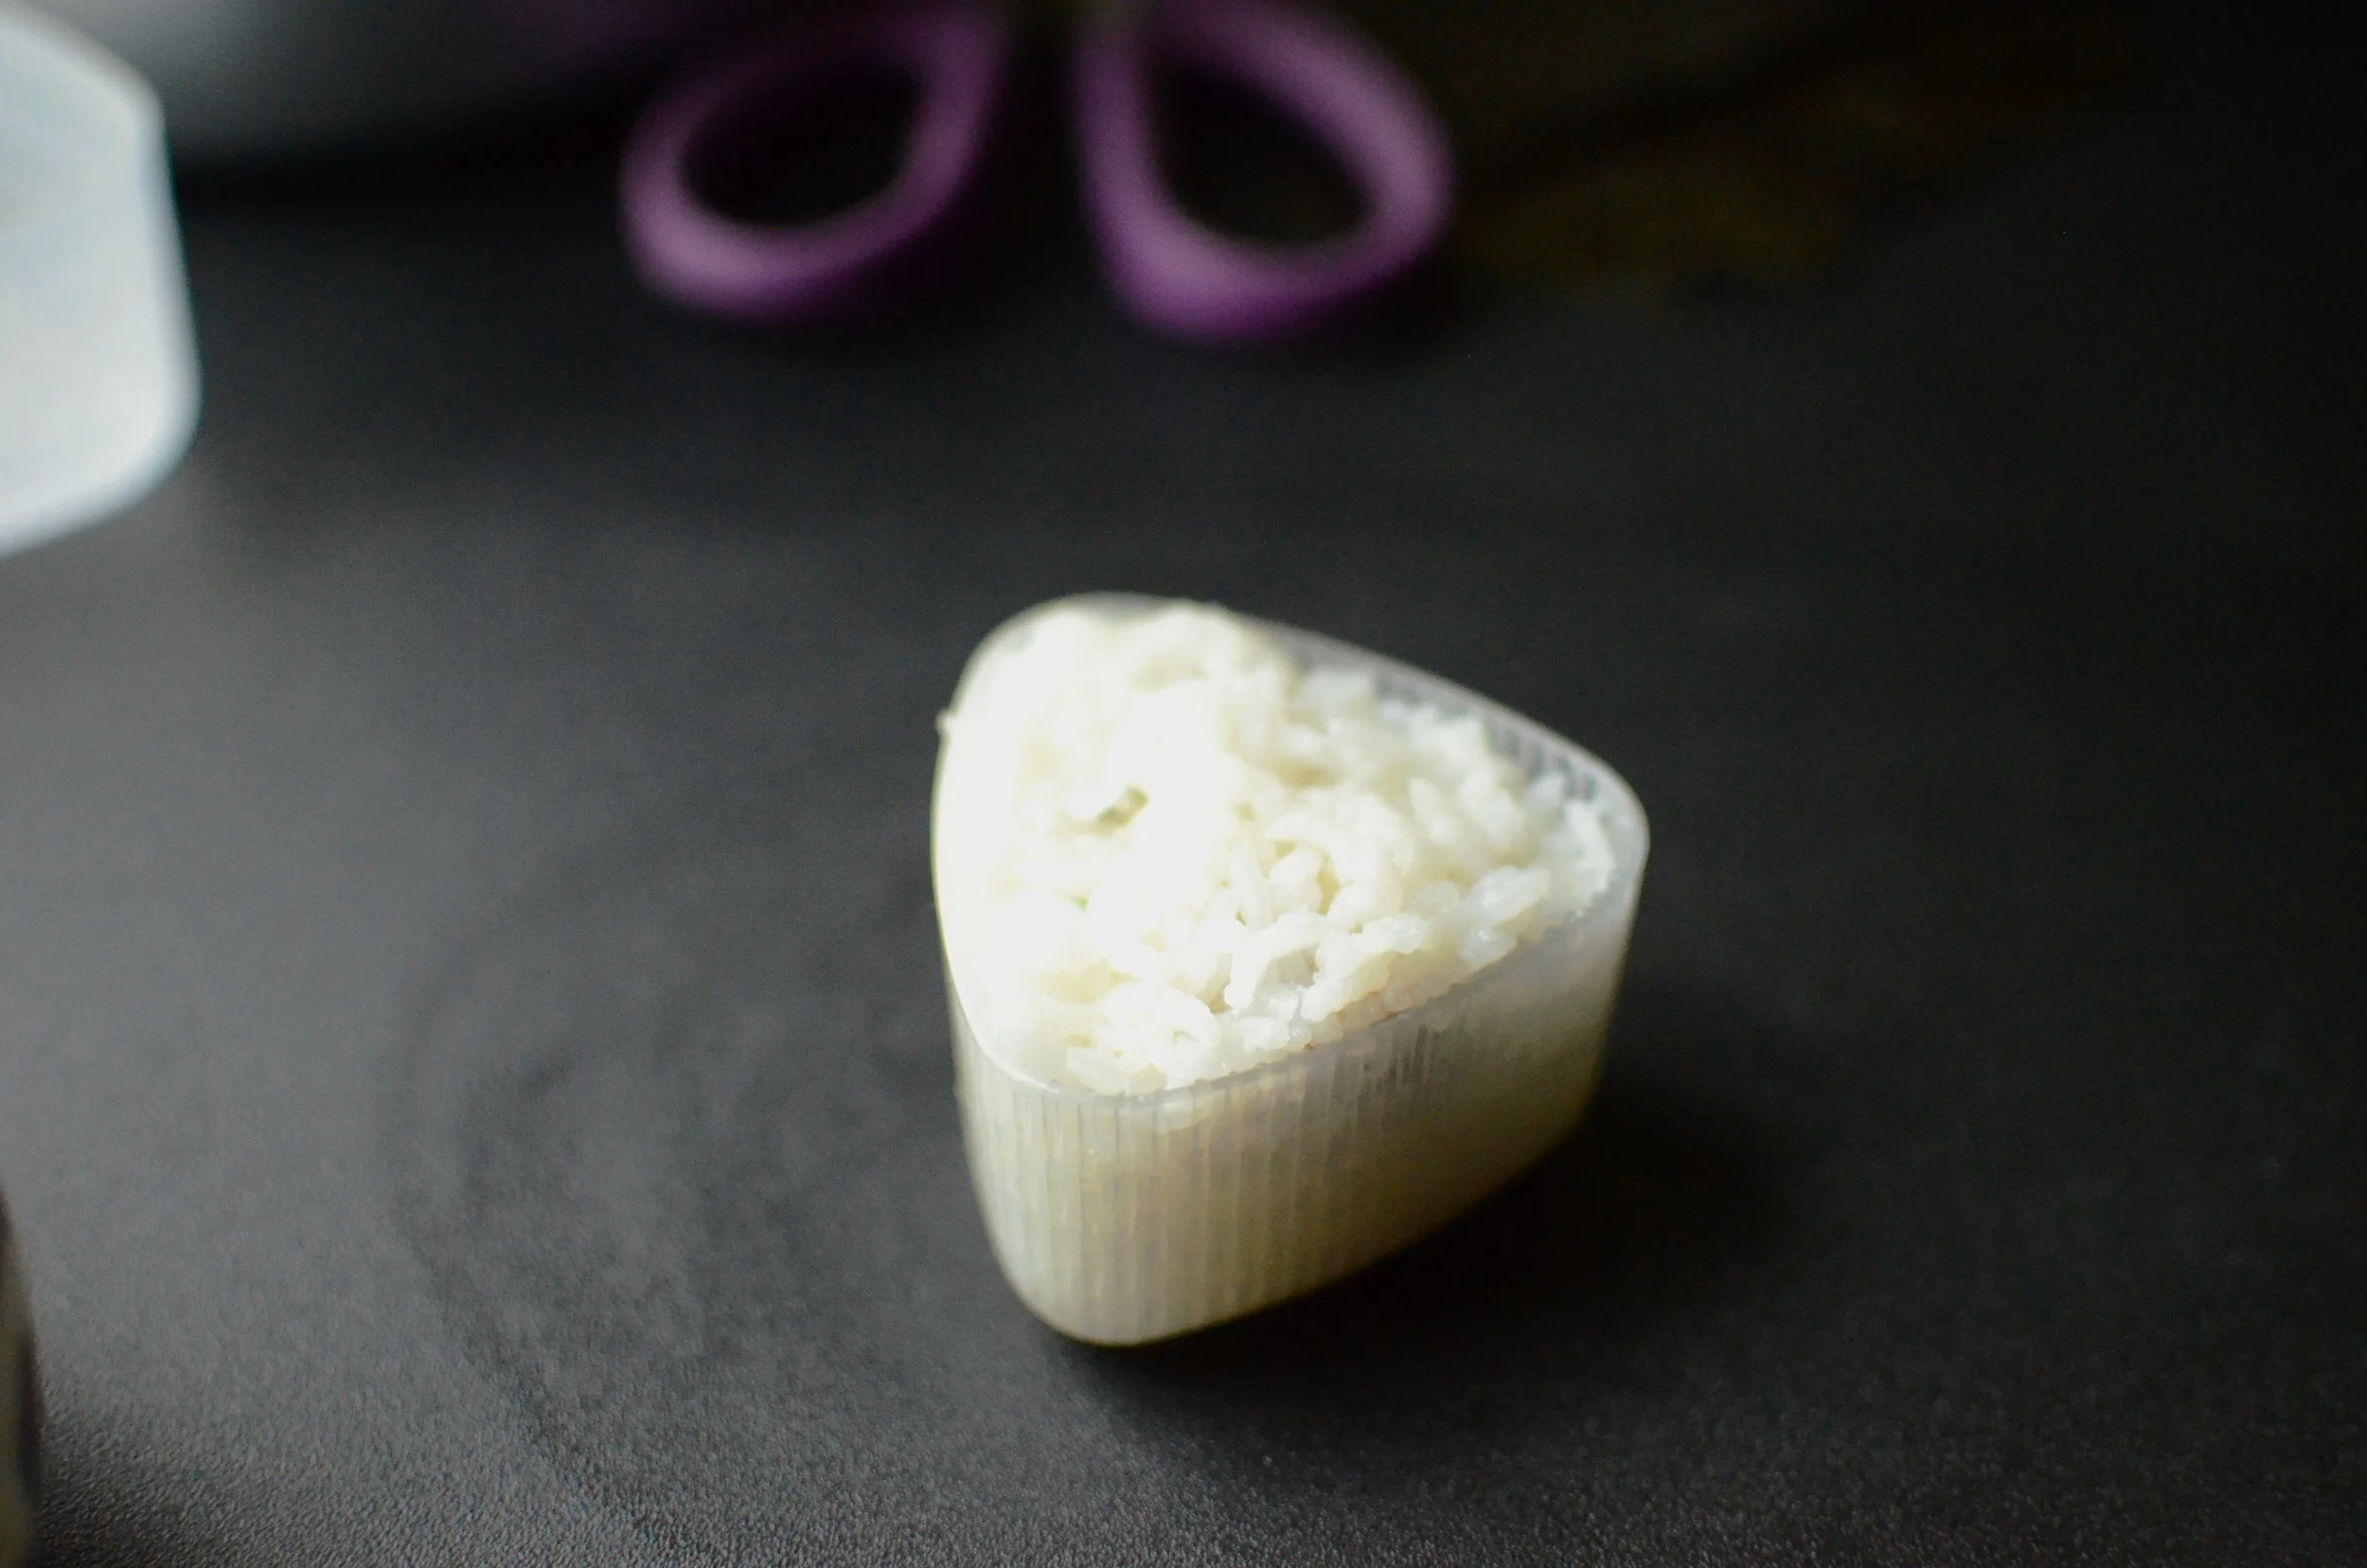
Fill the mold to the top.
Place the lid on top and press gently to squeeze everything together.
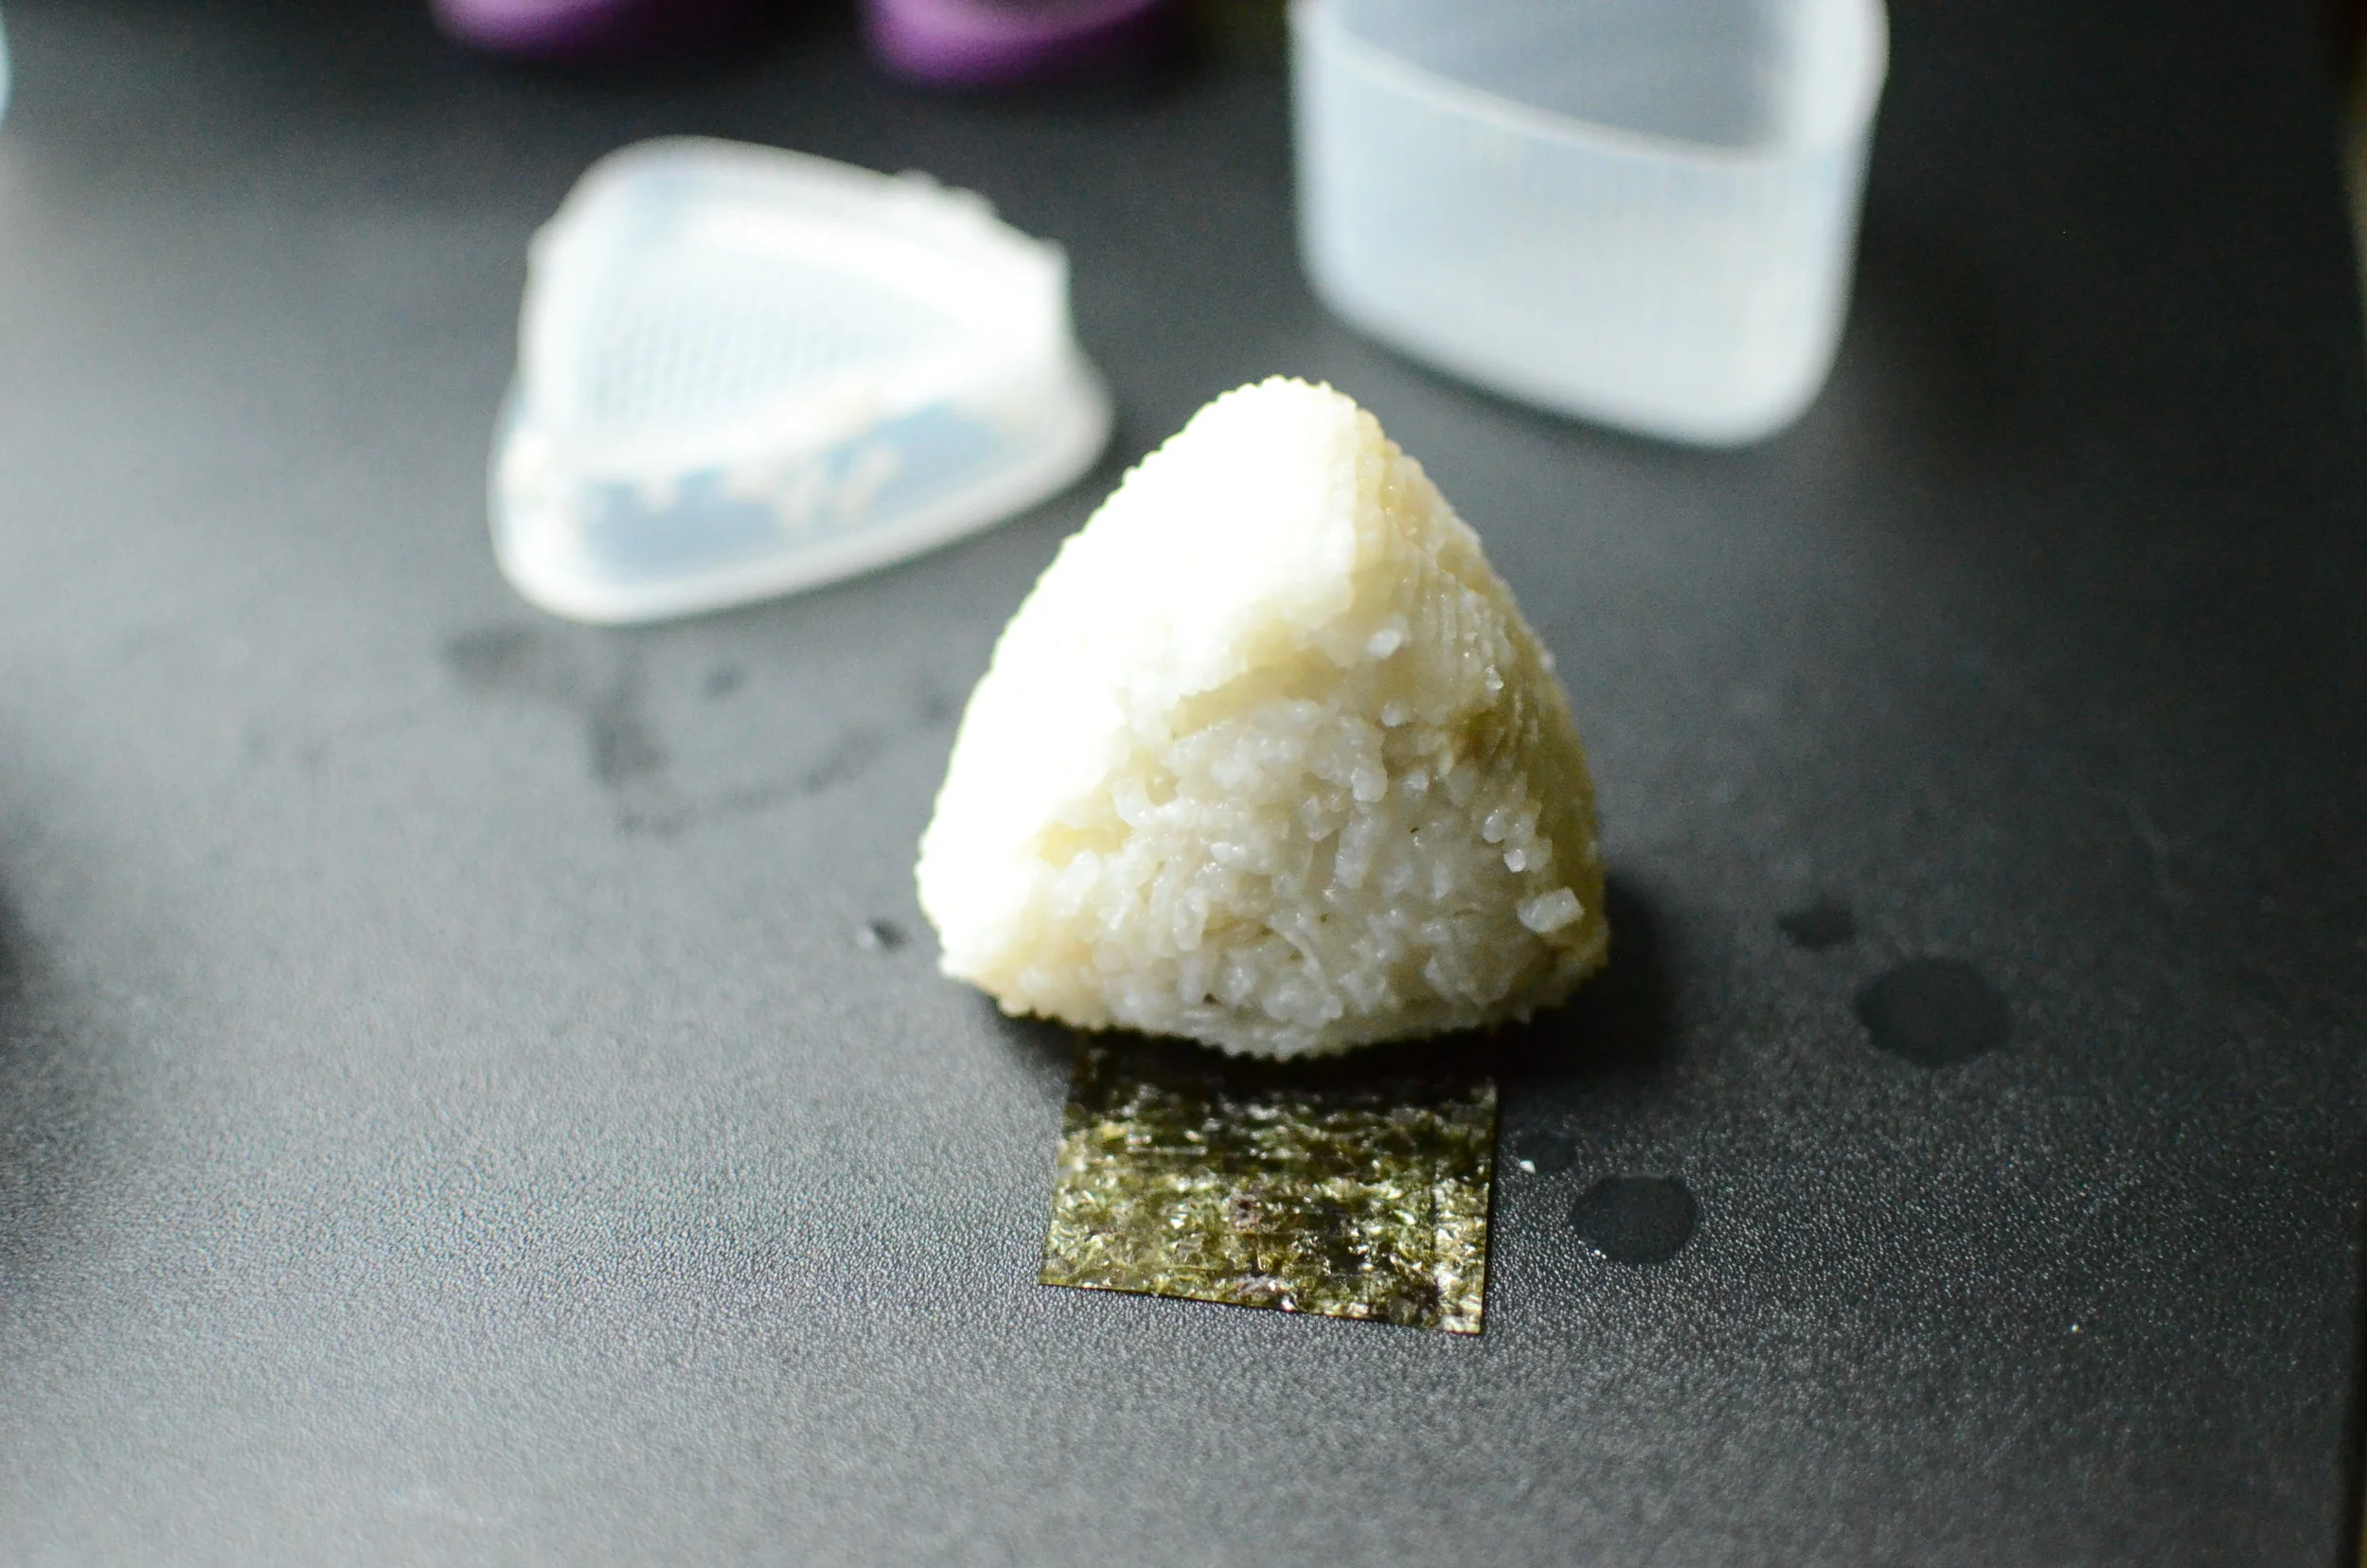
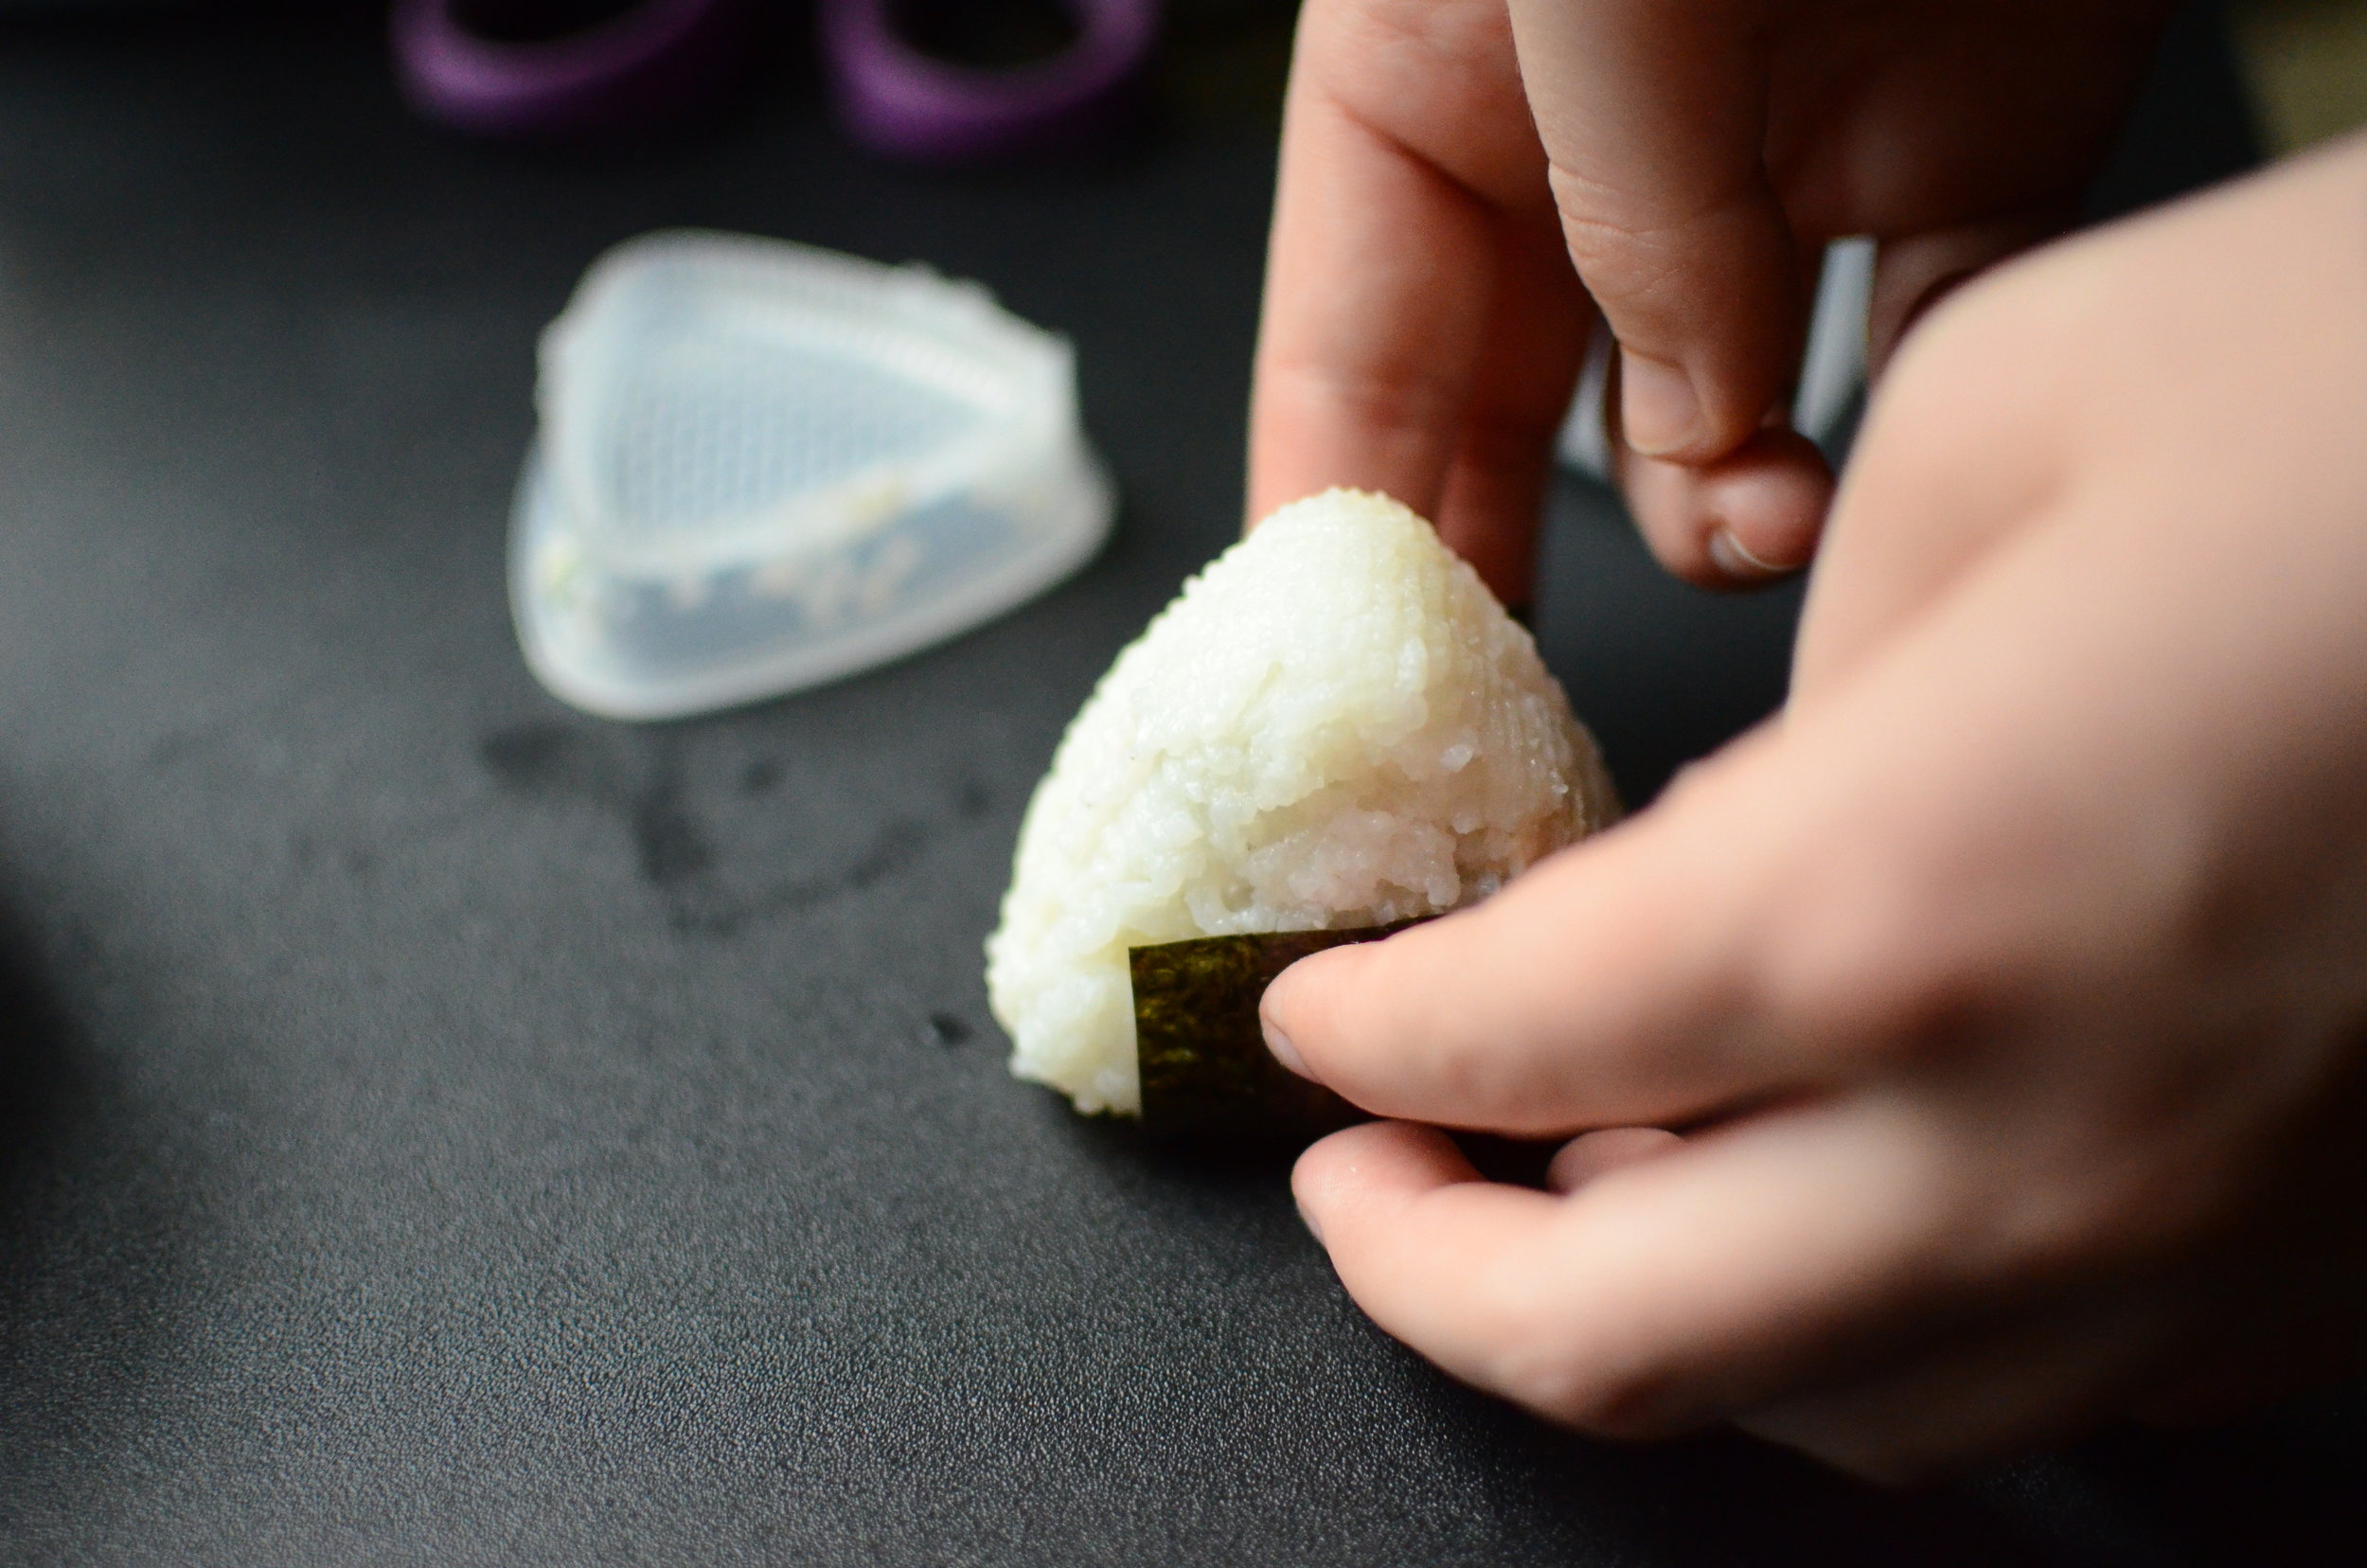
Gently unmold and place formed onigiri on a strip of nori.
Pull the ends of the nori up to wrap the onigiri.
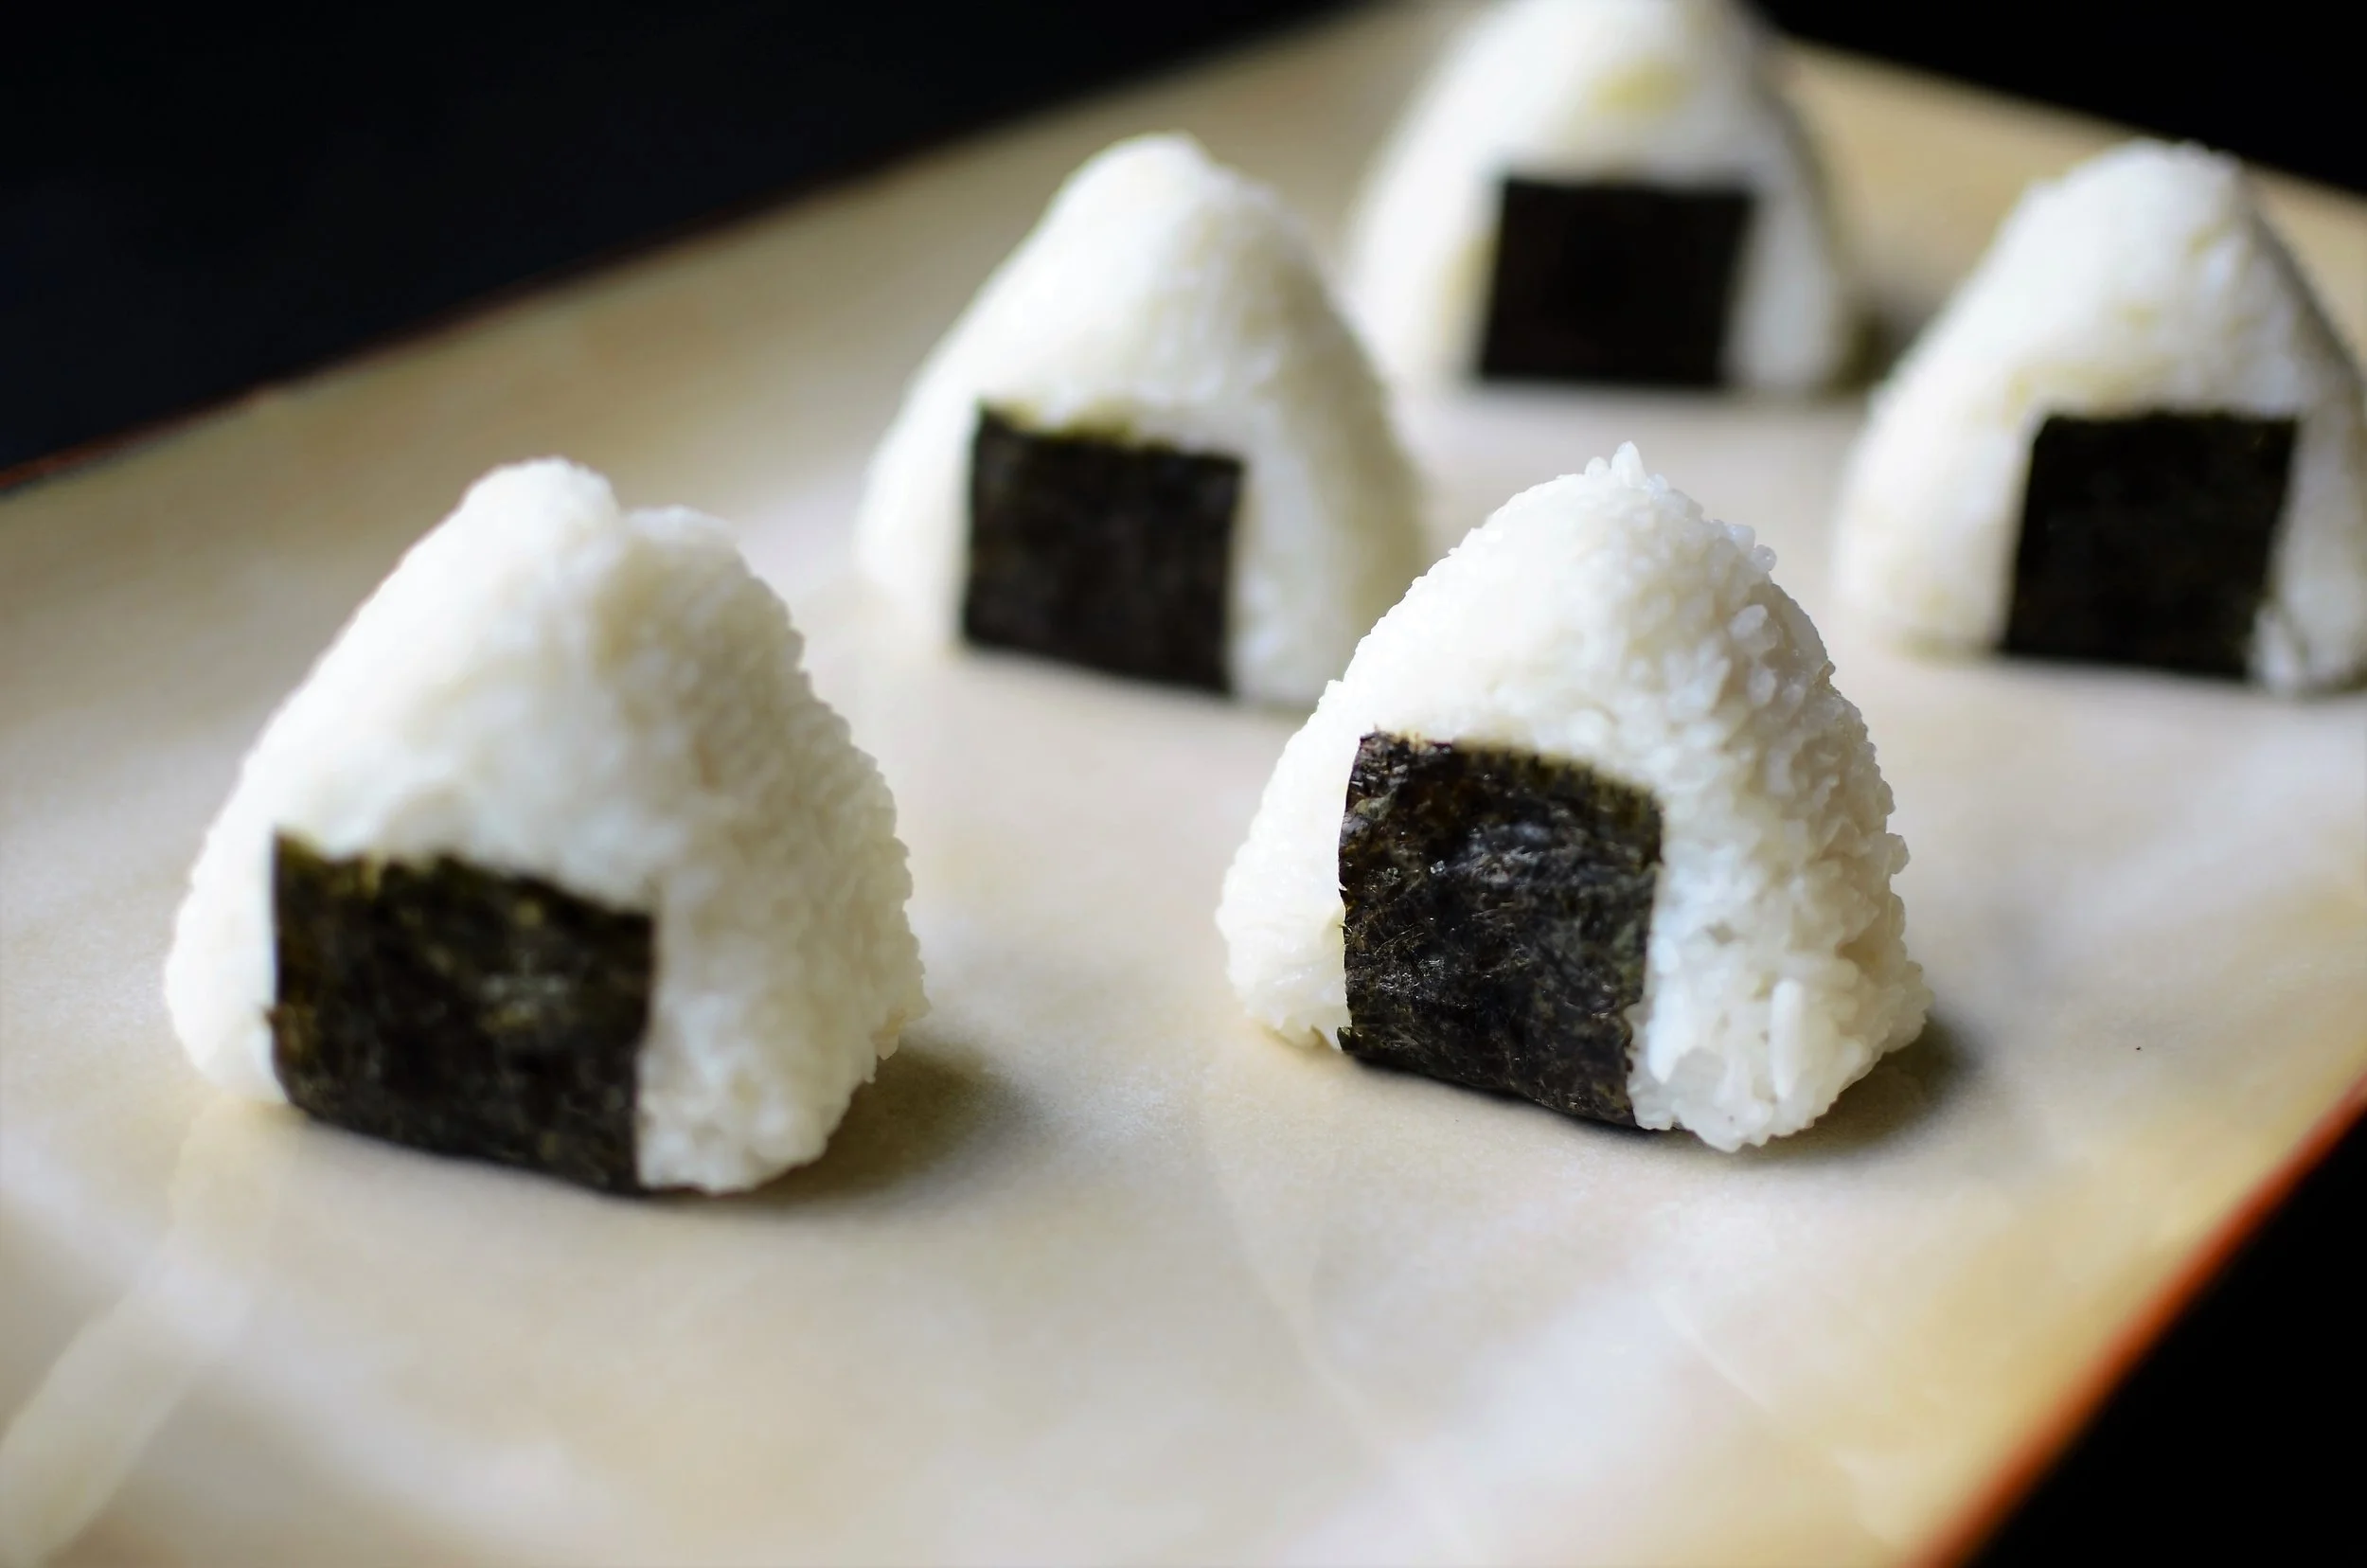
Ta-da! That's all there is to it. Now you're ready to dig in.
Enjoy!
Items used to make this recipe:
(affiliate links)
Rotisserie chicken salad - recipe can be found here
onigiri molds https://amzn.to/3tFrDq6
electric rice cooker https://amzn.to/3hDrUDT
nori sheets (seaweed) https://amzn.to/3PFVs0e
Onigiri
makes 8-12
Ingredients
3 cups cooked sushi rice (or any rice that sticks together when compressed)
1 cup tuna or chicken salad (try my rotisserie chicken salad recipe here)
1 sheet nori seaweed, cut into 1-inch wide strips, then cut each strip in half to make 2 shorter strips (each should be 1-inch wide by 3.5 to 4 inches long).
Directions
Place a few tablespoons of rice in onigiri mold, pressing across the bottom and sides of mold, but leaving an indentation for the filling.
Place a tablespoon of savory filling like tuna salad or chicken salad in center of rice; cover with more rice until mold is filled.
Place lid on mold and gently press to compress rice; remove lid and carefully unmold by pressing the release tab on the back of the mold.
Place nori strip on table, shiny side down, and place onigiri on strip as shown; pull both ends of nori up on each side of the onigiri and serve immediately.
