contact us

Use the form on the right to contact us.

You can edit the text in this area, and change where the contact form on the right submits to, by entering edit mode using the modes on the bottom right.


123 Street Avenue, City Town, 99999

(123) 555-6789

email@address.com


You can set your address, phone number, email and site description in the settings tab.
Link to read me page with more information.

Blog

Butteryum food blog recipes

Filtering by Category: misc

How to Make a Cheese Wheel Wedding Cake

Patricia @ ButterYum

How to Make a Cheese Wheel Wedding Cake - ButterYum. how to make a non traditional wedding cake. how to make your own wedding cake. how to make a wedding cake out of cheese. how to make a wedding cake from wheels of cheese. wedding wheel cheese cake…

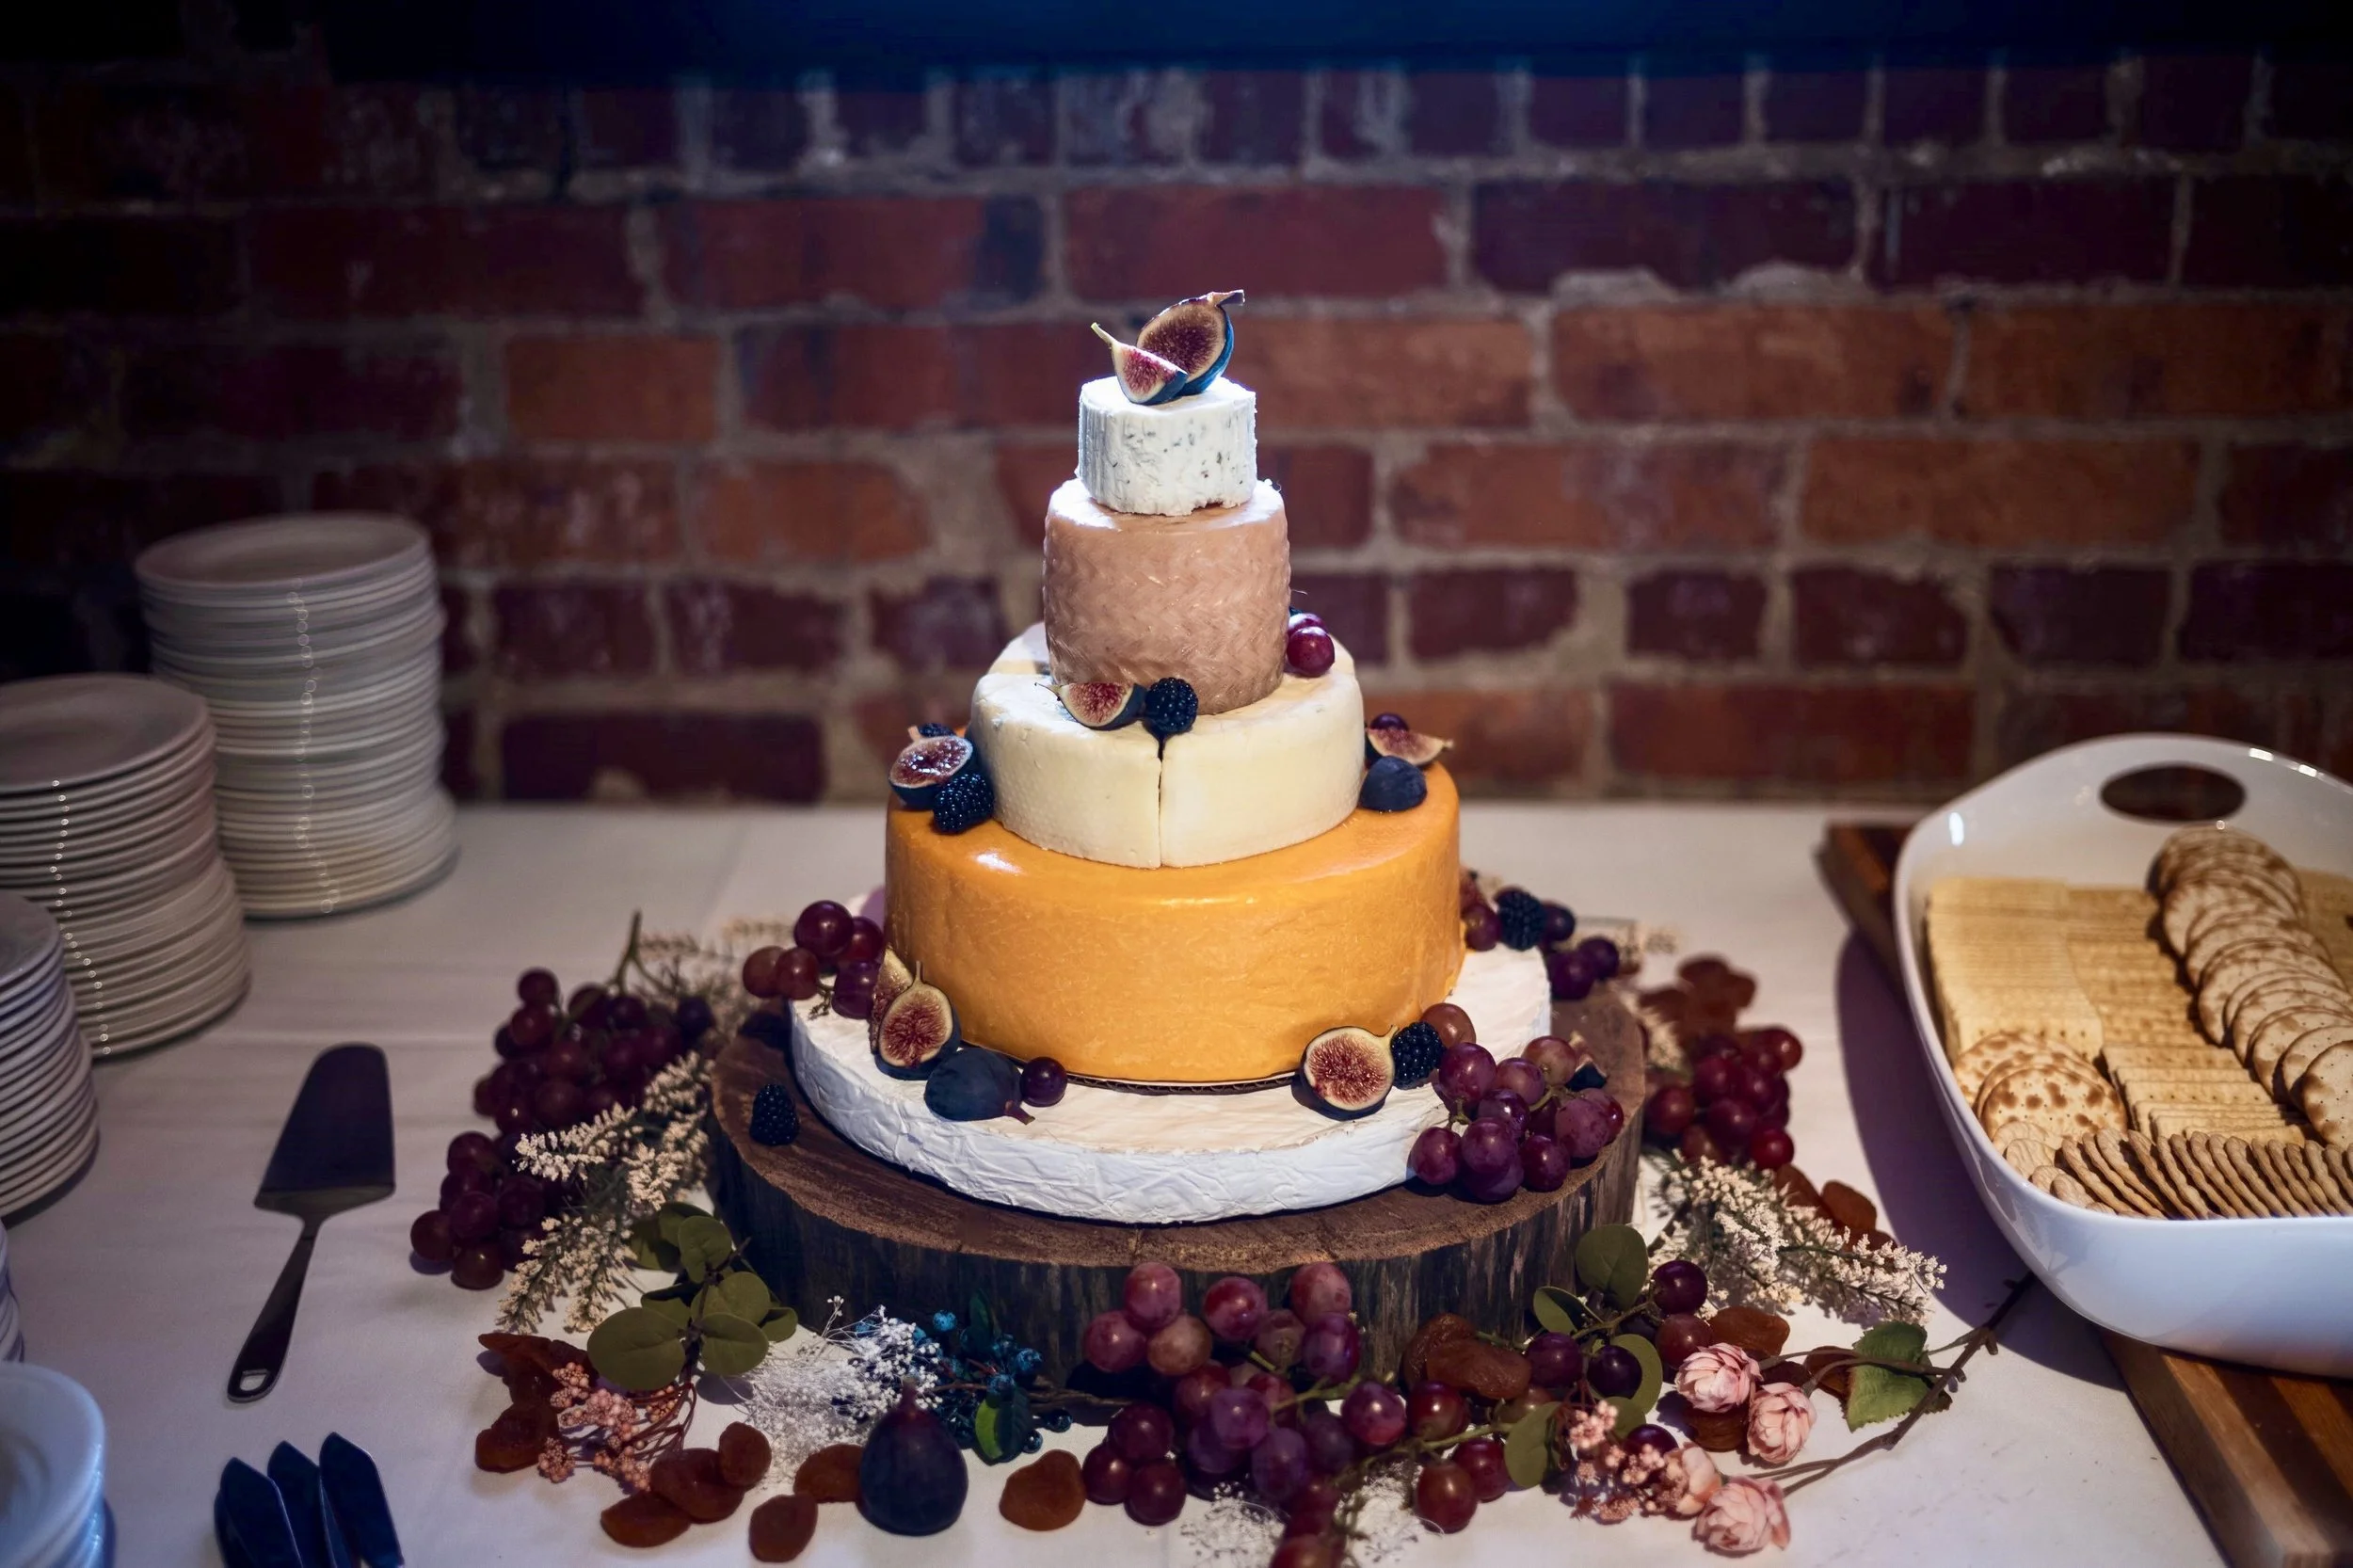
Wedding season is upon us and I thought I’d take this opportunity to share how you can easily make a trendy and elegant, non-traditional Cheese Wheel Wedding Cake, like this one that I made for my daughter and son-in-law’s wedding. Below are things to consider before taking on this easy DIY project.

How Much Cheese Will I Need?

As a general rule, you should plan on 2-4 ounces per guest. For the cake above (which I made for my daughter’s wedding), I knew how cheese crazy our guests were, and I also knew I could easily freeze any cheese that was leftover, so I opted to go with 4 ounces per guest. If you’d like to do the same, follow these amounts as a guideline:

  • 100 guests - 25 pounds of cheese

  • 125 guests - 32 pounds of cheese

  • 150 guests - 38 pounds of cheese

  • 175 guests - 44 pounds of cheese

  • 200 guests - 50 pounds of cheese

  • 250 guests - 64 pounds of cheese


What Size Cheeses Wheels Should I Get?

From a design standpoint, the height of each cheese wheel isn’t as important as the diameter. You’ll notice in the “cake” I made (shown at the top of this post), the height of each wheel varies greatly, but the diameter of each progresses in the same way the tiers of a traditional wedding cake do. If you don’t have a specialty cheese store in your area, here are some options you can order from amazon:

  • 3-inch diameter Boursin (5 oz) - HERE

  • 4-inch diameter P’Tit Basque (1 lb) - HERE

  • 6-inch diameter Cheddar (3 lbs) - HERE

  • 8-inch diameter Manchego (7 lbs) - HERE

  • 9-inch diameter Reggianito (10 lbs) - HERE

  • 10-inch diameter French Raclette (7 lbs) - HERE

  • 10-inch diameter Reggianito (15 lbs) - HERE

  • 12-inch diameter Brie (7 lbs) - HERE

  • 13-inch diameter Jarlsburg (24 lbs) - HERE


Can I Use Half Wheels or Wedges?

You sure can! I was unable to find a whole wheel that was the right diameter to work as the middle tier for my “cake”, but if you look closely, you can see I faked one by placing 4 wedges of artisan bleu cheese together to simulate a whole wheel. The same could be done with half wheels.


How Do I Stack the Wheels?

It’s actually easier than you might think. Just make sure the top of each wheel is flat (you can trim with a sharp knife if they’re a bit domed). For hard and semi-hard cheese wheels, simply stack them on top of each other. For softer wheels, cut wooden skewers to act as internal supports (see below).

DSC_4493.JPG
supports.for.stacked.cheese.cake
DSC_4495.JPG

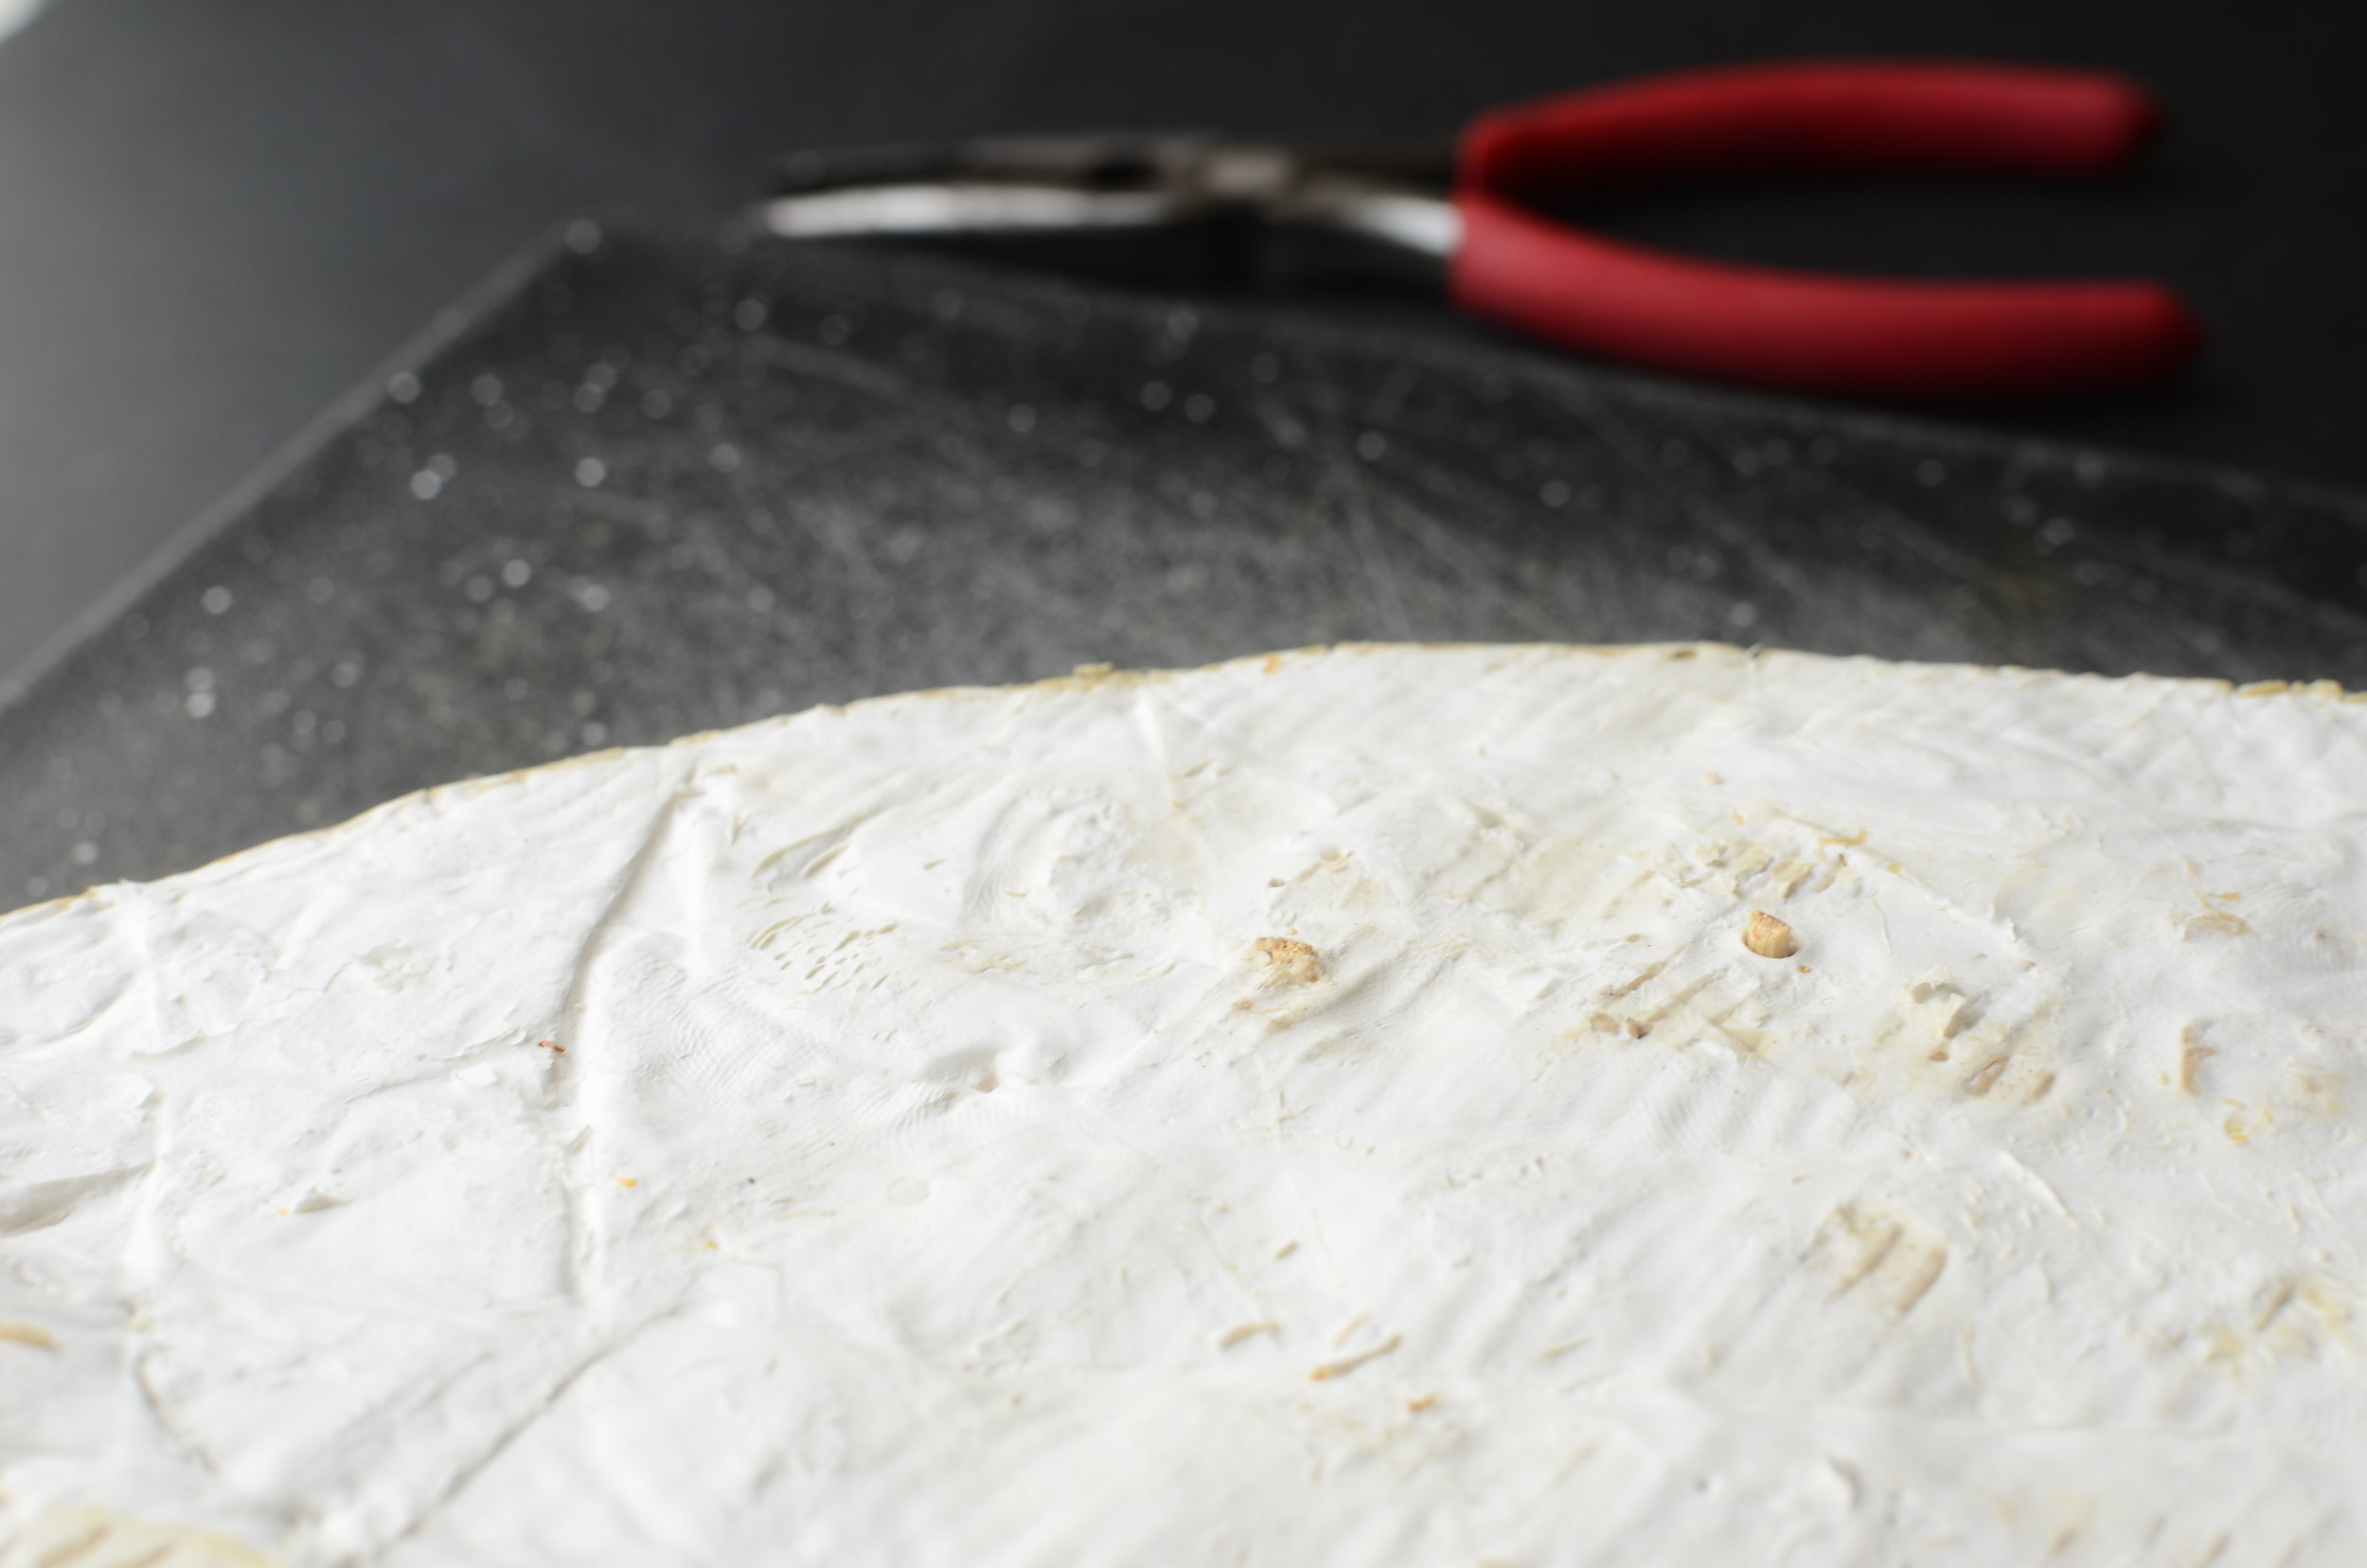
For this soft wheel of brie that was the large bottom tier of my Cheese Wheel Wedding Cake, I inserted wooden skewers, every few inches, to act as internal supports. I cut the skewers flush with the top of the brie, using a pair of wire cutters. Then I topped the brie with a cardboard cake round that was about the same size as the next wheel of cheese in the stack (to help distribute the weight of all the tiers that were going to sit on top).


How Do I Cut the Wheels?

Soft cheeses can be cut with a standard knife, but large tiers and hard cheeses are much easier to cut with a double handled knife designed for cutting wheels of cheese. I have this one and it worked great! (affiliate links)

The blade is 15-inches long so it’s good for slicing pizza and large cakes too.


How to Decorate the “Cake”?

decorating-cheese-wheel-wedding-cake

I absolutely love the how a stack of cheese looks displayed on a rustic, bark-covered wood slab (aka a slice or round). I used a large slab of black walnut.

And just like I would decorate a cheese board, I added fresh figs, grapes, blackberries, and dried apricots to decorate my tower of cheese. Florals and herbs sprinkled around the base were a nice touch as well. A variety of nuts would also work nicely.


How to Serve the Cheese?

Cheese is best served at room temperature so be sure the “cake” is set up and allowed to temper for several hours ahead of time. Have plenty of fruits, nuts, and crackers to serve along side.

We served our “cake” during the cocktail hour before dinner so it served as our appetizer course.


What About REAL Cake?

chocolate-biscoff-wedding-cake-butteryum

Anything goes these days so it certainly isn’t necessary to serve real cake in addition to the Cheese Wheel Wedding Cake, but we opted to have large sheet cakes that the kitchen staff cut behind the scenes. After dinner the staff presented guests with plated slices. If you’re interested in a scaled down version of the chocolate cake pictured - here’s a link . (affiliate link)

So there you have it - everything you need to consider when considering a Cheese Wheel Wedding Cake. Feel free to drop me a line if you have any questions. Enjoy!
Oatmeal Dinner Rolls w/Honey Butter

Patricia @ ButterYum

Oatmeal Dinner Rolls - ButterYum. easy dinner rolls recipe. soft dinner roll recipe. how to make dinner rolls from scratch. the best dinner rolls. oatmeal bread recipe. scratch dinner rolls. billowy dinner rolls. sweet dinner roll recipe.

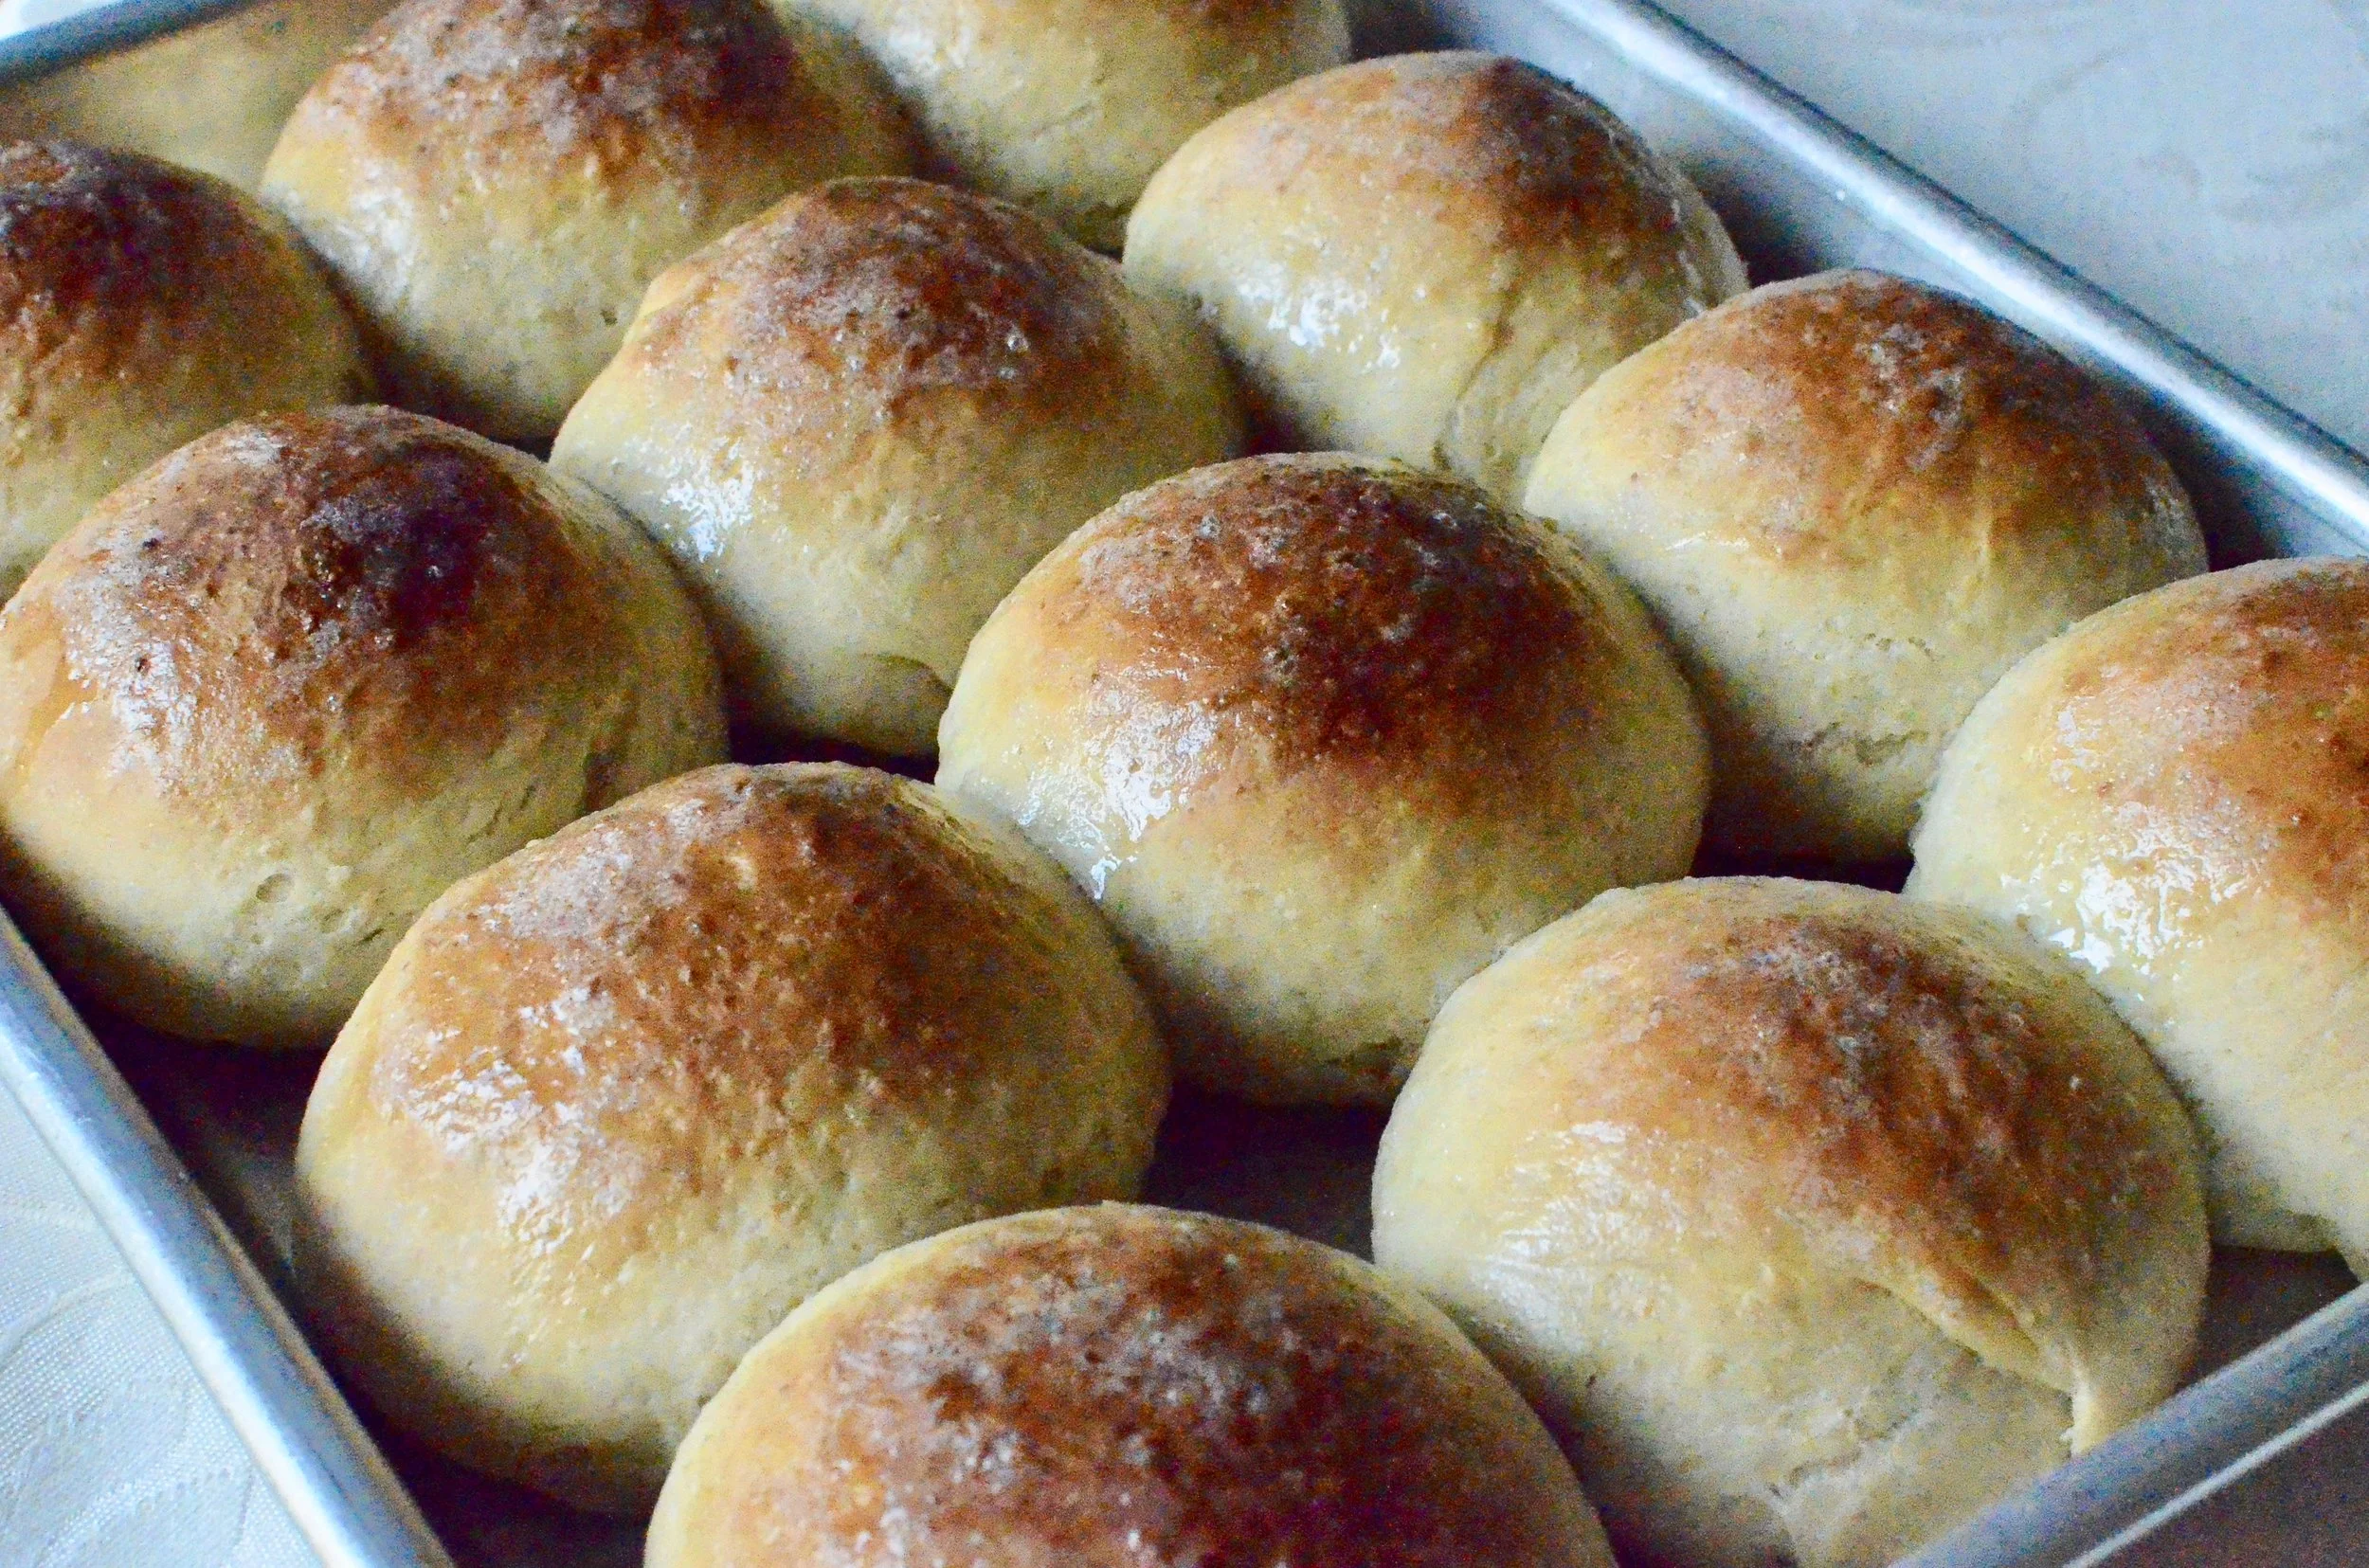
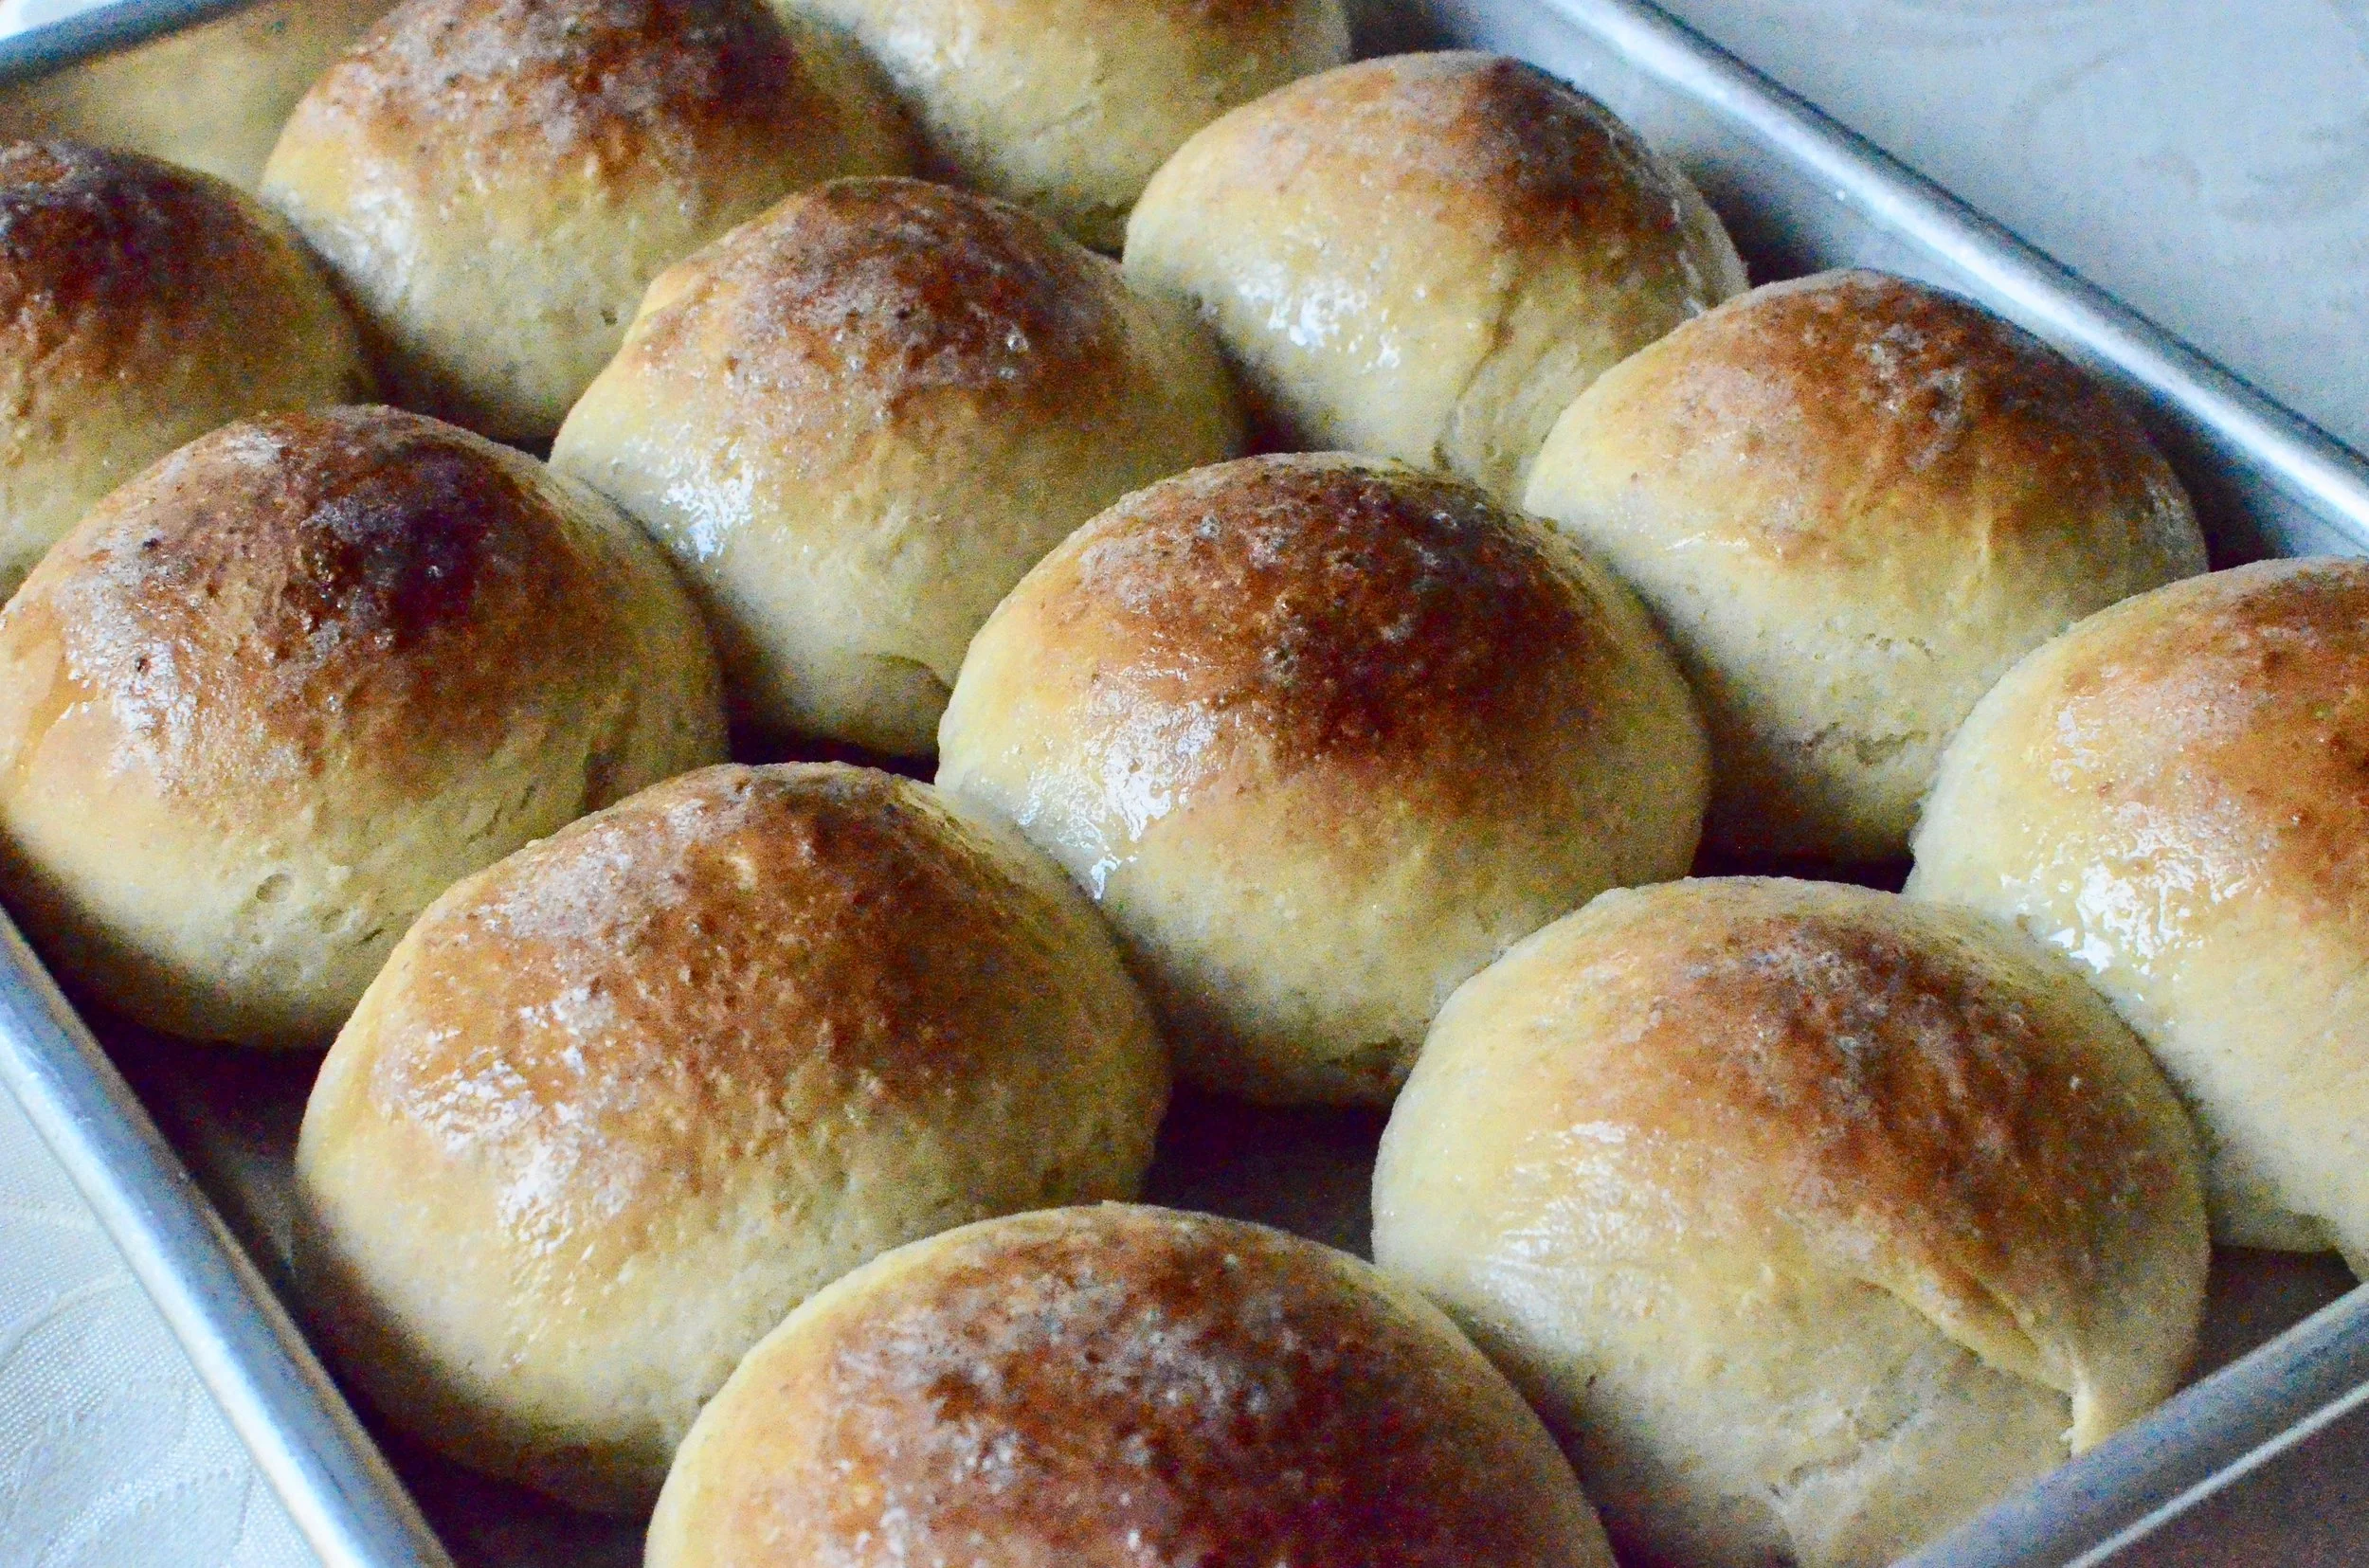
This dinner roll recipe was given to me by a very good friend. She got the original recipe from a magazine, but tweaked it a bit to her liking. She said this one recipe alone was worth all the years she paid to subscribe to the magazine - lol. Anyway, I don’t know how she tweaked the recipe, but it’s perfect. The rolls are soft, billowy, and just slightly sweet like a good dinner roll should be. We especially like to eat them while they’re still warm, slathered with homemade honey butter.

Disclaimer: My photos for this post aren’t as sharp as usual. I had been messing with my camera settings one evening and completely forgot to reset them during this shoot the next day. Normally I would reshoot the photos, but I had been promising this recipe to my newsletter subscribers for a couple of months, and now that we’re eating low-carb, I probably won’t make it again until next year so, against my better judgement, I’m posting them as-is because I know many of my blog visitors find step-by-step photos helpful. Thanks for understanding!

dry-oats

This amazing roll recipe starts with old fashioned oats….

brown-sugar-butter

As well as salt, butter, and brown sugar.

making-oatmeal-dinner-rolls-butteryum

The oats are cooked in boiling water for a full minute…

how-to-make-soft-dinner-rolls-butteryum

I love watching oats plump up as they cook.

making-oatmeal-dinner-roll-dough-butteryum

Then the oat mixture is removed from the heat so the salt, butter, and brown sugar can be stirred in.

oatmeal-dinner-roll-recipe-butteryum

Set the oatmeal mixture aside for now.

yeast-dinner-rolls-butteryum

In the bowl of a stand mixer, combine warm water and instant yeast (bread machine or quick/rapid-rise yeast can be substituted).

mixing-oatmeal-dinner-roll-recipe-butteryum

Add the oatmeal mixture to the bowl…

oatmeal-dinner-roll-batter-butteryum

Stir to combine.

DSC_7153.JPG

Next add the first portion of all purpose flour.

mixing-dinner-rolls-with-dough-hook-butteryum

Using the dough hook, mix until it’s almost fully incorporated.

DSC_7156.JPG

Add the remaining addition of flour and mix until combined.

oatmeal-dinner-roll-dough-butteryum

After the 2nd mixing, the dough should look like this.

kneading-dinner-roll-dough-butteryum

Continue kneading for 6 minutes until the dough looks like this. Place dough in a covered, oiled bowl and allow to rise for 1 hour (this is an excellent time to pull out your bread proofing box - otherwise, place in a warm, draft-free place).

Divide dough into 12 portions and roll each into a dinner roll using a cupped hand (fingers curved down towards your work surface). Place the rolls evenly on an oiled quarter sheet pan; cover with oiled plastic wrap and rise for 45-60 additional minutes, then bake until golden brown. Enjoy!

Items used to make this recipe:

(affiliate links)


Oatmeal Dinner Rolls

makes 12 dinner rolls

Printable Recipe

Ingredients

  • 1 cup water

  • 1/2 cup quick cooking oats

  • 1 1/2 tablespoons unsalted butter

  • 1/3 cup light brown sugar

  • 3/4 teaspoon table salt

  • 3 tablespoons warm water (105-115F)

  • 2 1/4 teaspoon instant yeast (aka bread machine, quick, or rapid rise yeast)

  • 2 1/2 - 3 cups all purpose flour

  • optional: melted butter

Directions

  1. In a small saucepan, bring water to a boil; add quick cooking oats and cook, stirring constantly, for 1 full minute, then remove from heat.

  2. Stir in butter, brown sugar, and salt; set aside to cool for at least 30 minutes.

  3. In the bowl of a stand mixer, combine 3 tablespoons warm water, yeast, and oatmeal mixture; stir to combine.

  4. Using the dough hook, add 1 1/2 cups of flour and knead on speed 2 stir until combined.

  5. Turn off the mixer and add another 1 cup of flour; turn mixer on speed 2 and knead for 6 minutes (dough should clean the sides of the bowl after the flour is fully incorporated - if not, slowly add up to 1/2 cup more flour).

  6. Remove bowl from stand mixer and remove dough hook from dough; cover bowl and allow dough to rise until it doubles, about 1 hour.

  7. Divide dough into 12 equal portions and shape each into a roll; place rolls on a greased quarter sheet pan, cover with oiled plastic wrap, and rest for 30 minutes.

  8. Preheat oven to 350F and place rack in center position.

  9. Bake rolls, uncovered, for 20-25 minutes.

  10. Optional: brush tops with melted butter after removing from oven.

Note

  • Rolls can be formed and frozen before baking. Thaw/rise on counter for 4 hours, then bake at 350F for 20-25 minutes.

Homemade Honey Butter

makes 12 servings

Ingredients

Directions

  1. Place the butter, honey, and vanilla bean paste in a small mixing bowl and whip until combined with a hand mixer.

Notes