contact us

Use the form on the right to contact us.

You can edit the text in this area, and change where the contact form on the right submits to, by entering edit mode using the modes on the bottom right.


123 Street Avenue, City Town, 99999

(123) 555-6789

email@address.com


You can set your address, phone number, email and site description in the settings tab.
Link to read me page with more information.

Blog

Butteryum food blog recipes

Filtering by Category: snack recipes

Cheesy Spinach Egg Cups

Patricia @ ButterYum

Cheesy Spinach Egg Cups - ButterYum

These Cheesy Spinach Egg Cups may be small in size, but they're big on flavor! They're completely addictive and we can't stay away from them,  I served them at a large gathering recently. Afterward, while I was putting away the leftovers, a young man approached to tell me how much he loved them and asked if he could take the leftovers home. Apparently he didn’t cook much for himself, so I was happy to pack them up for him. Anyway, here's how they’re made.

Start by preparing a mini muffin pan by spraying it with Baker's Joy.  

Next we'll melt some butter in a skillet and add the spinach, salt, pepper, and dried marjoram.

Saute, stirring frequently, until the spinach is dry and starts to brown a bit.  

Remove the spinach from the skillet and allow it to cool completely.

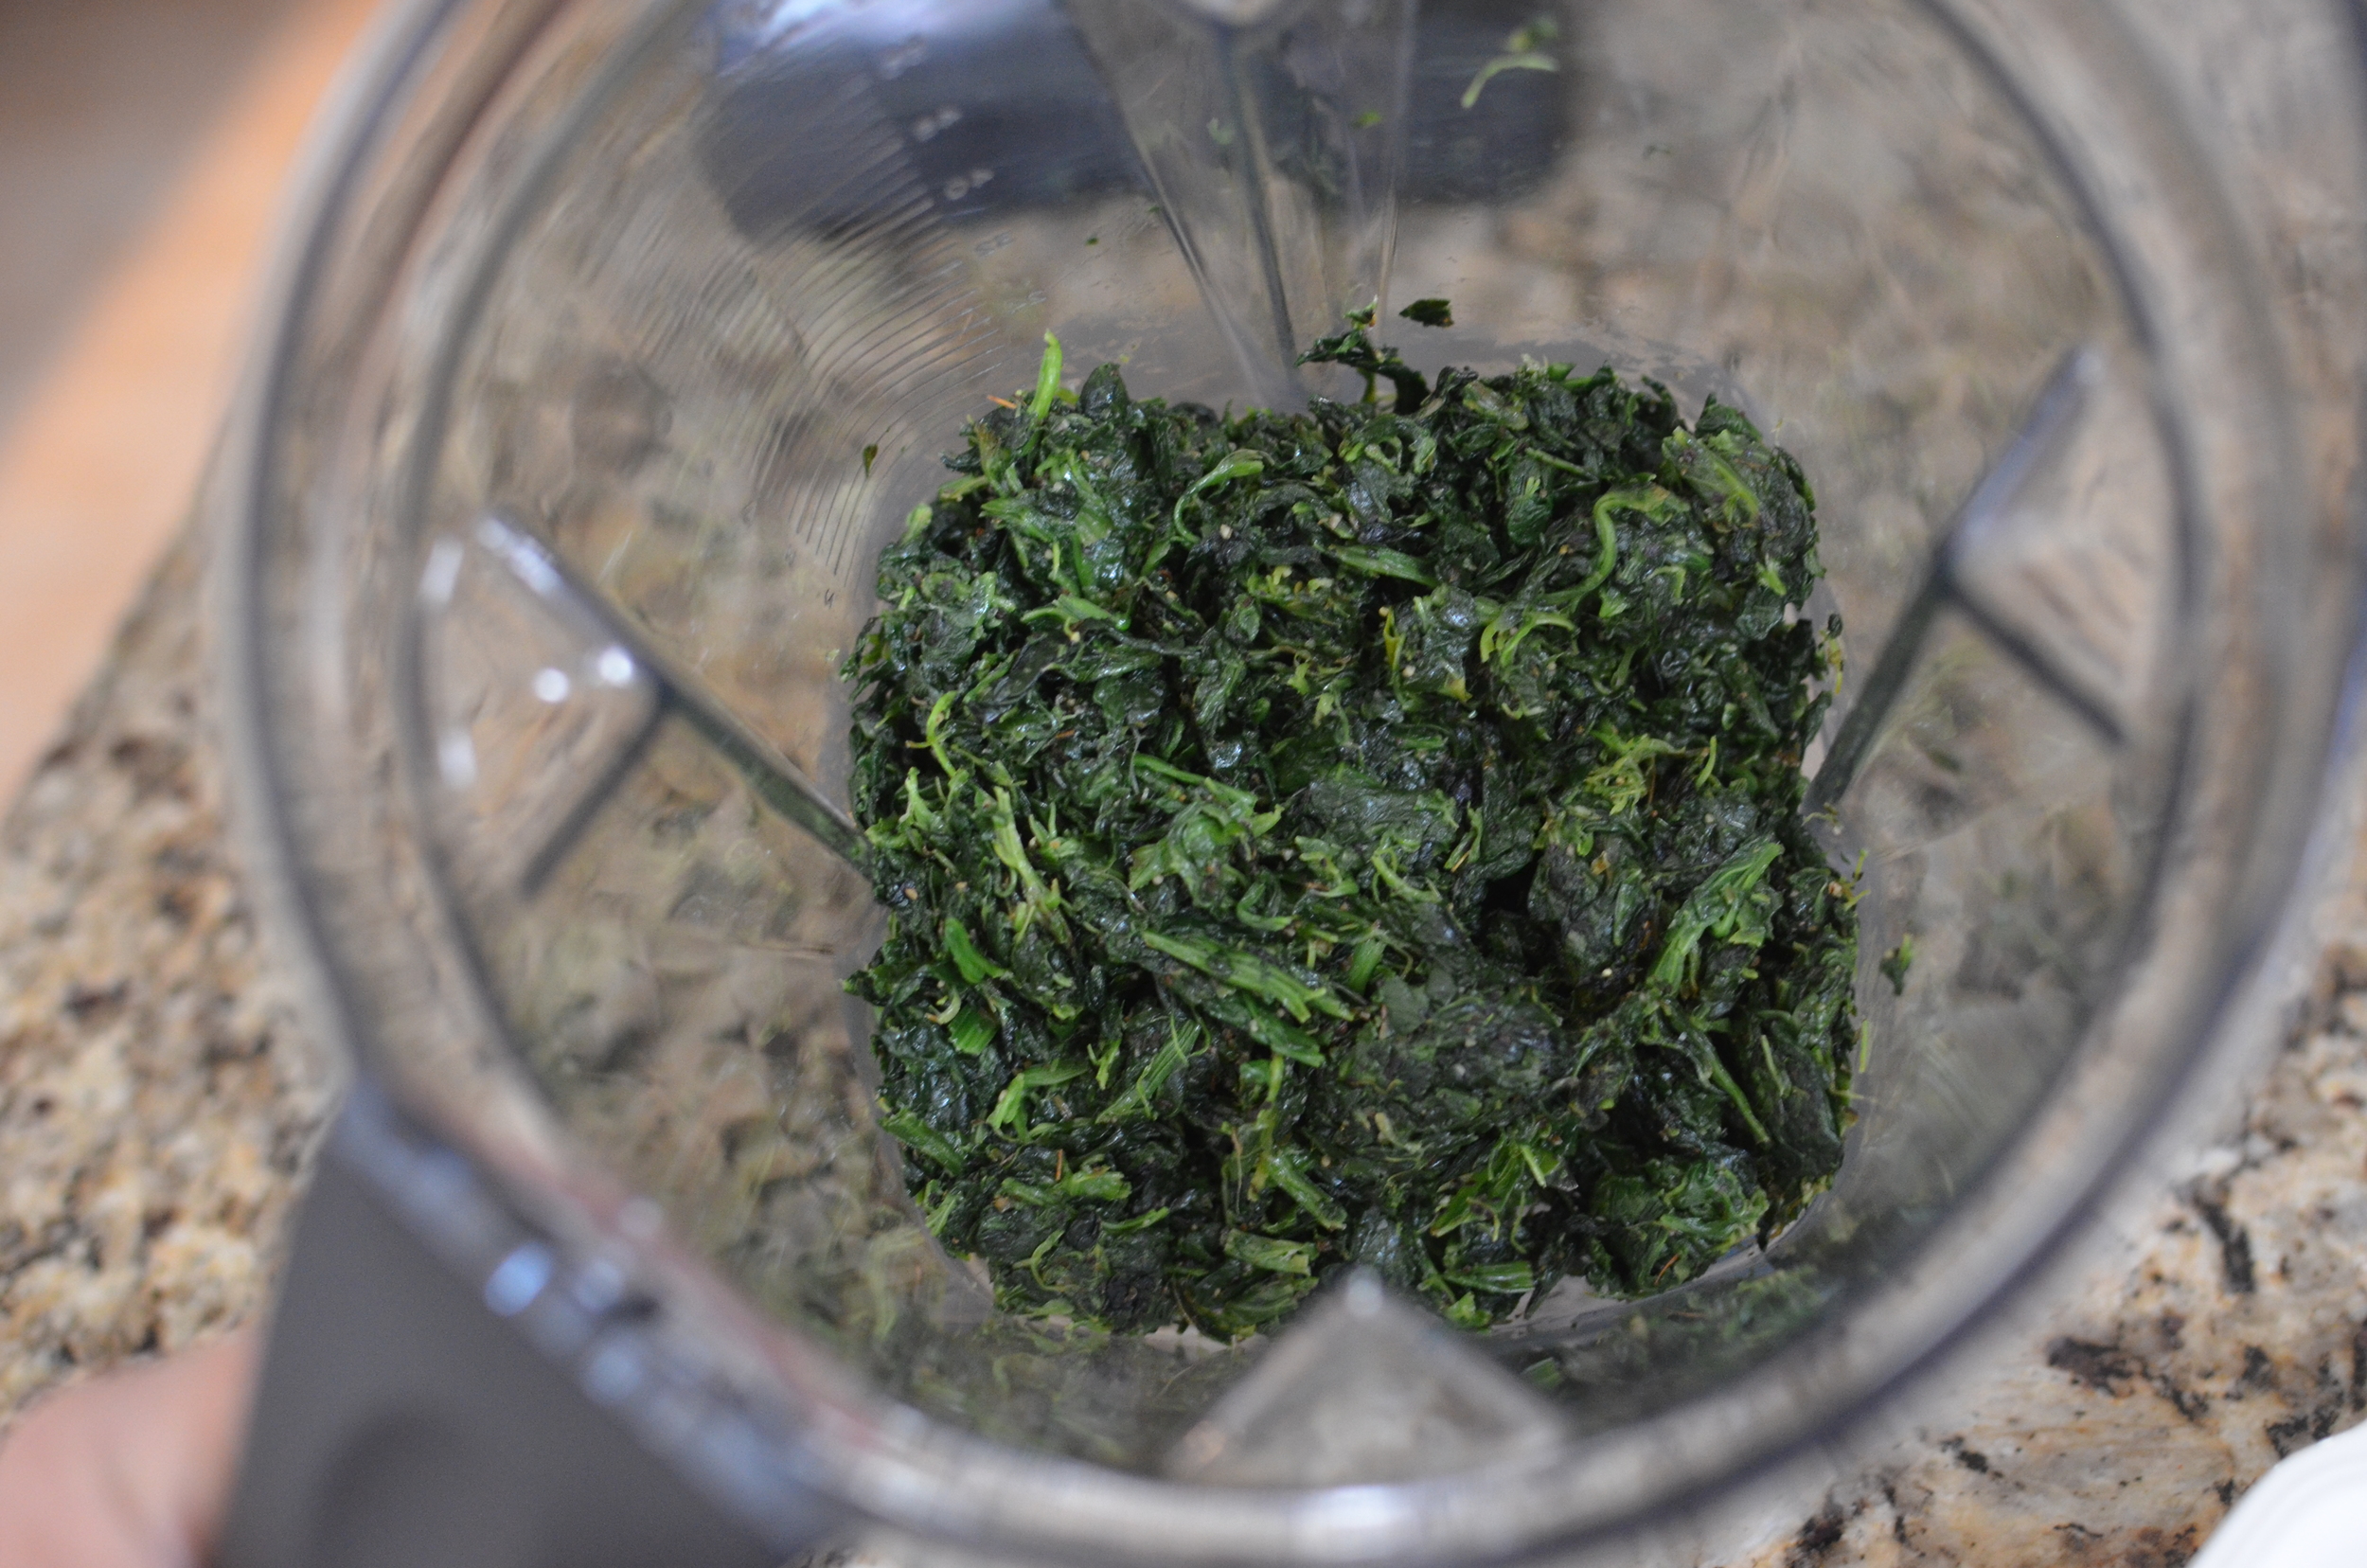
When the spinach is cool, place it in a blender.

IMPORTANT - if you mix the batter in a food processor instead of a blender, be sure to stir the batter very well before pouring it into the mini muffin pan to evenly distribute the salt. TWICE i’ve made this mistake. So what’s the problem? A blender mixes everything from top to bottom, but a food processor doesn’t. The batter poured out of the top of a food processor work bowl will not have enough salt, while the batter at the bottom of the bowl will be way too salty.

Add the eggs and cheese.

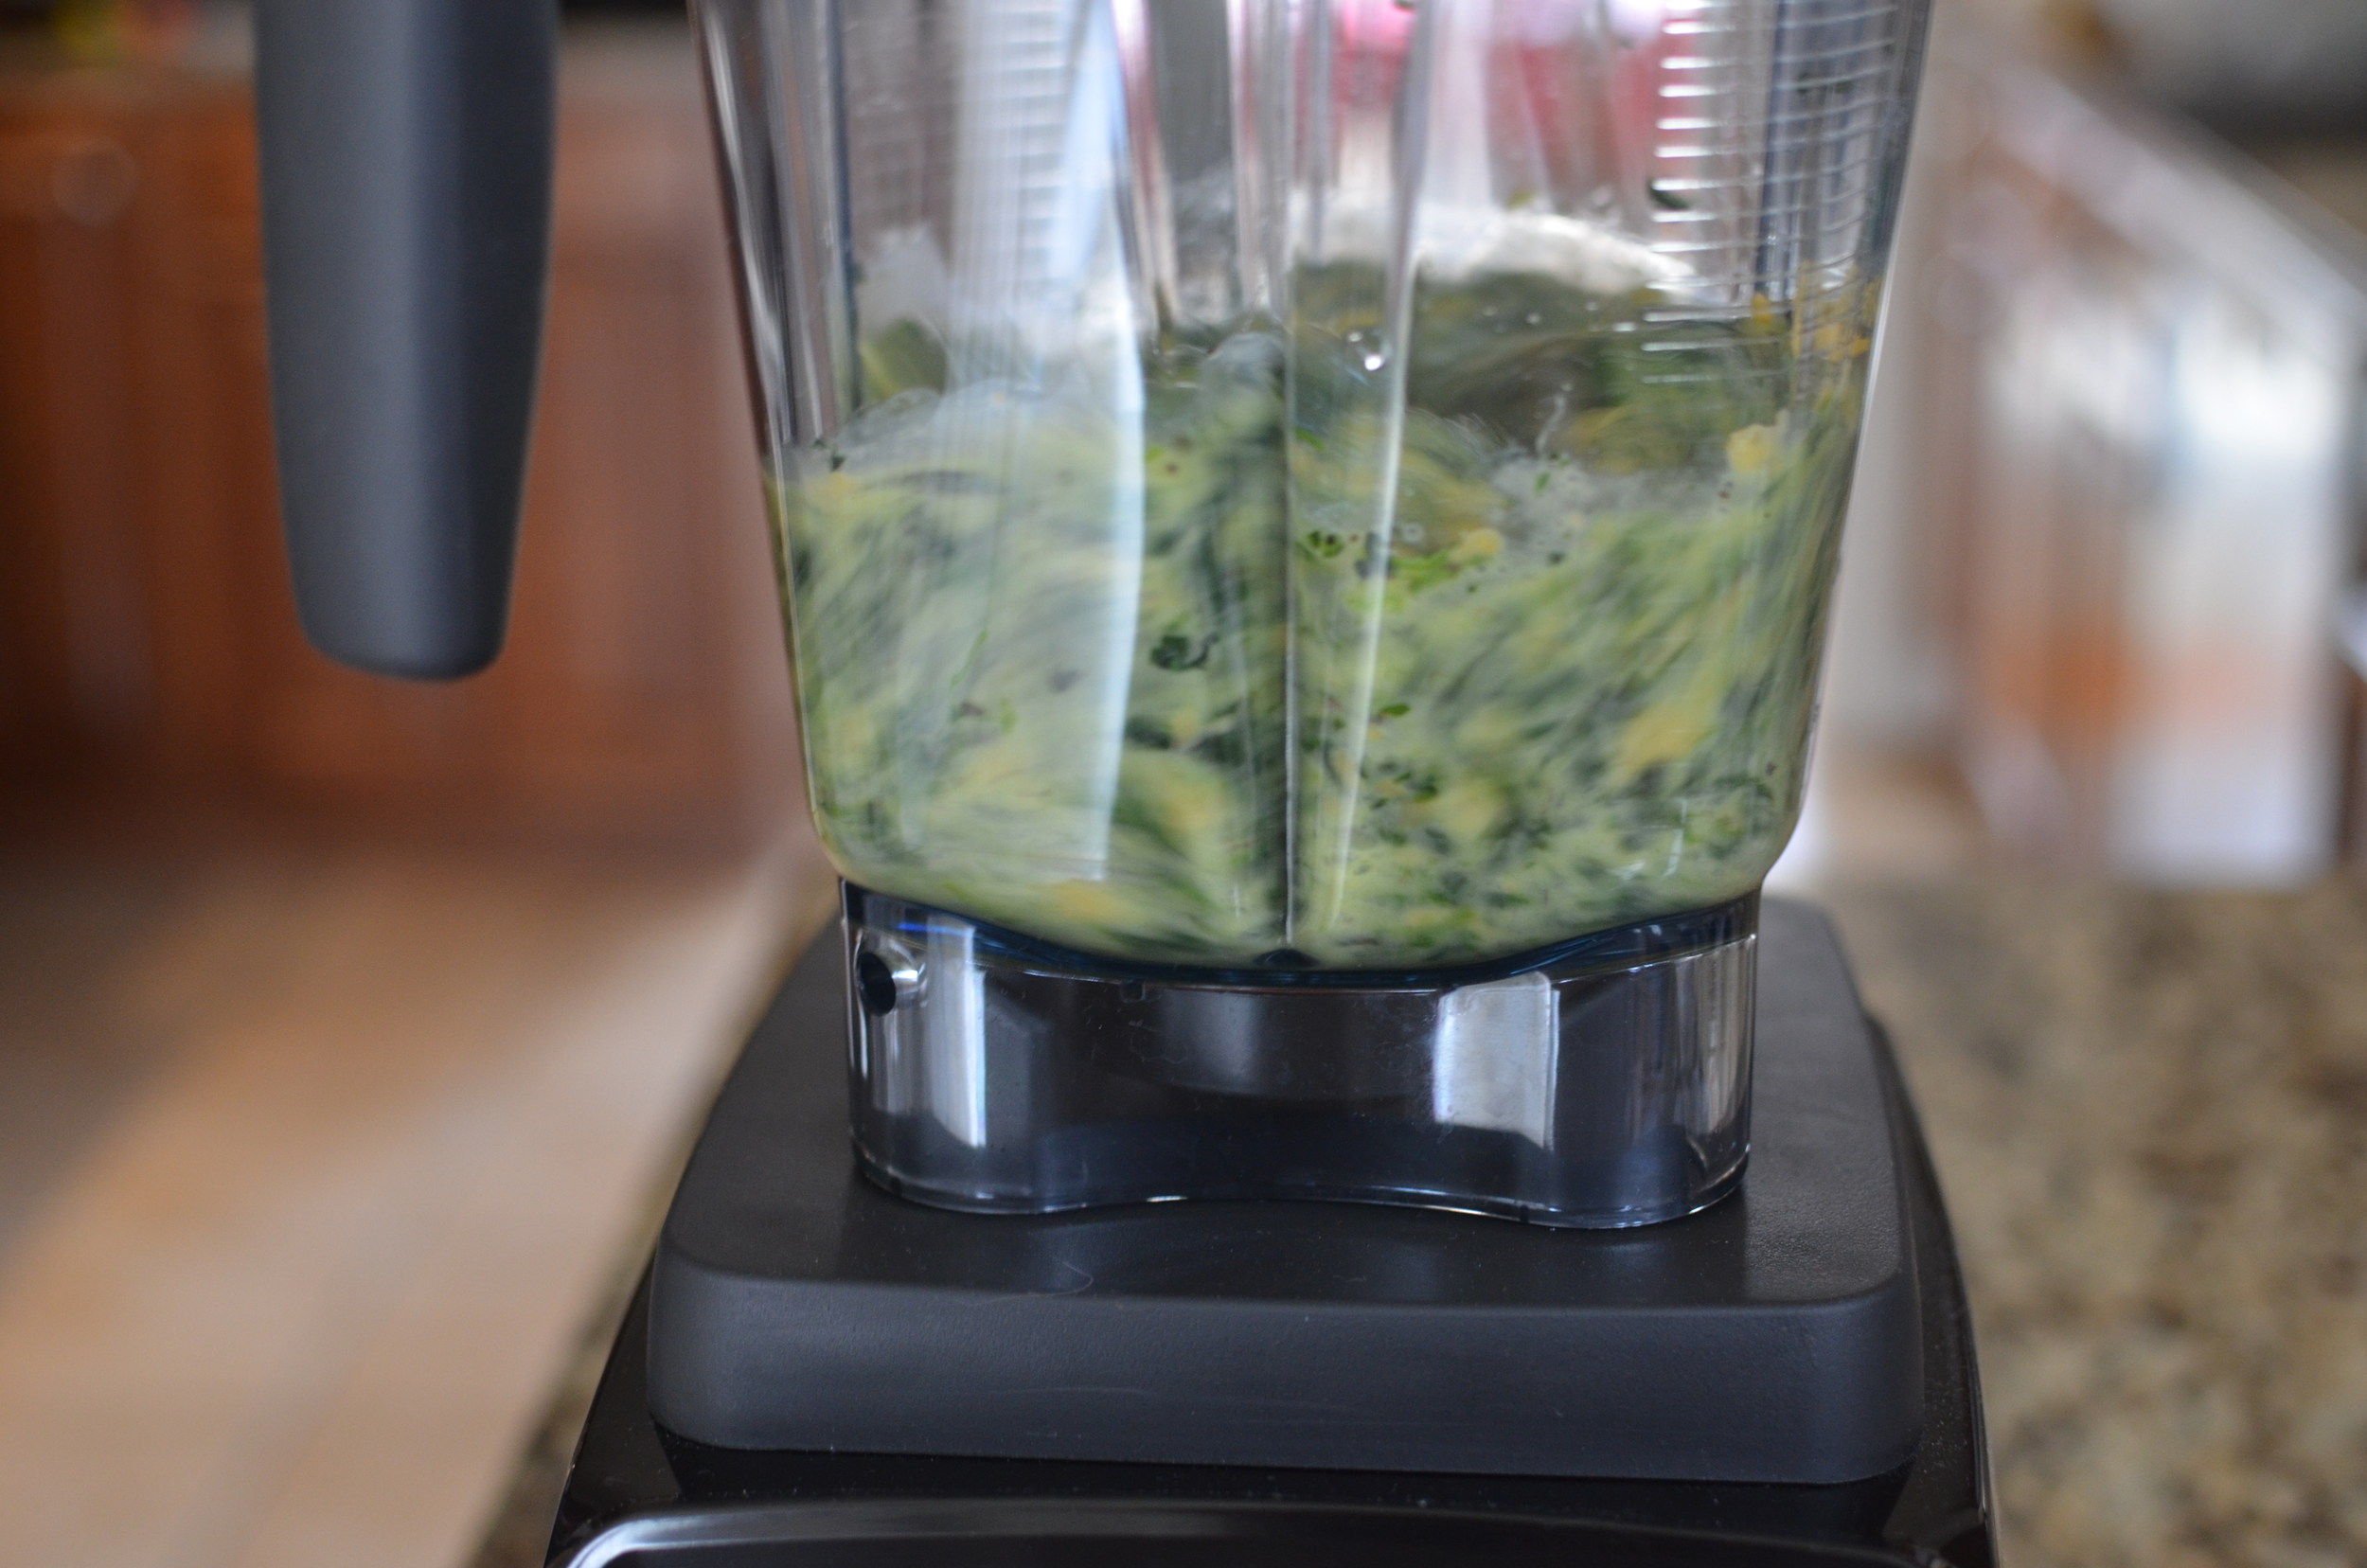
Blend on LOW speed until the mixture is combined and the spinach and cheese are cut up into small pieces.  

Don't blend the mixture too much.  You want to be able to see bits of spinach and cheese. Actually, blending more will make your egg cups a more consistent green color, which my kids really seem to enjoy.  Might be a good thing to serve on St. Patrick's Day! 

Pour the mixture evenly into the 24 mini muffin cavities. 

Bake for 10 minutes.  Cool for 1-2 minutes before turning out of the pan.

That's it.  Serve warm or at room temperature.   I dare you not to eat way too many of these little guys.  Enjoy!

Items used to make this recipe:

(affiliate links)


Cheesy Spinach Egg Cups

Printable Recipe

Ingredients

  • 2 tablespoons unsalted butter

  • 12 ounce bag frozen chopped spinach, thawed and squeezed dry

  • 1 teaspoon kosher salt

  • 1/2 teaspoon ground black pepper

  • 1/4 teaspoon dried marjoram (optional, but it pairs nicely with eggs)

  • 6 extra large eggs (330g)

  • 2 ounces shredded cheddar cheese

Directions

  1. Place a rack in the center oven position and preheat oven to 375F.

  2. Spray a mini muffin pan with Baker's Joy; set aside.

  3. In a nonstick skillet over medium-high heat, melt butter.

  4. Add squeezed spinach, salt, pepper, and marjoram; stir for 3-4 minutes until spinach is dry and begins to brown a little.

  5. Remove spinach from skillet and cool completely.

  6. Place cooled spinach, cheddar cheese, and eggs in a blender and process on low until ingredients are well combined and the spinach and cheese are chopped into small pieces.

  7. Pour mixture into prepared mini muffin tin, filling about 3/4 full.

  8. Bake for 10 minutes, remove from oven and allow to cool for 1-2 minutes before removing from pan. Serve hot or at room temperature.

Gluten-Free Fudge Cookies

Patricia @ ButterYum

Gluten-Free Fudge Cookies - ButterYum

These Fudge Cookies are the bomb!  They're soft, and chewy, and absolutely packed full of deep chocolate flavor.  Oh, and did I mention they're gluten-free and dairy-free too!  You are going to LOVE these cookies!  The recipe comes together pretty quickly using a stand mixer.  Here's how they're made.

We're going to start with confectioners sugar (aka 10x, powdered sugar, or icing sugar).  

I always sift confectioners sugar because it's notoriously clumpy. 

Next we need Dutch-process cocoa.  Use very good quality - it's the major flavor component of these cookies.

DSC_8098.JPG

Again, cocoa powder is notoriously clumpy so it gets sifted too.   I use a mesh strainer to sift my dry ingredients, but I know some people are very fond of a more traditional sifter.

Stir the sifted sugar and cocoa together.

Done. 

DSC_8106.JPG

Time to add the egg whites.  Because eggs whites aren't a consistent size, I like to weigh them.  Actually, I like to use a digital scale to weigh most ingredients when I bake - it's the most reliable way to get consistent results, but we can talk about that another time.

Ok, we need just a couple more super yummy ingredients like pure vanilla extract and espresso powder.  These two brands are excellent.  You won't be disappointed if you use them.  

In goes the espresso powder.

Followed by the pure vanilla extract - use the good stuff

Place the mixing bowl on the stand mixer fitted with a paddle attachment or, even better, a BeaterBlade.  I love using a BeaterBlade because it has silicone ribs that scrape the sides of the bowl for you.  No more stopping to scrape down the sides manually.  Love, love, love my BeaterBlade (they're available in different sizes so be sure to get the one that fits your mixer).

Time to mix.  Since the cocoa powder and confectioners sugar tend to create a cloud of dust when mixing, I like to cover the mixer and bowl with a clean kitchen towel until all the dry ingredients are moistened.  Plastic wrap works well too.  

Okay, the cookie dough is done when all the ingredients are combined.  It'll be smooth and glossy and should look like this.  Let the dough rest at room temperature for about 10 minutes to firm up a bit before scooping.

Use a #50 scoop to portion the cookie dough onto a Silpat lined half sheet pan (these cookies don't look as nice when baked on parchment).  Using a portion scoop will ensure the most consistent results.  

See how all the cookie blobs are the same size and they're spaced evenly on the sheet pan?  That enables them all to bake in the same amount of time and they'll all be the same size.  If you don't have a #50 scoop, you can portion the dough using a level tablespoon.  

This cookie dough contains a lot of confectioners sugar which tends to dry out easily so cover it with a damp kitchen towel to prevent it from crusting between batches (I reused the same towel that covered my stand mixer earlier).  

Oh my, they're sooooo good.  I wish you could smell them.  I'm dying!!   

Now muster all your will power and allow the cookies to cool completely on the sheet pan before serving.  Mmm... they're so soft and chewy and fudgy and amazing.  You're going to love them!

Items used to make this recipe:

(affiliate links)


Gluten-Free Fudge Cookies

makes 32 cookies

Printable Recipe

Ingredients

Directions

  1. Preheat oven to 350F.

  2. Line two half sheet pans with Silpat liners.

  3. Stir the sifted confectioners sugar and cocoa powder together in the bowl of a stand mixer.

  4. Add the remaining ingredients to the bowl and place on mixer fitted with a paddle attachment or a BeaterBlade attachment.

  5. Mix on low speed until the ingredients are completely combined and the dough is smooth and glossy.

  6. Allow the cookie dough to rest for 10 minutes at room temperature.

  7. Use a #50 scoop to portion dough onto half sheet pans lined with Silpat liners.

  8. Bake on center rack for 8-12 minutes. The cookies should begin to crack when they're done.

  9. Remove from oven and allow to cookies to cool completely on sheet pan.

Note 

  • Store cookies in an airtight container between layers of wax paper.