Button Cookies
Patricia @ ButterYum
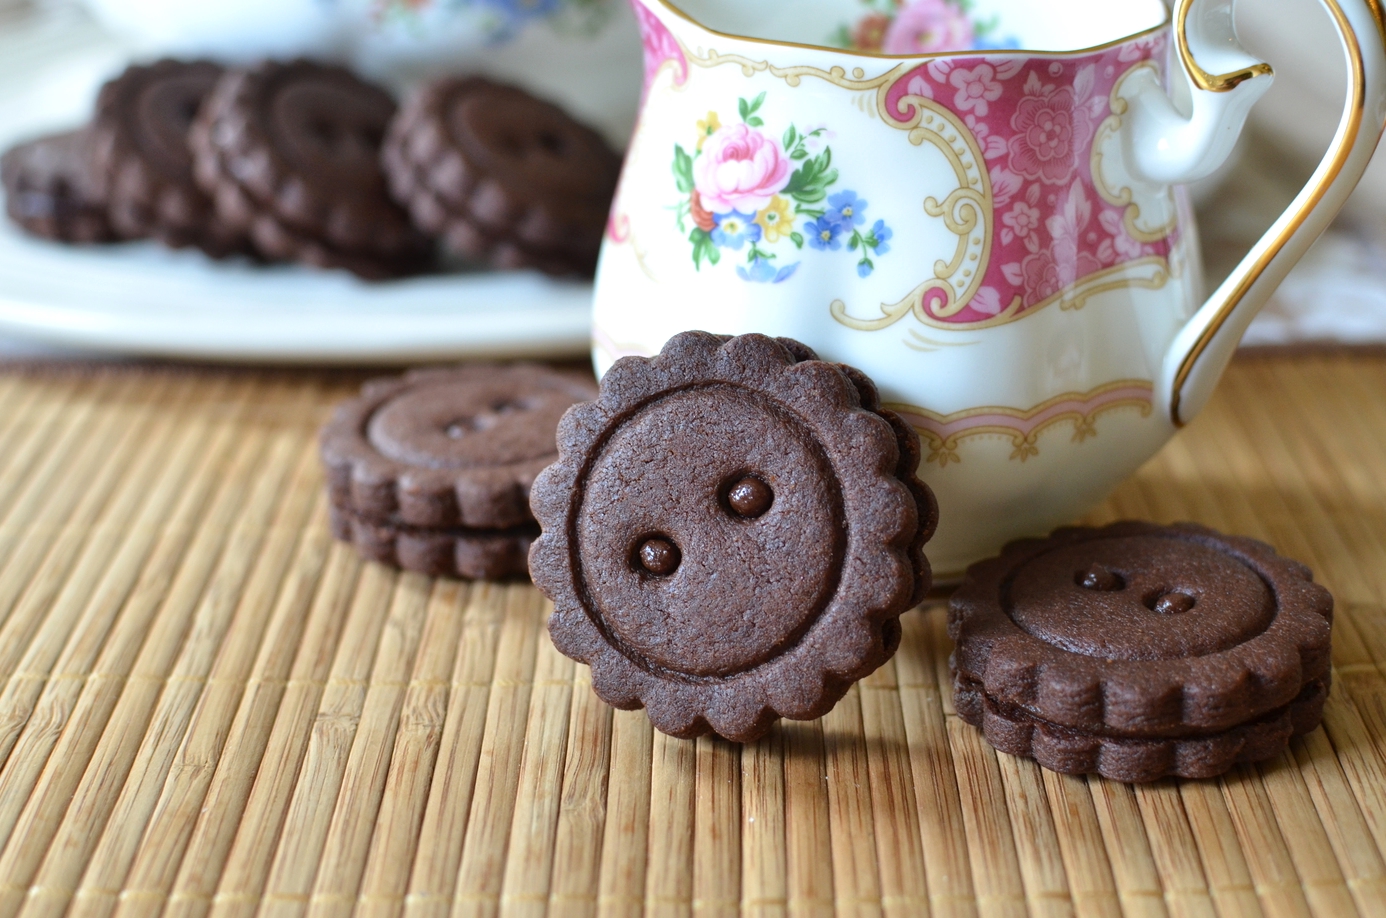
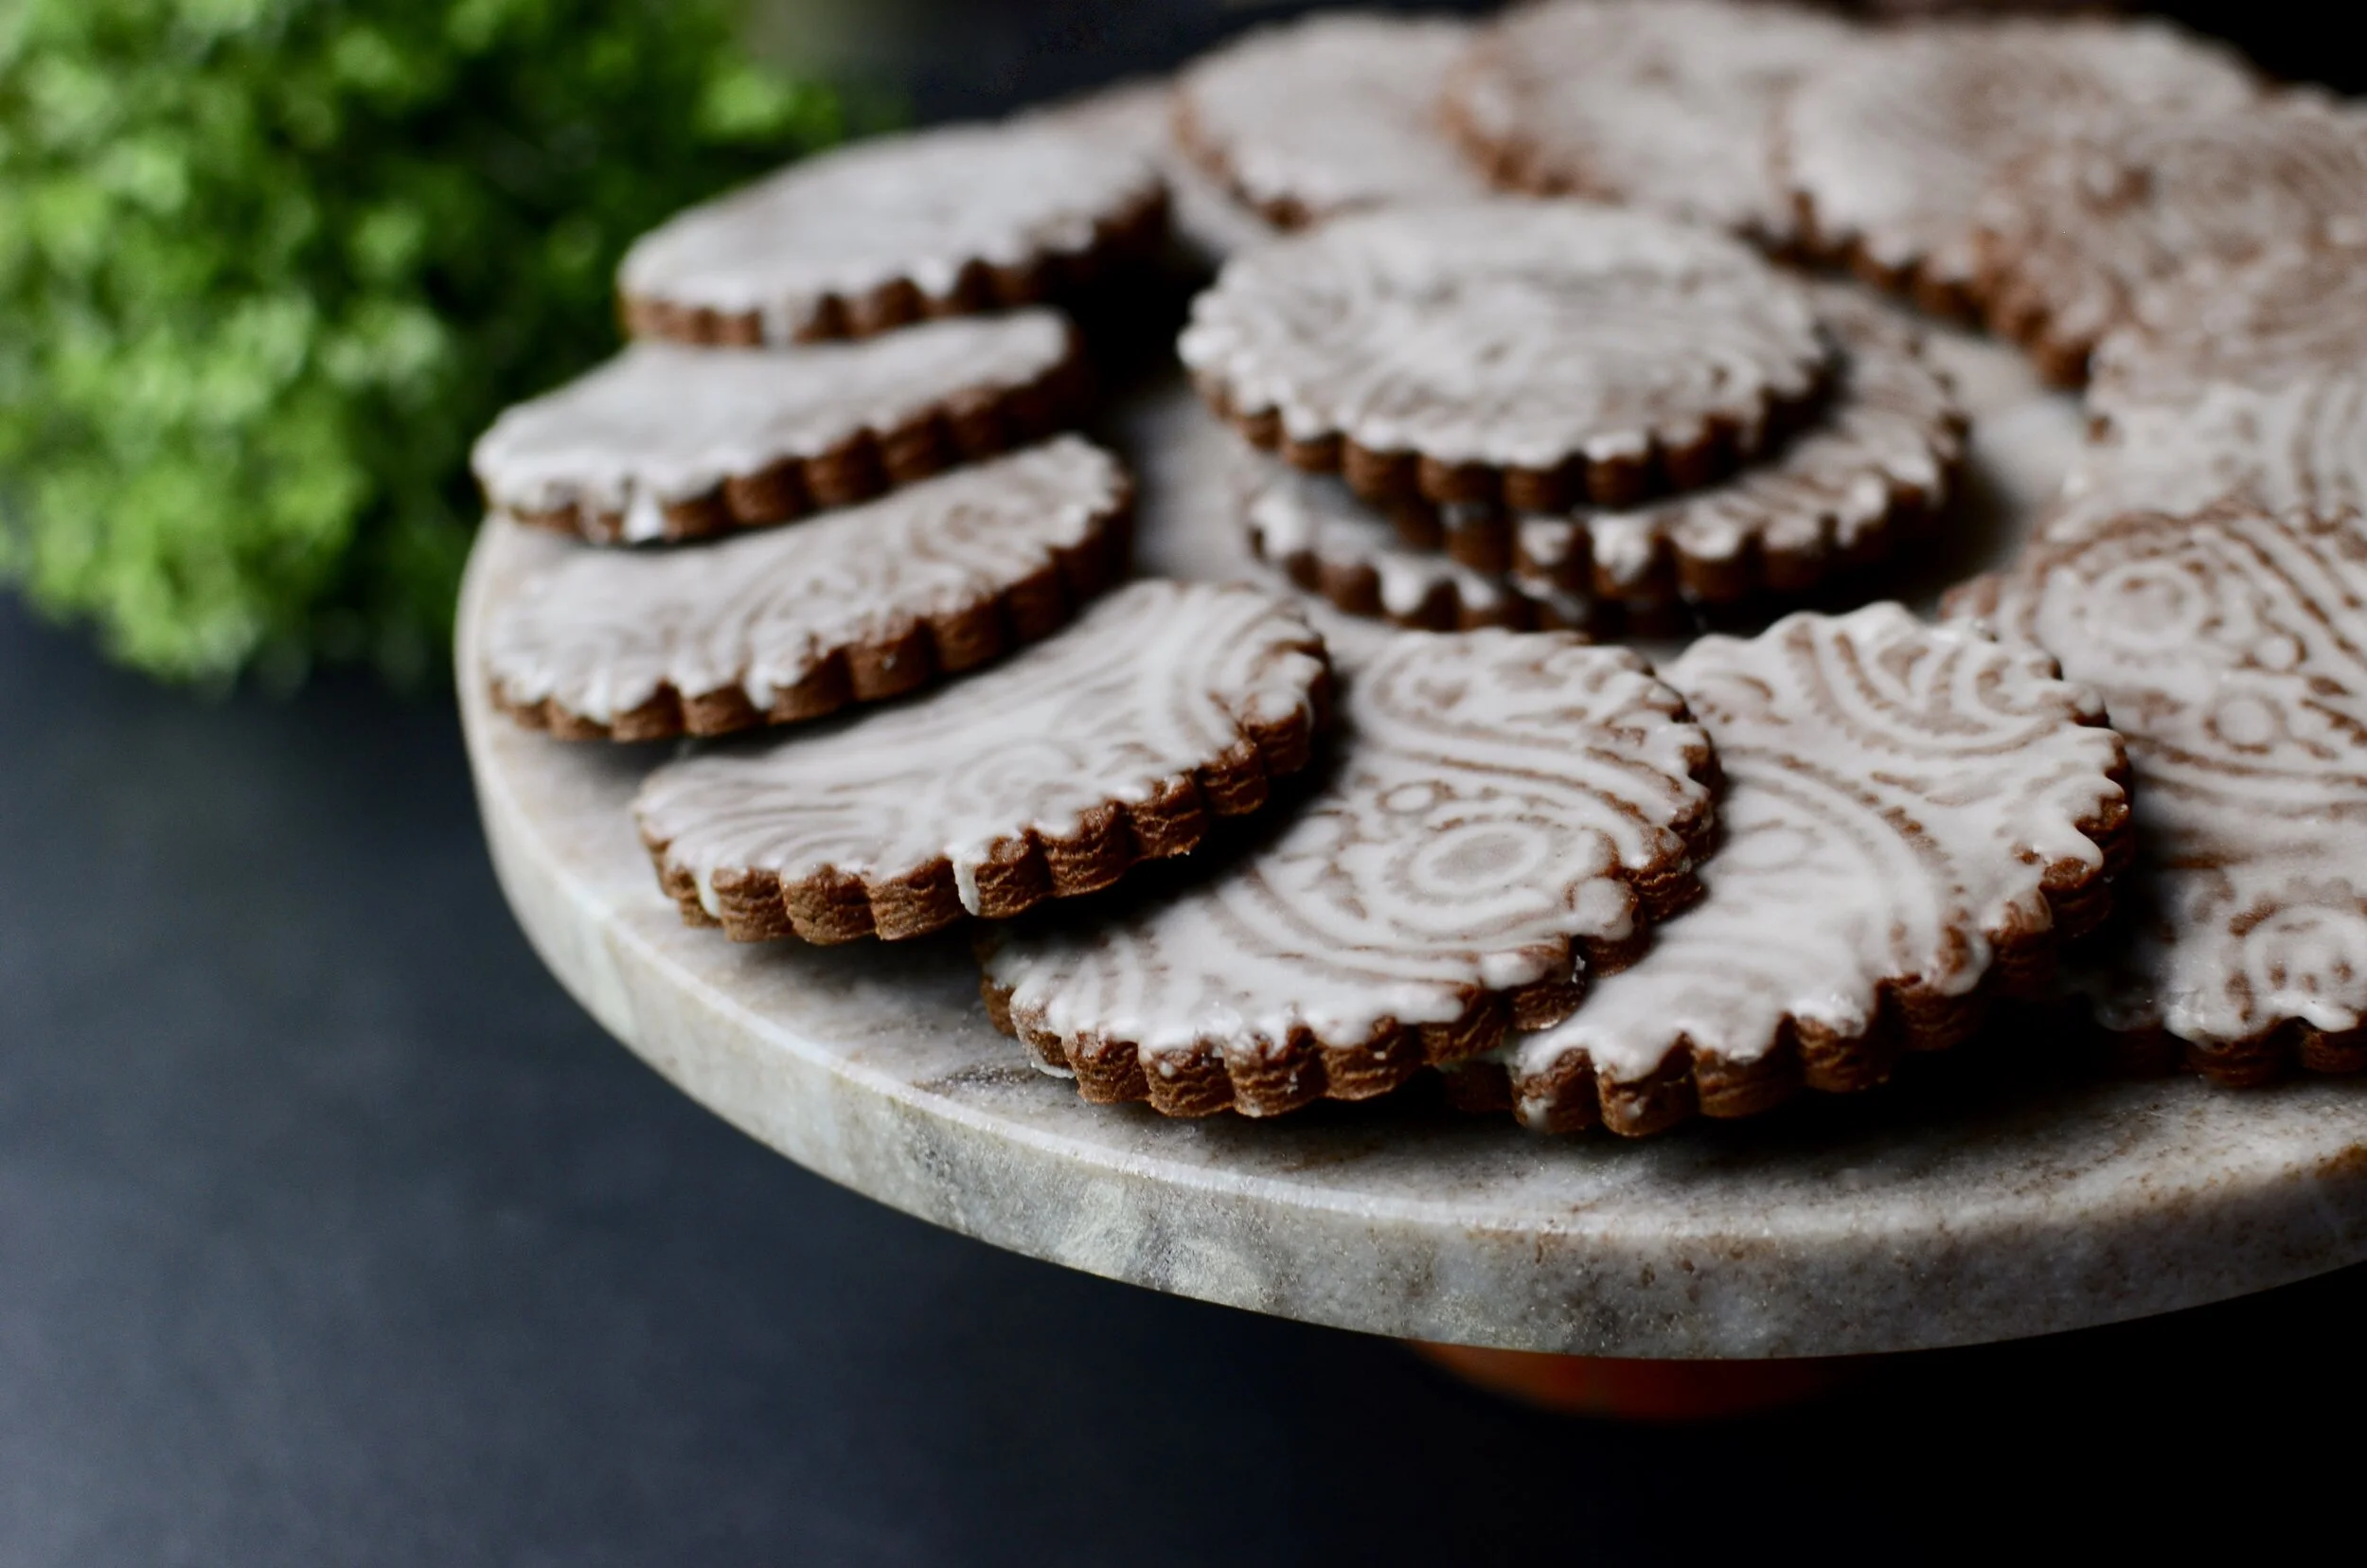
Ok, how adorable are these button cookies? Everybody loves chocolate sandwich cookies filled with creamy chocolate ganache, but seriously, turn them into big buttons and I can’t stand it! I think mom would especially like them on Mother’s Day.

For this project you'll need a few simple tools. A straw, wax paper, a set of double sided scalloped cookie cutters, and a rolling pin.

If you don't have a pin with rolling guides, use a regular rolling pin and two wooden skewers.

Cut cookie shapes using scalloped cutter. Keep the bottom half of each sandwich cookie plain like this.

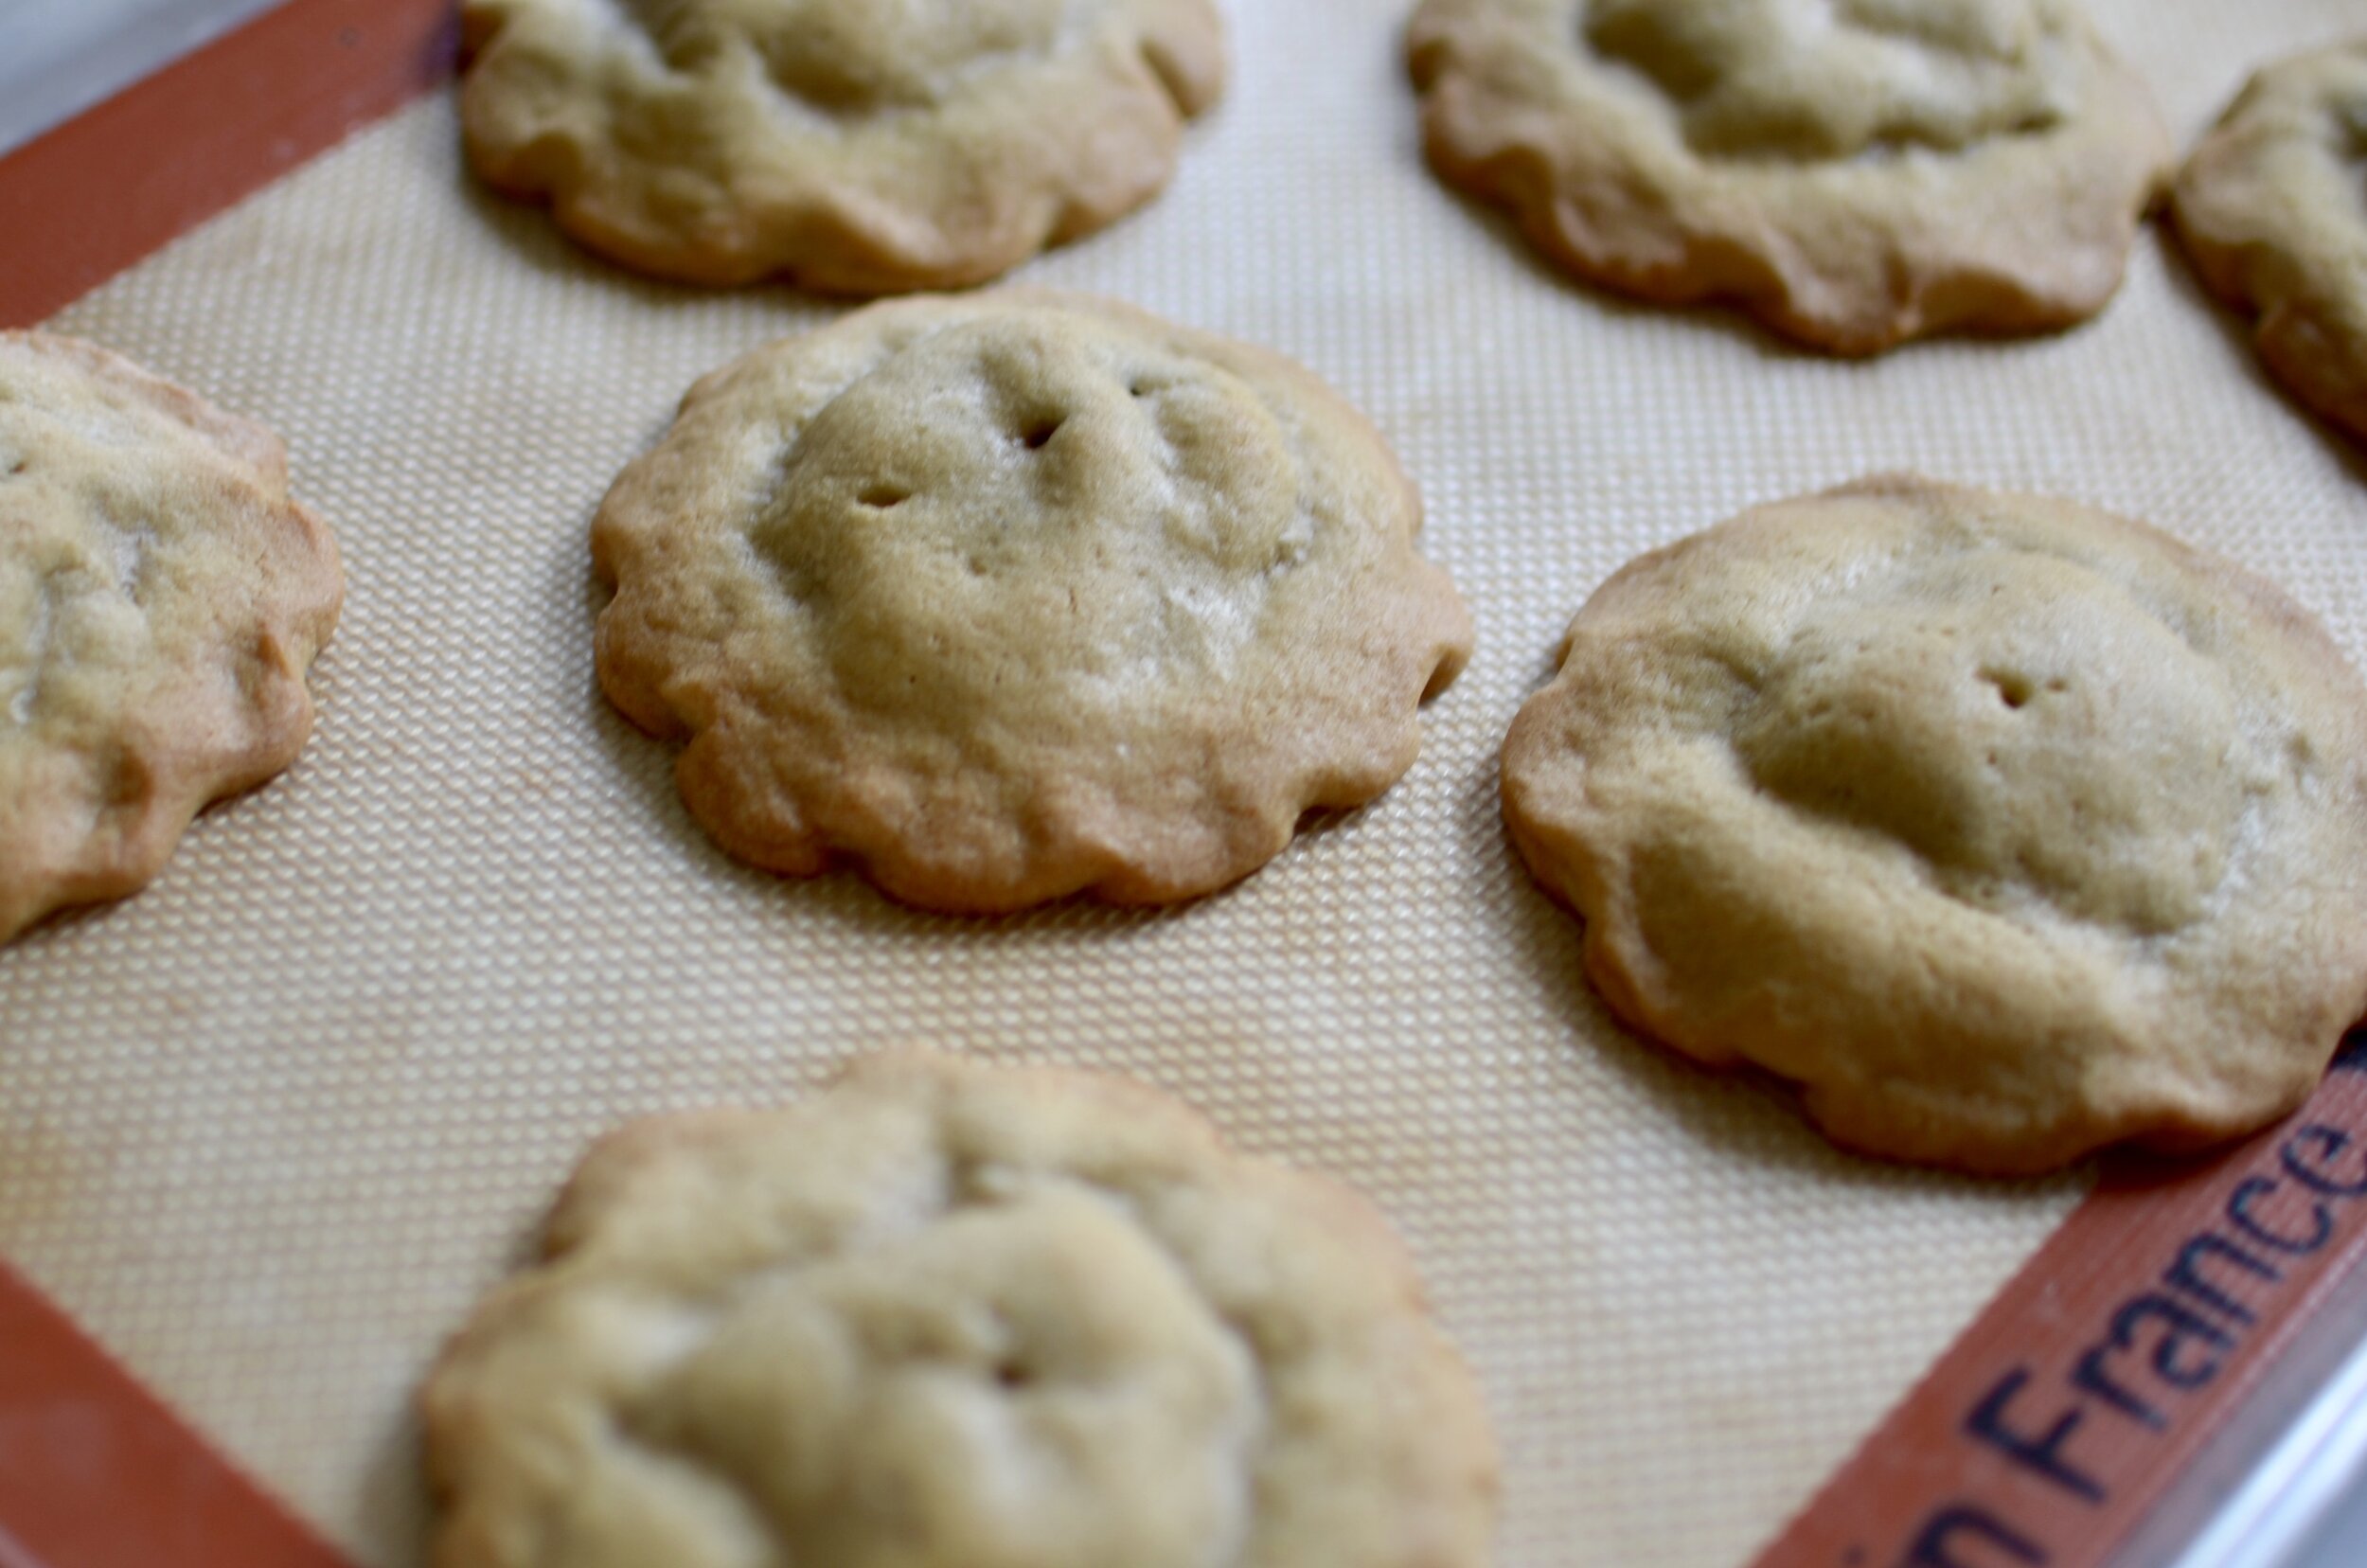
For the top half of each cookie, use something small and round to make an indentation like you see here. Then use a straw to make two button holes. Bake and cool the cookies before filling with ganache.
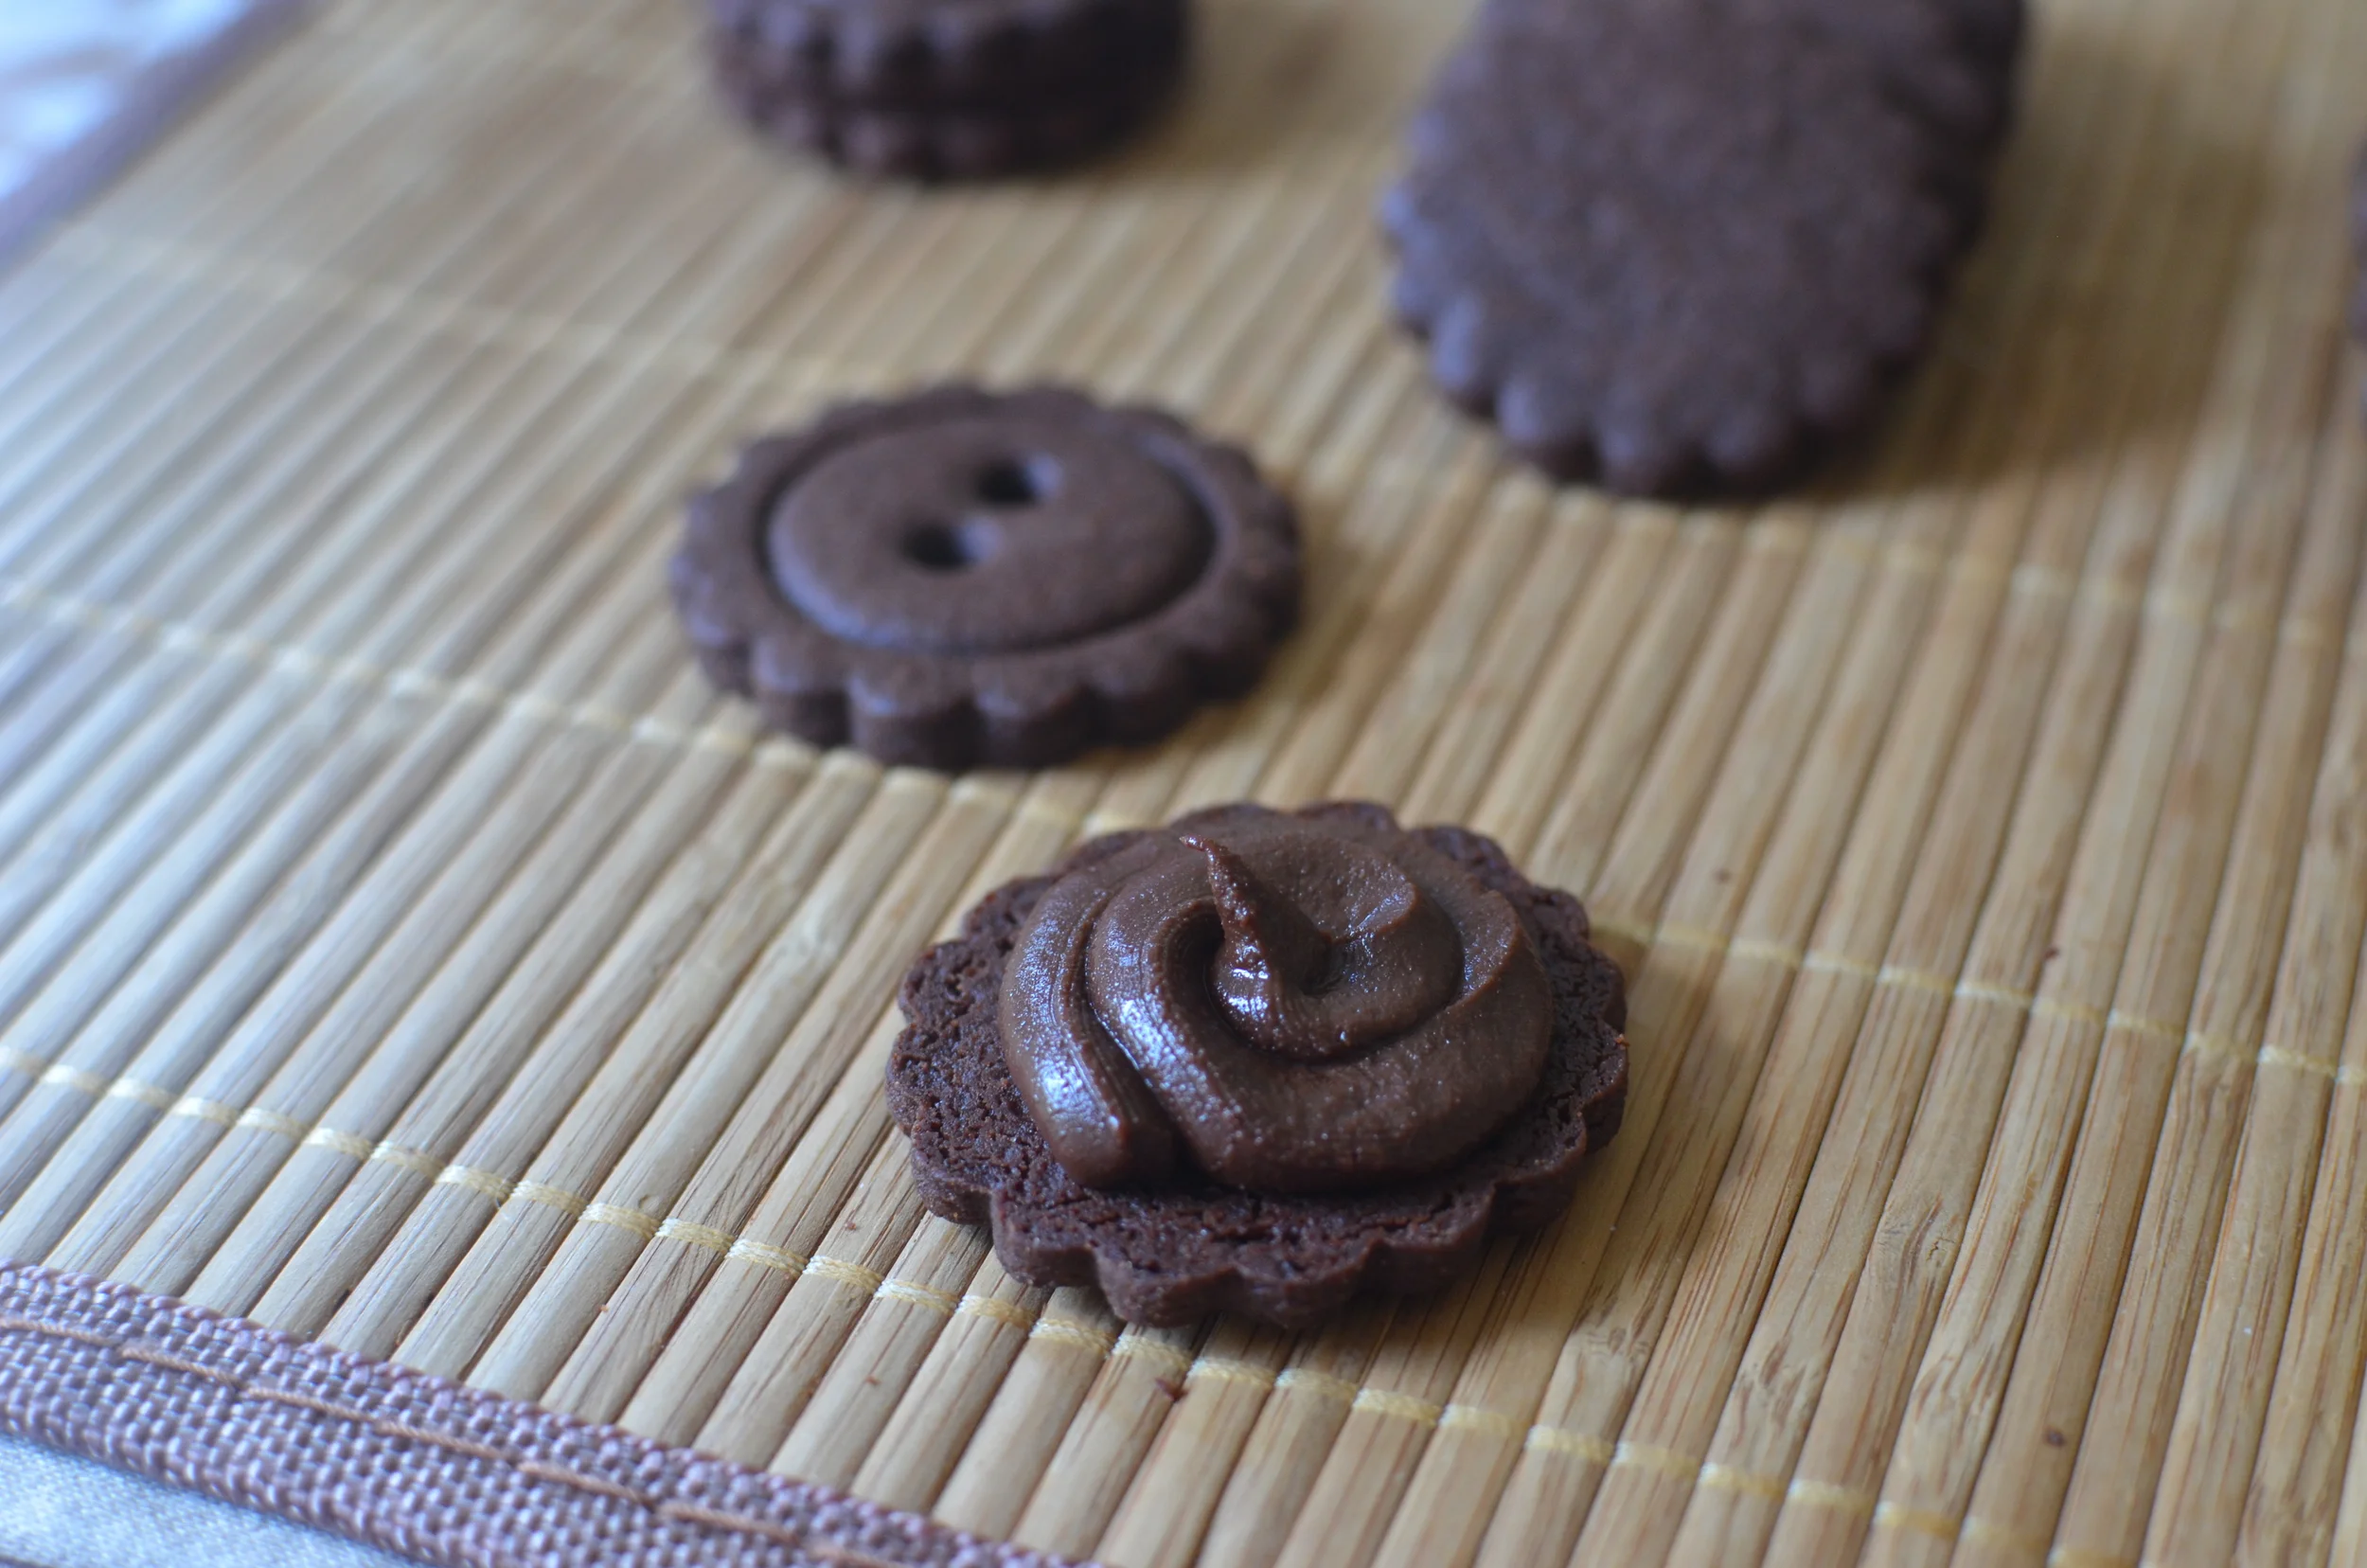
Use a piping bag or zip-top bag with a corner snipped off to fill the cookies. Turn one of the plain bottom cookies over so the bottom faces up and swirl on a good amount of ganache. Then cover with one of the decorative button cookies. Allow the ganache to set before serving (a couple of hours or overnight).


Enjoy!


Items used to make this recipe:
(affiliate links)
dutch processed cocoa powder https://amzn.to/3AJfxep
pure vanilla extract https://amzn.to/3udVX90
beaterblade attachment https://amzn.to/3s6UtuO
double-sided round cutters https://amzn.to/3KVLd5h
rolling pin https://amzn.to/3KM1j14
rolling guides https://amzn.to/3o8uPED
half sheet pan https://amzn.to/3Hd0MmM
silpat baking mat https://amzn.to/3HbFRQR
Ganache-Filled Chocolate Button Cookies
makes approximately 30 cookies
Ingredients
For the ganache filling:
1/4 cup heavy cream
4 ounces high quality semi-sweet chocolate, chopped
For the cookies:
1 cup unsalted butter, room temperature
1 cup granulated sugar
1 teaspoon baking powder
1/4 teaspoon fine salt
1 large egg
1 teaspoon pure vanilla extract
2 1/4 cups all purpose flour
1/2 cup Dutch-processed cocoa powder, sifted
Directions
To make the Ganache:
Gently heat cream and chocolate together; stirring until completely smooth and combined.
Cover and chill for 30 minutes (or make the ganache several hours in advance and let it sit at room temperature until it reaches the proper spreading consistency).
To make the cookie dough:
In the bowl of a stand mixer fitted with a BeaterBlade attachment, beat the butter on medium high speed for 30 seconds.
Add sugar, baking powder, and salt; beat until combined.
Add egg and vanilla; beat to combine.
Add flour and cocoa powder; mix until incorporated.
Wrap dough well with plastic wrap and chill for 1-3 hours.
Preheat oven to 375F.
Roll dough to 1/8-inch thickness between two layers of wax paper (these rolling guides work really well).
Cut out desired shapes (I used these cutters).
Place cookies 2-inches apart on a silpat or parchment lined half sheet pan; bake for 8 minutes or until edges are set (tiny cutouts bake for 5-6 minutes).
Transfer cookies to racks and cool completely.
To assemble cookies:
Spoon about 1 teaspoon of the ganache in the center bottom of each cookie and make a sandwich by adding a decorative top cookie.
To store, place unfilled cookies in an airtight container, separating layers with waxed paper, at room temperature for 3 days or frozen for up to 3 months. Thaw and assemble just before service.
Note
To prevent distortion, I cut my cookie shapes while the dough is still on the waxed paper, then slide the waxed paper onto a cookie sheet and chill for at least 10 minutes before transferring the shapes to a sheet pan for baking.