contact us

Use the form on the right to contact us.

You can edit the text in this area, and change where the contact form on the right submits to, by entering edit mode using the modes on the bottom right.


123 Street Avenue, City Town, 99999

(123) 555-6789

email@address.com


You can set your address, phone number, email and site description in the settings tab.
Link to read me page with more information.

Blog

Butteryum food blog recipes

Filtering by Category: snack recipes

DIY Gummy Snacks

Patricia @ ButterYum

DIY Gummy Snacks - ButterYum

I bet you didn't know you could make your own homemade Gummies.   We used a mini teacake pan and a couple of chocolate molds to make ours, but the options are practically endless so get creative and have fun making all kinds of shapes.  

The mixture doesn't take long to make, but plan ahead. Once the molds are filled, they'll need to rest at room temperature for 5-6 hours before the candies can be unmolded. 

DSC_0475.JPG

If any bubbles form, just use a spoon to remove them.

DIY Gummy Snacks

Printable Recipe

Ingredients

  • 1/2 cup cool water

  • 1/4 cup light corn syrup

  • 2 tablespoons unflavored gelatin (two packets, 1/4 ounce or 7 grams each)

  • 3-ounce package Jell-O, any flavor

Directions

  1. In a small nonstick saucepan, combine water and corn syrup using a heat-proof silicone spatula (no heat at this point).

  2. Add the Jell-O and unflavored gelatin; stir until dissolved.

  3. Heat mixture over medium-low heat, stirring occasionally for 5 minutes.

  4. Remove from heat and allow to cool for 10 minutes.

  5. Scrape foam from surface; discard.

  6. Transfer remaining mixture to an easy-pour container or condiment bottle.

  7. Carefully fill candy molds; allow to rest at room temperature for 6 hours.

  8. Remove gummy treats from molds and enjoy.

Notes

  • I used this metal teacake pan and these and candy molds.  

  • Feel free to use any shape candy, chocolate, soap molds (obviously, soap molds that have never been used to make soap).  

  • There is no need to coat the molds with nonstick spray before filling.  


Button Cookies

Patricia @ ButterYum

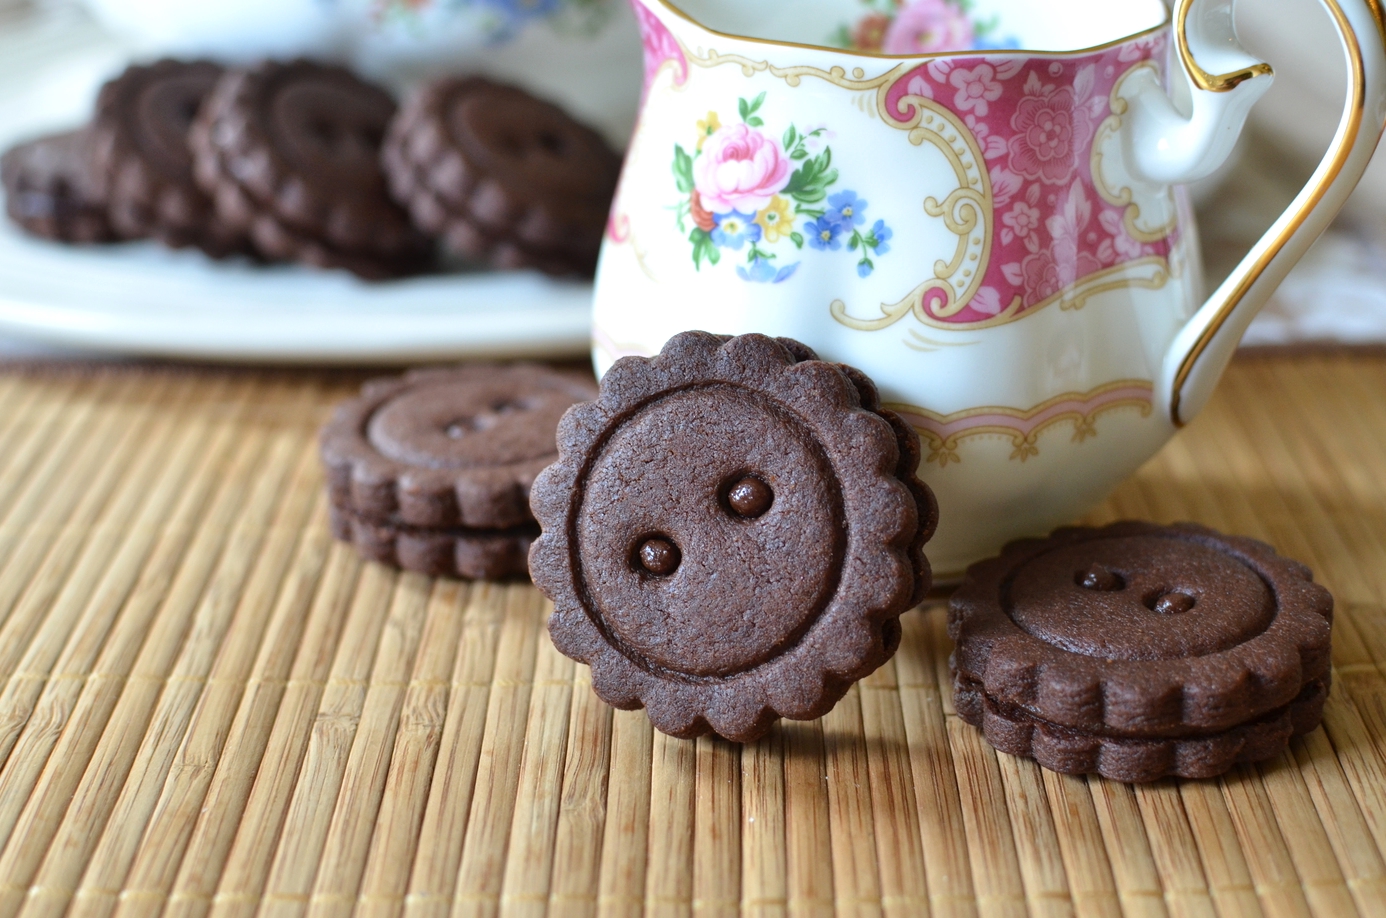
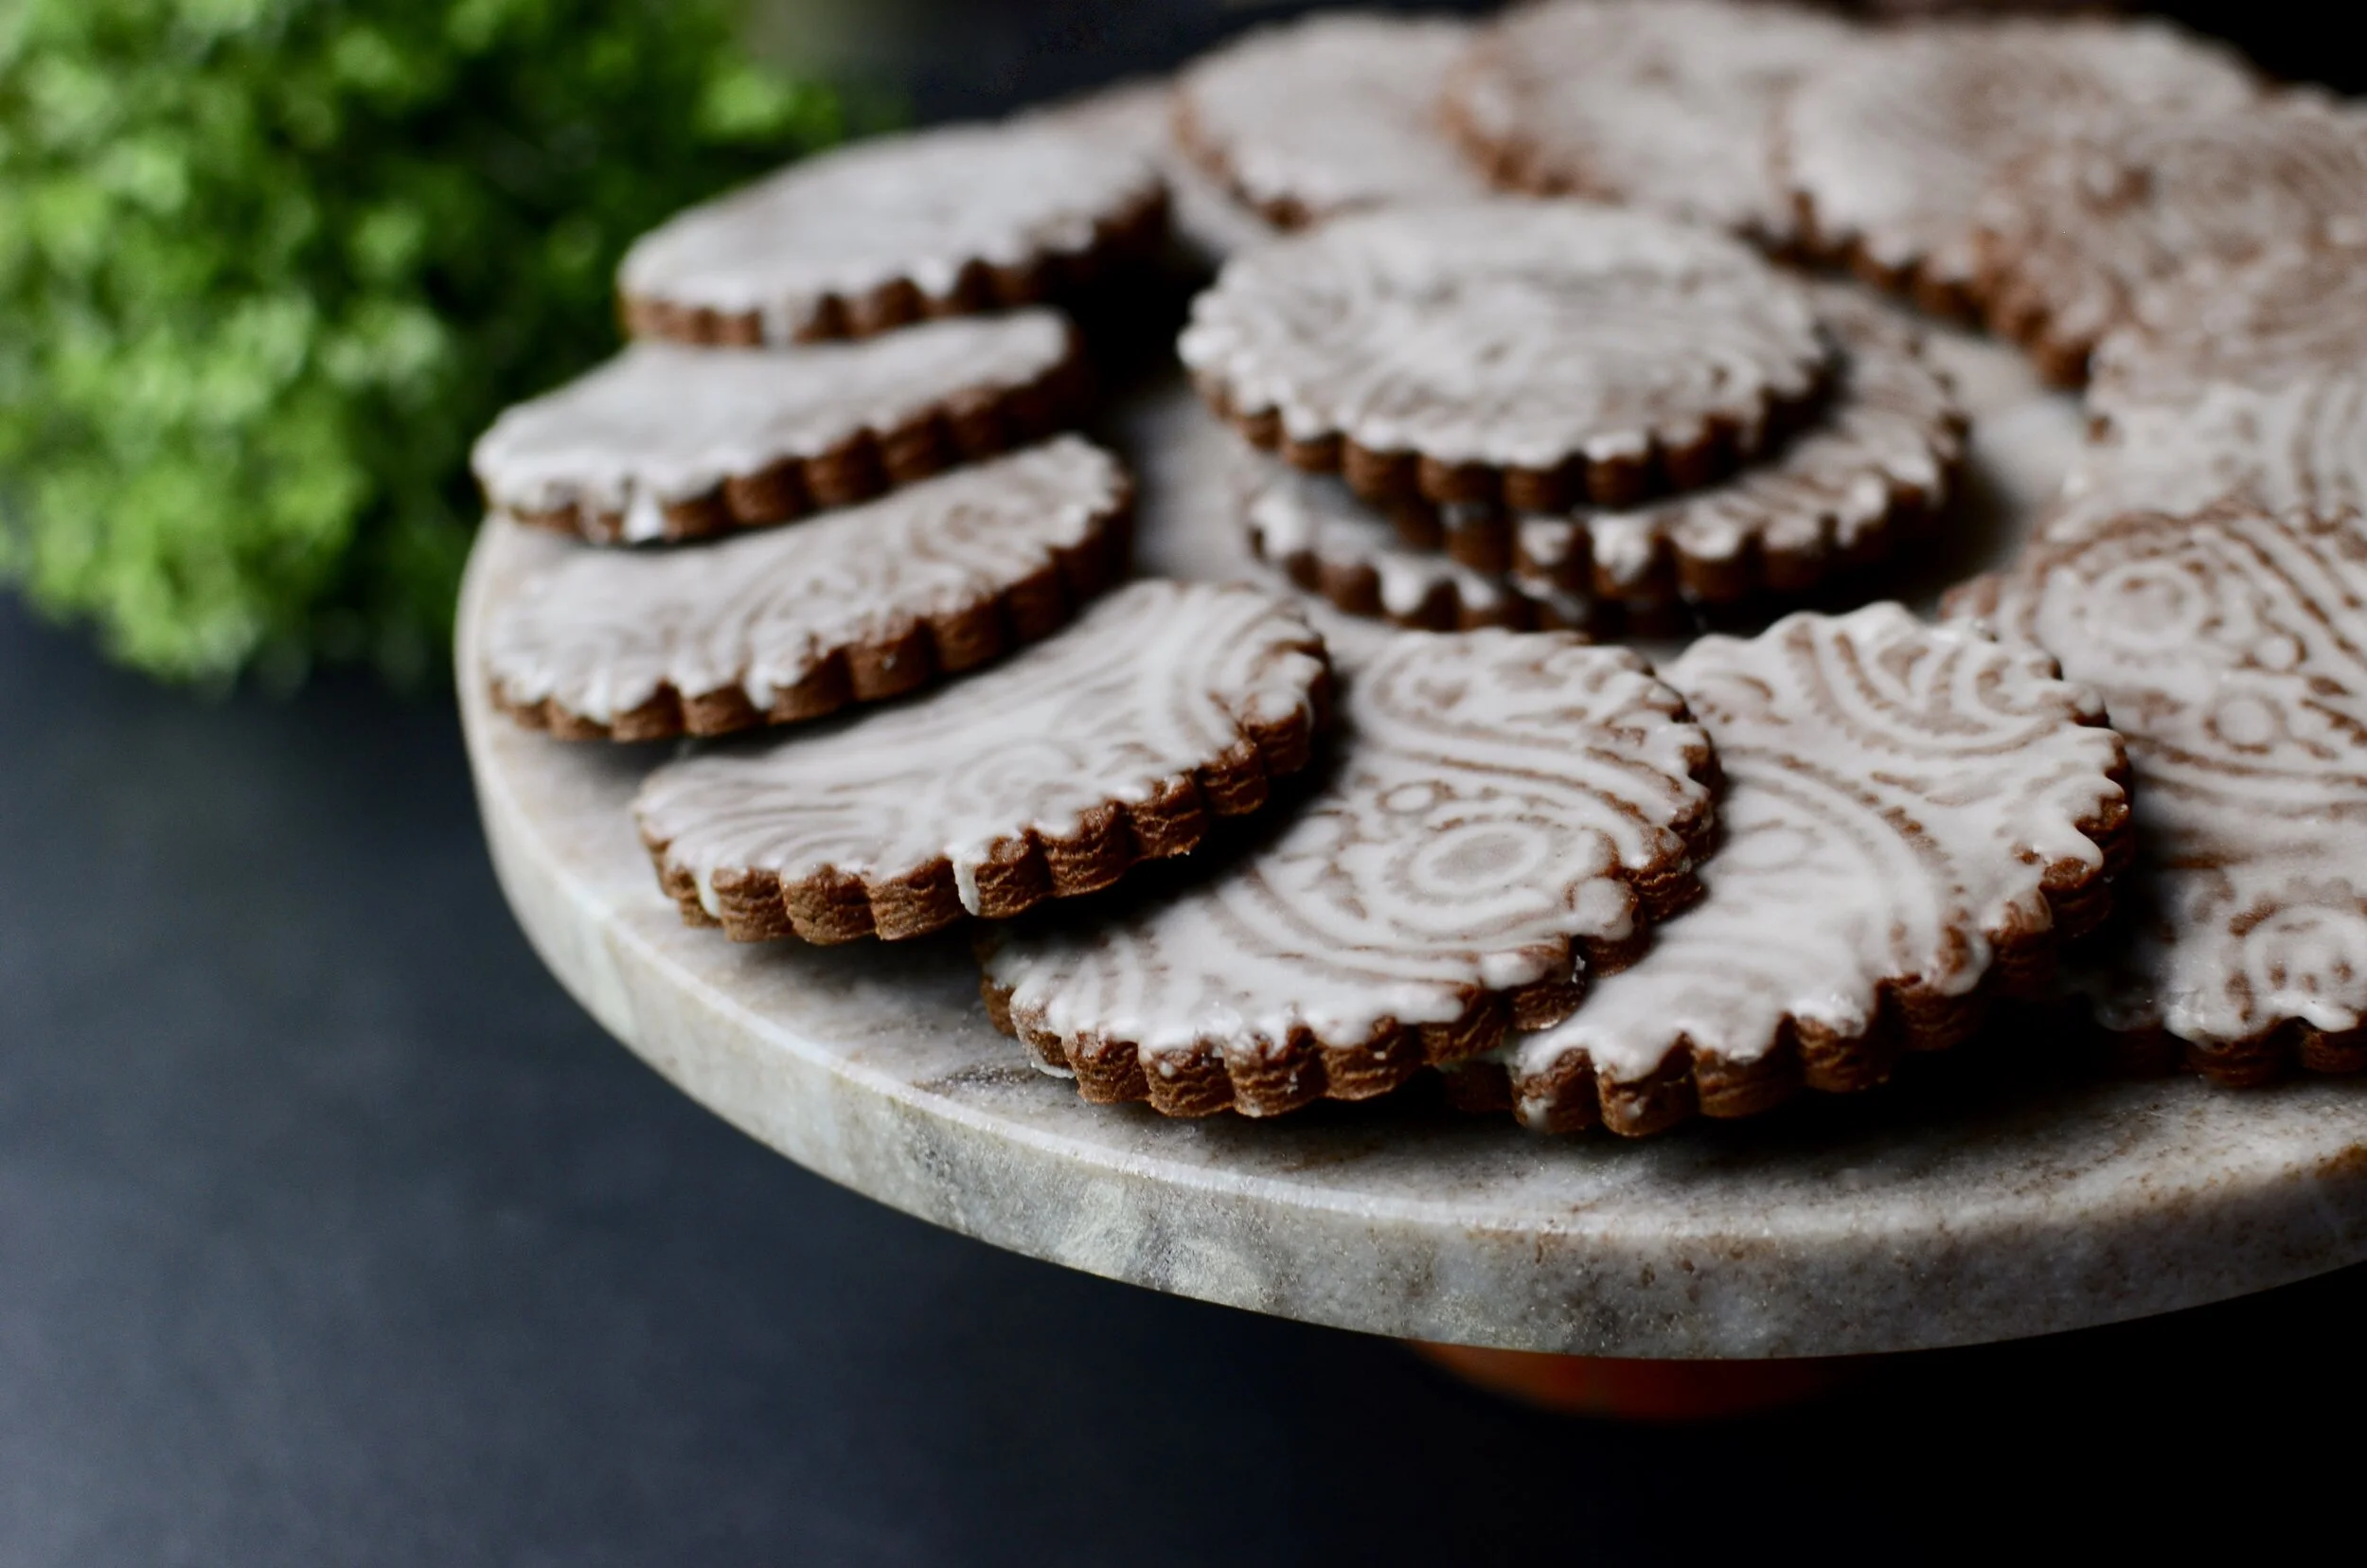
Ok, how adorable are these button cookies?  Everybody loves chocolate sandwich cookies filled with creamy chocolate ganache, but seriously, turn them into big buttons and I can’t stand it! I think mom would especially like them on Mother’s Day.

For this project you'll need a few simple tools. A straw, wax paper, a set of double sided scalloped cookie cutters, and a rolling pin.

If you don't have a pin with rolling guides, use a regular rolling pin and two wooden skewers.

Cut cookie shapes using scalloped cutter. Keep the bottom half of each sandwich cookie plain like this.

For the top half of each cookie, use something small and round to make an indentation like you see here. Then use a straw to make two button holes. Bake and cool the cookies before filling with ganache.

Use a piping bag or zip-top bag with a corner snipped off to fill the cookies. Turn one of the plain bottom cookies over so the bottom faces up and swirl on a good amount of ganache. Then cover with one of the decorative button cookies. Allow the ganache to set before serving (a couple of hours or overnight).

Enjoy!

Items used to make this recipe:

(affiliate links)


Ganache-Filled Chocolate Button Cookies

makes approximately 30 cookies

Printable Recipe

Ingredients

For the ganache filling:

  • 1/4 cup heavy cream

  • 4 ounces high quality semi-sweet chocolate, chopped

For the cookies:

Directions

To make the Ganache:

  1. Gently heat cream and chocolate together; stirring until completely smooth and combined.

  2. Cover and chill for 30 minutes (or make the ganache several hours in advance and let it sit at room temperature until it reaches the proper spreading consistency).

To make the cookie dough:

  1. In the bowl of a stand mixer fitted with a BeaterBlade attachment, beat the butter on medium high speed for 30 seconds.

  2. Add sugar, baking powder, and salt; beat until combined.

  3. Add egg and vanilla; beat to combine.

  4. Add flour and cocoa powder; mix until incorporated.

  5. Wrap dough well with plastic wrap and chill for 1-3 hours.

  6. Preheat oven to 375F.

  7. Roll dough to 1/8-inch thickness between two layers of wax paper (these rolling guides work really well).

  8. Cut out desired shapes (I used these cutters).

  9. Place cookies 2-inches apart on a silpat or parchment lined half sheet pan; bake for 8 minutes or until edges are set (tiny cutouts bake for 5-6 minutes).

  10. Transfer cookies to racks and cool completely.

To assemble cookies:

  1. Spoon about 1 teaspoon of the ganache in the center bottom of each cookie and make a sandwich by adding a decorative top cookie.

  2. To store, place unfilled cookies in an airtight container, separating layers with waxed paper, at room temperature for 3 days or frozen for up to 3 months. Thaw and assemble just before service.

Note

  • To prevent distortion, I cut my cookie shapes while the dough is still on the waxed paper, then slide the waxed paper onto a cookie sheet and chill for at least 10 minutes before transferring the shapes to a sheet pan for baking.