contact us

Use the form on the right to contact us.

You can edit the text in this area, and change where the contact form on the right submits to, by entering edit mode using the modes on the bottom right.


123 Street Avenue, City Town, 99999

(123) 555-6789

email@address.com


You can set your address, phone number, email and site description in the settings tab.
Link to read me page with more information.

Blog

Butteryum food blog recipes

Filtering by Category: thanksgiving recipes

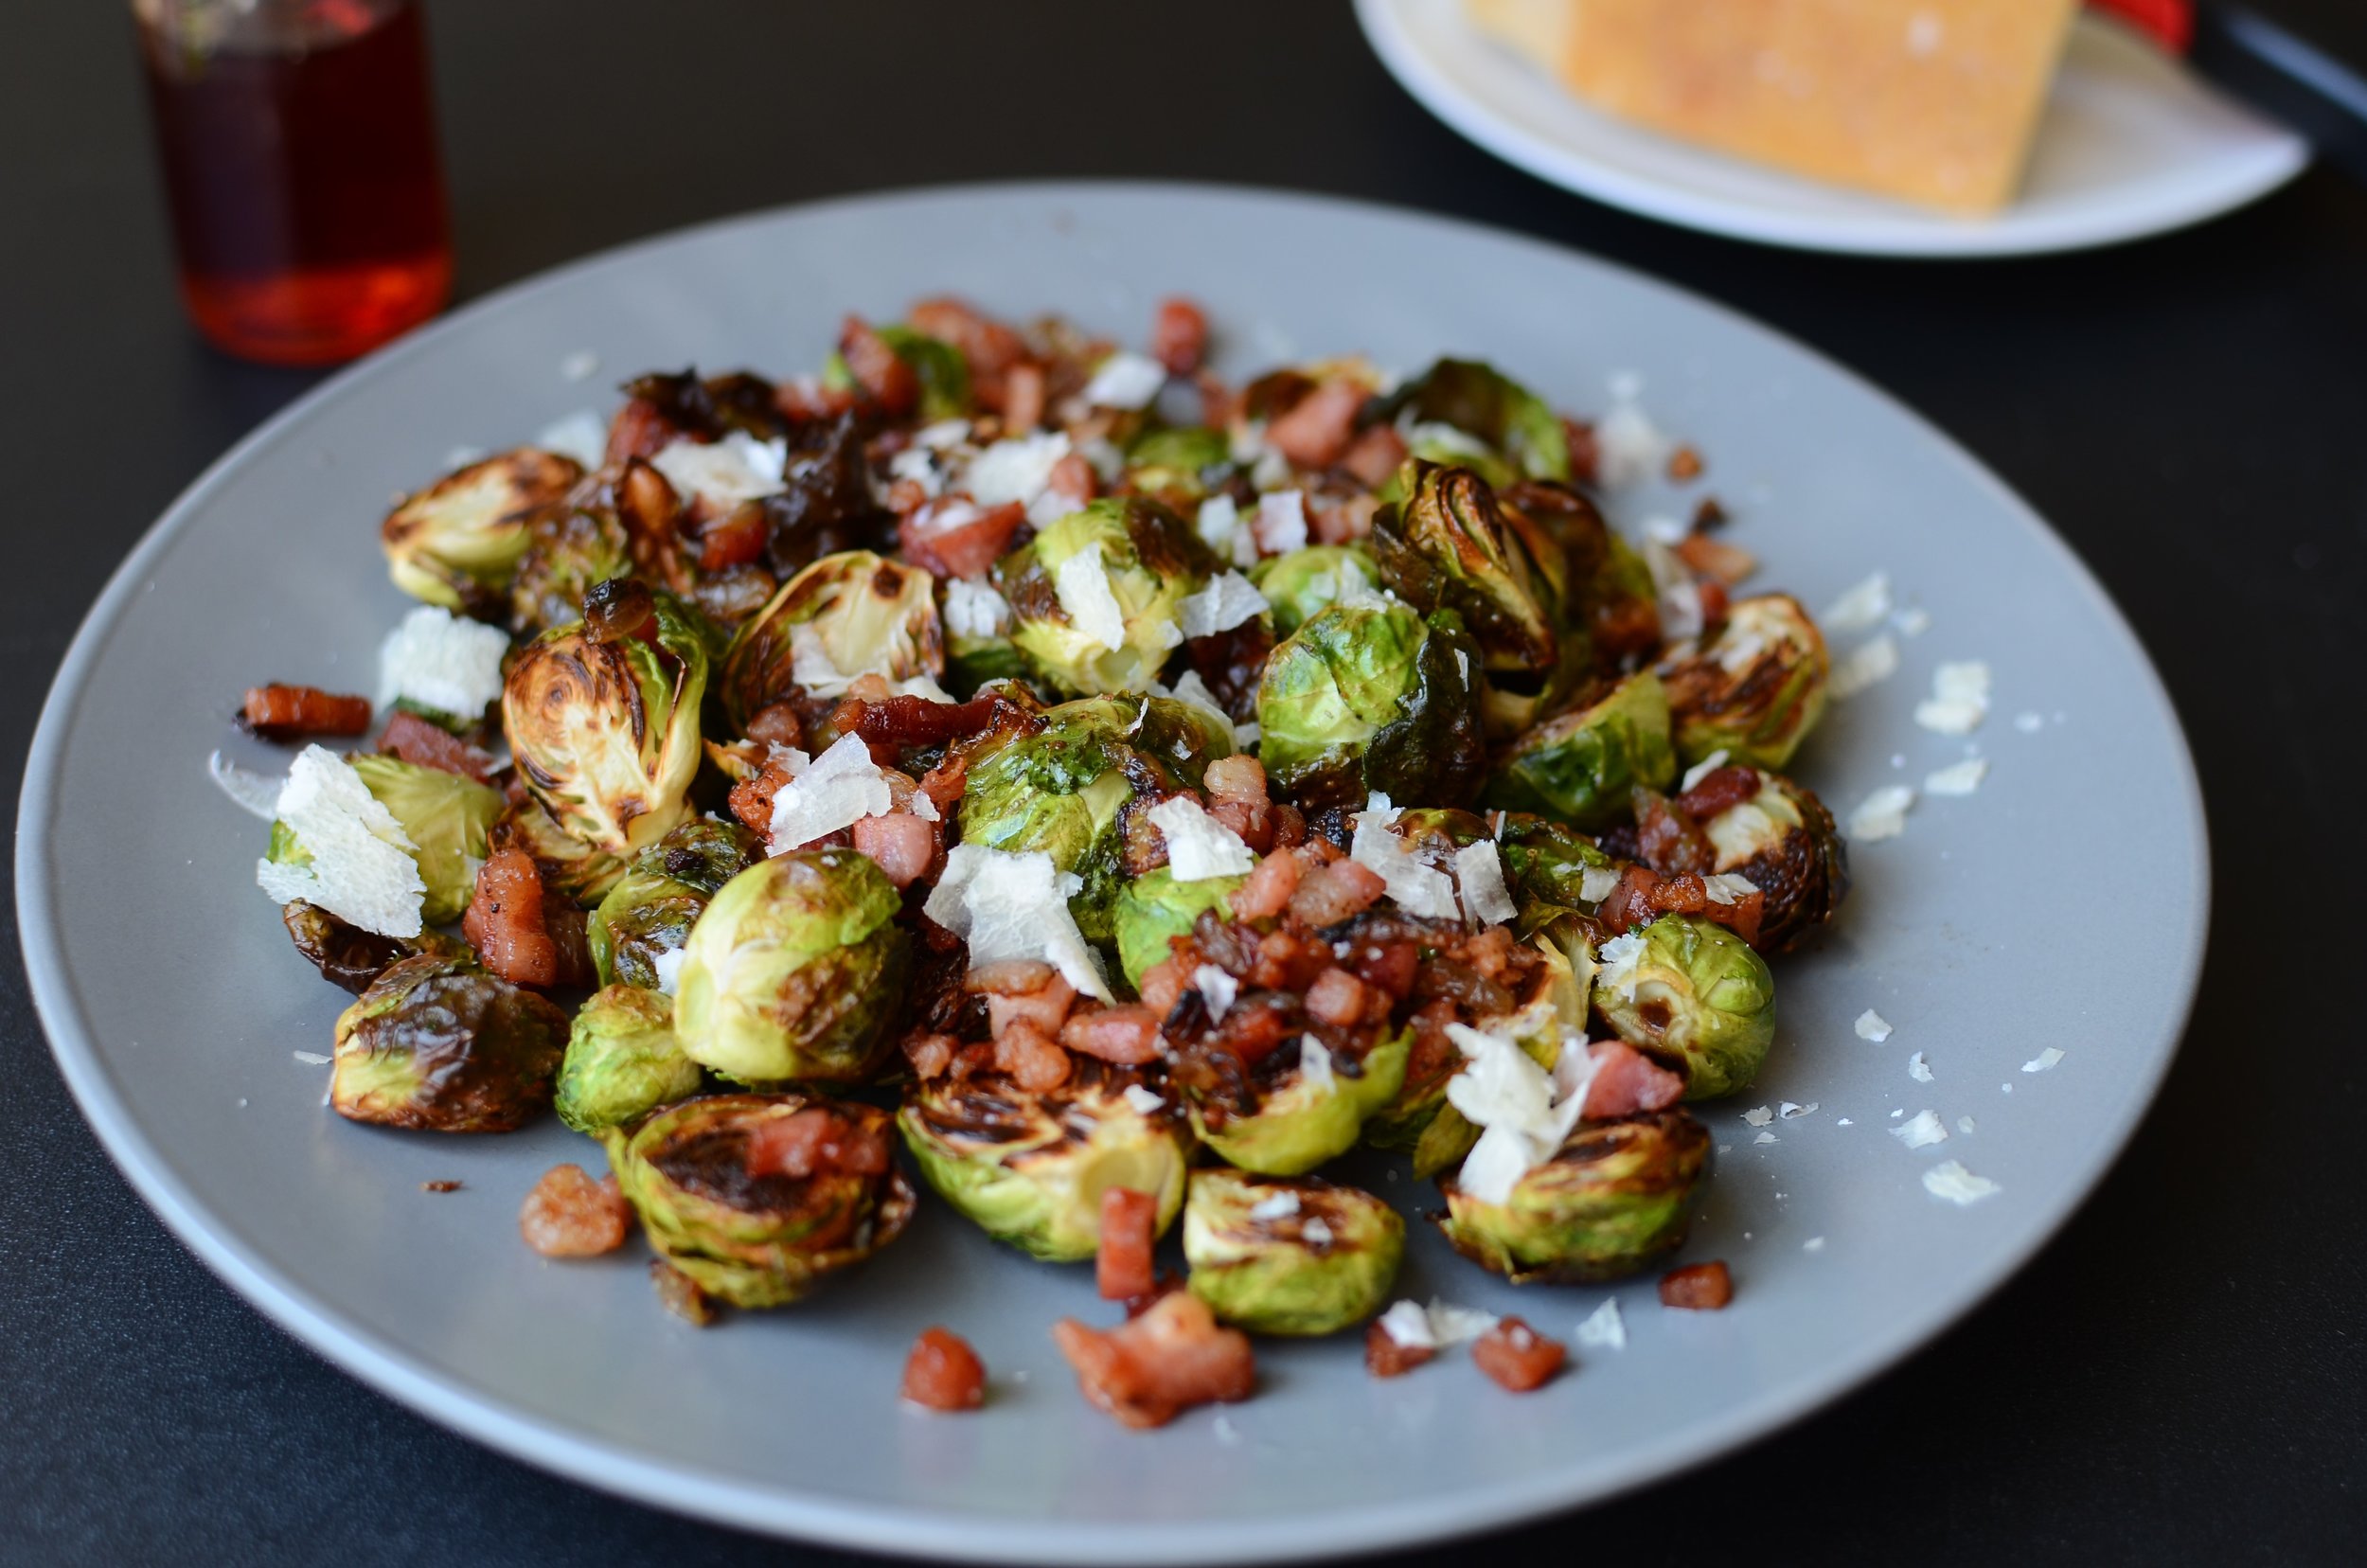
Brussels Sprouts with Pancetta and Parmesan

Patricia @ ButterYum

I'm so glad the old standard boiling method of cooking Brussels sprouts has fallen out of fashion - the results were limp, soggy, gray sprouts that surely had little to no nutritional value.  These days, roasting and sauteing are more common cooking techniques, resulting in creamy, caramelized, vibrant colored sprouts that haven't had all their nutritional value sucked away in a sea ofboiling water. 

Today I've taken my usual oven roasted sprouts and dressed them up with a really tasty mixture of sauteed onions and pancetta, and just before serving, I added shavings of really good parmesan.  This recipe is really delicious and worthy of being served at any holiday meal.  

DSC_0556 (2).JPG

Start by sautéing diced onions and pancetta in a really large skillet over medium high heat, stirring frequently.

DSC_0561 (2).JPG

Continue sauteing until the onions and pancetta begin to caramelize.  

RedWineVinegar.jpg

Turn off the heat and add a little water to deglaze the pan, then add a touch of red wine vinegar - the flavor combination is pure magic!

Pour the mixture over roasted Brussels sprouts and top with shavings of the good stuff, Parmigiano Reggiano.  Enjoy!

Items used to make this recipe:

(affiliate links)


Brussels Sprouts with Pancetta and Parmesan

makes 4-6 servings

Printable Recipe

Ingredients

Directions

  1. In a large skillet over medium high heat, saute onions and pancetta, stirring frequently, until caramelized.

  2. Add water to deglaze pan; remove from heat and stir in red wine vinegar.

  3. Pour contents of pan over roasted sprouts and top with shaved parmesan.
Hot Water Apple Pie

Patricia @ ButterYum

Happy Pi Day (get it? 3.14).  Alright, alright, all cheesiness aside, I know what you're thinking... Hot Water What??!!!!  Yeah, that's what I thought when I first learned about this technique too, but I'm here to tell you the apples in my pie turned out great!  Not mushy at all - firm, yet tender and absolutely packed full of pure apple flavor.  

Typically when I make an apple pie, I'll use a mixture of 3 or 4 different apple varieties, but this technique calls for only 1.  Additionally, the spices are kept to a minimum which really elevates the flavor or the fruit.  Bottom line, if you think you'd like the flavor of golden delicious apples on steroids, it's safe to say this recipe and technique are for you.  

"hot water pour over method" for making apple pie - ButterYum

Start with room temperature golden delicious apples - we're going to need about 4 pounds of peeled, sliced apples.  Don't miss the room temperature part - it's important.  We need to peel them - let me show you my nifty apple peeler.

How fun was that?  I’m in love with how fast this gadget peels an apple!  Sorry for the blurry video, but you get the idea.

Cut out the cores.  I save mine for the girls, and by girls I mean the chickens at my local egg farm.  They know my vehicle and come running every time I visit because they know they're going to get something I bring lots of fruit and veggie scraps for them to snack on.  This week it'll be apple cores, cabbage, carrots, squash seeds, broccoli and cauliflower stems and leaves, some salad greens didn't get eaten, and empty egg shells.

Cut the apples into 1/4-inch slices.  Using a really good knife helps (I love this one).

Heat 3 quarts of water (or cider) until it boils.  If you use cider, save if after soaking the apples to drink later. 

hot water technique for precooking apples for pie - ButterYum

Pour the boiling water over the apples and soak for 10 minutes.  If the apples are cold, they'll make the temperature of the liquid drop too much - it should remain between 140F and 160F during the 10-minute soak.  This is the magic temperature range that allows the pectin in the apples to set, preventing them from totally breaking down into mush during the baking process.  By the way, don't be alarmed if you hear the apples hissing in that hot liquid... you'll see a lot of tiny bubbles rise to the surface too. 

The water is too hot to press the apples down by hand so I weighted them down with a plate.   When 10 minutes are up, drain for another 10 minutes.

Then toss them with sugar, cinnamon, and cornstarch.  There's only 1/4 teaspoon of cinnamon needed for 4 pounds of sliced apples... that's very little, but remember, I said the spices were kept to a minimum to allow that pure apply flavor shine.  

You can hardly see the specks of cinnamon, but they're there - just enough to add the slightest bit of warmth to the pie.  The apples are now ready to go into your favorite pie crust (check out my food processor all-butter crust recipe here, or my make-by-hand all-butter crust here).  

how to make apple pie. the hot water apple pie technique - ButterYum

Items used in this post:

(affiliate links)


Hot Water Apple Pie

makes one 9-inch pie, four 5-inch pies, or six 4-inch pies

Printable Recipe

Ingredients

  • double pie crust (recipe and photo tutorial here and here)

  • 4 1/2 pounds golden delicious apples, peeled, cored, and cut into 1/4-inch slices (*see note below)

  • 3 quarts water (or apple cider)

  • 10 tablespoons granulated sugar

  • 4 tablespoons cornstarch

  • 1/4 teaspoon ground cinnamon (or more to taste)

  • 1/4 teaspoon fine salt

  • 2 tablespoons butter, cut into cubes

  • 2 tablespoons milk or cream

  • turbinado sugar (or granulated sugar)

Directions

  1. Preheat oven to 425F and place rack in bottom center position.

  2. Bring water or apple cider to a boil and pour over apple slices; soak 10 minutes, then drain another 10 minutes.

  3. Add sugar, cornstarch, cinnamon, and salt to the apples; mix well to combine.

  4. Roll half the crust and line pie plate(s) as usual.

  5. Pour the apples into the lined pie plate(s) and dot with butter cubes.

  6. Roll remaining half of crust and top pie, crimp edges to seal and cut a few holes for ventilation.

  7. Brush top crust with milk or cream and sprinkle liberally with turbinado sugar.

  8. Place pie plate(s) on rimmed baking sheet and bake 55-60 minutes for a 9" pie, 40-45 minutes for 5" pies, or 30-35 minutes for 4" pies.

Note

  • The weight of the apples after peeling and coring should be just under 3 1/2 pounds.

adapted from Serious Eats