ButterYum — ButterYum — a tasty little food blog | ButterYum is a recipe blog full of beautiful food photographs by a cooking instructor and recipe developer. Italian recipe, baking recipes, American recipes, dinner recipes, dessert recipes, how to photos, recipe process photos.

Click here for New Year’s Deals on AMAZON

contact us

Use the form on the right to contact us.

You can edit the text in this area, and change where the contact form on the right submits to, by entering edit mode using the modes on the bottom right.


123 Street Avenue, City Town, 99999

(123) 555-6789

email@address.com


You can set your address, phone number, email and site description in the settings tab.
Link to read me page with more information.

Blog

Butteryum food blog recipes

Filtering by Tag: freezer recipes

DIY Garlic Cubes

Patricia @ ButterYum

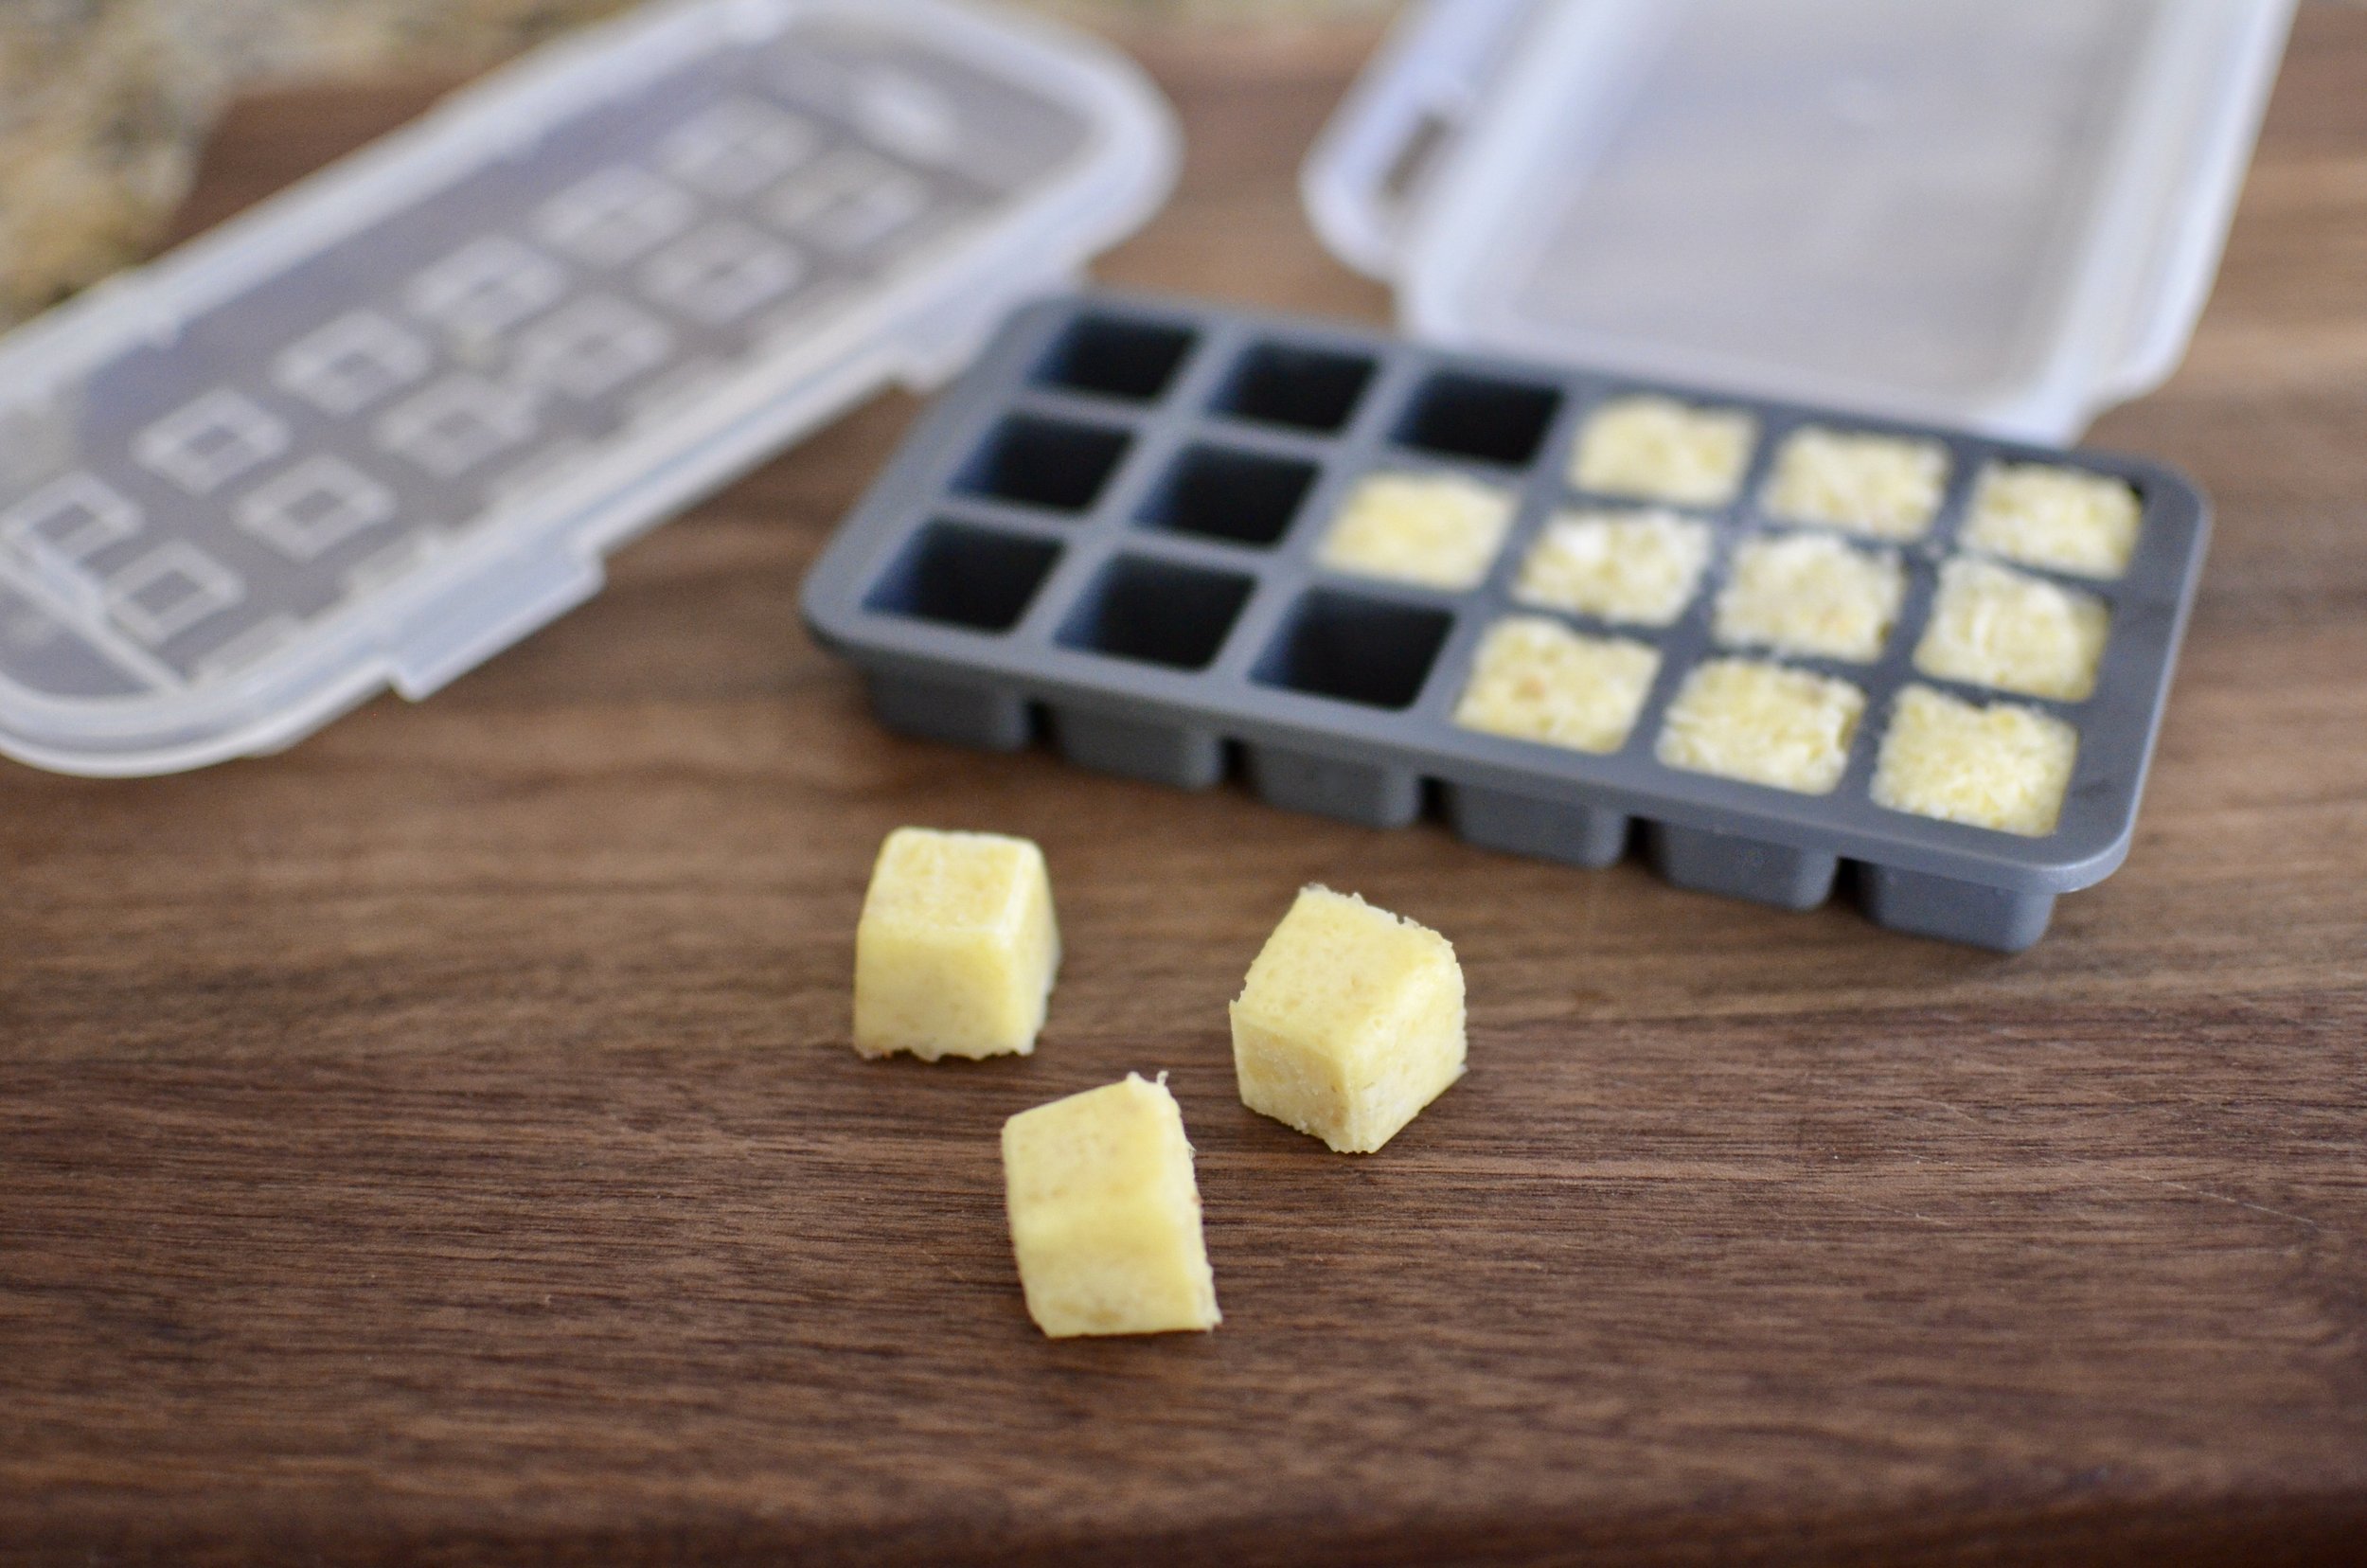
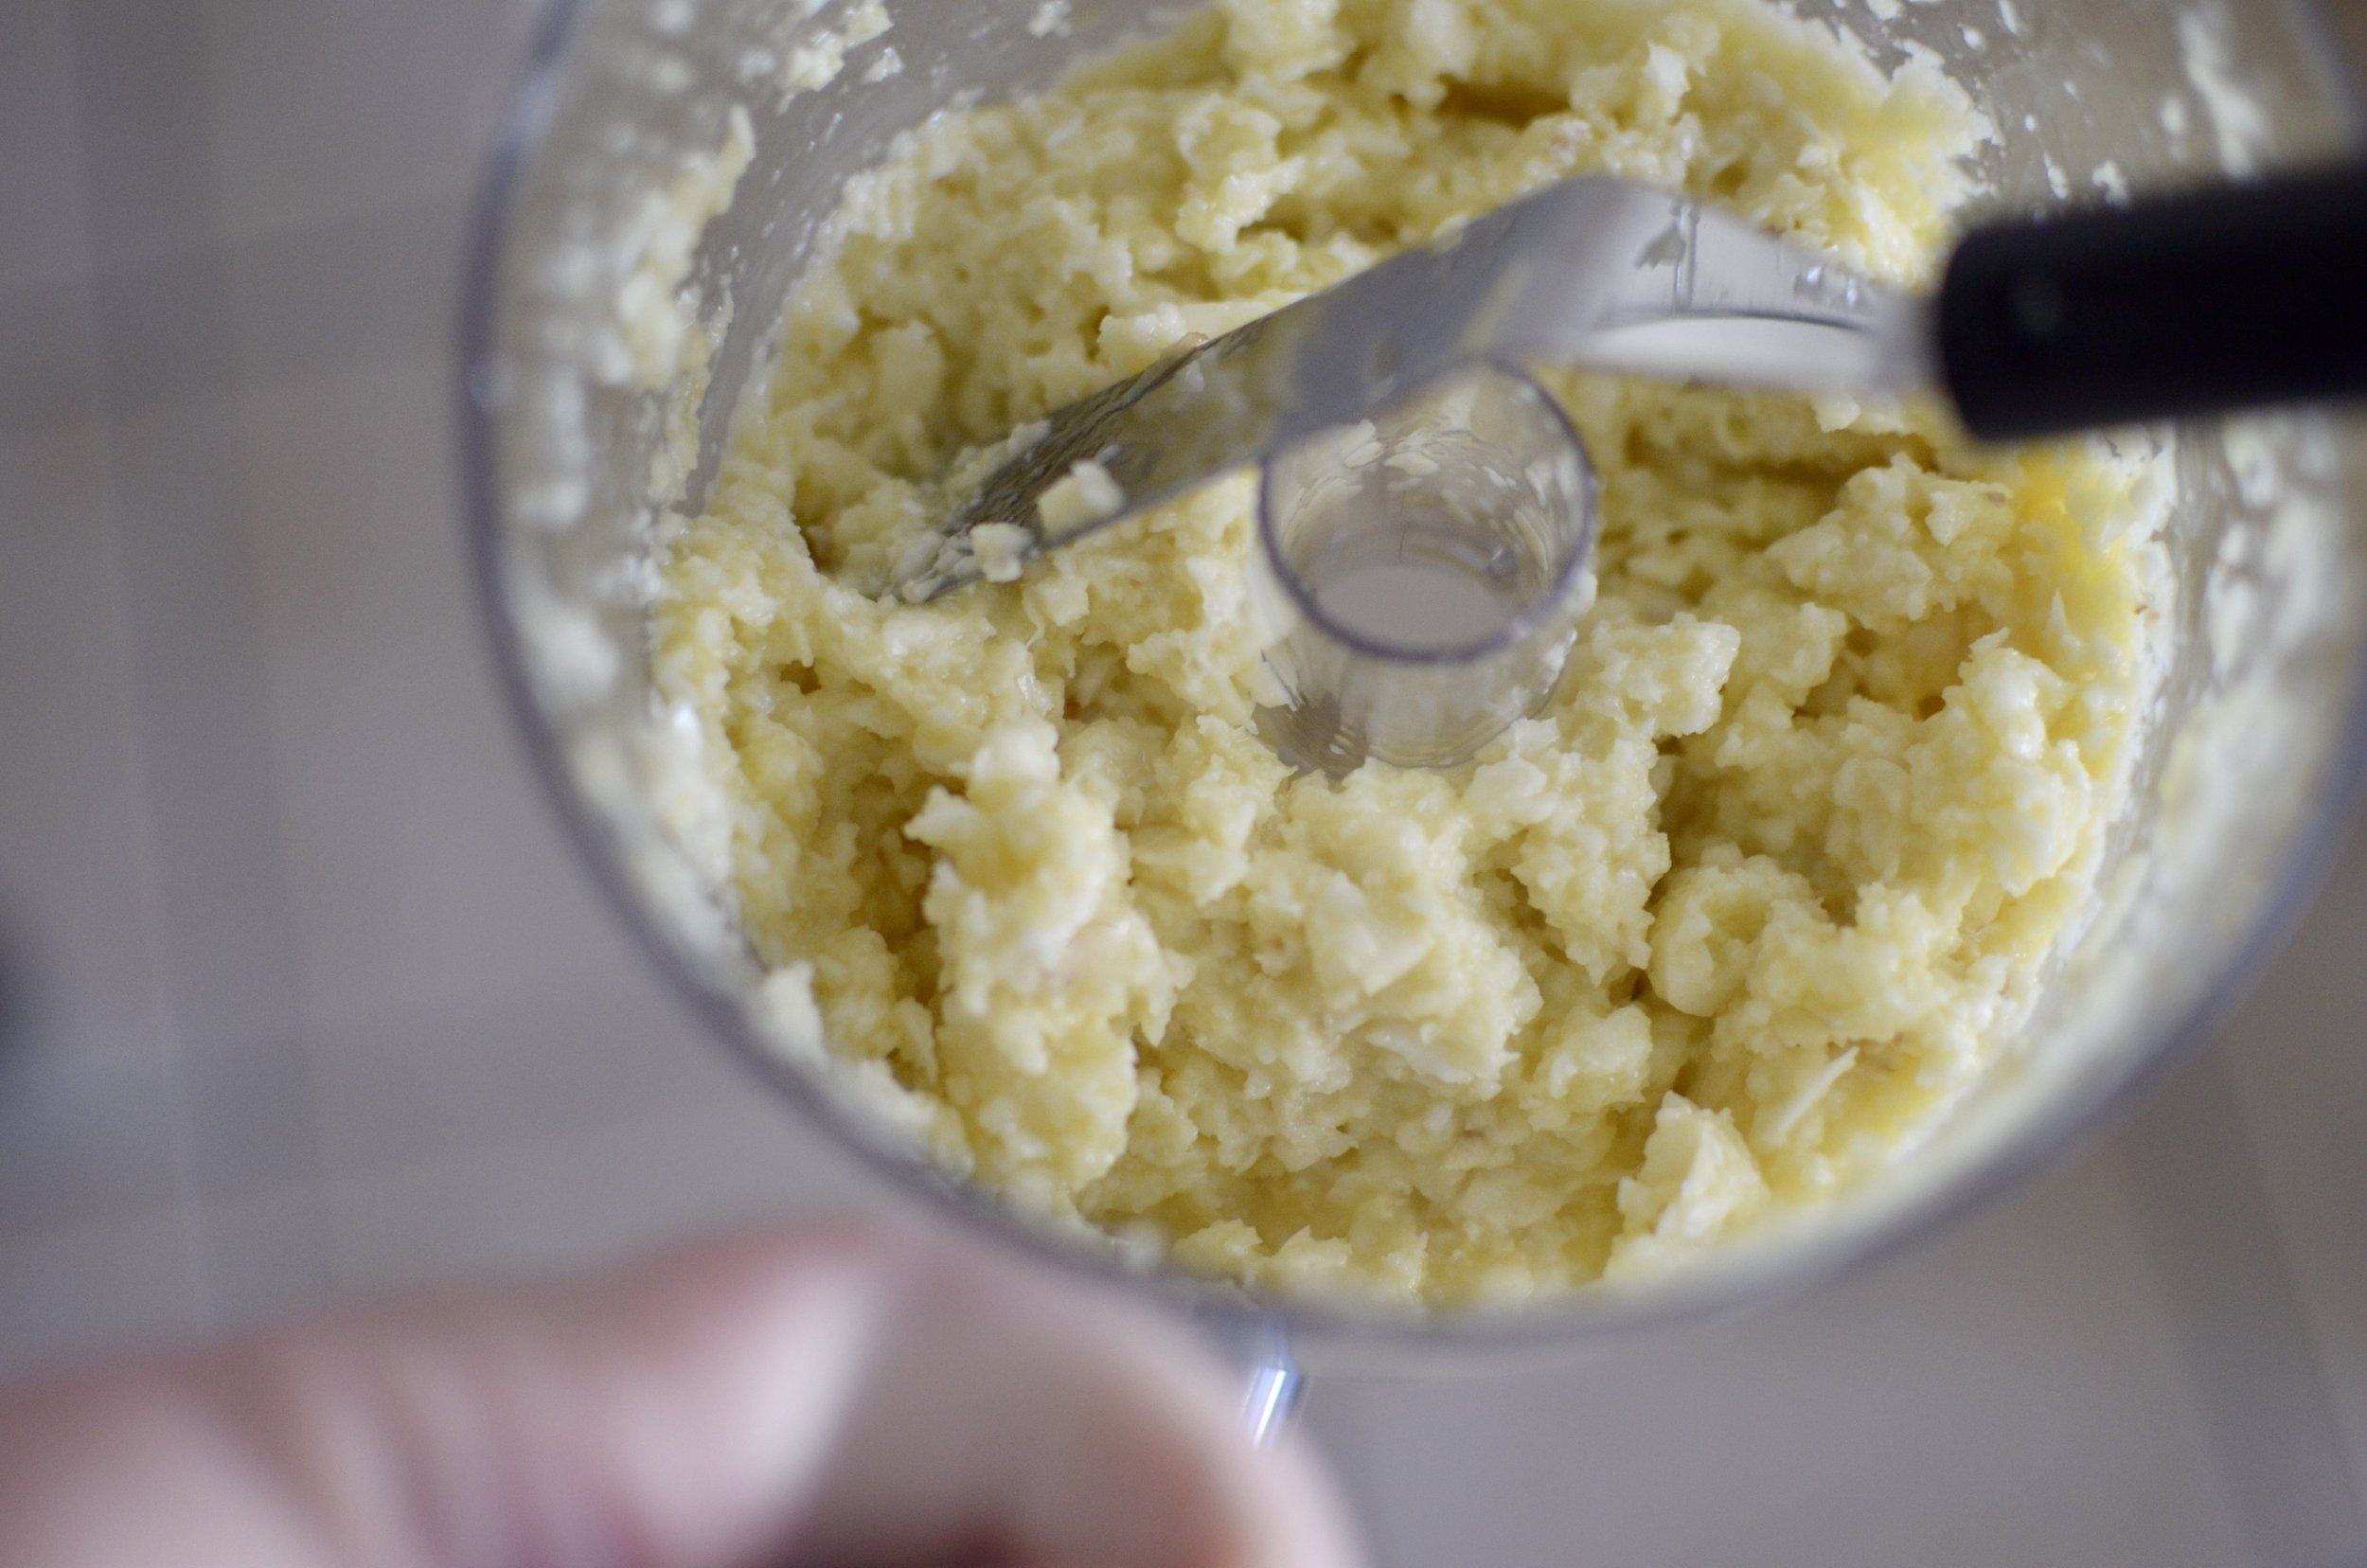
I’ve gotten to a point in my life where I kind of hate chopping garlic each and every time I cook. I used to love smashing and chopping cloves when I prepared meals, but now I find it a tedious task. I also detest jarred garlic as it lacks the wonderful flavor of fresh garlic. Thankfully, I found the perfect solution with these awesome garlic cube trays. To use them, place peeled garlic and a little olive oil in a mini food processor (see my update below) and pulse a number of times (scraping the bowl as needed) until the garlic is finely chopped. Fill the garlic cube trays, seal closed, and freeze. Anytime you need chopped garlic, just pop out as many cubes as you need. Easy peasy.

UPDATE: I no longer add olive oil to the processed garlic. It’s less messy without the oil and the frozen cubes pop right out of the a little tray with the help of a butter knife.

Notes

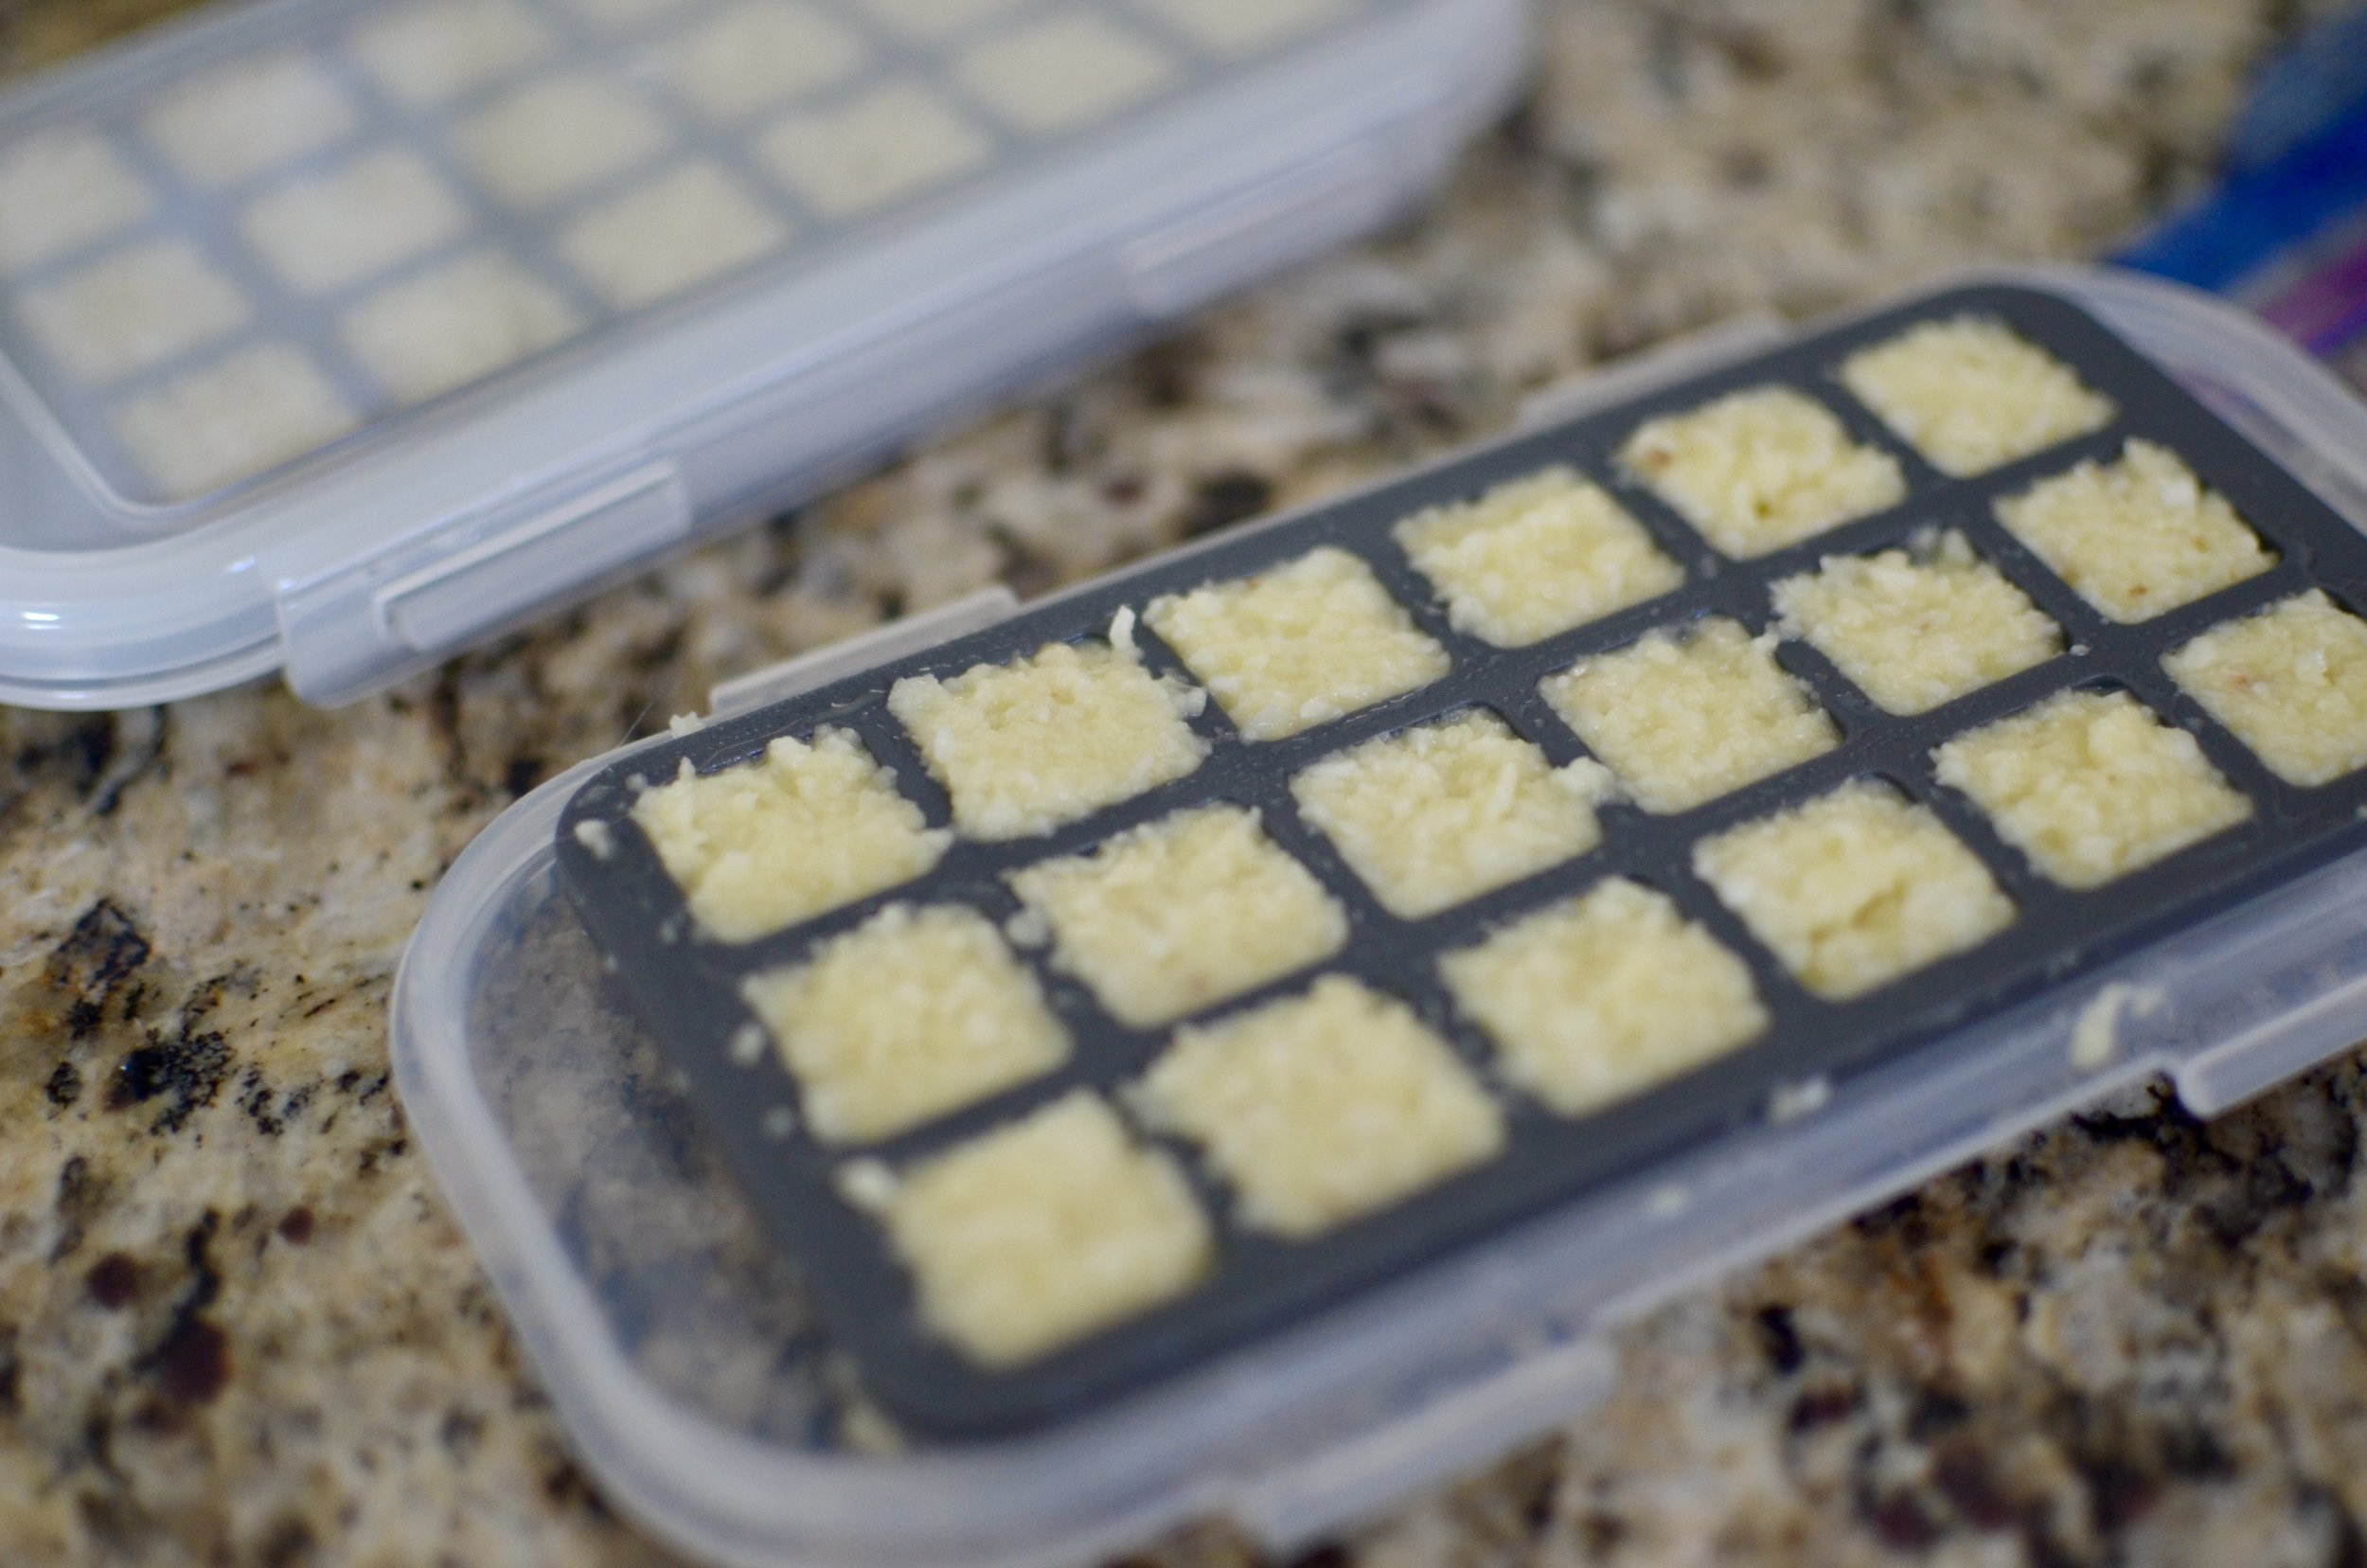
  • These garlic cube trays are completely sealed so there’s no chance the garlic will permeate the freezer.

  • If you purchase pre-peeled garlic cloves, a 6-ounce bag pulsed in a mini processor with about 3 tablespoons of olive oil is enough to fill two garlic keeper trays.

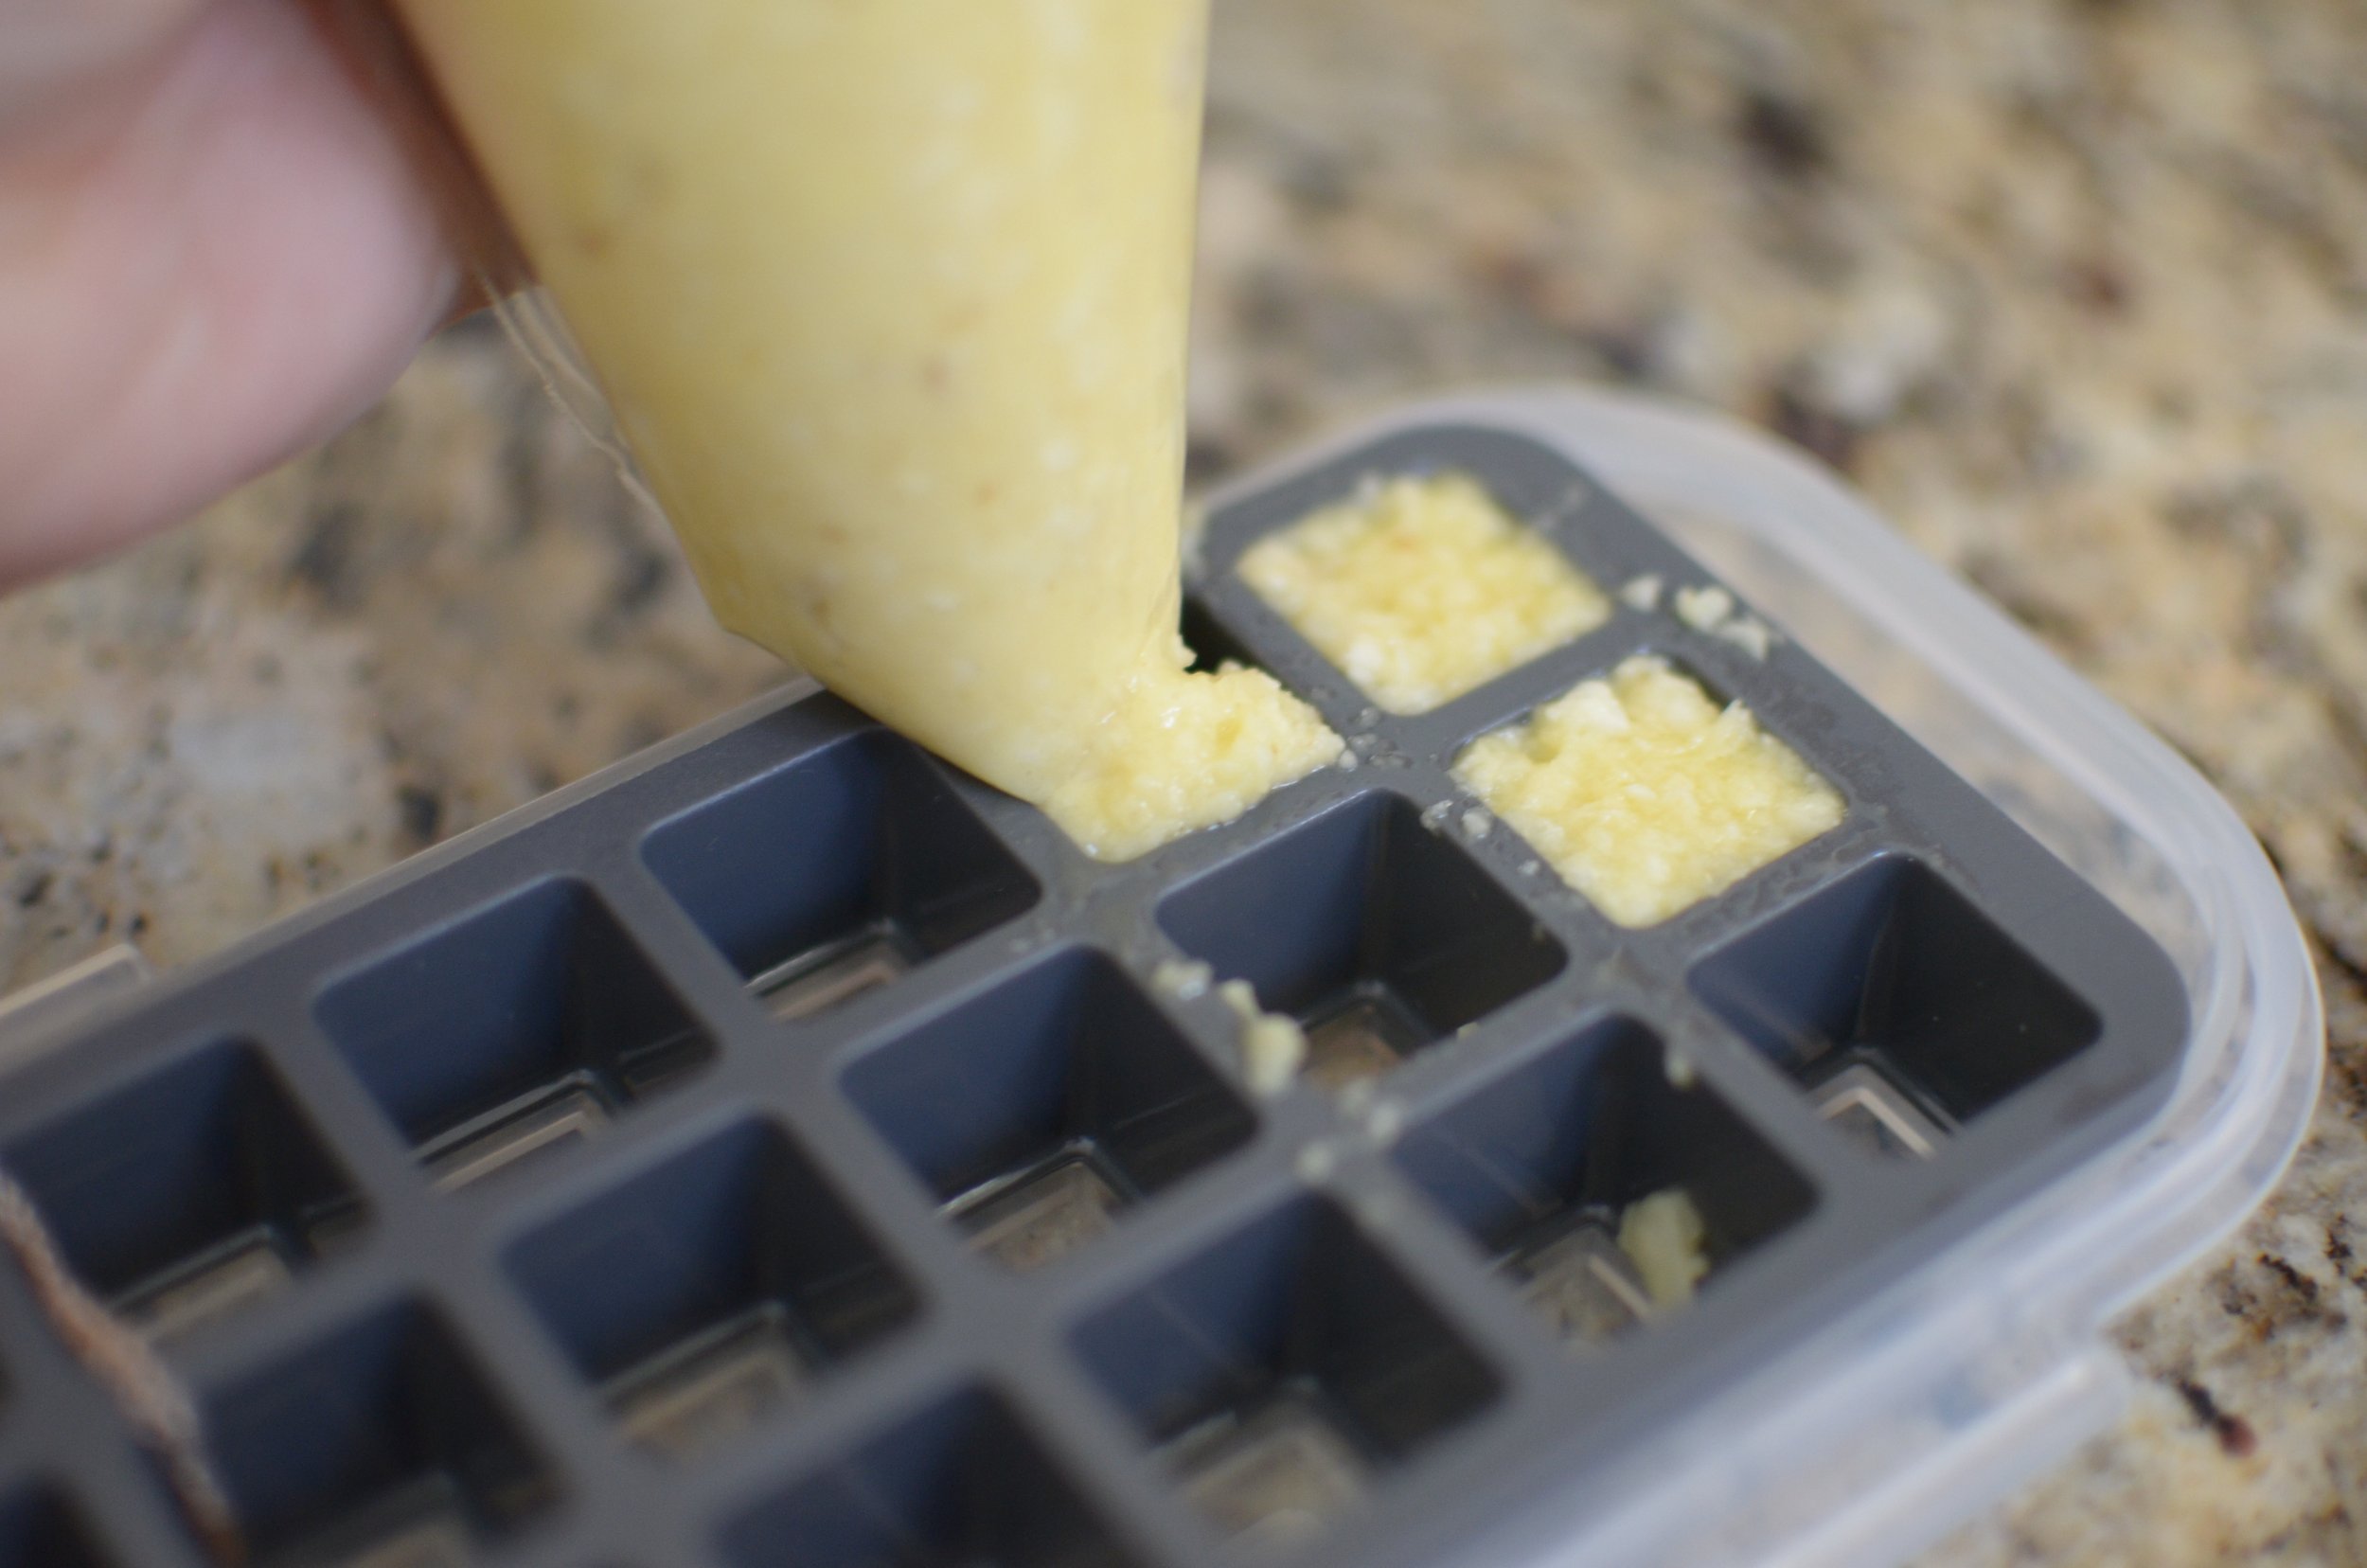
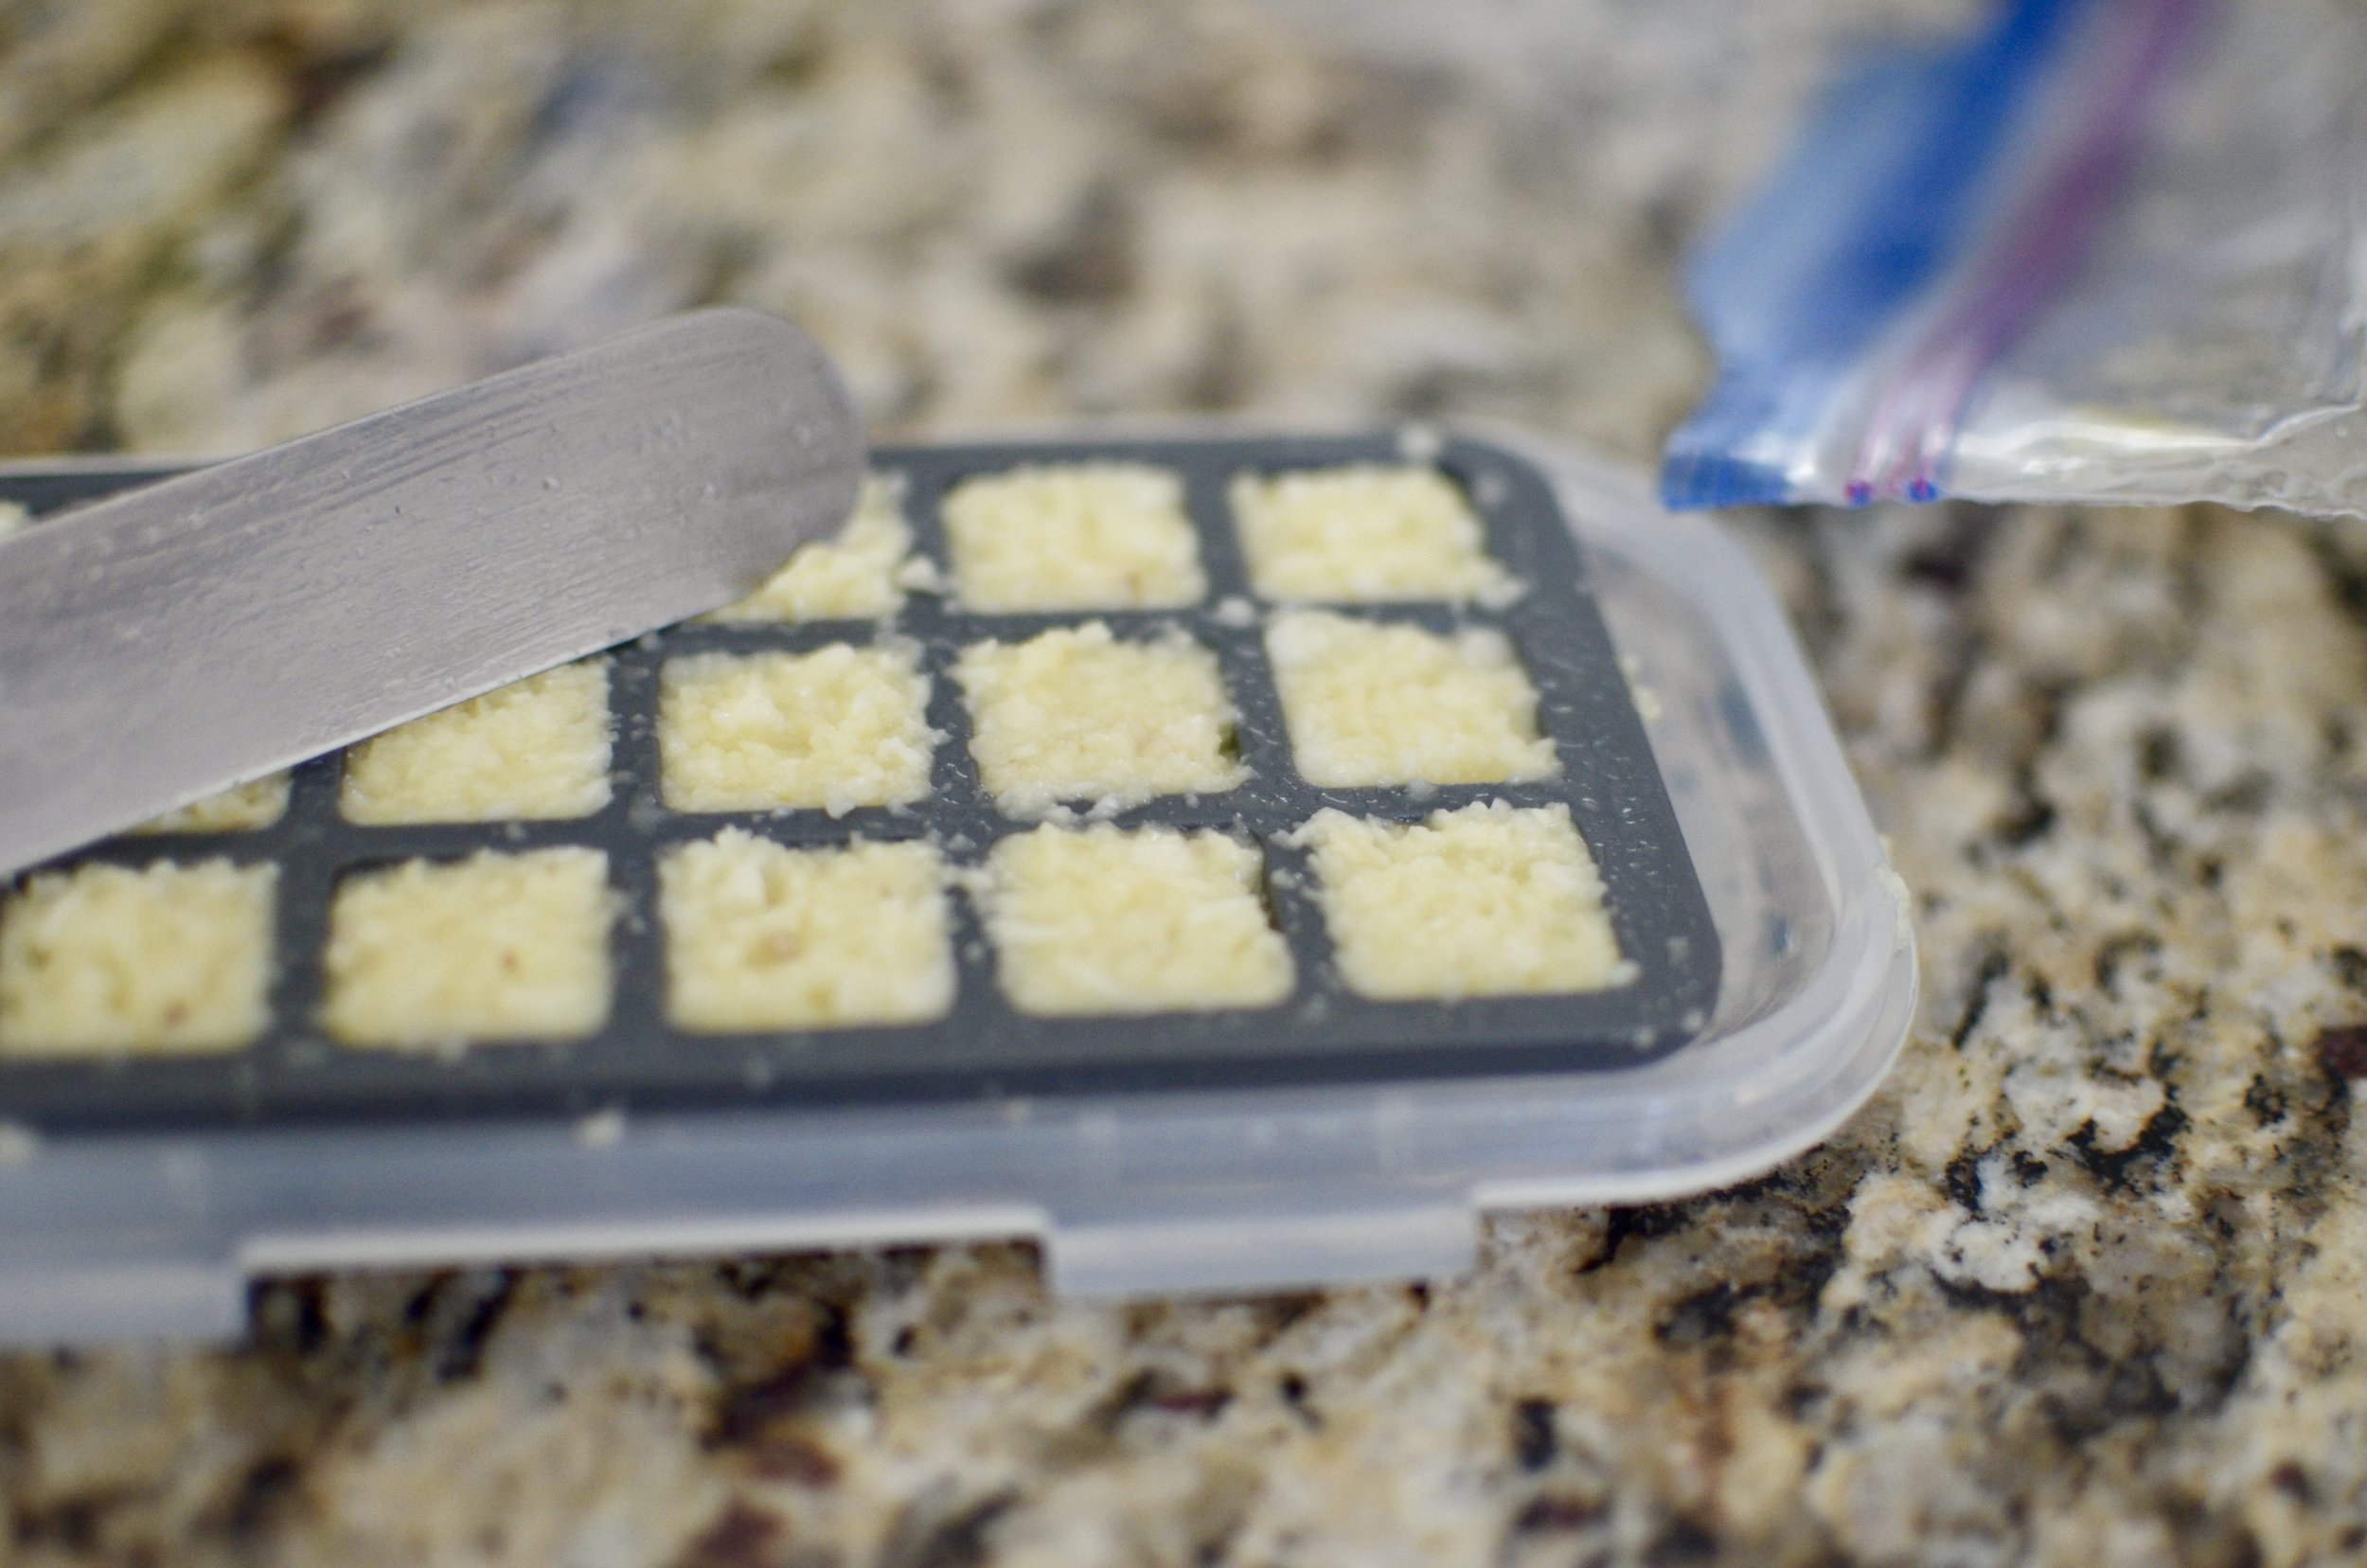
  • To fill the trays neatly, transfer the chopped garlic mixture to a disposable pastry bag or a sturdy zip-top bag, clip the corner, and squeeze to fill the cubes; then use an offset spatula to scrape away any excess.

Homemade Baby Food

Patricia @ ButterYum

As a new grandmother, I was thrilled when my daughter-in-law asked me to make my grandbaby’s first baby foods. I love knowing the baby foods I make are made with the highest quality ingredients. It’s really easy to do, and with commercial baby food costing anywhere from $1.20 to $4.30 for one 4-ounce jar, you can save a small fortune making your own.

Items used to make this homemade baby food:

(affiliate links)


Homemade Baby Food (Stage 1 and 2)

make as much or as little as you like

Printable Recipe

Ingredients

  • steamed fruits and vegetables (see notes below)

  • liquid of choice (water, formula, breast milk)

Directions

  1. Steam or roast fruits or vegetables until soft (if needed - see notes below).

  2. Puree in personal blender with water, formula, or breast milk until the desired consistency is reached (very thin for Stage !, thicker for Stage 2).

  3. Pour into baby food jars leaving 1/2-inch head space, label, and freeze for up to 3 months.

Notes

  • Stage 1 Food Ideas: Start with easy to digest fruits and veggies like carrots, sweet potatoes, butternut squash, green beans, peas, pumpkin, mango, apples, peaches, pears, bananas (no need to cook).

  • Stage 2 Food Ideas: try thicker consistency combinations like blueberry/strawberry/apple, spinach/zucchini/peas, sweet corn/green beans, carrots/sweet corn, pumpkin, apple/pumpkin/cinnamon, etc. This is also a good time to start introducing small amounts of herbs and spices. Hold of on added sugar or salt until baby reaches 12 months of age.

  • Thaw frozen baby food in the fridge overnight, and use within 72 hours. If you feed directly from container, don’t try to save leftovers (they will liquify). If the entire jar isn’t going to be used, I suggest dispensing into a separate bowl before feeding.

  • Bananas should be pureed as needed as they do not store well once pureed.

  • Organic fruits canned in water with no sugar added can be pureed straight out of the can.

  • For sweet potatoes, pumpkin, and squash, I prefer to roast them rather than steam them.

  • Garden fresh fruits and vegetables are wonderful, but frozen are an excellent option when fresh fruits and veggies are out of season.