contact us

Use the form on the right to contact us.

You can edit the text in this area, and change where the contact form on the right submits to, by entering edit mode using the modes on the bottom right.


123 Street Avenue, City Town, 99999

(123) 555-6789

email@address.com


You can set your address, phone number, email and site description in the settings tab.
Link to read me page with more information.

Blog

Butteryum food blog recipes

Filtering by Category: slow cooker recipes

Creamy Pesto Pasta Salad

Patricia @ ButterYum

Here’s a delicious pasta salad to add to your culinary repertoire. The recipe makes a ton and stores well for several days in the fridge so you can easily make it ahead. The flavor of this salad is best served slightly warm or at room temperature - enjoy!

Items used to make this recipe:

(affiliate links)


Creamy Pesto Pasta Salad

makes enough to feed a crowd

Printable Recipe

Ingredients

  • 1 pound pasta (shapes that work well are gemelli, fusili, rotini, penne)

  • 3/4 cup prepared pesto (about 6 ounces)

  • 1/2 cup real mayonnaise (we love Duke’s)

  • 1/2 teaspoon kosher salt

  • 2 cups frozen peas, thawed

  • 2 cups asparagus tips, cooked

  • 15-ounce can chickpeas, rinsed and drained

  • Optional: 3/4 cup pine nuts, toasted

  • Garnish: chopped fresh chives

Directions

  1. Cook pasta in salted water until al dente; drain and set aside until needed.

  2. In a very large mixing bowl (6-quart or larger), whisk together the pesto, mayo, and salt.

  3. Add the cooked pasta, peas, asparagus, chickpeas, pine nuts, and chives; mix well and serve immediately..

adapted from The Cookie Rookie

Notes

  • My favorite store-bought pesto is Kirkland brand from Costco. It’s made with D.O.P. Genovese Basil imported from Italy. But if you prefer to use homemade, check out my recipe here.

  • Feel free to use any pasta you like, but I prefer shapes that are 1 to 2 inches in length (roughly the same size of the asparagus tips).

White Bean and Hominy Freezer Chili

Patricia @ ButterYum

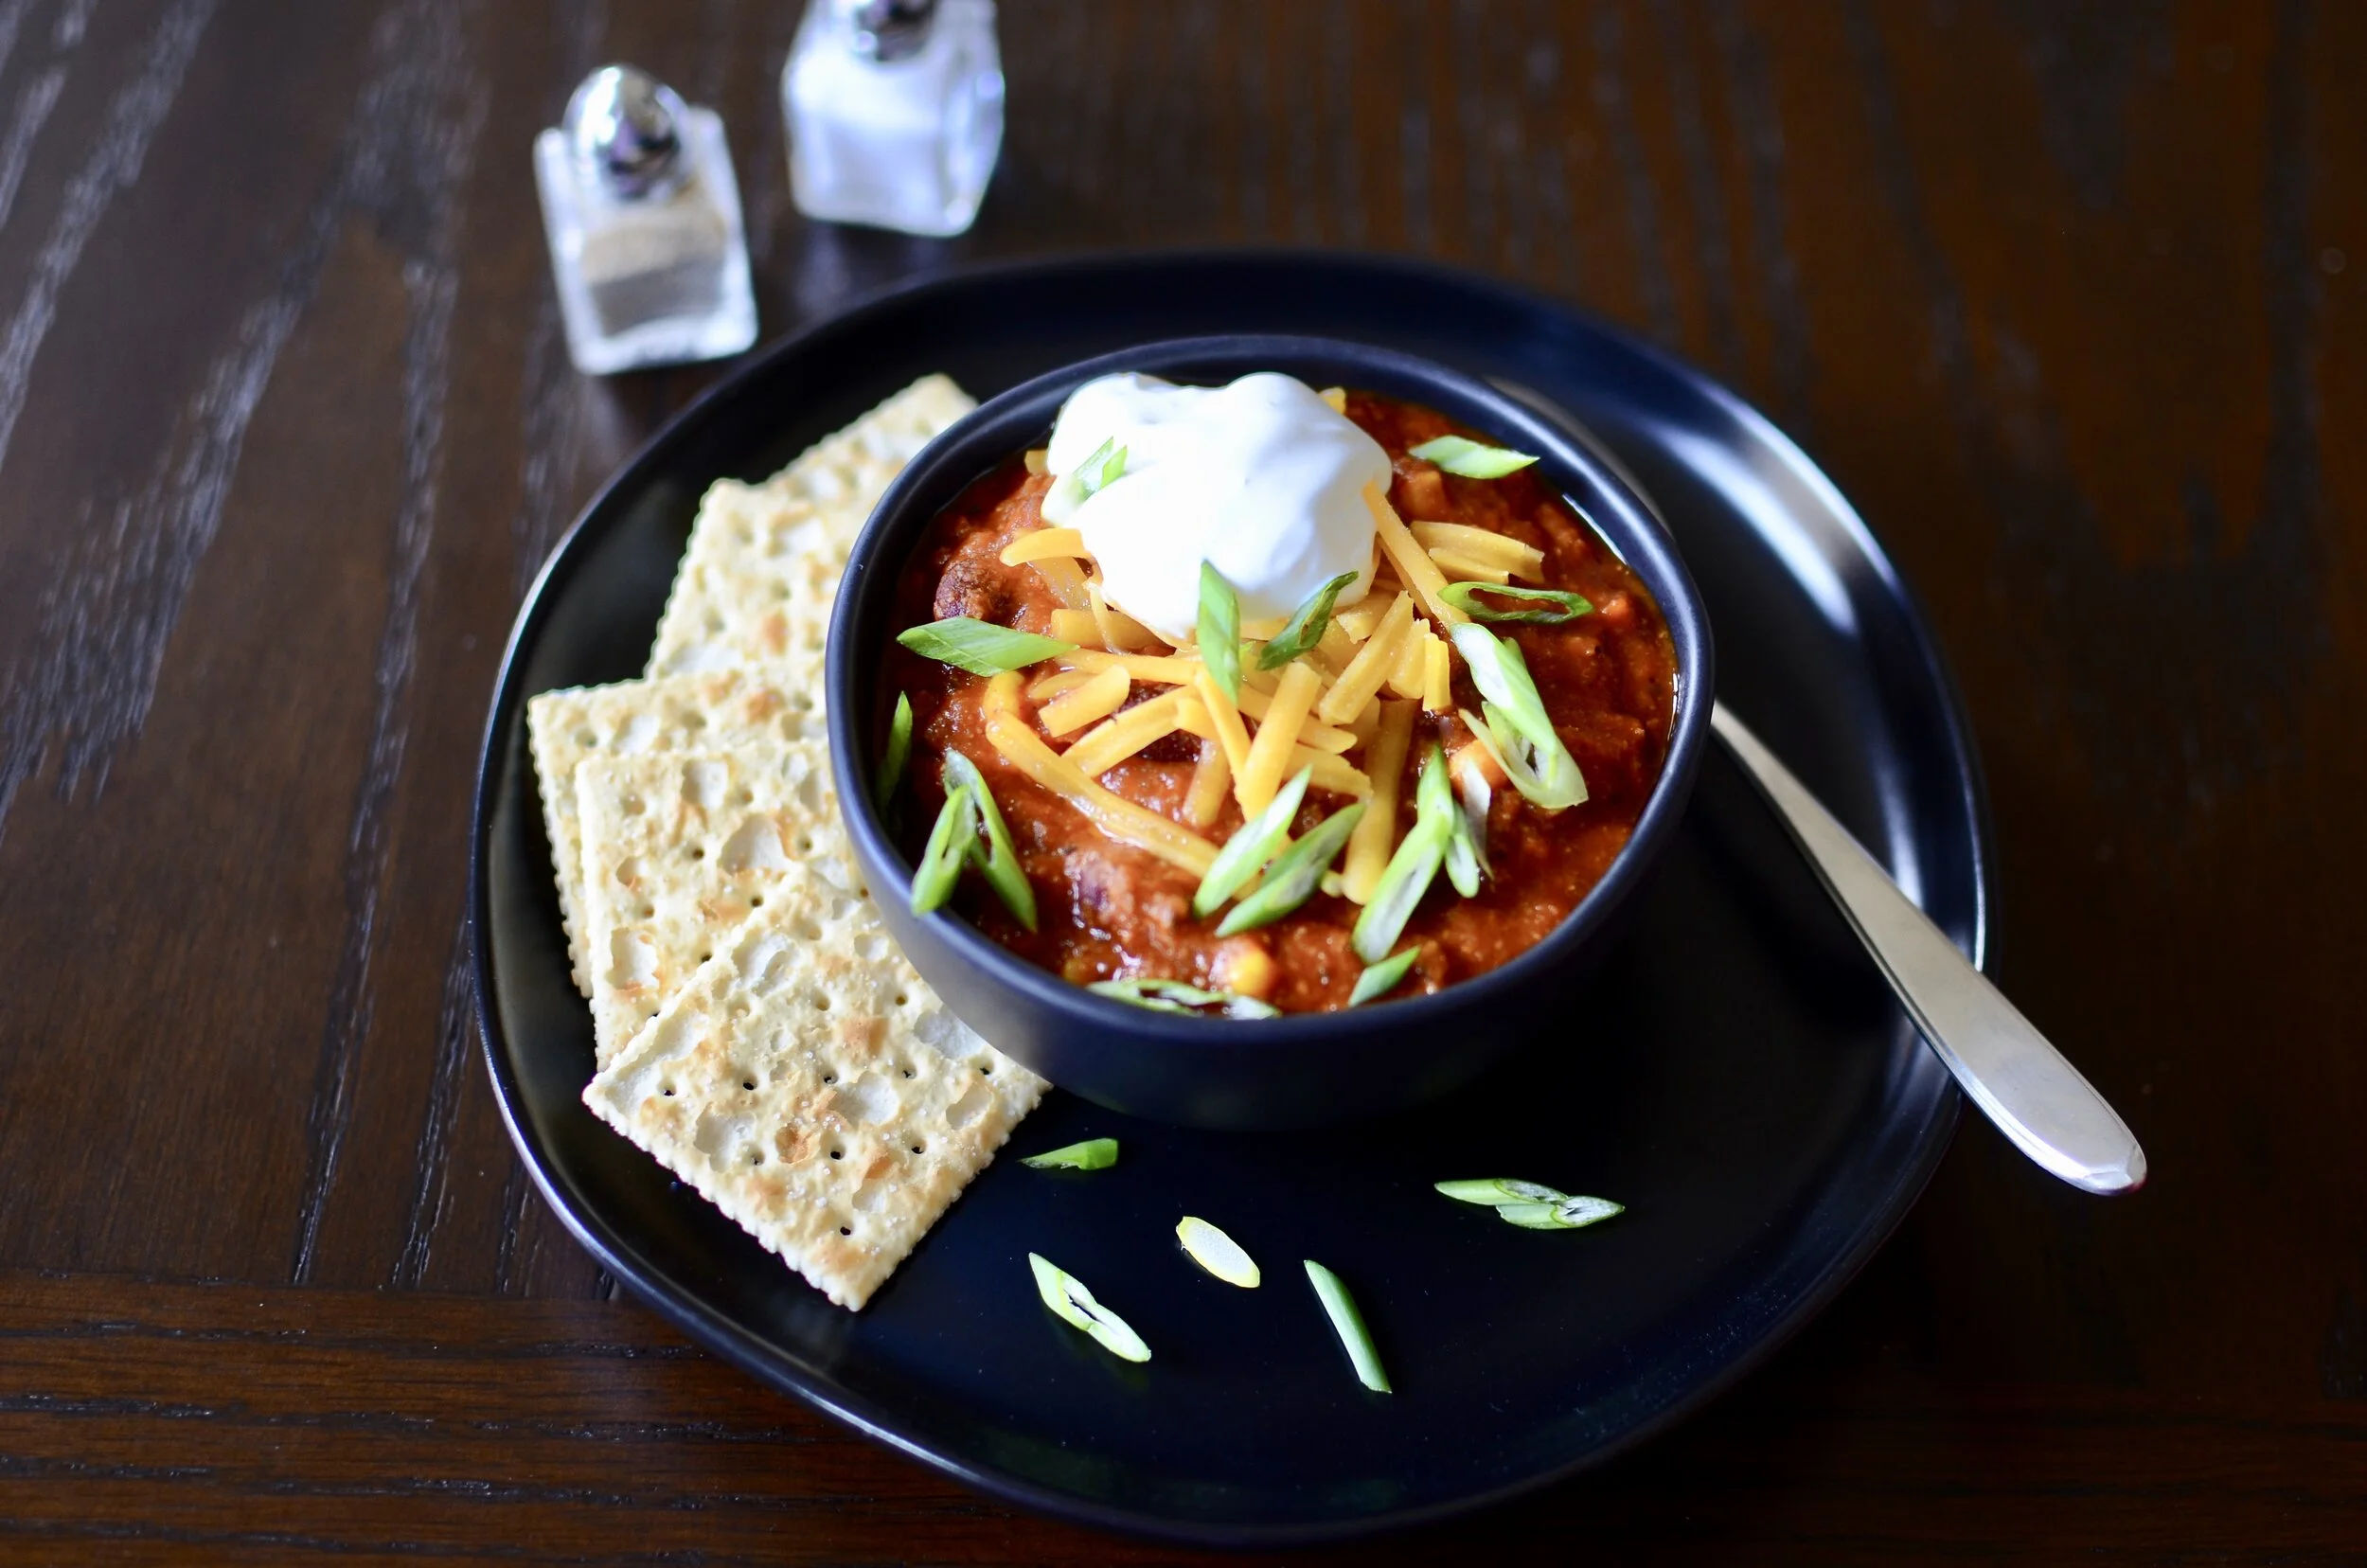
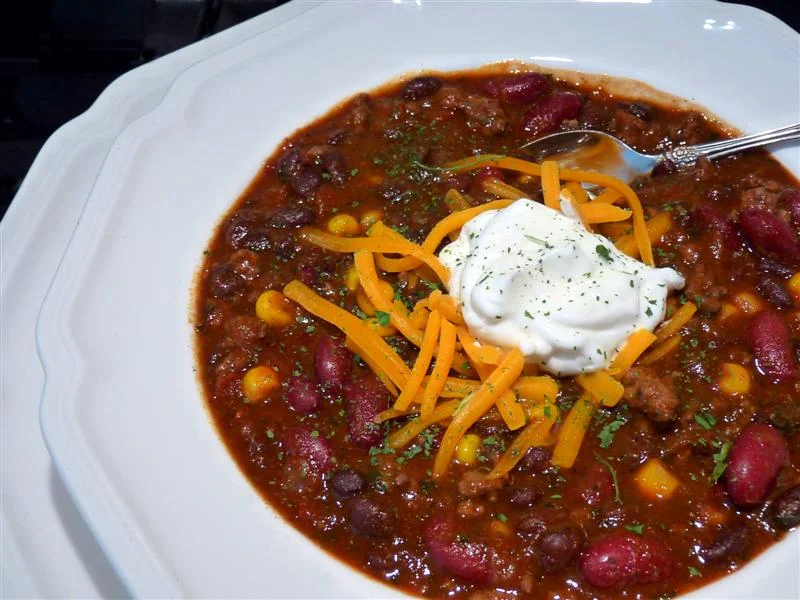
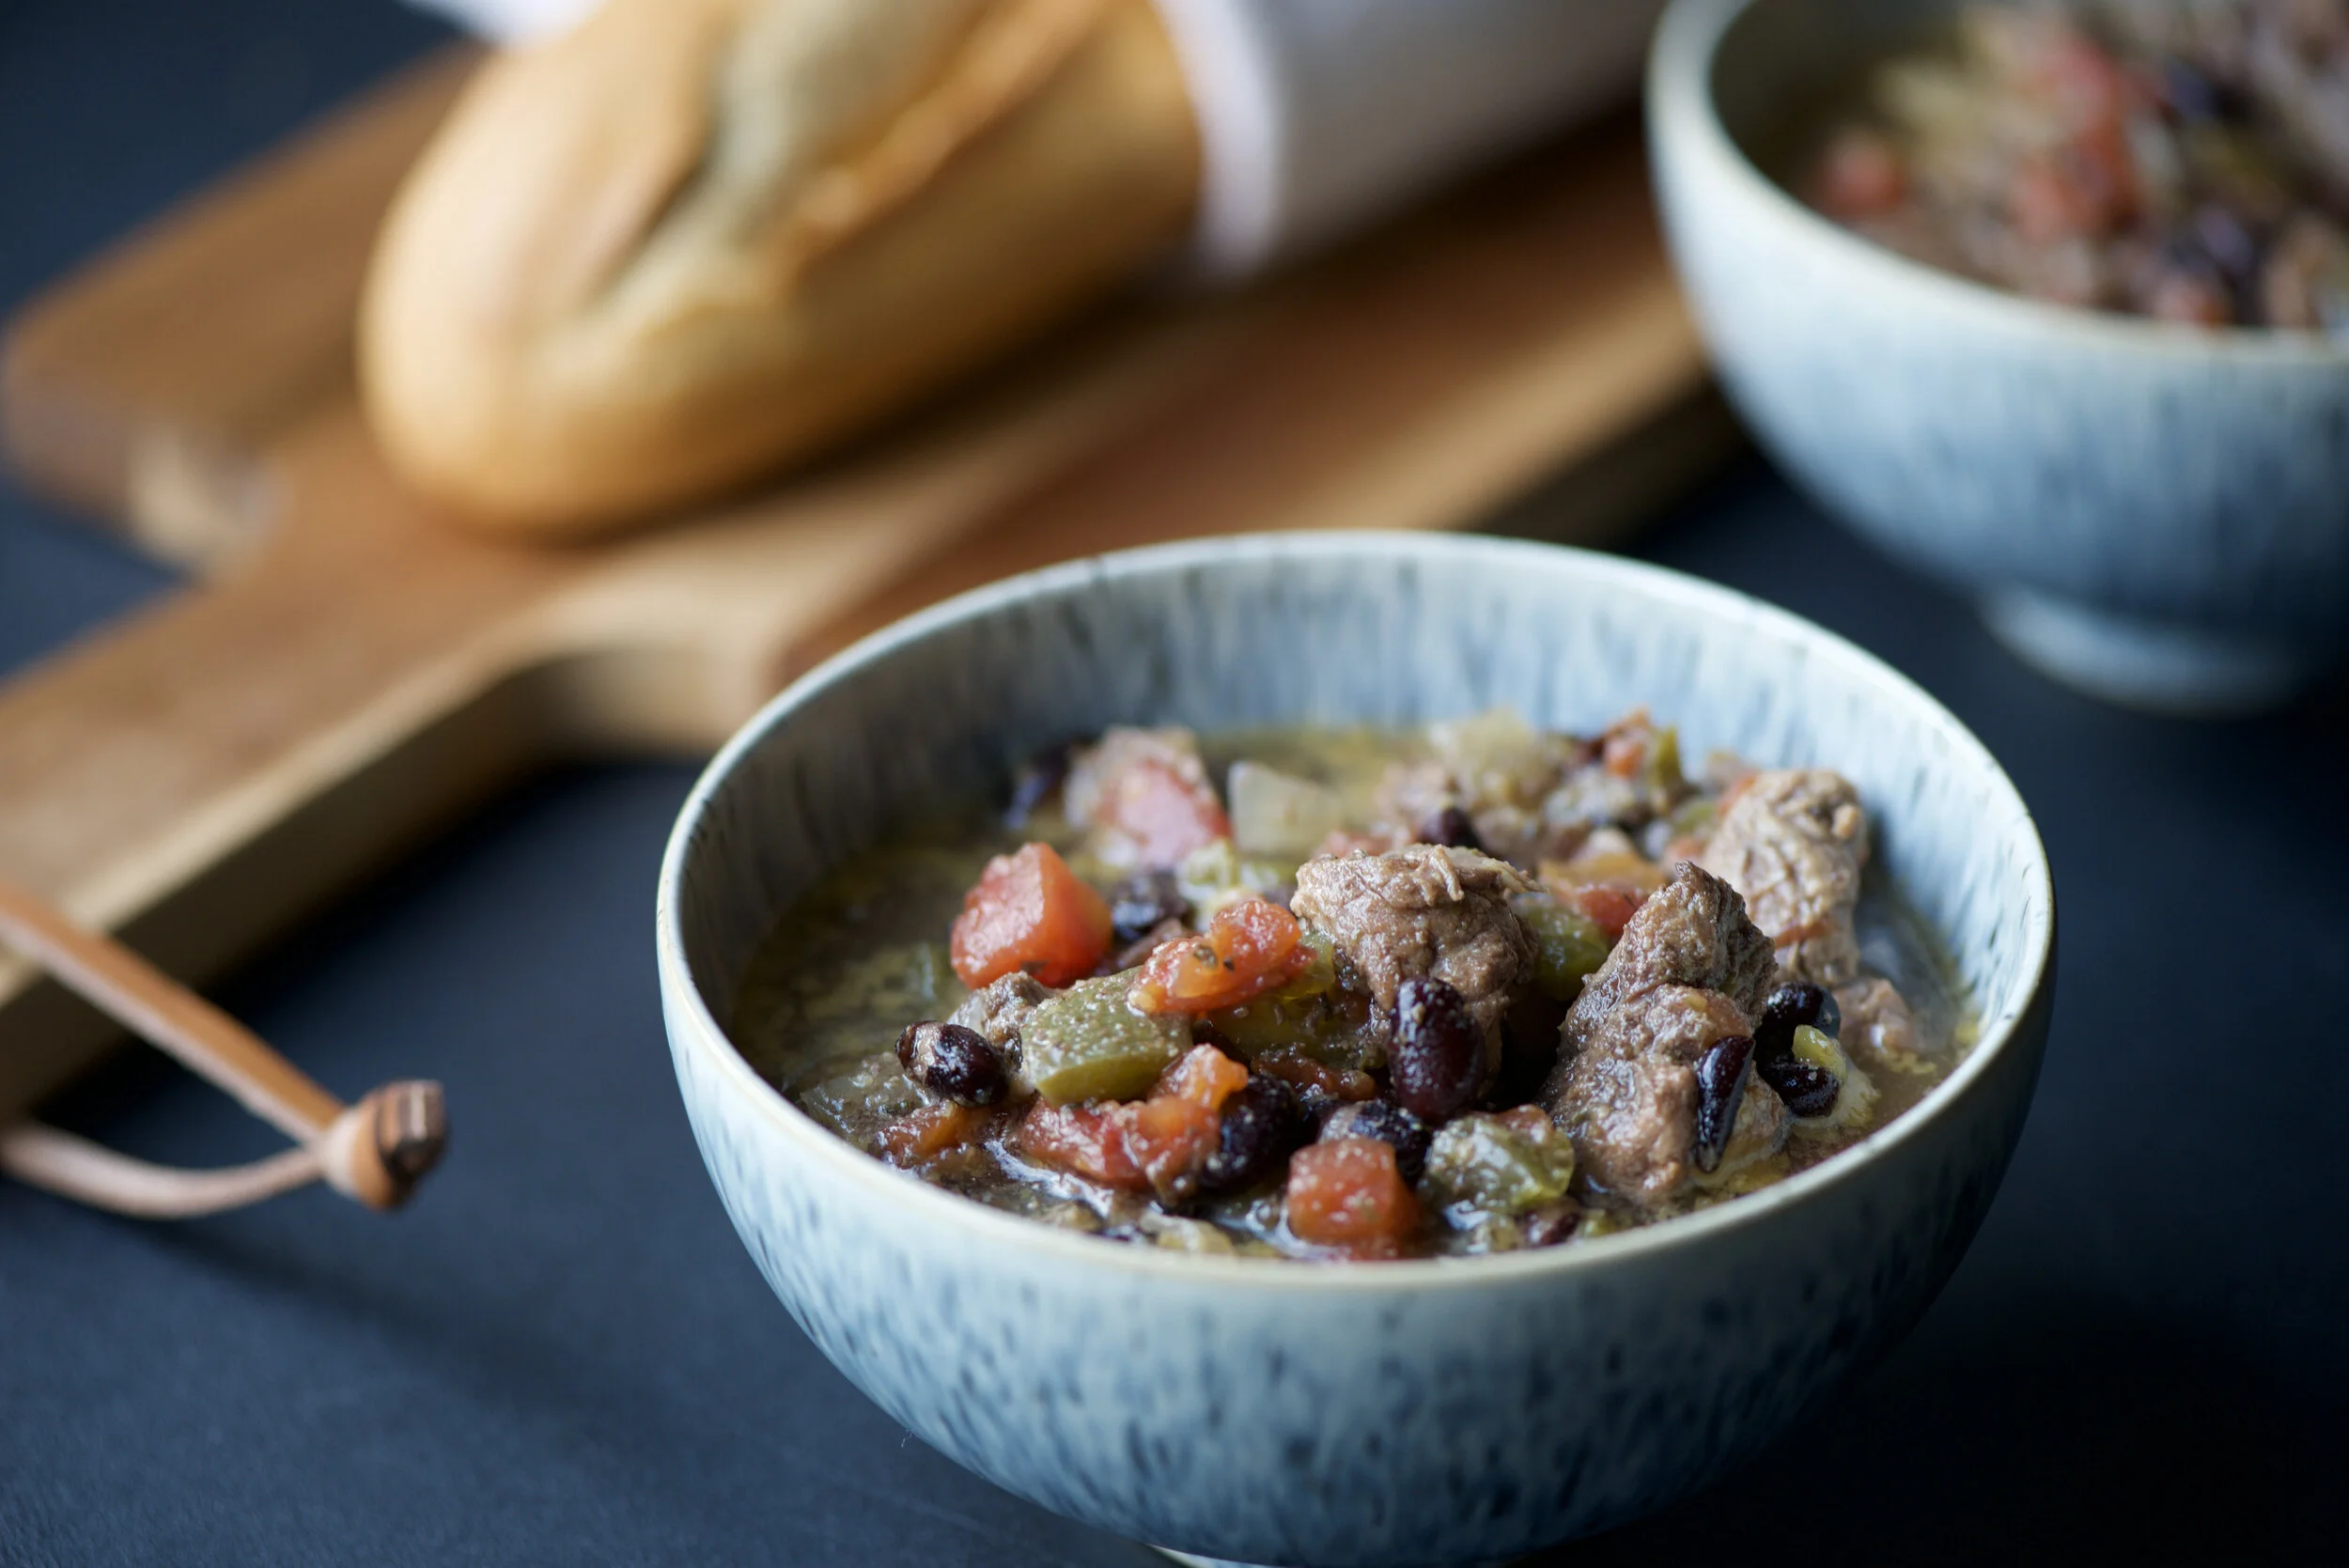
A while back I shared a spicy, make-ahead Black Bean Chipotle Freezer Chili recipe with you. Today’s recipe is another make-ahead freezer chili, but with a more gentle flavor profile. I really love the convenience of having a big batch of chili ingredients in the freezer, ready to go. When the mood strikes, all I have to do is toss everything in a slow cooker and wait for the magic to happen.

white.bean.hominy.freezer.chili.2_butteryum.jpg

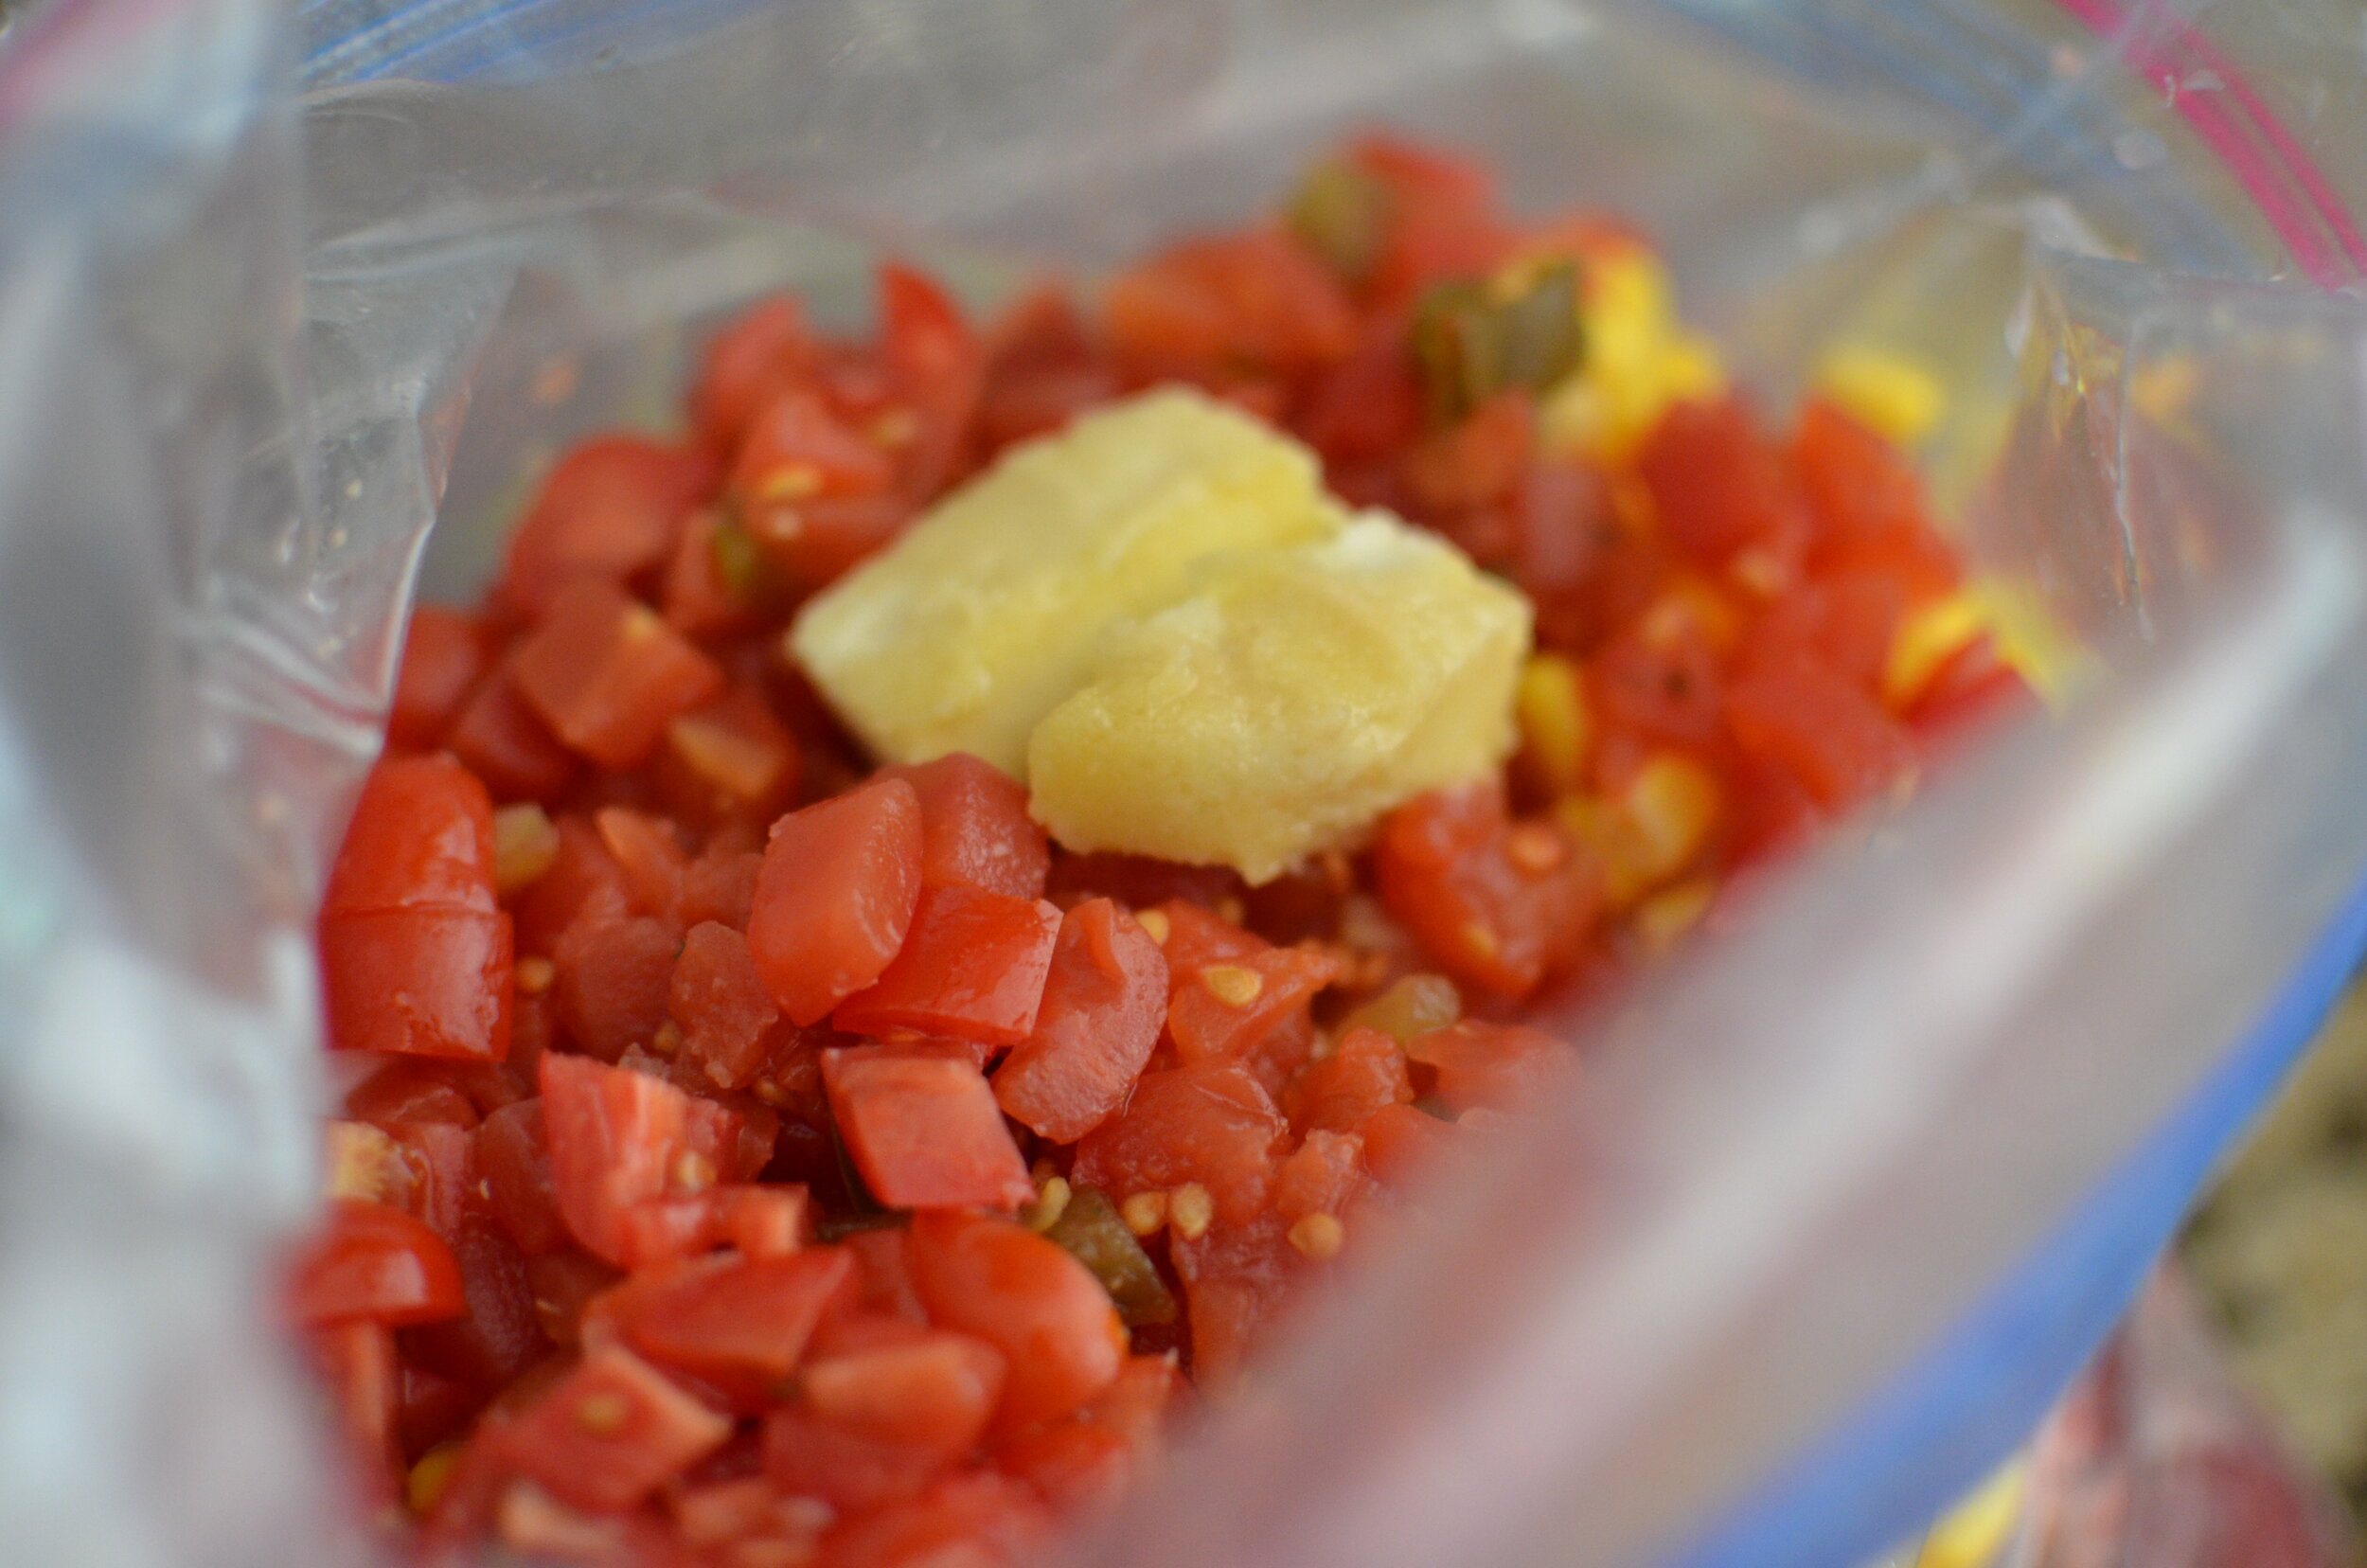
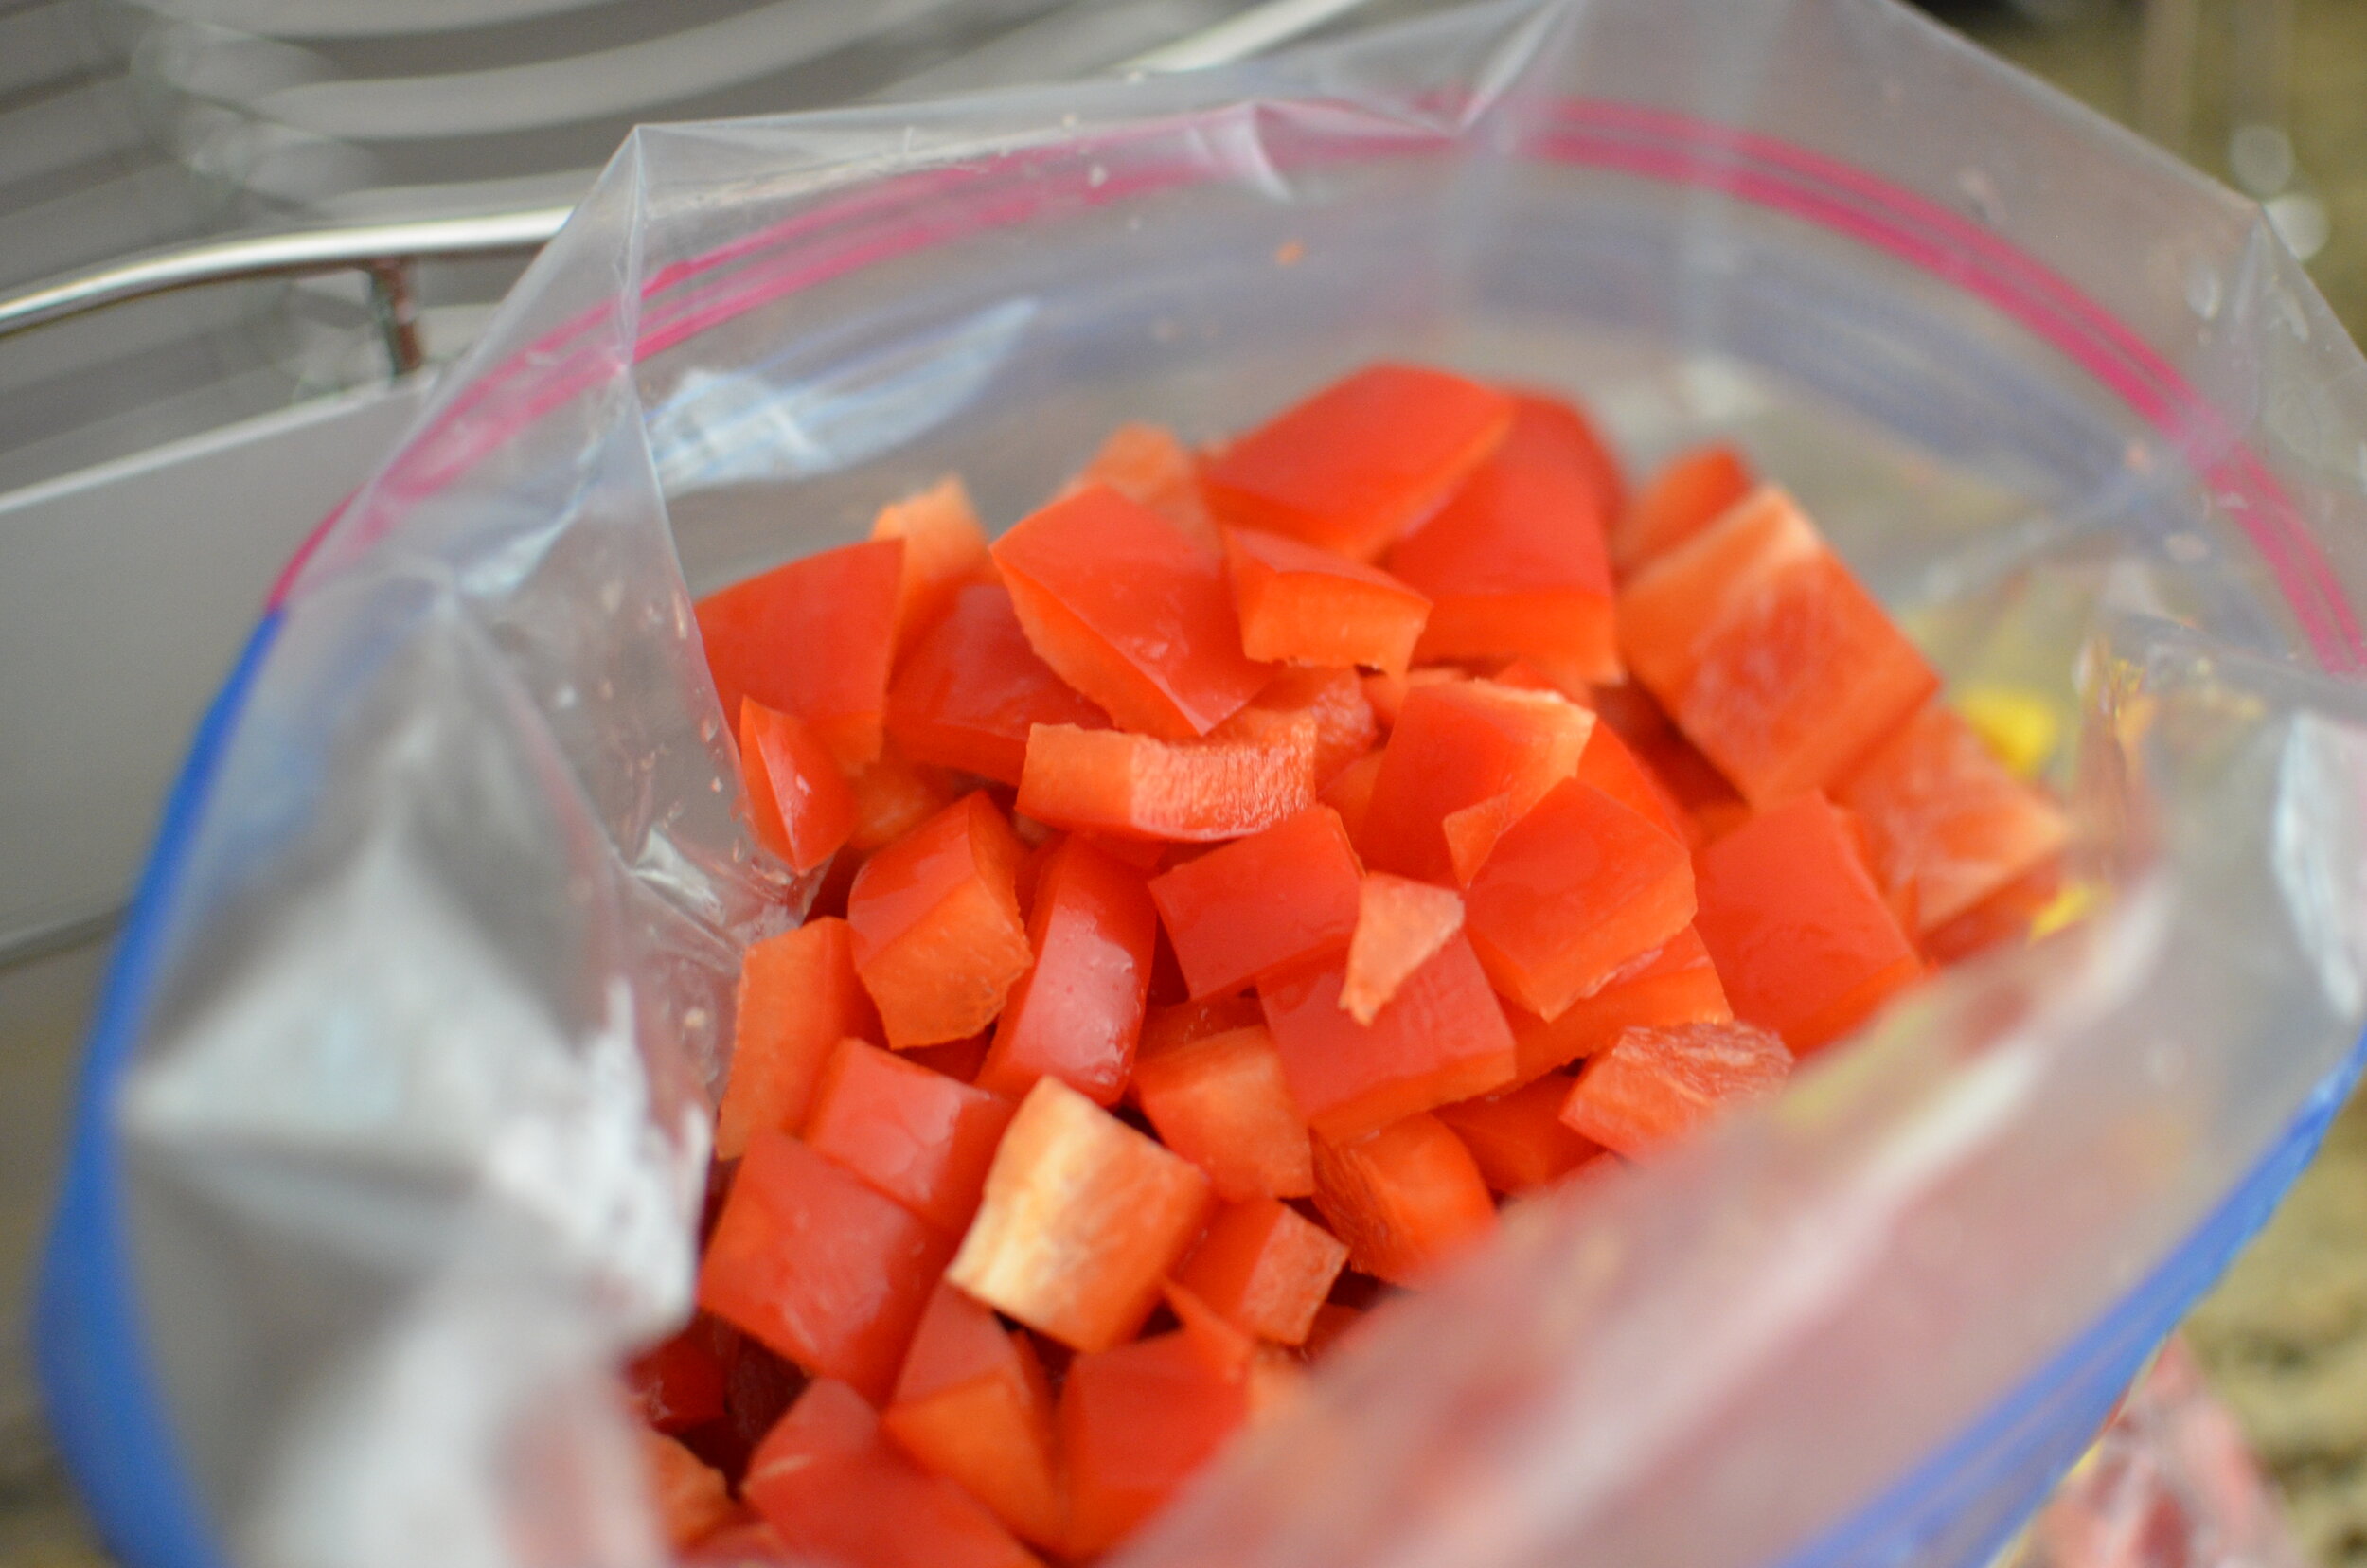
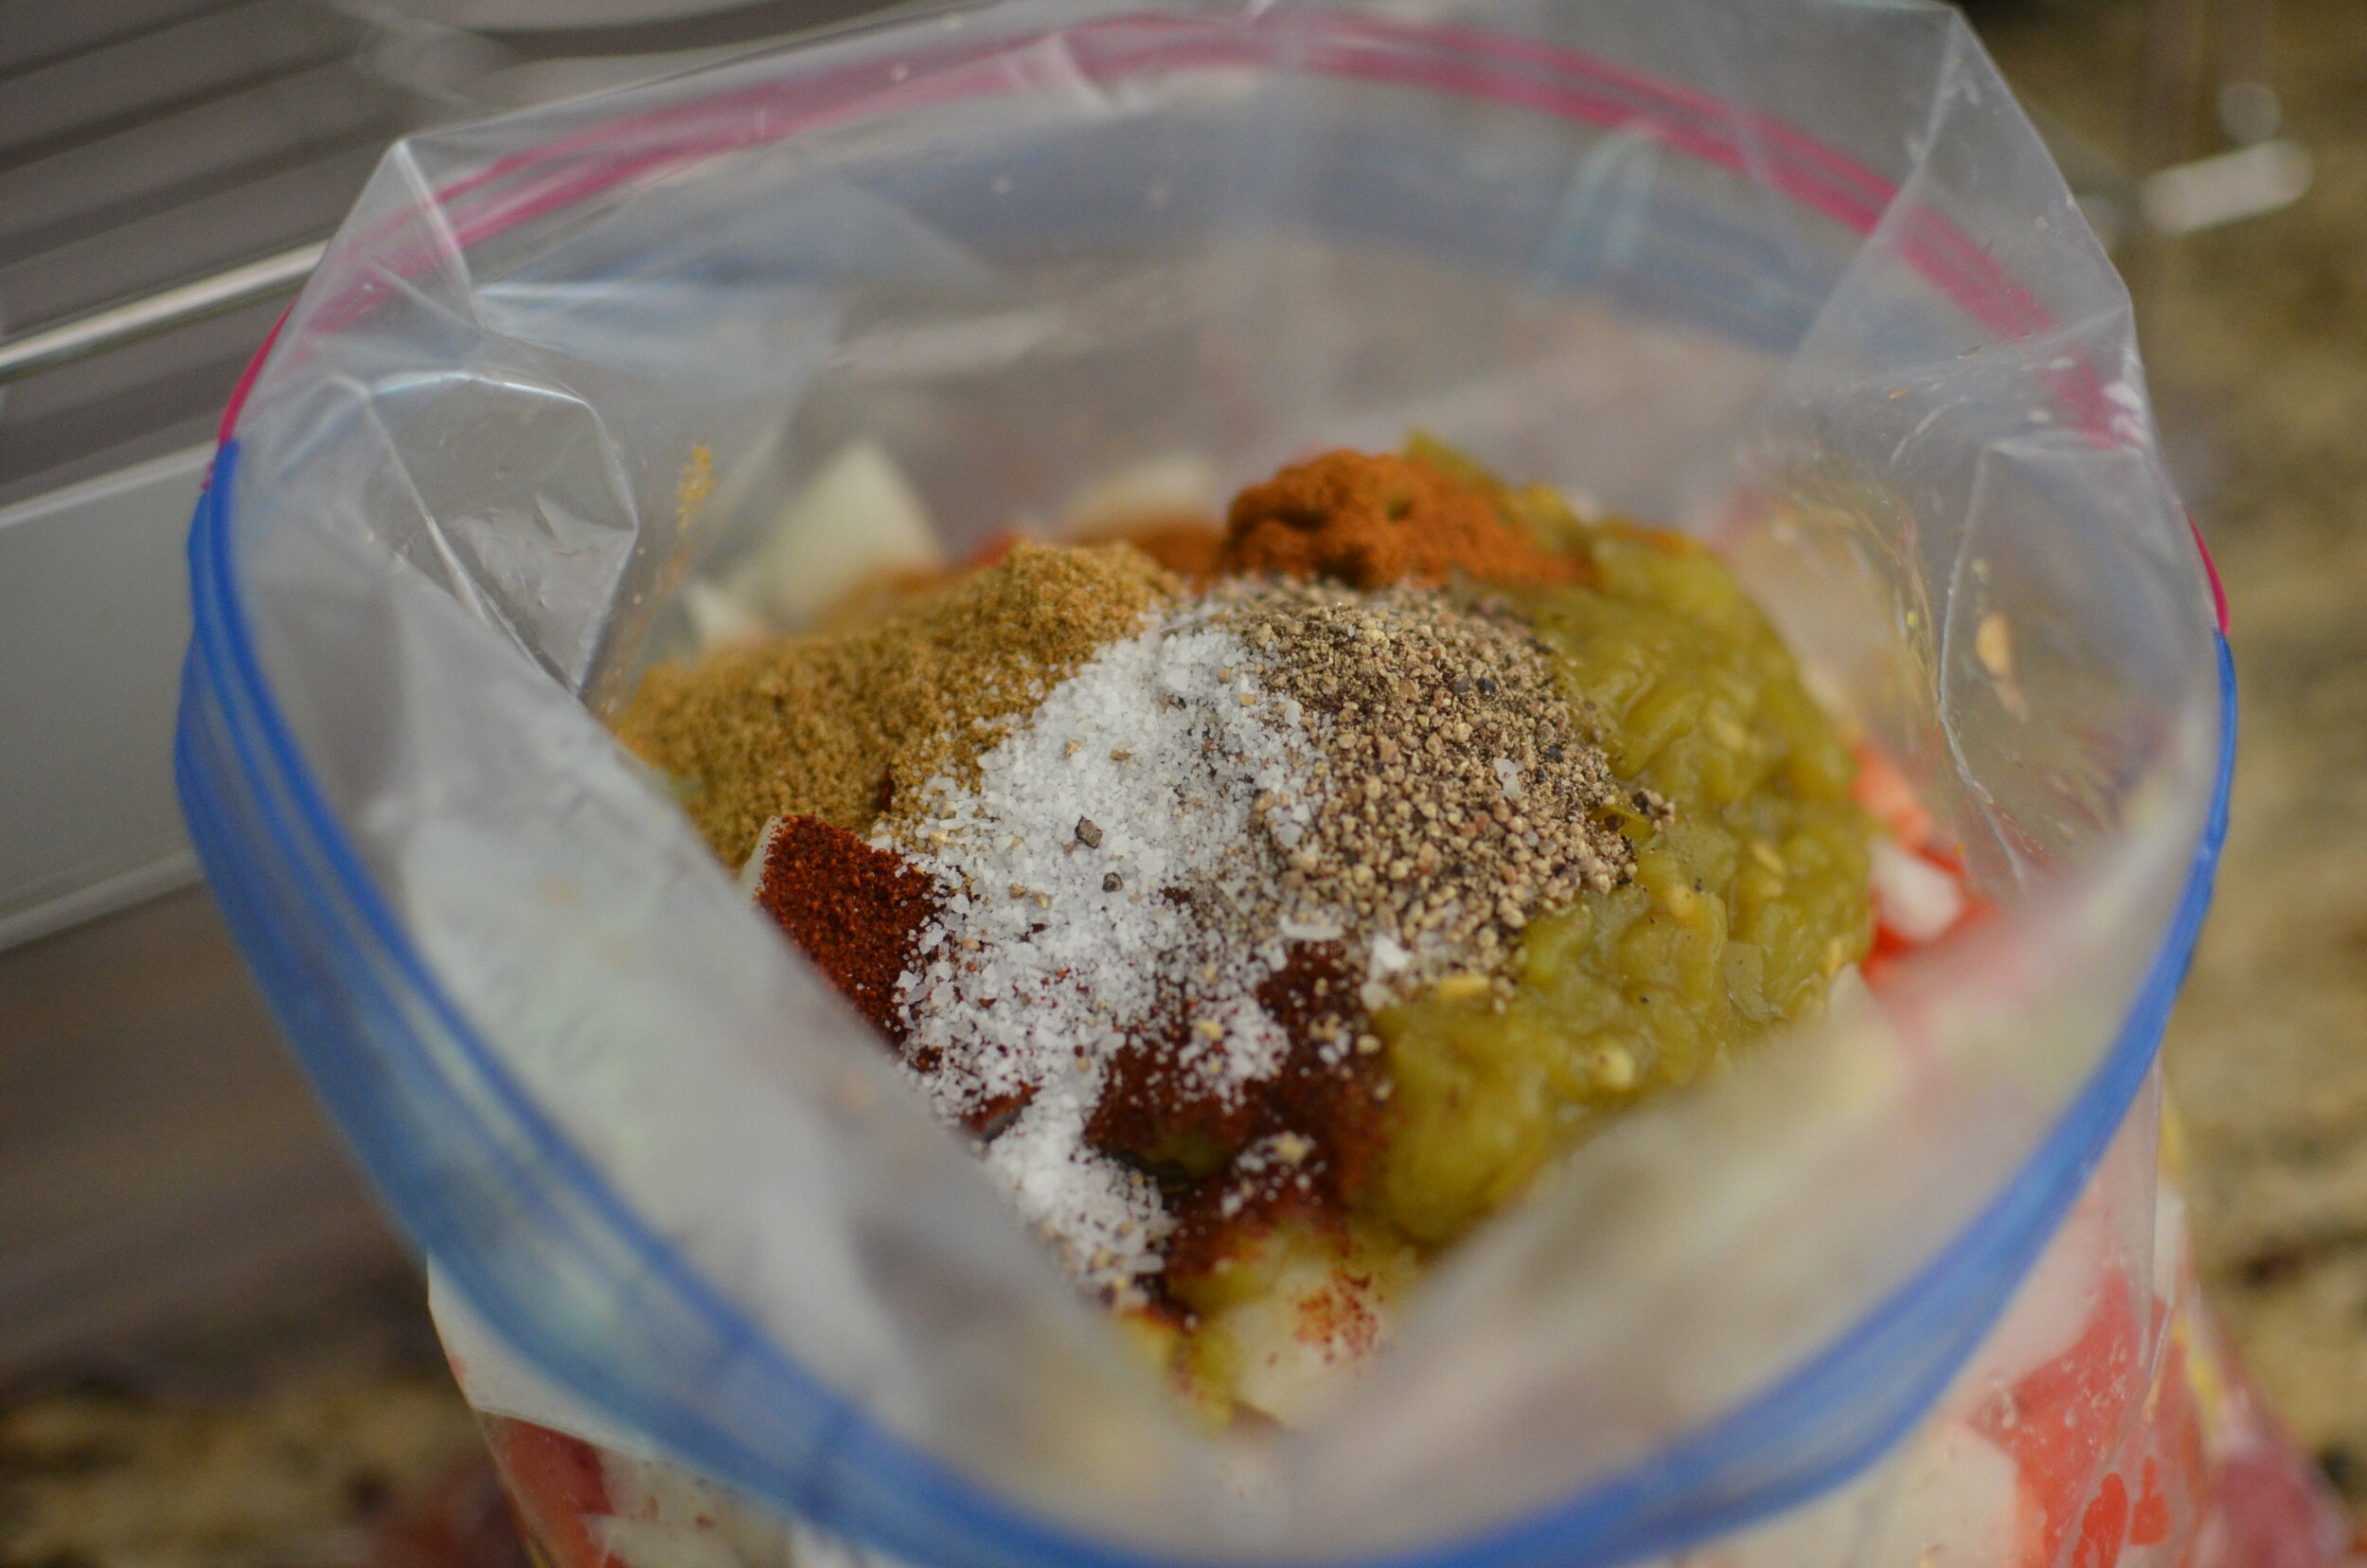
Place all the ingredients (listed in the recipe below) into a gallon size freezer bag.

white.bean.hominy.freezer.chili.3_butteryum.jpg
white.bean.hominy.freezer.chili.4_butteryum.jpg
white.bean.hominy.freezer.chili.5_butteryum.jpg
white.bean.hominy.freezer.chili.6_butteryum.jpg
DSC_3805.JPGwhite.bean.hominy.freezer.chili.7_butteryum.jpg
white.bean.hominy.freezer.chili.8_butteryum.jpg
white.bean.hominy.freezer.chili.9_butteryum.jpg

Be sure to label the bag before freezing. Enjoy!

Items used to make this recipe:

(affiliate links)


White Bean and Hominy Freezer Chili

makes 1 gallon (16 cups)

Printable Recipe

INGREDIENTS

  • 3 pounds chuck roast, cut into 1-inch cubes

  • 30 ounces canned white beans, rinsed and drained

  • 15 ounces canned hominy, rinsed and drained

  • 15 ounces canned corn, rinsed and drained

  • 15 ounces reduced sodium beef broth

  • 15 ounces canned petite diced tomatoes, undrained

  • 1 medium onion, diced

  • 1 red bell pepper, seeded and diced

  • 4 ounces canned chopped green chiles

  • 2 garlic cloves, minced

  • 1 tablespoon paprika

  • 1 tablespoon chili powder

  • 2 teaspoons ground cumin

  • 1 teaspoon kosher salt

  • 1/2 teaspoon ground black pepper

  • optional toppings: shredded cheese, sour cream, sliced scallions, cubed avocado, minced onion, fresh cilantro, etc.

DIRECTIONS

  1. You can cook the chili right away, or place all of the ingredients into a gallon-size freezer bag and freeze up to 3 months (be sure to label with cooking instructions).

  2. To prepare, thaw in the fridge for at least 24 hours (use a bowl or tray to catch any juices that might leak out of the bag).

  3. Pour chili mixture into a 6-quart or larger slow cooker and stir well; cover and cook on low for 7-9 hours without opening the slow cooker. Serve with your favorite toppings.

NOTES

  • Don’t be alarmed with the small amount of liquid in this recipe - the beef and vegetables will release their juices as the mixture cooks.

  • I like to set my slow cooker on high for the first hour, then reduce to low for the remaining time.

  • When freezing, be sure to label the freezer bag with the name of the recipe, date, and cooking instructions (trust me, you will NOT remember what’s in the bag).

  • When thawing, be sure to place the bag in a bowl or on a tray to catch any juices that might leak out. No sense in enjoying the convenience of a freezer meal if you end up having to clean your refrigerator afterwards.

adapted from taste of home