Classic Pumpkin Roll
Patricia @ ButterYum
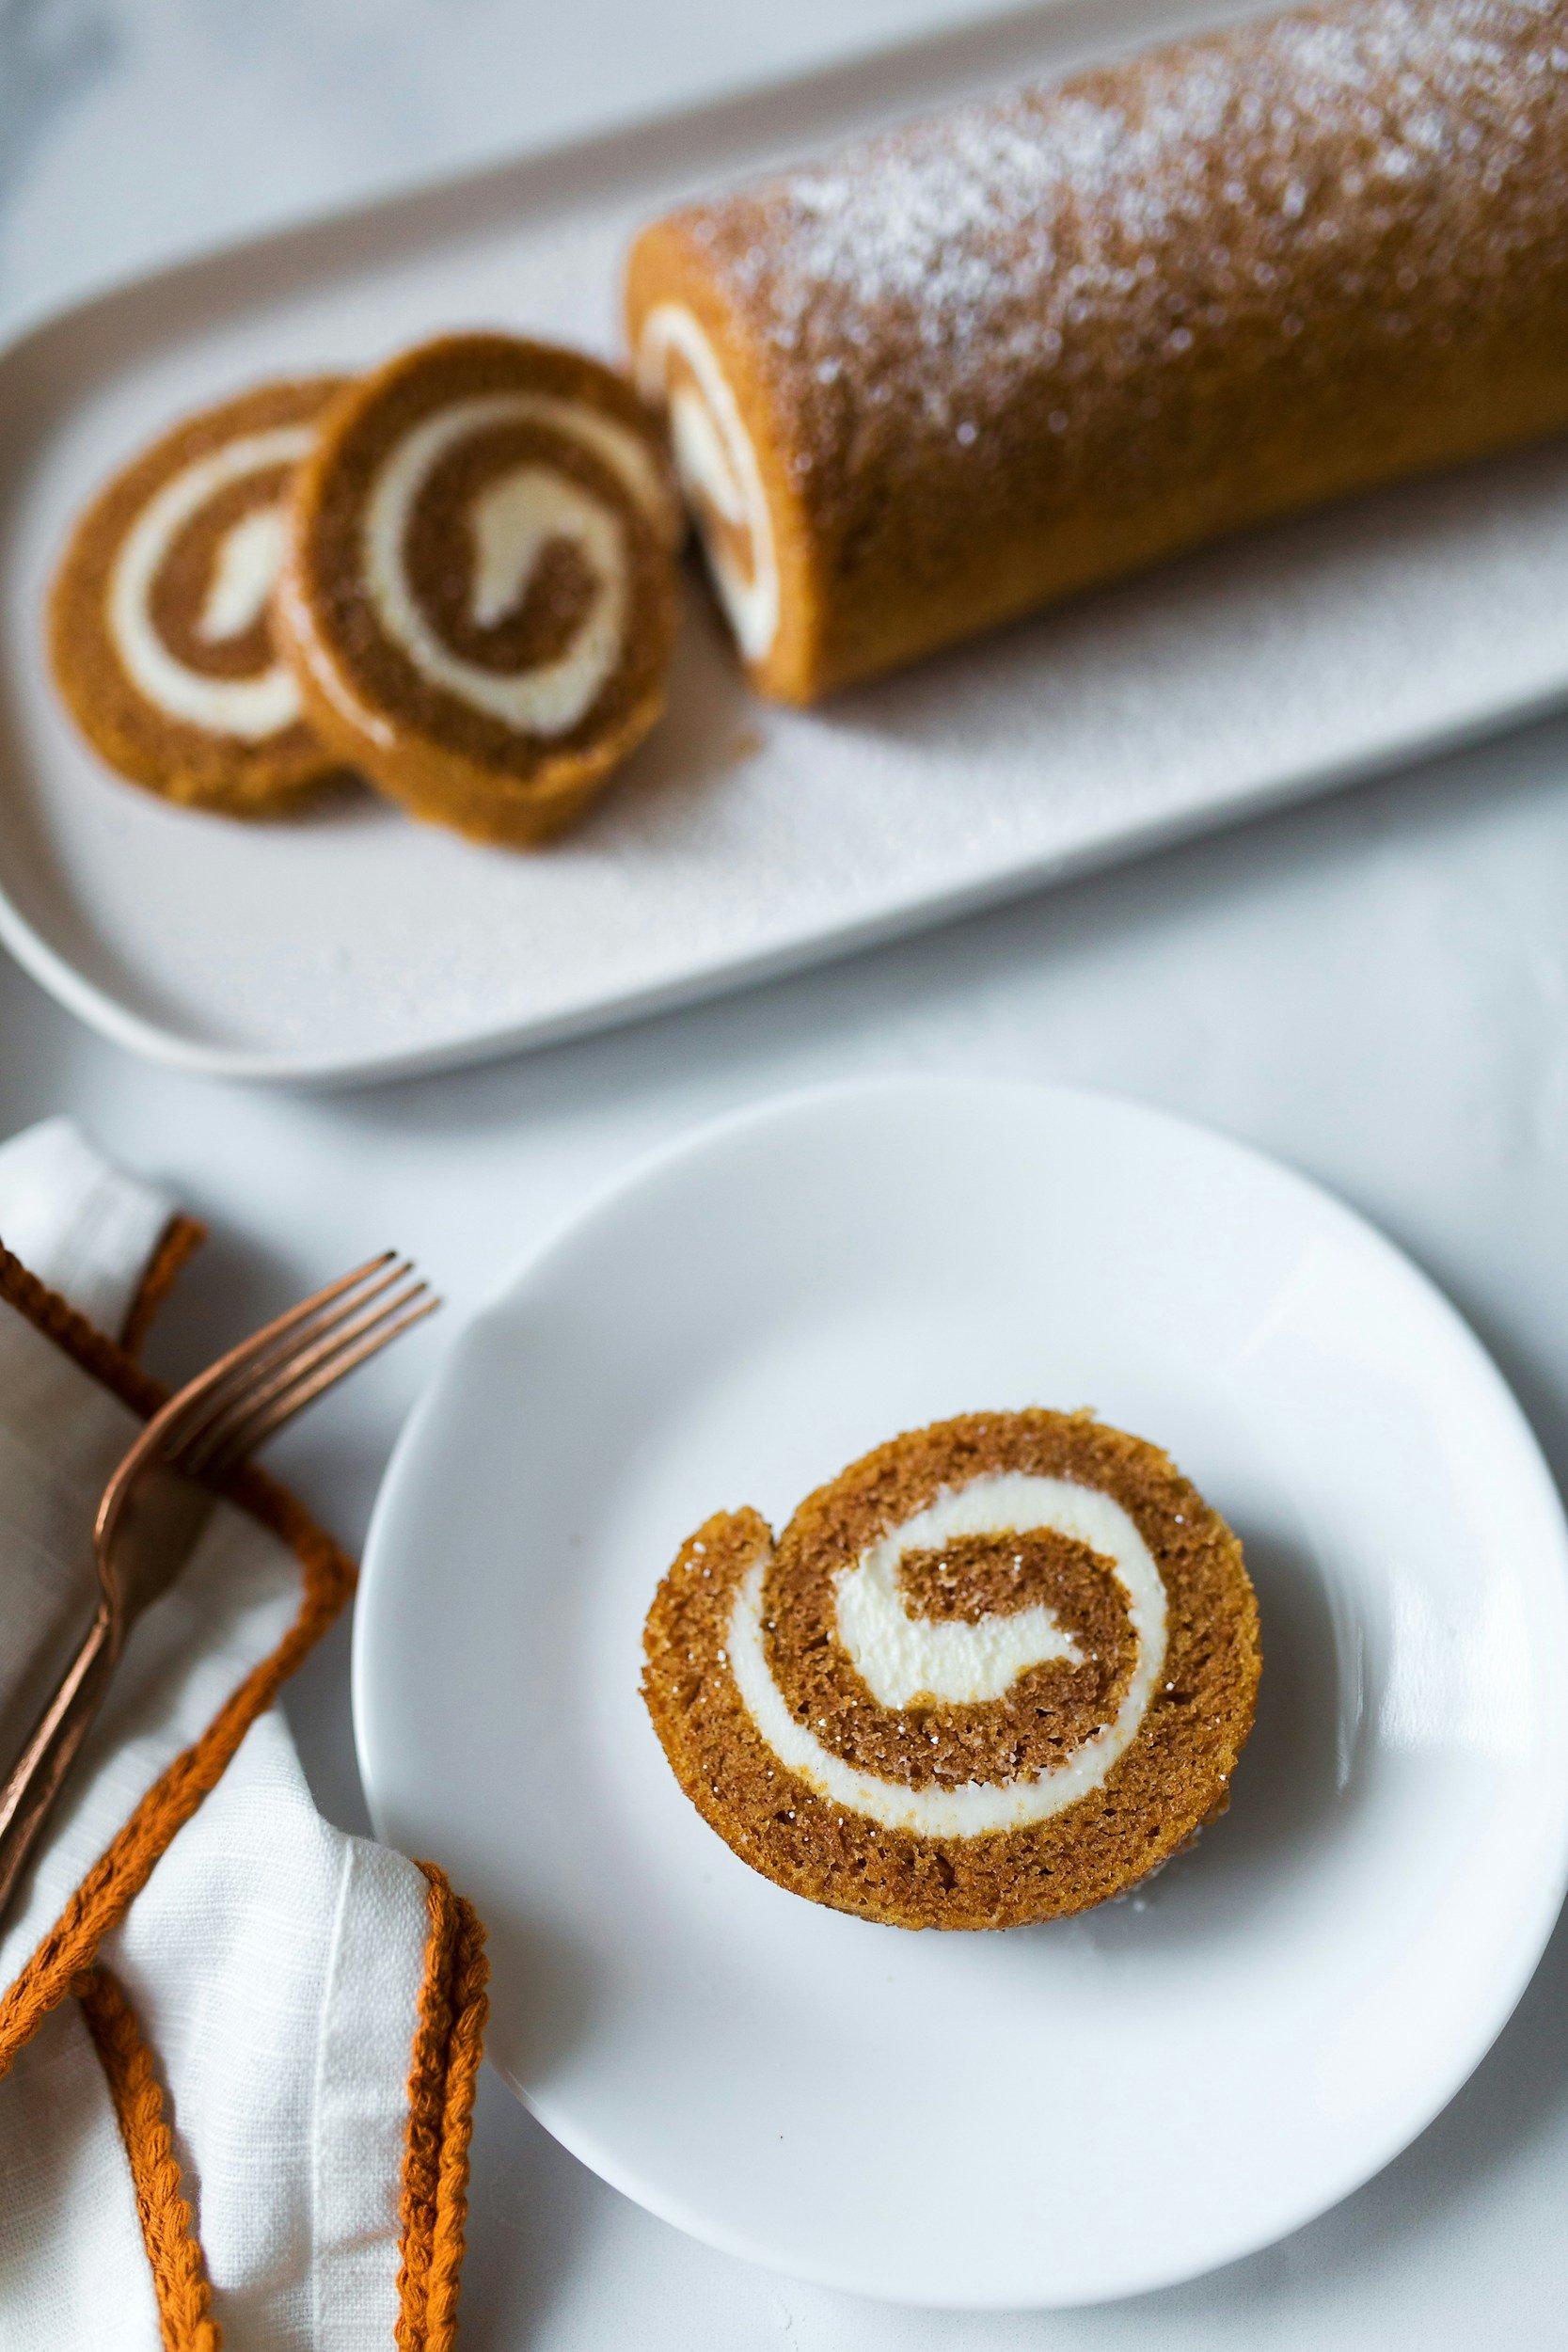
I've shared before that I’m not really a fan of pumpkin pie, but I love me a good pumpkin roll! Don’t you? There’s just something about tender spirals of intoxicating pumpkin spice cake wrapped around a luscious creamy vanilla filling. Delicious, festive, and fun!
Items needed to make this recipe:
(affiliate links)
jelly roll pan https://amzn.to/3Z2l1Og
parchment paper https://amzn.to/4i6qFaw
pure vanilla extract https://amzn.to/3Z3lwHM
pure vanilla bean paste https://amzn.to/3CIGWCw
baking spray https://amzn.to/4952KUR
large offset spatula https://amzn.to/3Z2w7CS
hand mixer https://amzn.to/493YCV4
100% pure pumpkin https://amzn.to/3CD3bJW
Classic Pumpkin Roll
makes one 10x15-inch jelly roll pan (14 servings)
Ingredients
FOR THE CAKE:
3/4 cup all purpose flour
1/2 teaspoon baking powder
1/2 teaspoon baking soda
1/2 teaspoon ground cinnamon
1/2 teaspoon ground cloves
1/4 teaspoon table salt
3 large eggs
1 cup granulated sugar
2/3 cup 100% pure pumpkin (not pie filling or pie mix)
confectioner’s sugar for rolling cake after baking
FOR THE FILLING:
1 cup confectioner’s sugar, sifted
8 ounces cream cheese, room temperature
6 tablespoons salted butter, room temperature
1 teaspoon pure vanilla extract or pure vanilla bean paste (use the good stuff!!)
confectioner’s sugar for dusting
Directions
TO MAKE THE CAKE LAYER:
Preheat oven to 375F and place rack in center position.
Prepare 10x15-inch jelly roll pan with baking spray and line with parchment paper that has been cut to fit in the bottom of the pan.
Prepare a clean kitchen towel (one that’s larger than the size of the jelly roll pan) by sprinkling generously with a layer of confectioner’s sugar over the entire surface: set aside.
In a small mixing bowl, whisk together the flour, baking powder, baking soda, cinnamon, cloves, and salt; set aside.
In a large mixing bowl, use a hand mixer to beat the eggs and sugar together until thick, then add the pumpkin puree, followed by the flour mixture; beat until no traces of dry ingredient remain.
Using an offset spatula, spread the batter evenly into the prepared jelly roll pan.
Bake the cake layer for 13-15 minutes, or until the cake springs back when pressed.
Immediately loosen the edges of the cake and turn onto the prepared kitchen towel; peel away parchment paper.
Roll the cake and towel together starting at one of the short ends; place roll on a wire rack to cool completely.
TO MAKE THE FILLING:
In a medium mixing bowl, use a hand mixer to cream the confectioner’s sugar, cream cheese, butter, and vanilla together until smooth.
TO ASSEMBLE THE PUMPKIN ROLL:
When the cake roll is cool, gently unroll and use an offset spatula to spread the filling evenly over the cake layer, starting at the tightest part of the roll and stopping about an inch from the opposite end of the roll.
Reroll the cake, only this time without the kitchen towel; once rolled, wrap well with plastic wrap and chill for at least one hour.
To serve: unwrap cake roll and place on serving platter; dust with confectioner’s sugar before slicing.
Notes
This recipe is designed to fit a 10x15-inch jelly roll pan. Jelly roll pans are often sold in differing sizes so be sure you have the right one.
Pumpkin rolls can be made ahead and frozen for up to 3 months, just wrap well with several layers of plastic wrap or plastic wrap covered with foil. For added protection, freeze for several hours and vacuum seal. Keep roll wrapped and thaw overnight in the refrigerator before serving.
If the edges of your cake layer crack or break while rolling, trim them off and try again.
Leftovers should be stored in an airtight container in the refrigerator.
adapted from Libby’s 100% Pure Pumpkin

