Embossed Spice Cookies with Butter Rum Glaze
Patricia @ ButterYum
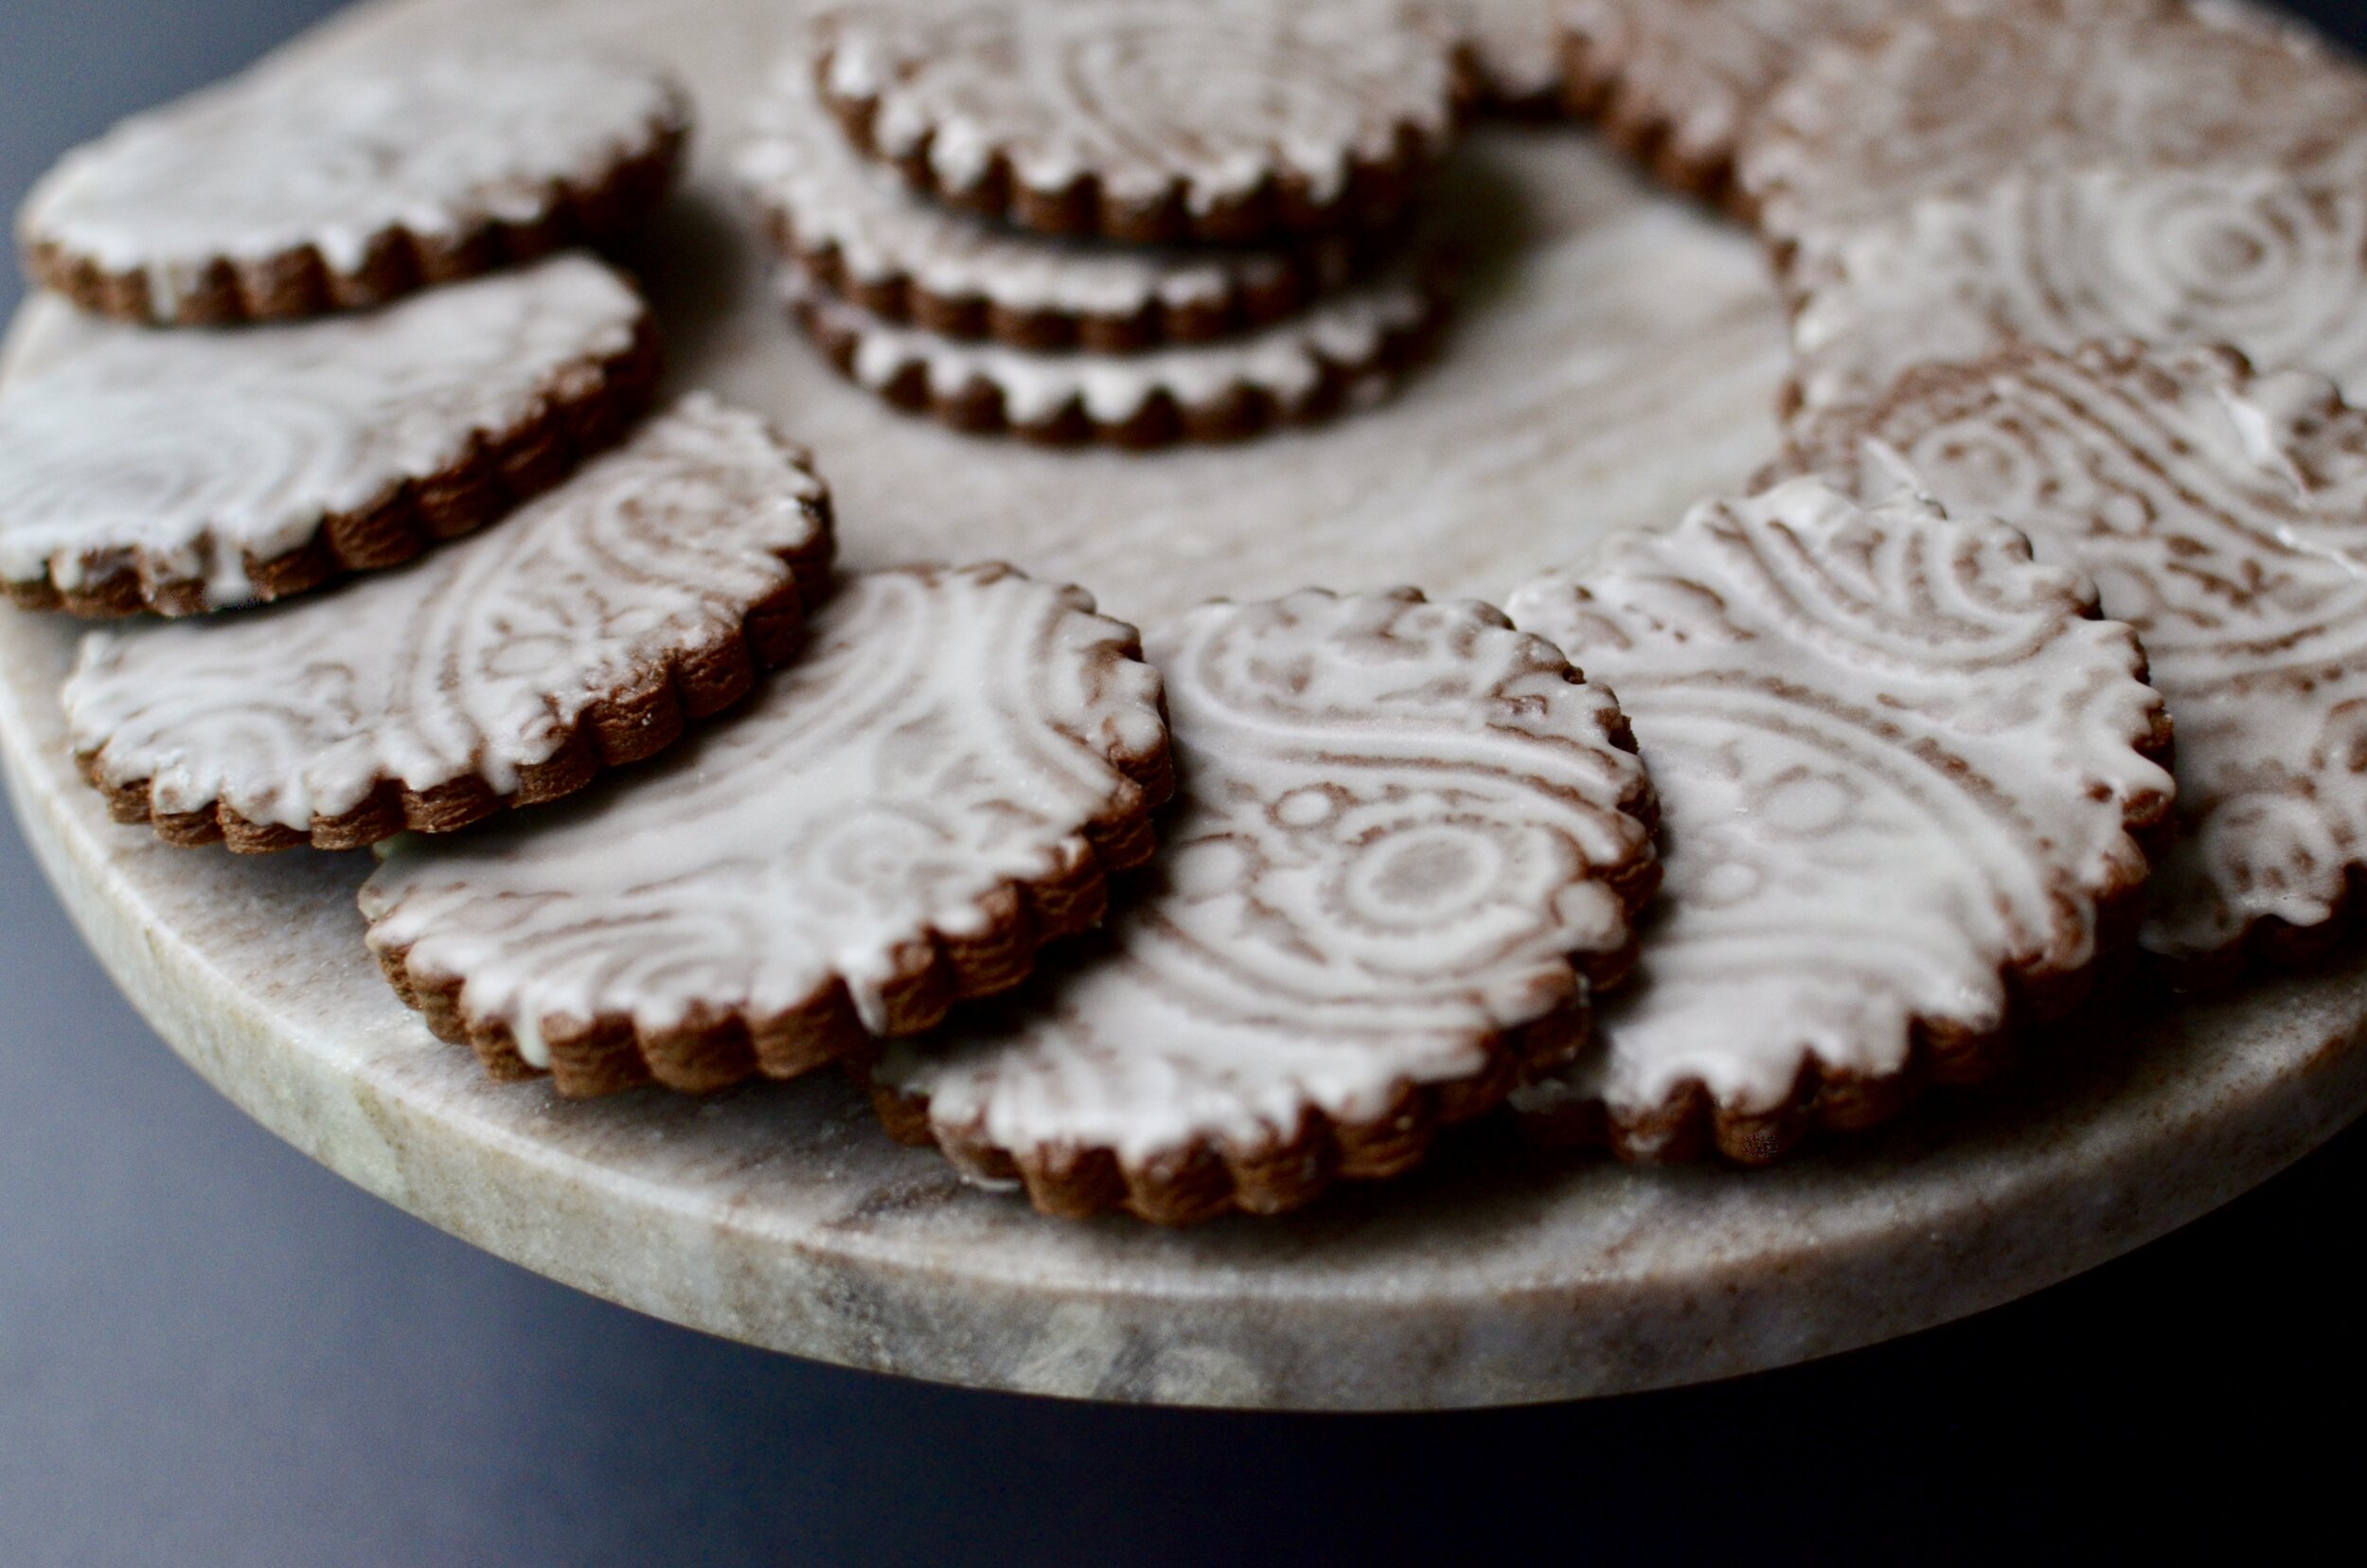
Fall is officially here! That means holiday baking is just around the corner. Today I’m sharing with you a delicious recipe for Spice Cookies with Butter Rum Glaze that I know your friends and loved ones are going to devour! Not only because they taste amazing, but because they look so elegant…. and you don’t have to be a pastry chef to achieve these results. Let me show you how to make them.
A big Thank You to Jessica at Embossed for providing the paisley embossed rolling pin used in this post.
After making the cookie dough, roll it between two layers of wax paper (or parchment) to 1/4-inch thickness. I like to use rolling guides to ensure all the cookies are the exact same thickness.
Remove the top layer of wax paper…
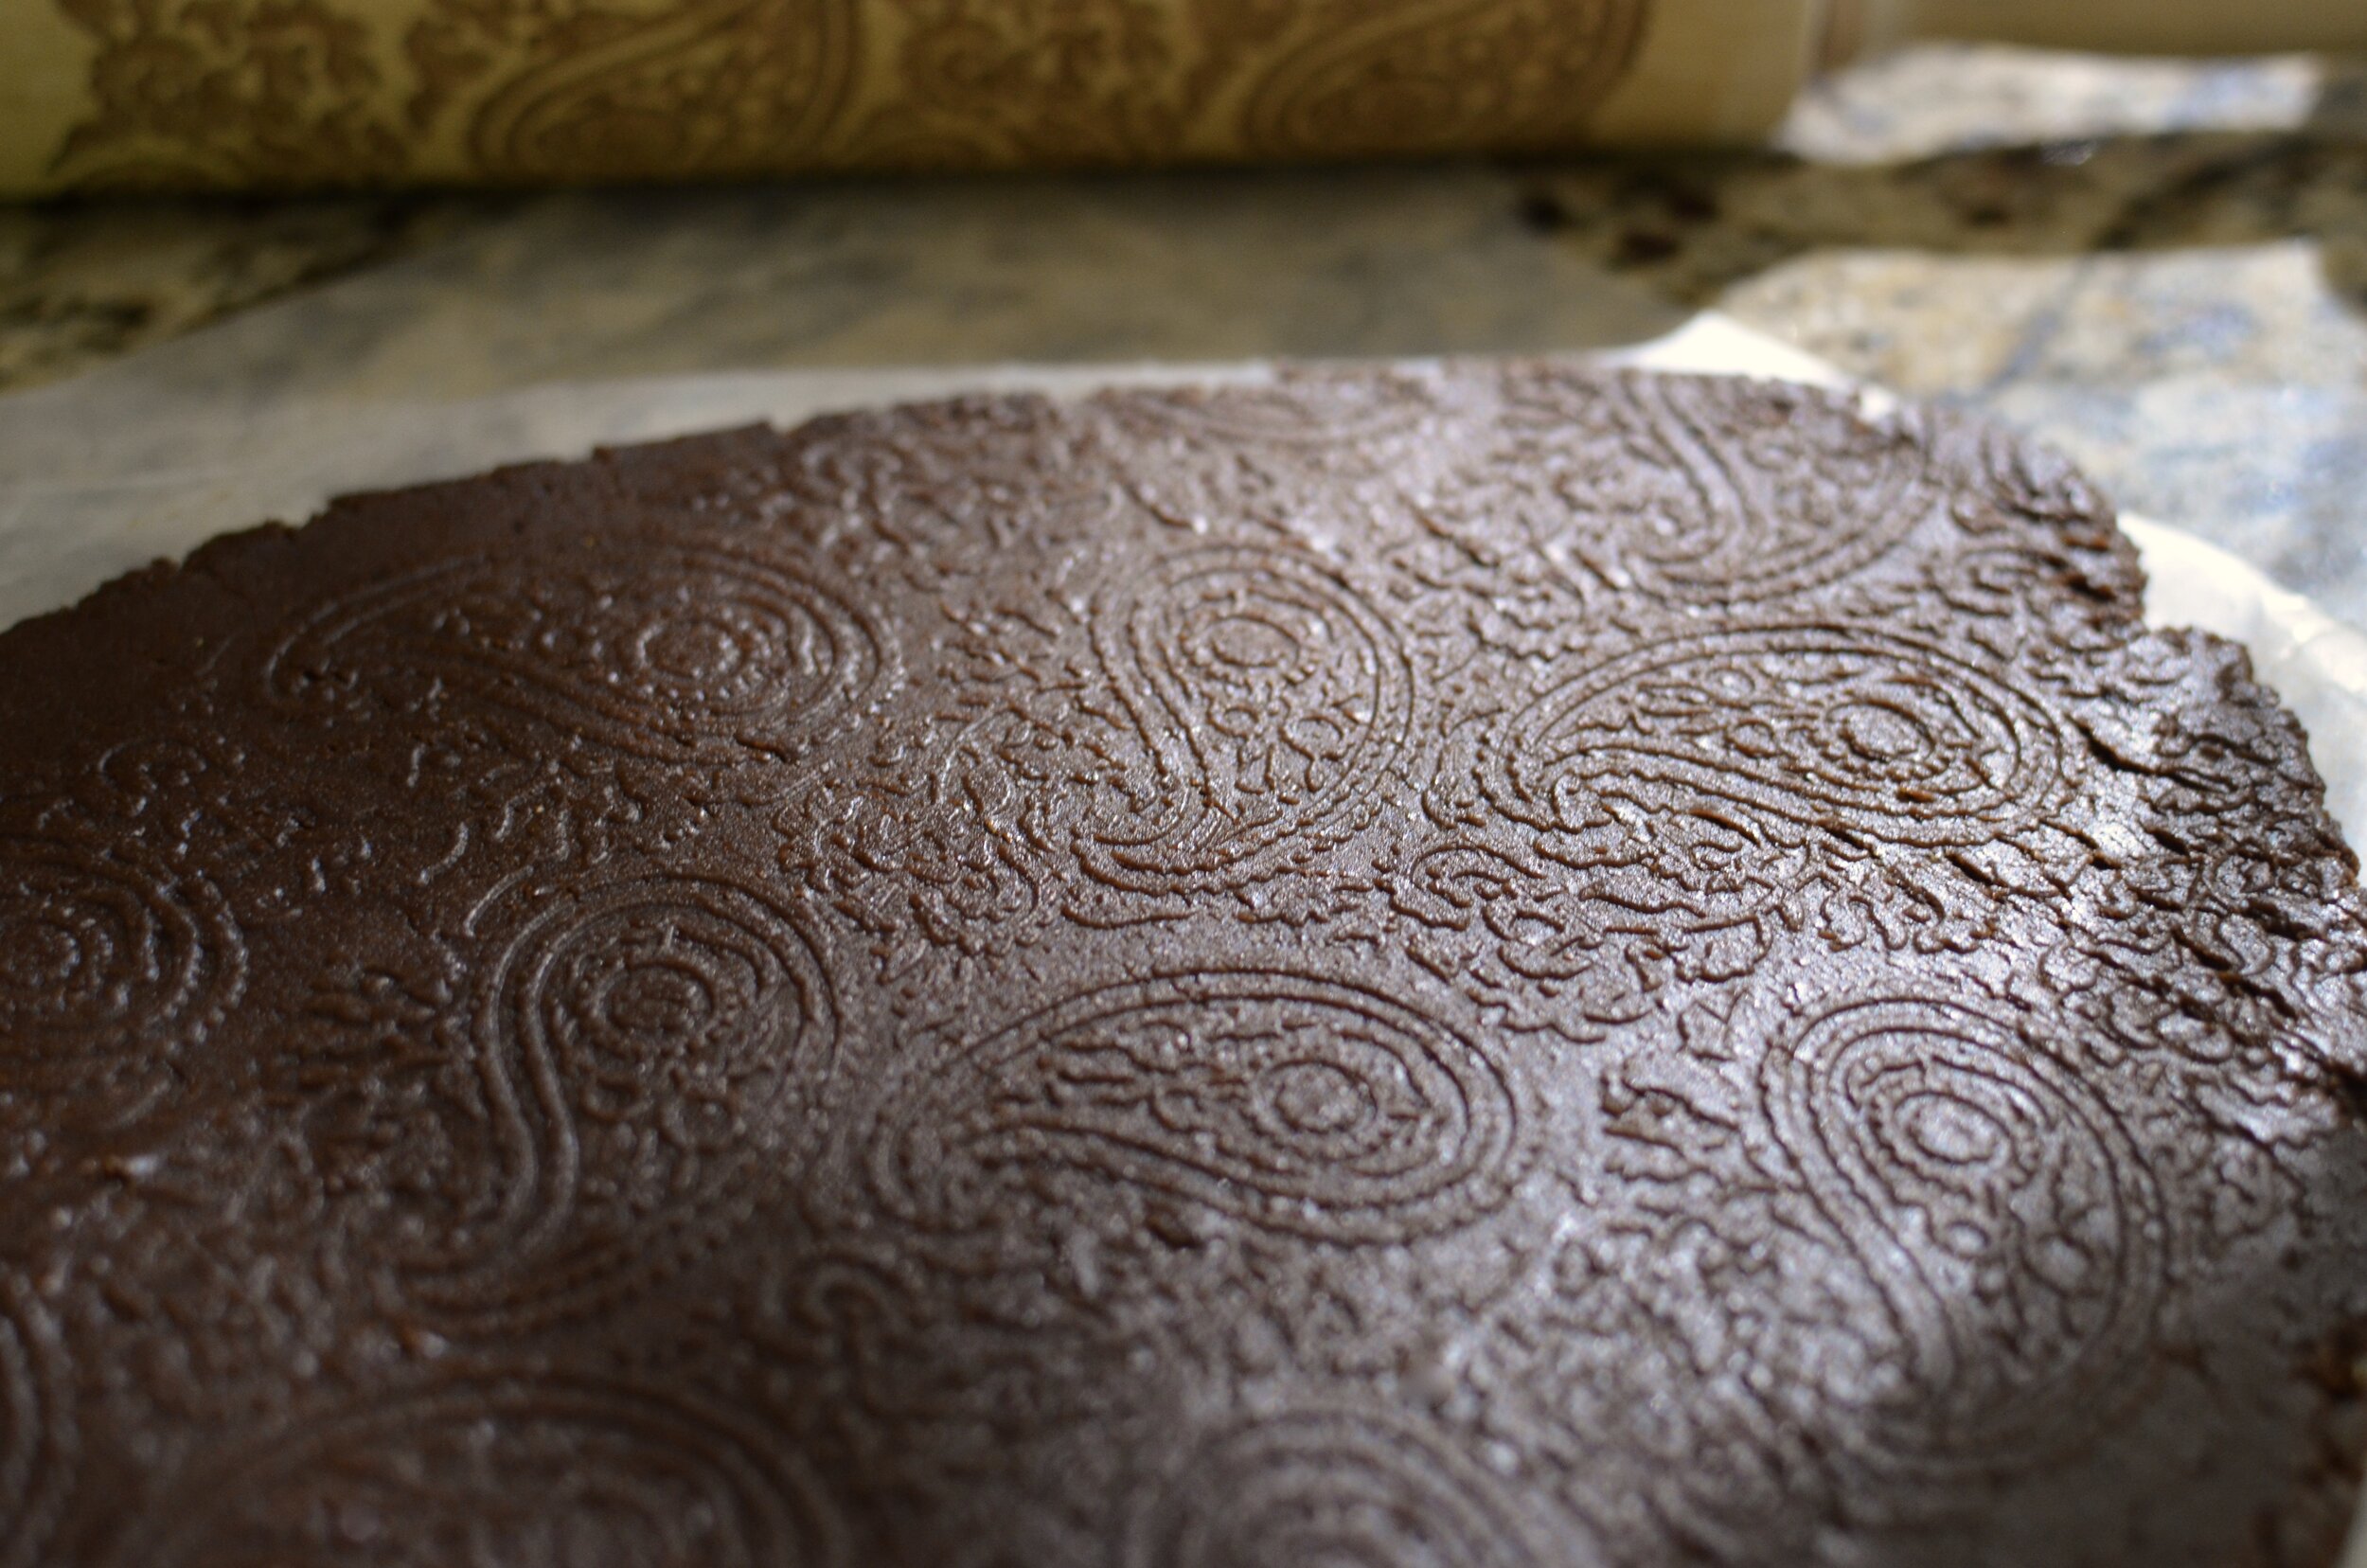
And use an embossed rolling pin to imprint the cookie dough with the pattern. No need to dust the pin or cookie dough with extra flour.
Pretty!
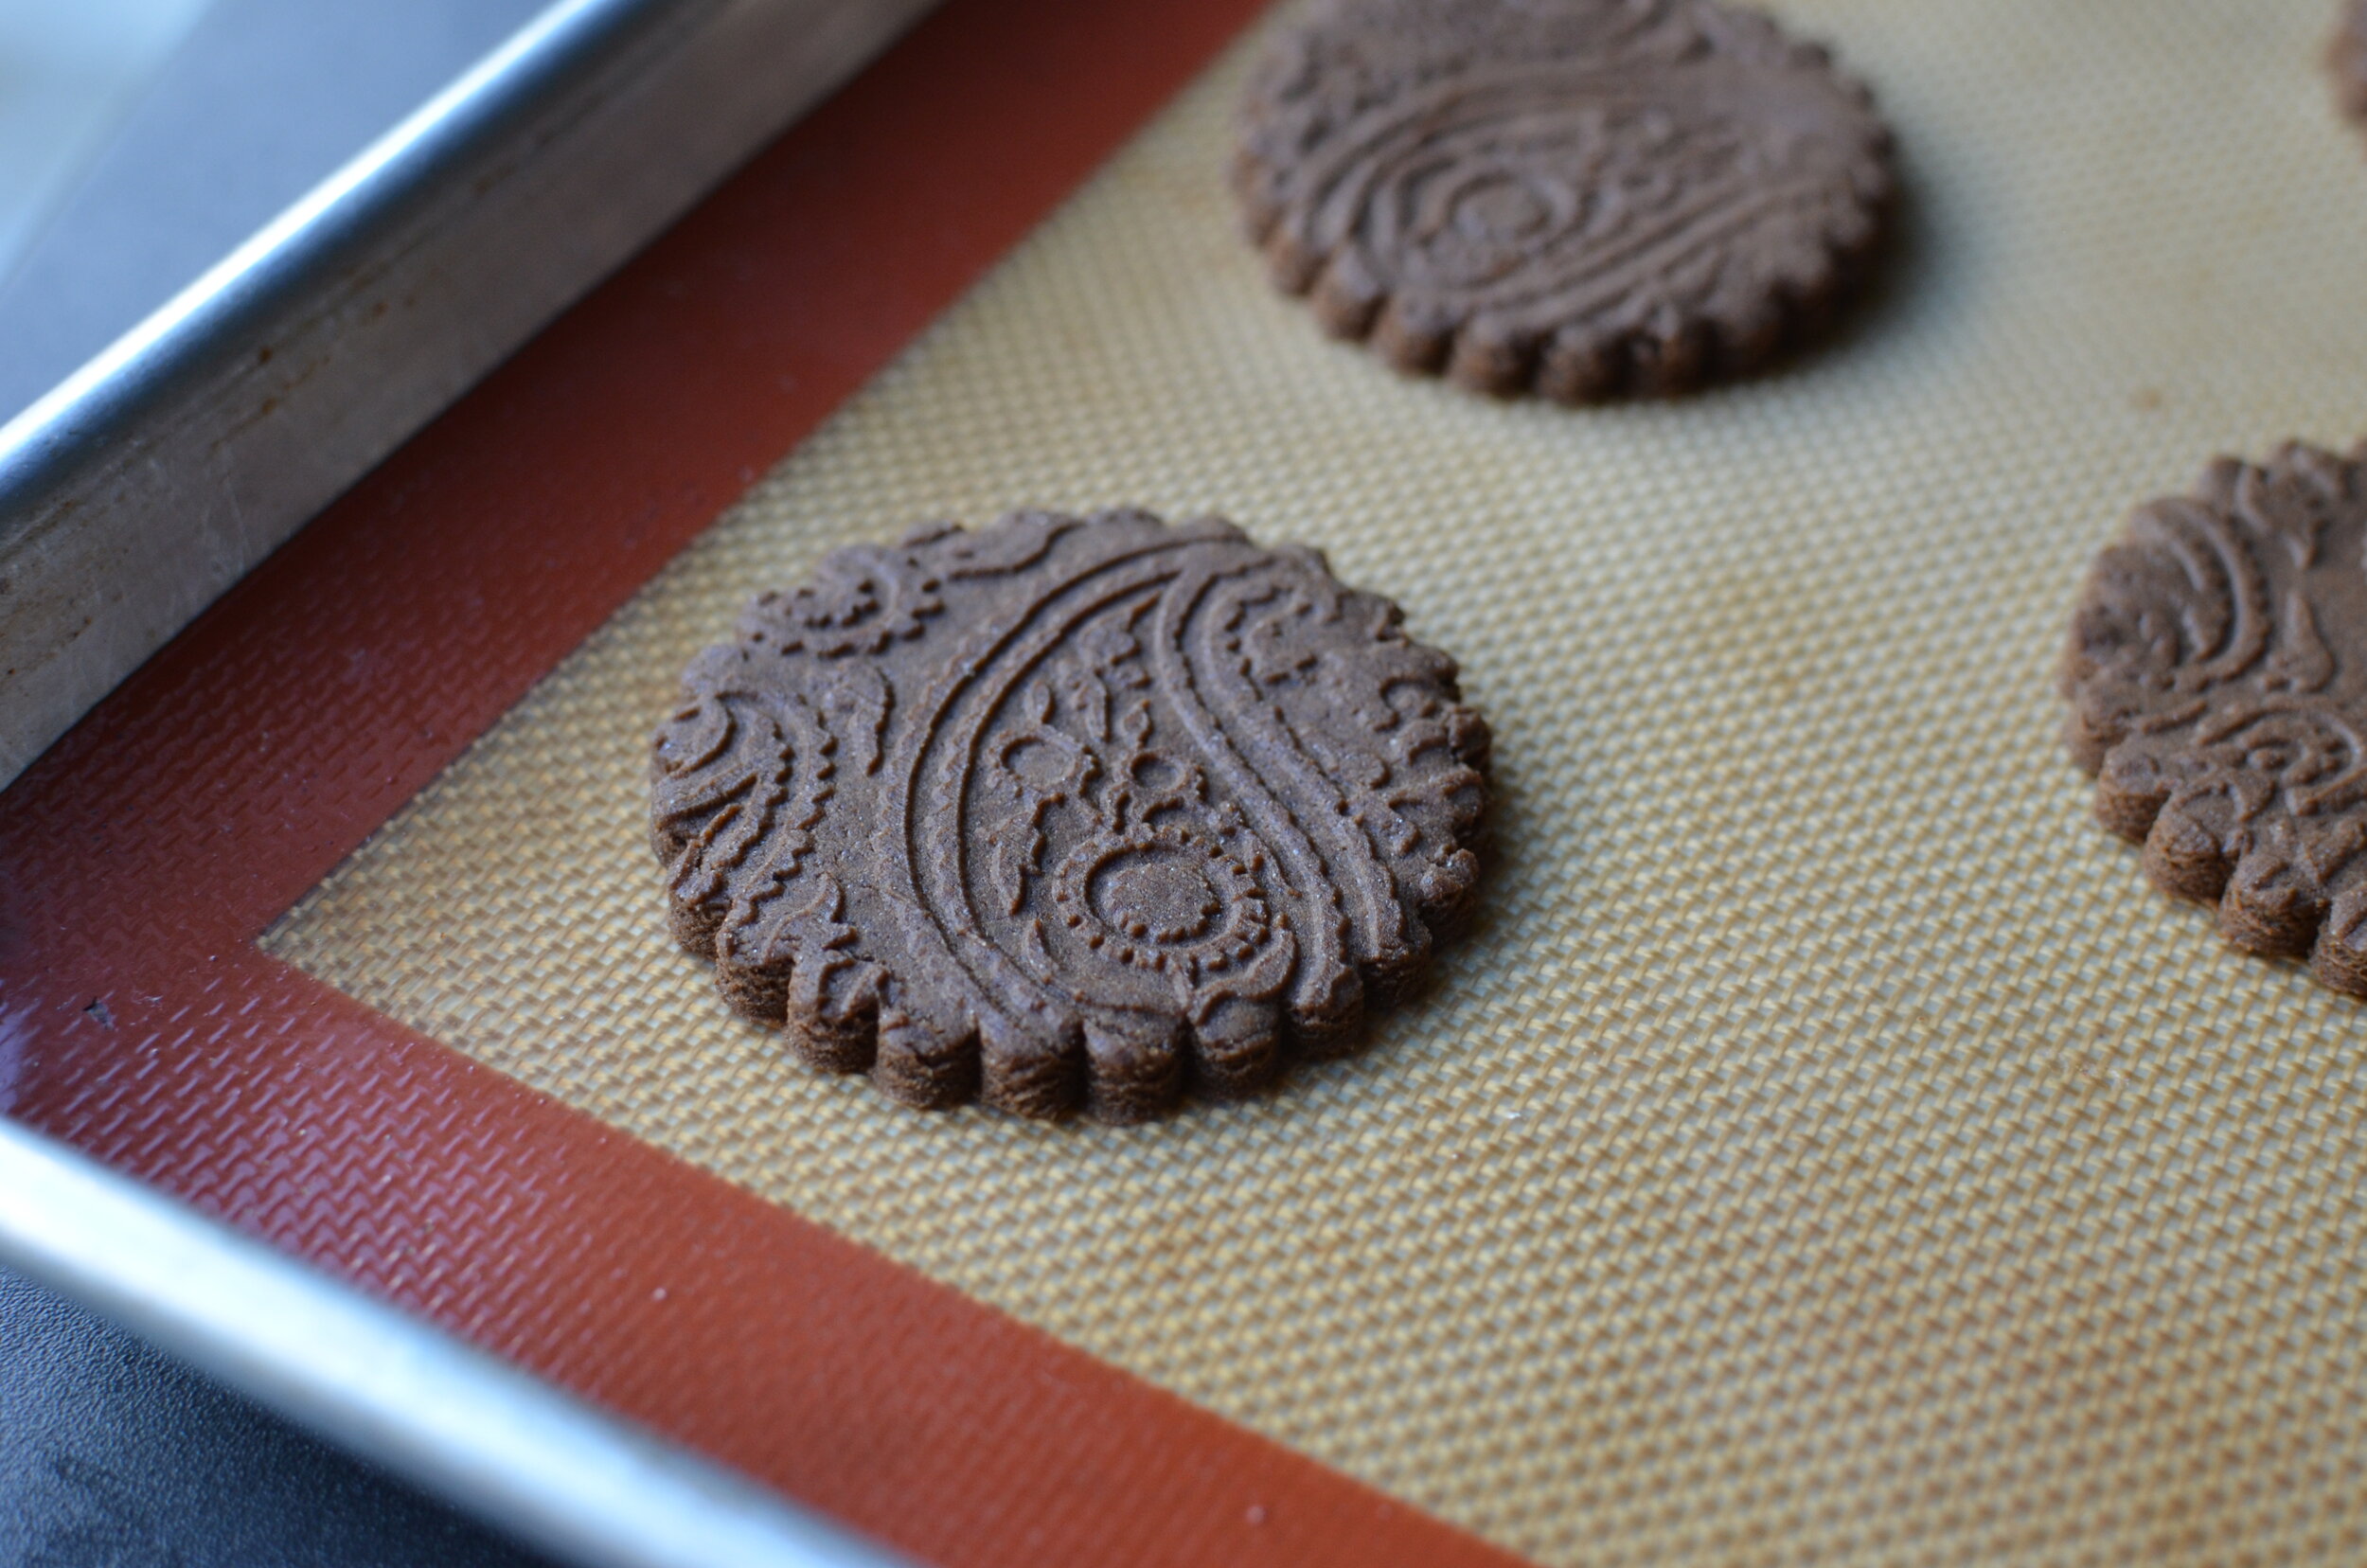
Use a cookie cutter to cut the dough. I’m particularly fond of double-sided scalloped cutters.
Place the cookie cutouts on a silpat or parchment-lined half sheet pan. I tested both baking surfaces and both work well, but the silpat produced a slightly nicer finished appearance on the bottom of the cookies.
Now here’s the important part - chill the dough for at least 30 minutes before baking. This is a good time to preheat the oven.
While the cookies are baking, make the glaze and keep it covered with a wet paper towel when not using (to keep it from crusting over).
Remove the baked cookies from the oven and brush on the glaze while the cookies are still warm.
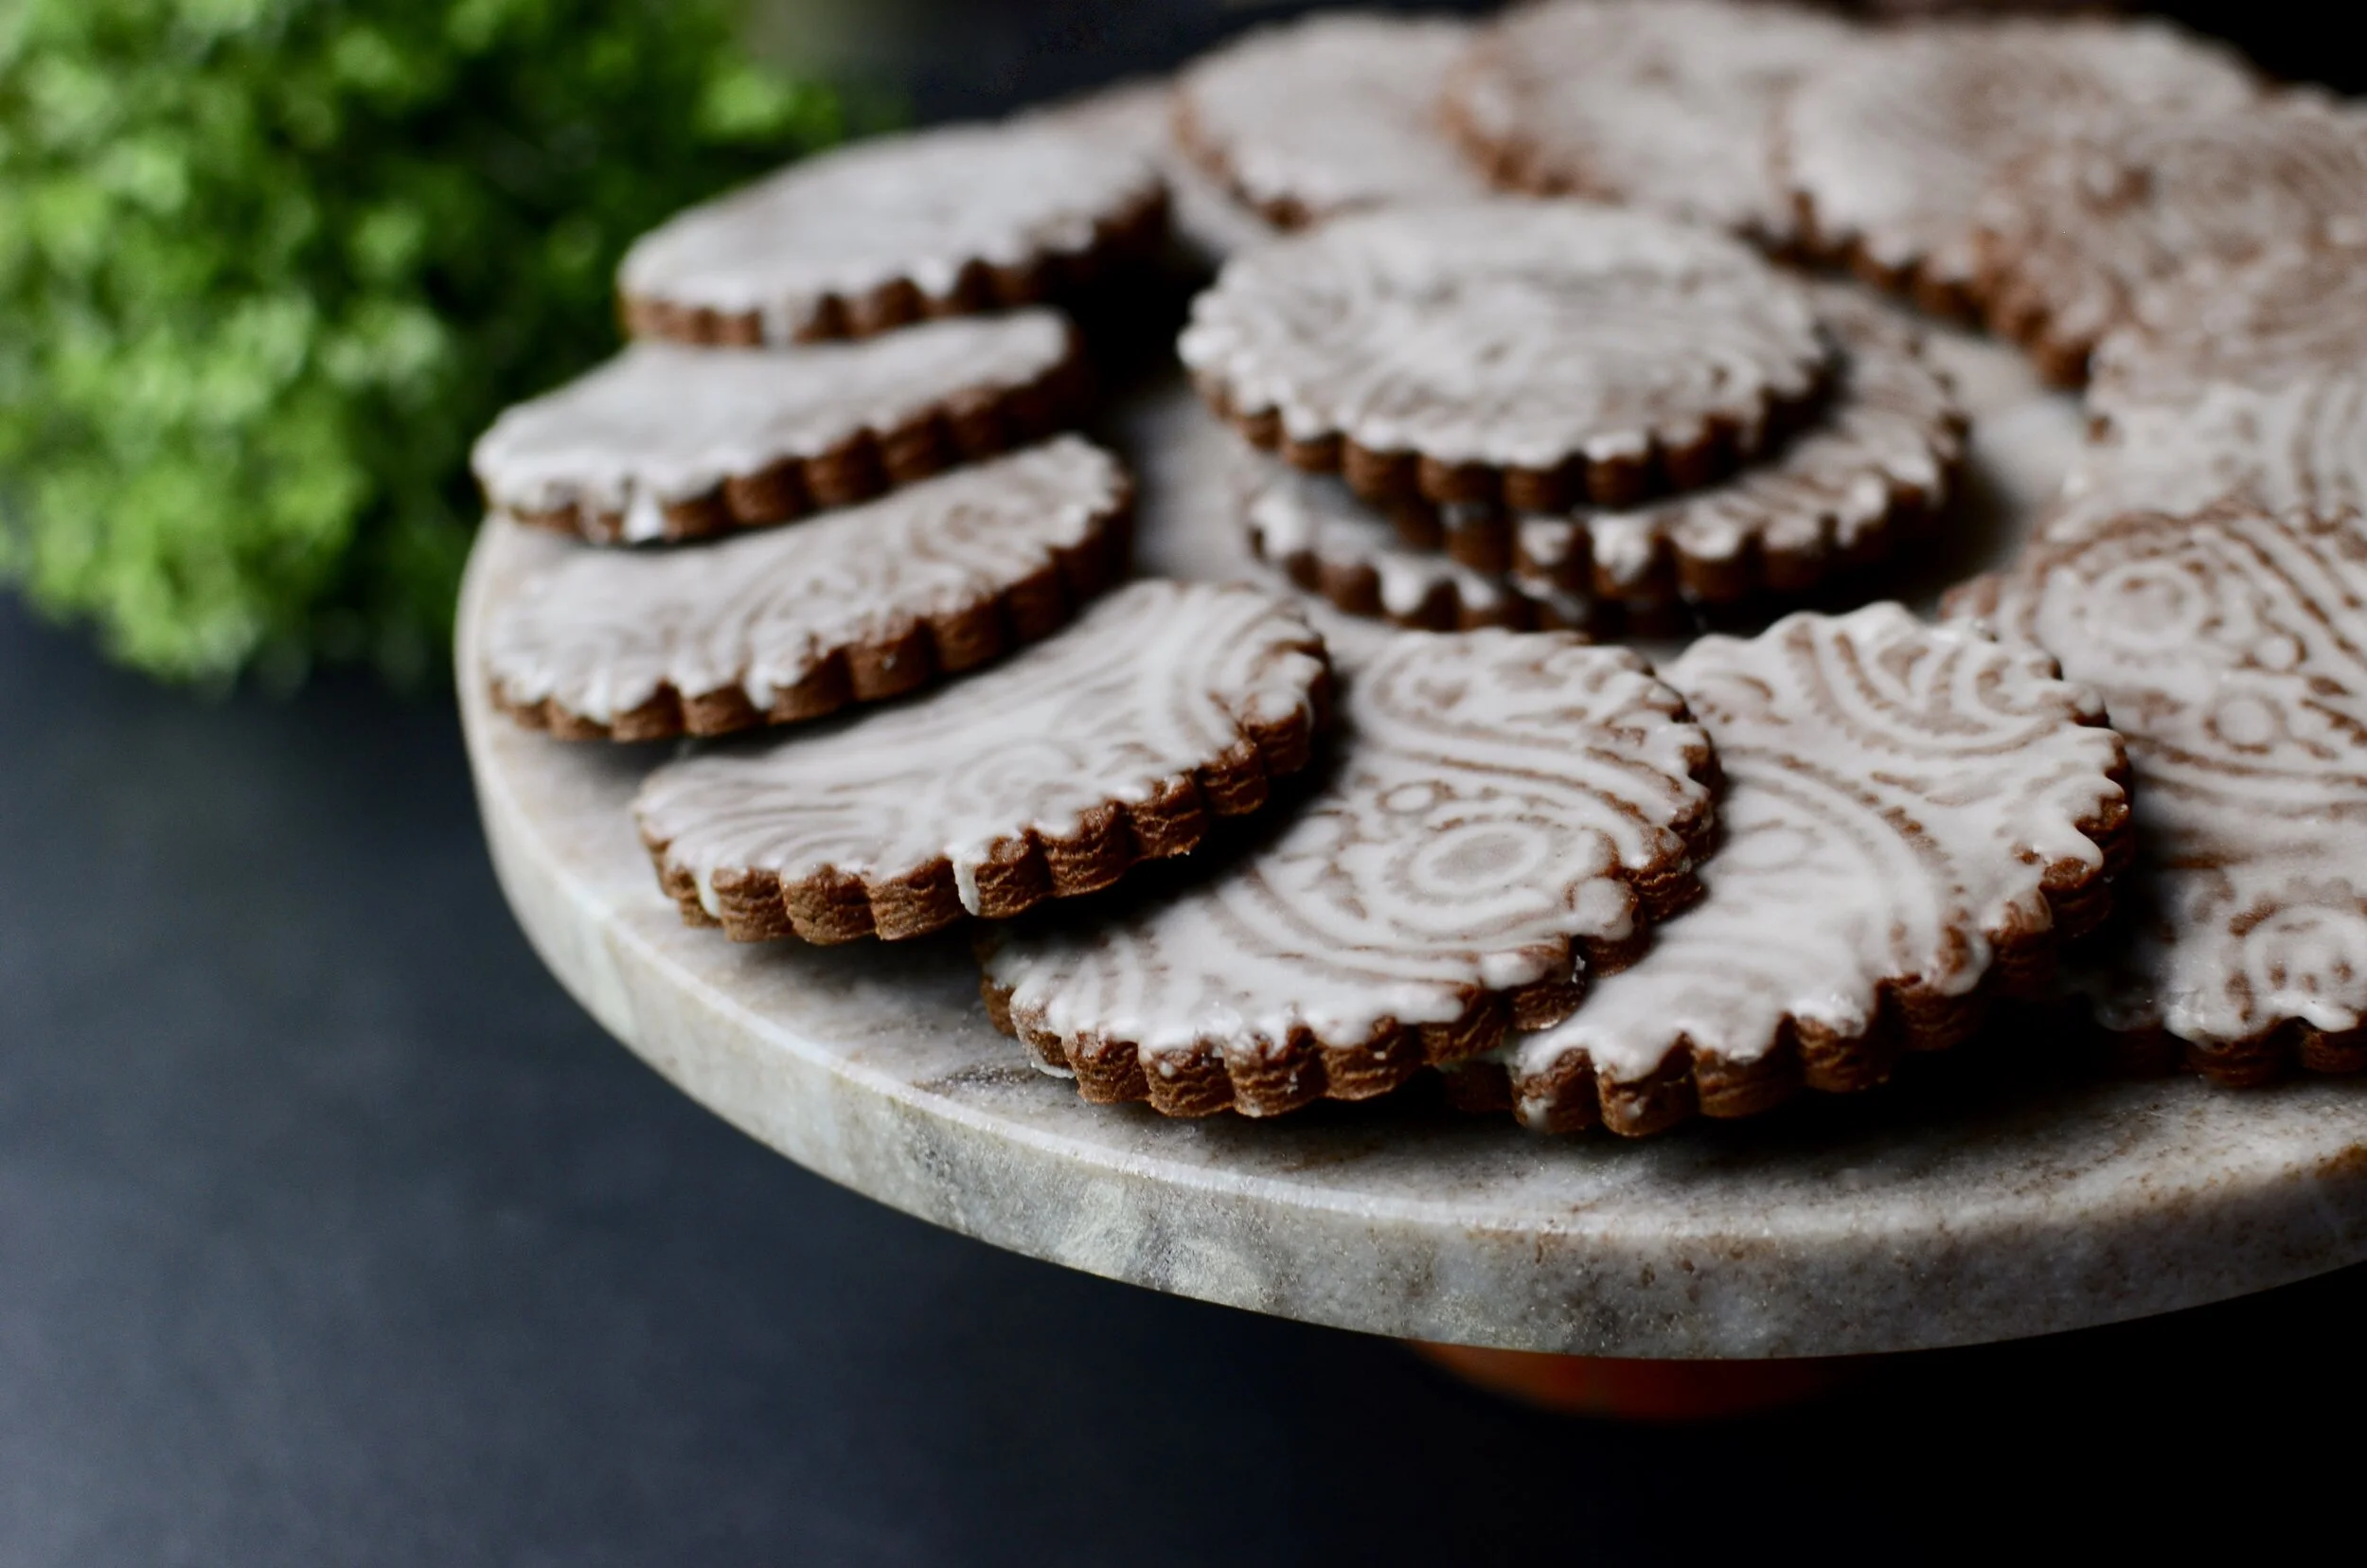
Since the cookies are still warm, the marks left in the glaze by the pastry brush will melt into a smooth finish. Allow glaze to dry for an hour or two before serving. These cookies are best served within 24 hours.
Items used to make this recipe:
(affiliate links)
embossed rolling pin https://amzn.to/3sBLYYJ
rolling guides https://amzn.to/300d6Db
double sided scalloped cutter set https://amzn.to/3LuJqEr
half sheet pan https://amzn.to/35Z1GFA
silpat liner https://amzn.to/3uM9nt1
parchment paper https://amzn.to/34D20cT
silicone pastry brush https://amzn.to/3eNdNF8
high quality dutch processed cocoa https://amzn.to/3uJFaLc
pure vanilla extract (use the good stuff) https://amzn.to/3ovS9fE
Embossed Spice Cookies with Butter Rum Glaze
makes 25 cookies (2.75-inch or 7cm round)
Ingredients
Cookies:
6 tablespoons unsalted butter, room temperature
1/3 cup PLUS 2 tablespoons packed brown sugar
1/4 cup molasses
1 large egg
1 3/4 cups PLUS 2 tablespoons all purpose flour
1 tablespoon dutch-processed cocoa powder, sifted
1 teaspoon ground ginger
1 teaspoon ground cinnamon
1 teaspoon ground cardamom
1/2 teaspoon baking powder
1/4 teaspoon ground cloves
1/4 teaspoon ground nutmeg
1/4 teaspoon finely ground black pepper
1/4 teaspoon fine salt
Glaze:
2/3 cup confectioners sugar, sifted
1 tablespoon melted butter
1 tablespoon rum
1/2 teaspoon pure vanilla extract
Directions
To make the cookies:
In a stand mixer fitted with the paddle attachment, cream the butter, brown sugar, and molasses on medium speed for 2 minutes, until light and fluffy, scraping bowl as needed; add egg yolk and mix until fully combined.
In a mixing bowl, whisk together all the remaining cookie ingredients (do not add the glaze ingredients).
Slowly add the dry ingredients to the mixer set on low speed and mix until no traces of dry ingredients remain.
Roll dough to 1/4-inch thickness between two sheets of wax paper, then peel the top layer of waxed paper off and use embossed roller to imprint pattern.
Use desired cutter to cut shapes, then carefully remove scraps but don’t attempt to move the cutouts (place scraps into an airtight container or zip-top bag until you have enough to reroll).
Carefully place waxed paper with cutouts onto sheet pan and chill for at least 30 minutes.
Preheat oven to 325F and place rack in center position.
Remove chilled cutouts from refrigerator place cutouts on prepared sheet pans; bake for 9-10 minutes, leaving at least 1-inch of space between cookies (12 cookies per sheet).
Bake for 9-10 minutes; remove from oven and rest for 5 minutes before glazing.
To make the glaze:
While the cookies are baking, make the glaze by whisking confectioners sugar, melted butter, rum, and pure vanilla extract together in a small bowl; cover with wet towel to keep from drying.
Brush an even layer of glaze on cookies while they’re still warm (about 5 minutes after the cookies are removed from the oven).
Allow glaze to set before serving cookies, about 30 minutes.
Notes
Instead of dusting your counter and rolling pin with flour (which can make the dough scraps too dry to reuse), roll the cookie dough between layers of wax paper (or parchment paper).
Cookie dough can be made ahead and chilled in an airtight container for a day or two or frozen for up to a month. Allow the dough to come to room temperature (in its storage container) before rolling (don’t forget to chill cutouts for 15-20 minutes before baking).
To bake cookies ahead, do not glaze. Store unglazed cookies in airtight container between layers of waxed paper and chill or freeze. Thaw overnight in container, then gently reheat cookies in warm oven before glazing.
Cookies are best served within 24 hours of glazing (after that, the glaze will either turn gooey or it will crystalize and look chalky).
adapted from embossedco.com
