contact us

Use the form on the right to contact us.

You can edit the text in this area, and change where the contact form on the right submits to, by entering edit mode using the modes on the bottom right.


123 Street Avenue, City Town, 99999

(123) 555-6789

email@address.com


You can set your address, phone number, email and site description in the settings tab.
Link to read me page with more information.

Blog

Butteryum food blog recipes

Filtering by Tag: tart recipes

Summer Fruit Tart

Patricia @ ButterYum

summer.fruit.tart.1_butteryum.jpg

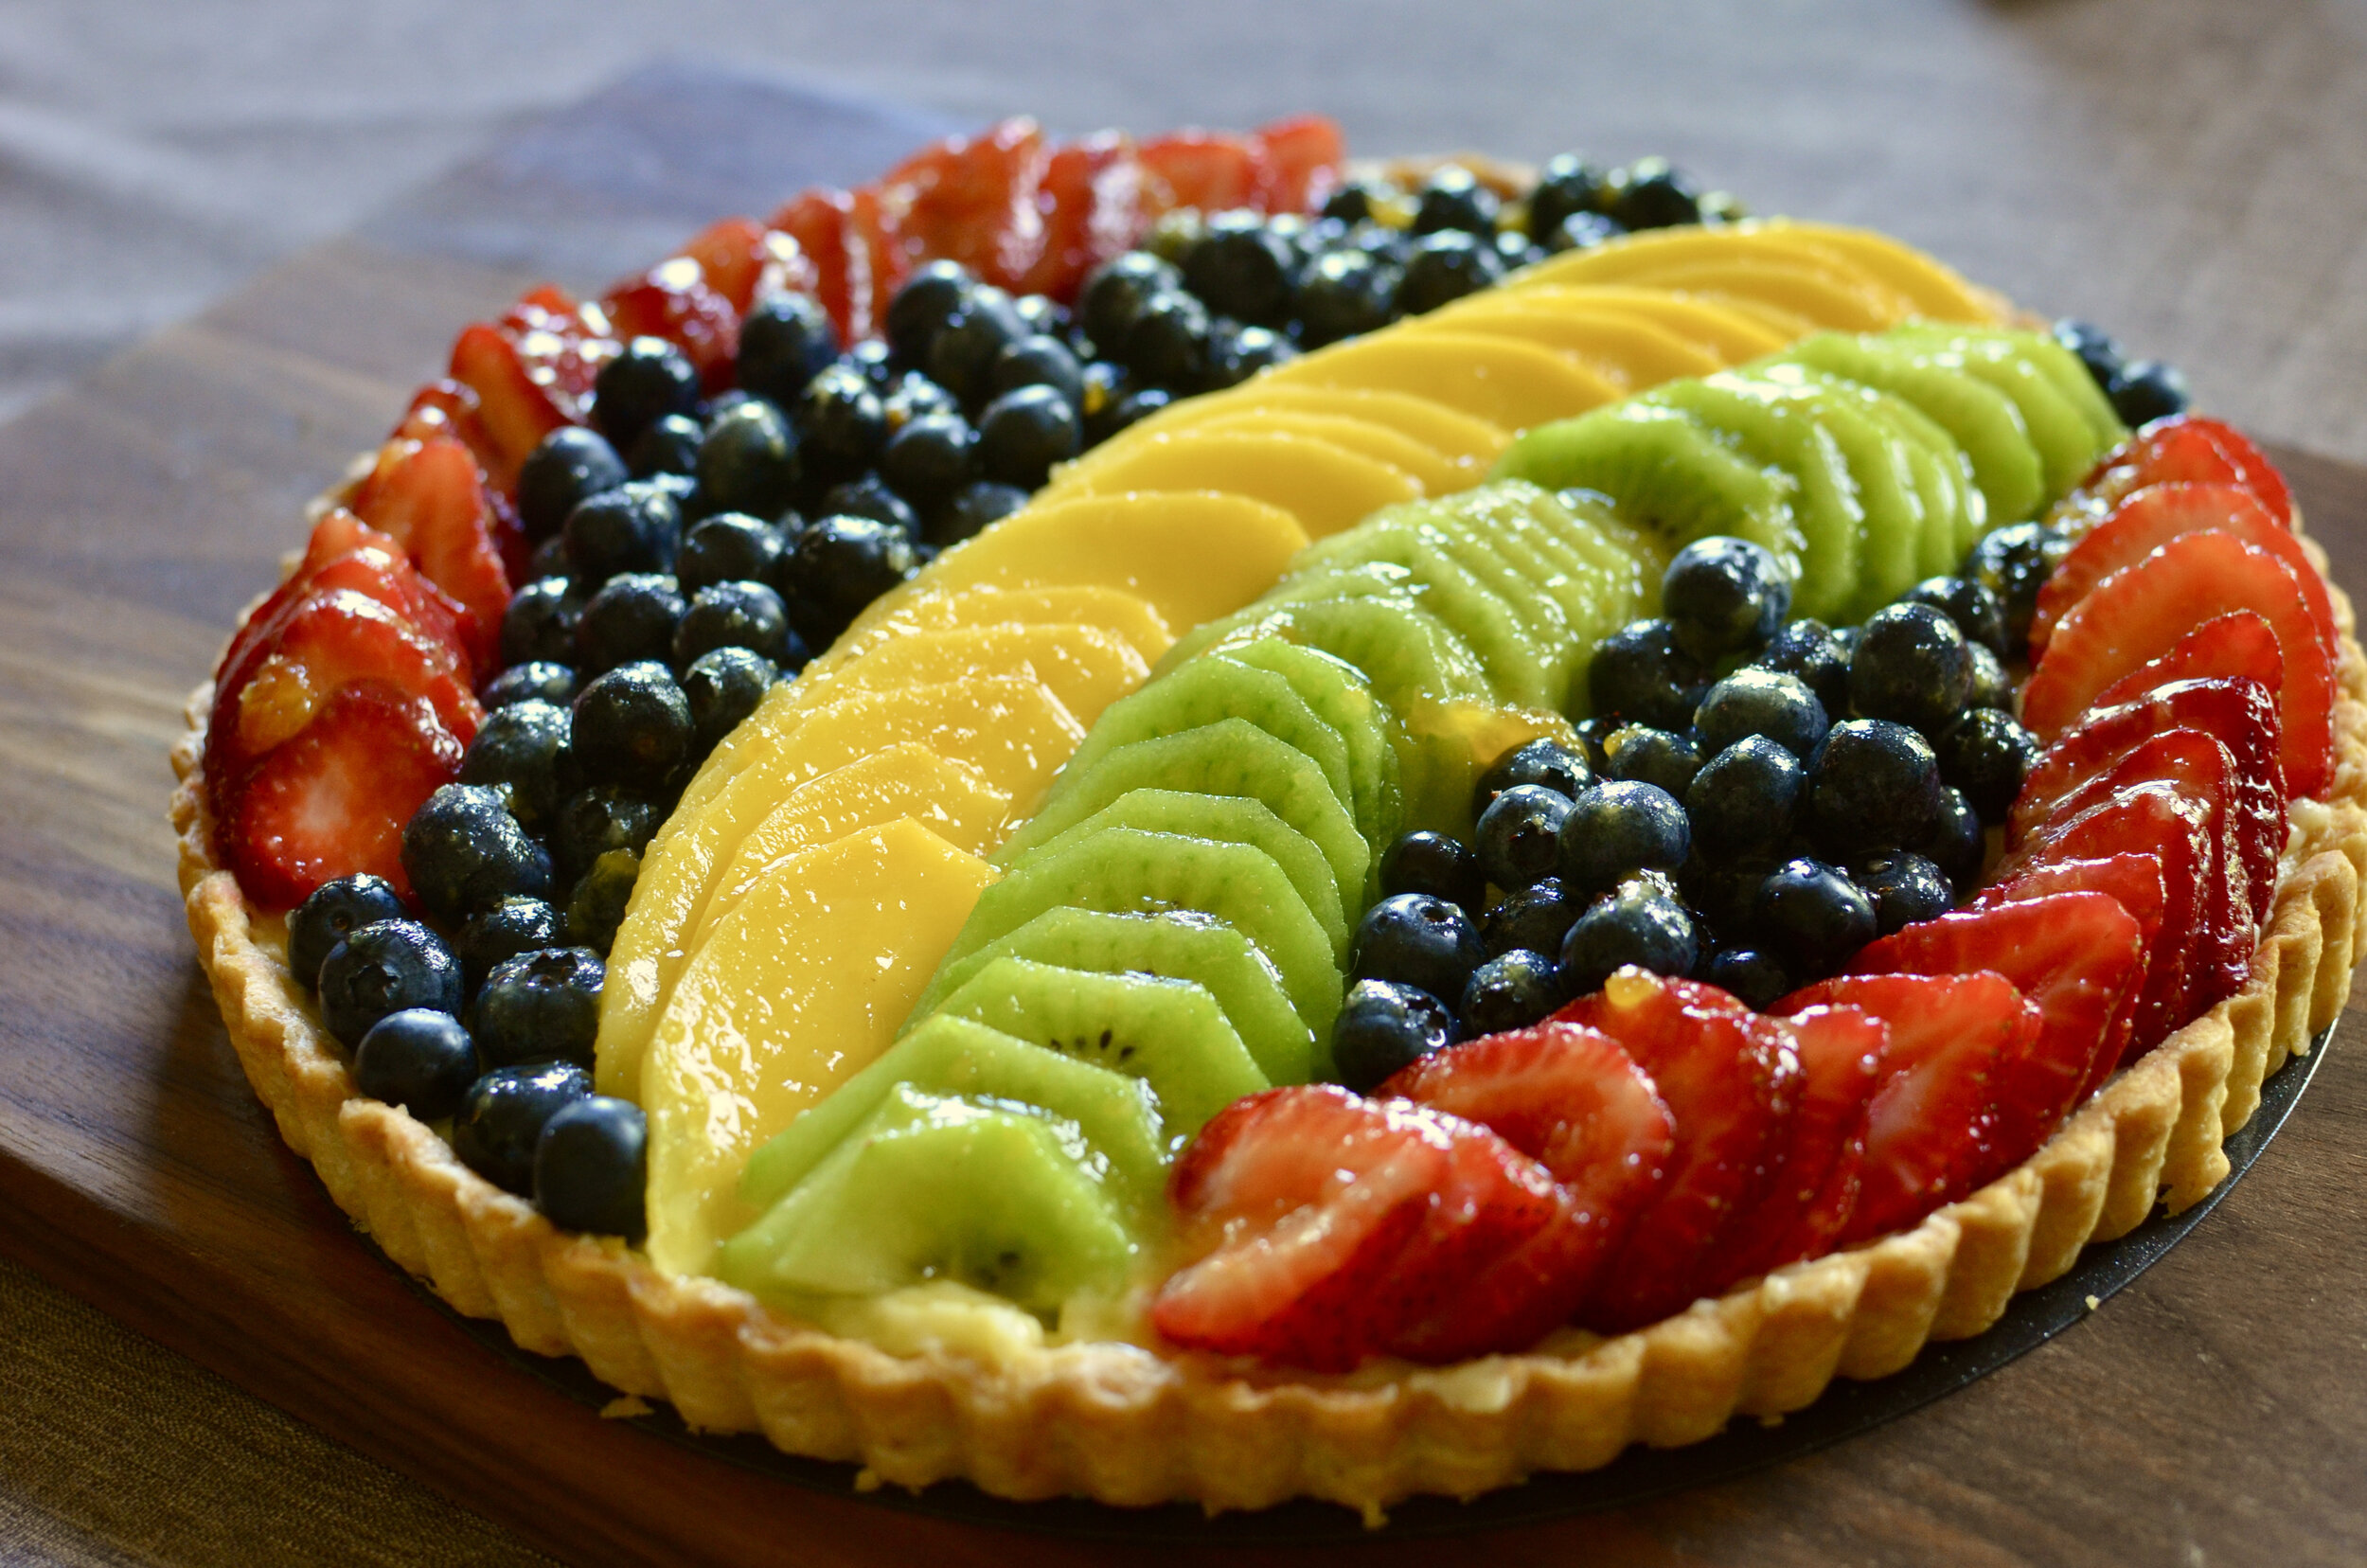
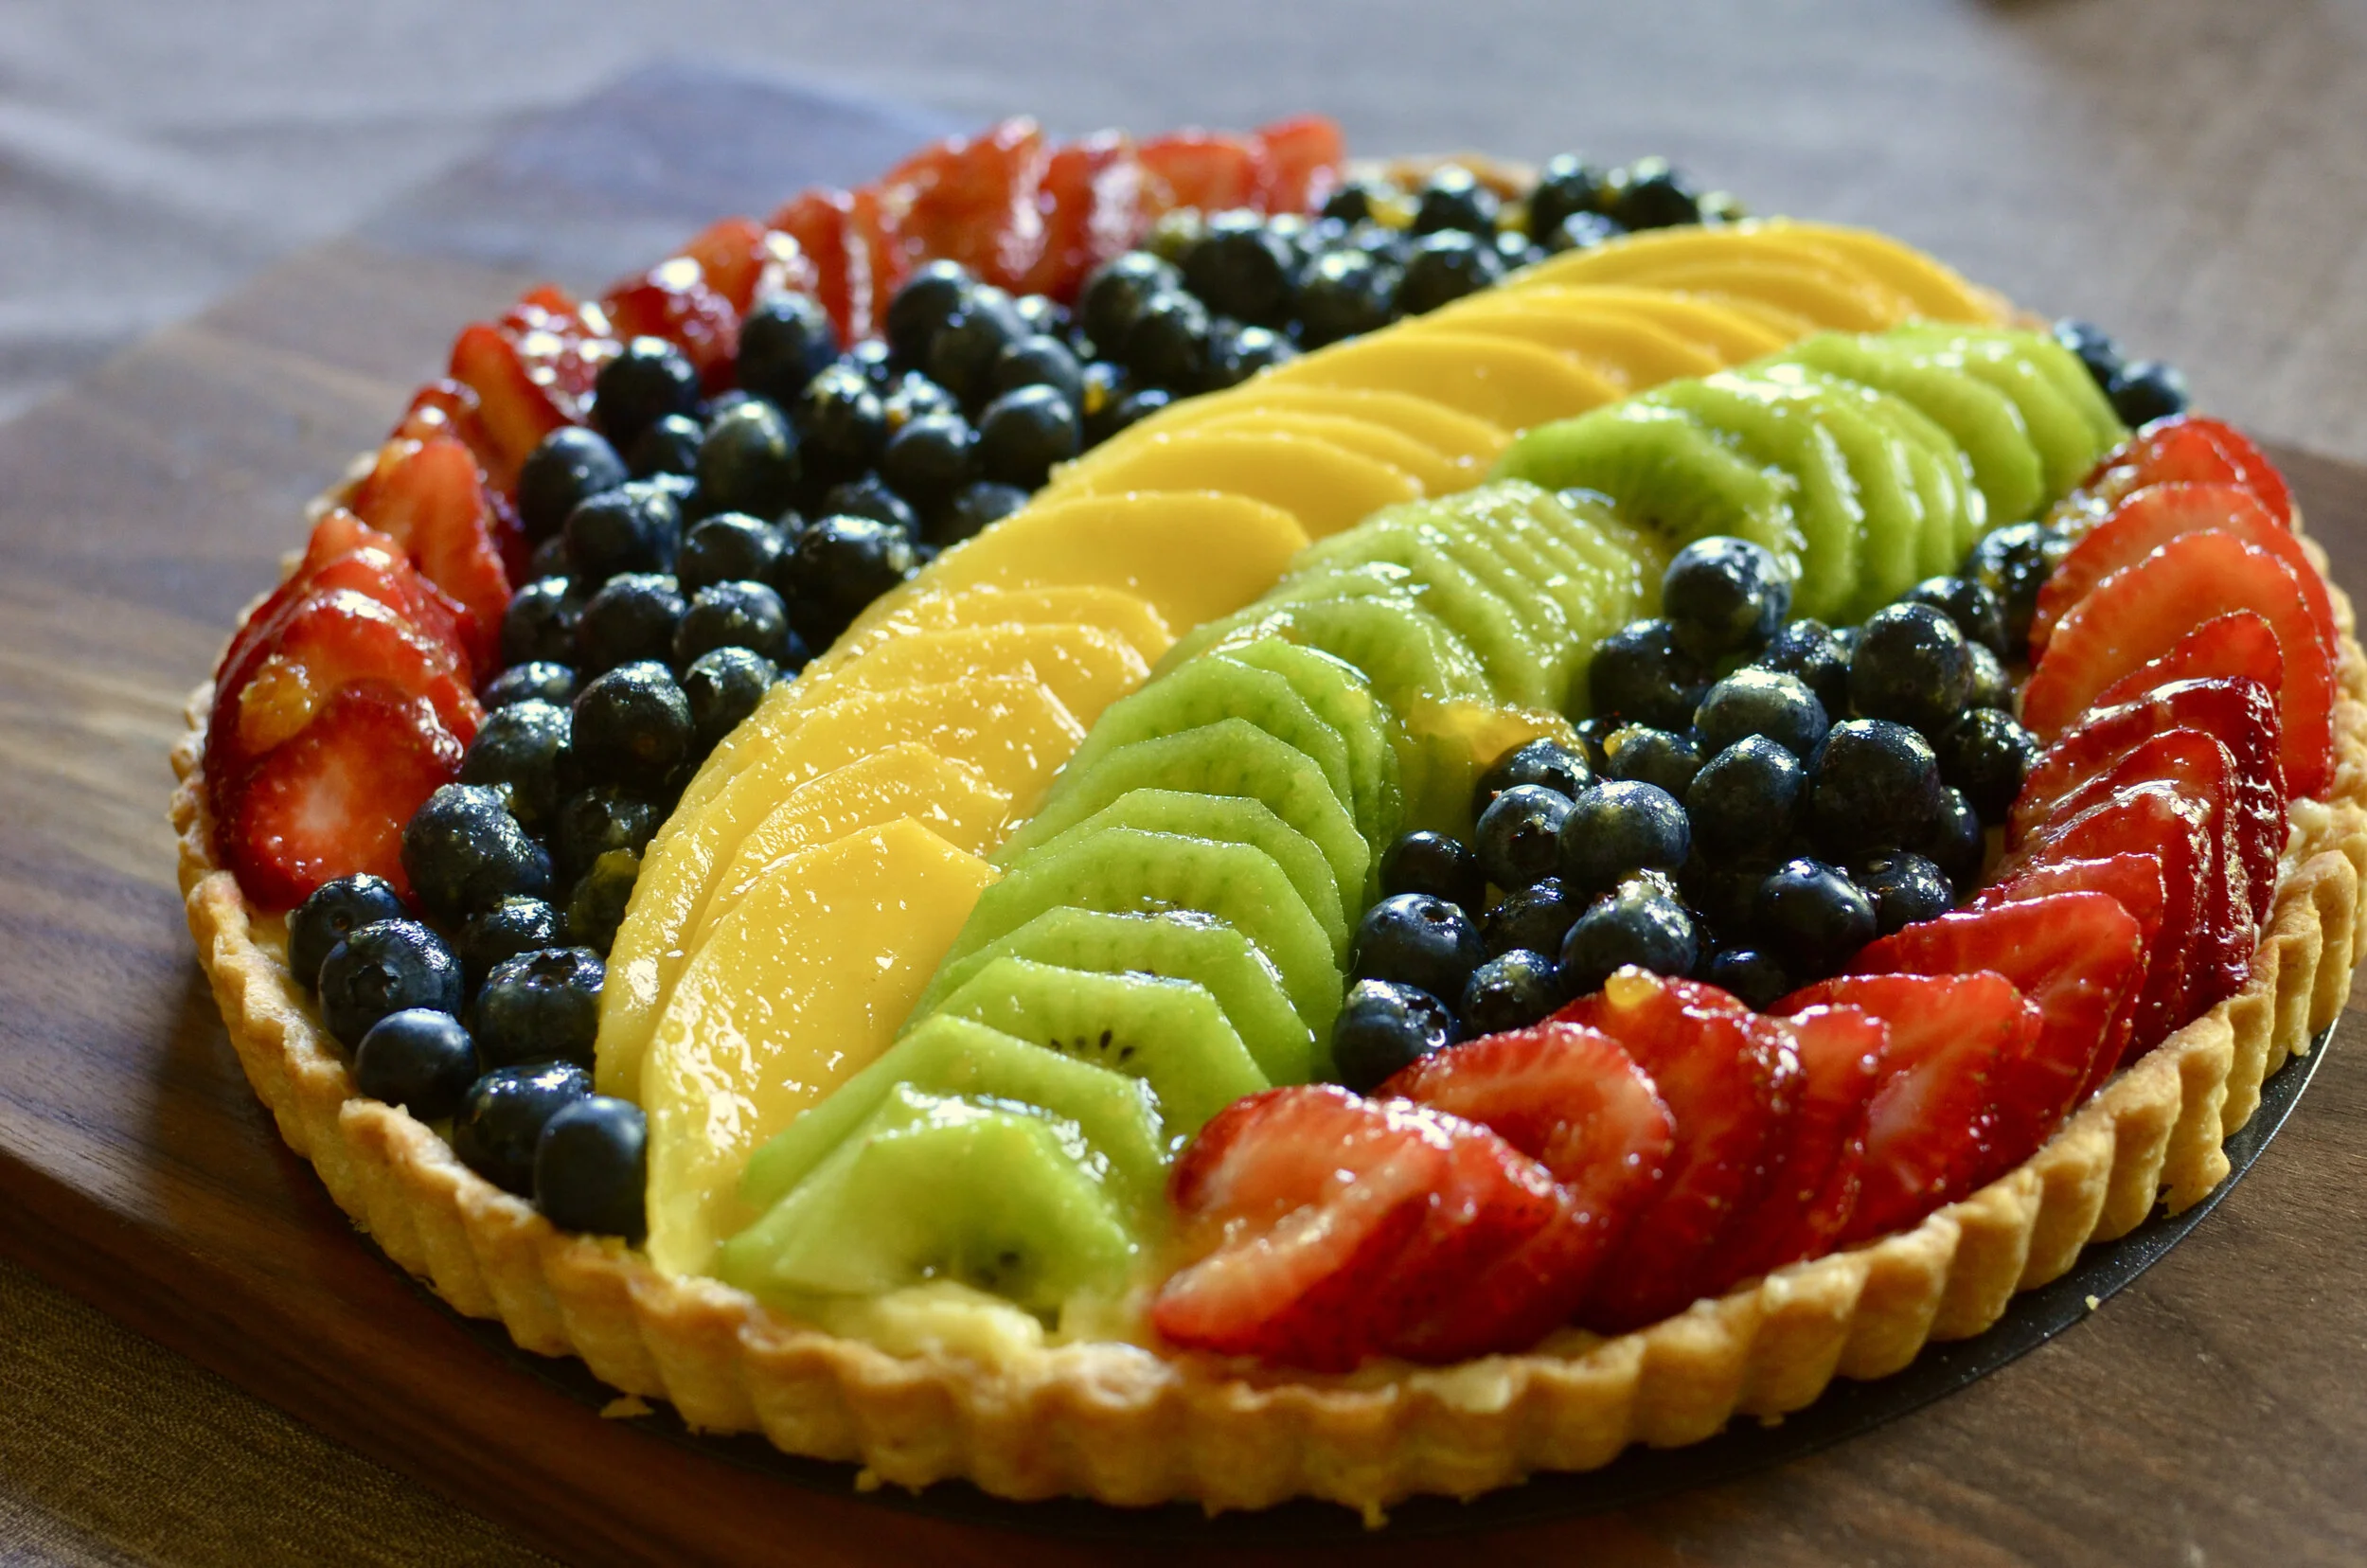
My children grew up watching me cook/bake and they apparently learned a thing or two in the process. When I recently celebrated a birthday, my girls presented me with this stunning fruit tart that they made without my help. Well, I answered a few baking-related questions… and provided the tart pan, but everything else they did on their own. Proud Momma moment.

The written recipe can be found at the bottom of this page, but you can click HERE to see complete step-by-step photos.

ITEMS USED TO MAKE THIS RECIPE:

(affiliate links)


MIXED BERRY FRUIT TART

makes a 10-inch tart

Printable Recipe

INGREDIENTS

VANILLA PASTRY CREAM:

  • 1 1/2 cups whole milk

  • 1/2 vanilla bean, split and seeds scraped

  • 6 tablespoons granulated sugar

  • 4 egg yolks

  • 3 tablespoons cornstarch

  • 2 tablespoons unsalted butter

SHORTBREAD TART SHELL:

  • 6 tablespoons unsalted butter, room temperature

  • 1 1/2 cups all purpose flour

  • 1/4 cup granulated sugar

  • 2 large egg yolks

  • 1/4 teaspoon fine salt

FRUIT FILLING:

  • 3 kiwi fruits, peeled and sliced

  • 1 mango, peeled and sliced

  • 1 pint blueberries

  • 1 pint strawberries, hulled and sliced

  • 2 tablespoons apple or apricot jelly (for glaze)

DIRECTIONS

TO MAKE THE VANILLA PASTRY CREAM:

  1. In a small heavy-bottom sauce pan over medium heat, combine milk, split vanilla bean, and vanilla bean seeds.

  2. Remove from heat as soon as small bubbles start to appear around the perimeter of the pan.

  3. In a small mixing bowl, whisk together sugar and egg yolks until smooth.

  4. Sift cornstarch into the egg mixture; whisk until smooth again.

  5. Add a ladle or two of the hot milk mixture into the egg mixture; whisk immediately.

  6. Pour the egg mixture into the milk mixture and return to heat, whisking constantly for a minute or two until it thickens.

  7. Remove from heat and whisk in butter.

  8. Pour hot mixture through a sieve into a shallow bowl.

  9. Cover pastry cream with plastic wrap touching the surface.

  10. Chill until thoroughly cooled.

TO MAKE THE SHORTBREAD TART SHELL:

  1. Place all the ingredients into the bowl of a stand mixer fitted with a BeaterBlade attachment; mix on low speed until evenly combined and mixture looks crumbly.

  2. Press crumbs evenly into the bottom and up the sides of a 10-inch removable bottom tart pan.

  3. Freeze tart shell for 20-30 minutes while the oven preheats.

  4. Preheat oven to 350F (lower temp by 25F if you use a dark tart pan like I did).

  5. Place tart pan on a rimmed sheet pan and bake in the center of the preheated oven for about 15 minutes, or until the edges of the shell turn golden brown.

  6. Cool completely before assembling (about an hour).

TO ASSEMBLE TART:

  1. Spread vanilla pastry cream evenly into cooled tart shell using an offset spatula.

  2. Arrange prepared fruit as you wish.

  3. Heat jelly with a little water until the jelly melts and makes a glaze; brush on fruit.

  4. Chill tart until service.

summer.fruit.tart.2_butteryum.jpg

Chocolate Raspberry Tarts

Patricia @ ButterYum

One of my favorite ways to feature fresh, juicy raspberries is to use them to top decadent individually-sized chocolate tarts.  Such an impressive presentation, but so very easy to pull off.  Let me show you how easy they are to make.

chocolate-tart-cookie-crust-butteryum

First, start with a batch of pate sucree (sweet dough) that's been chilling for about 30 minutes.  Press the pate sucree into mini tart pans (these are the ones I have).  I love individually sized desserts, and these are small enough to enjoy all by yourself, but they're not too small to share with someone special.

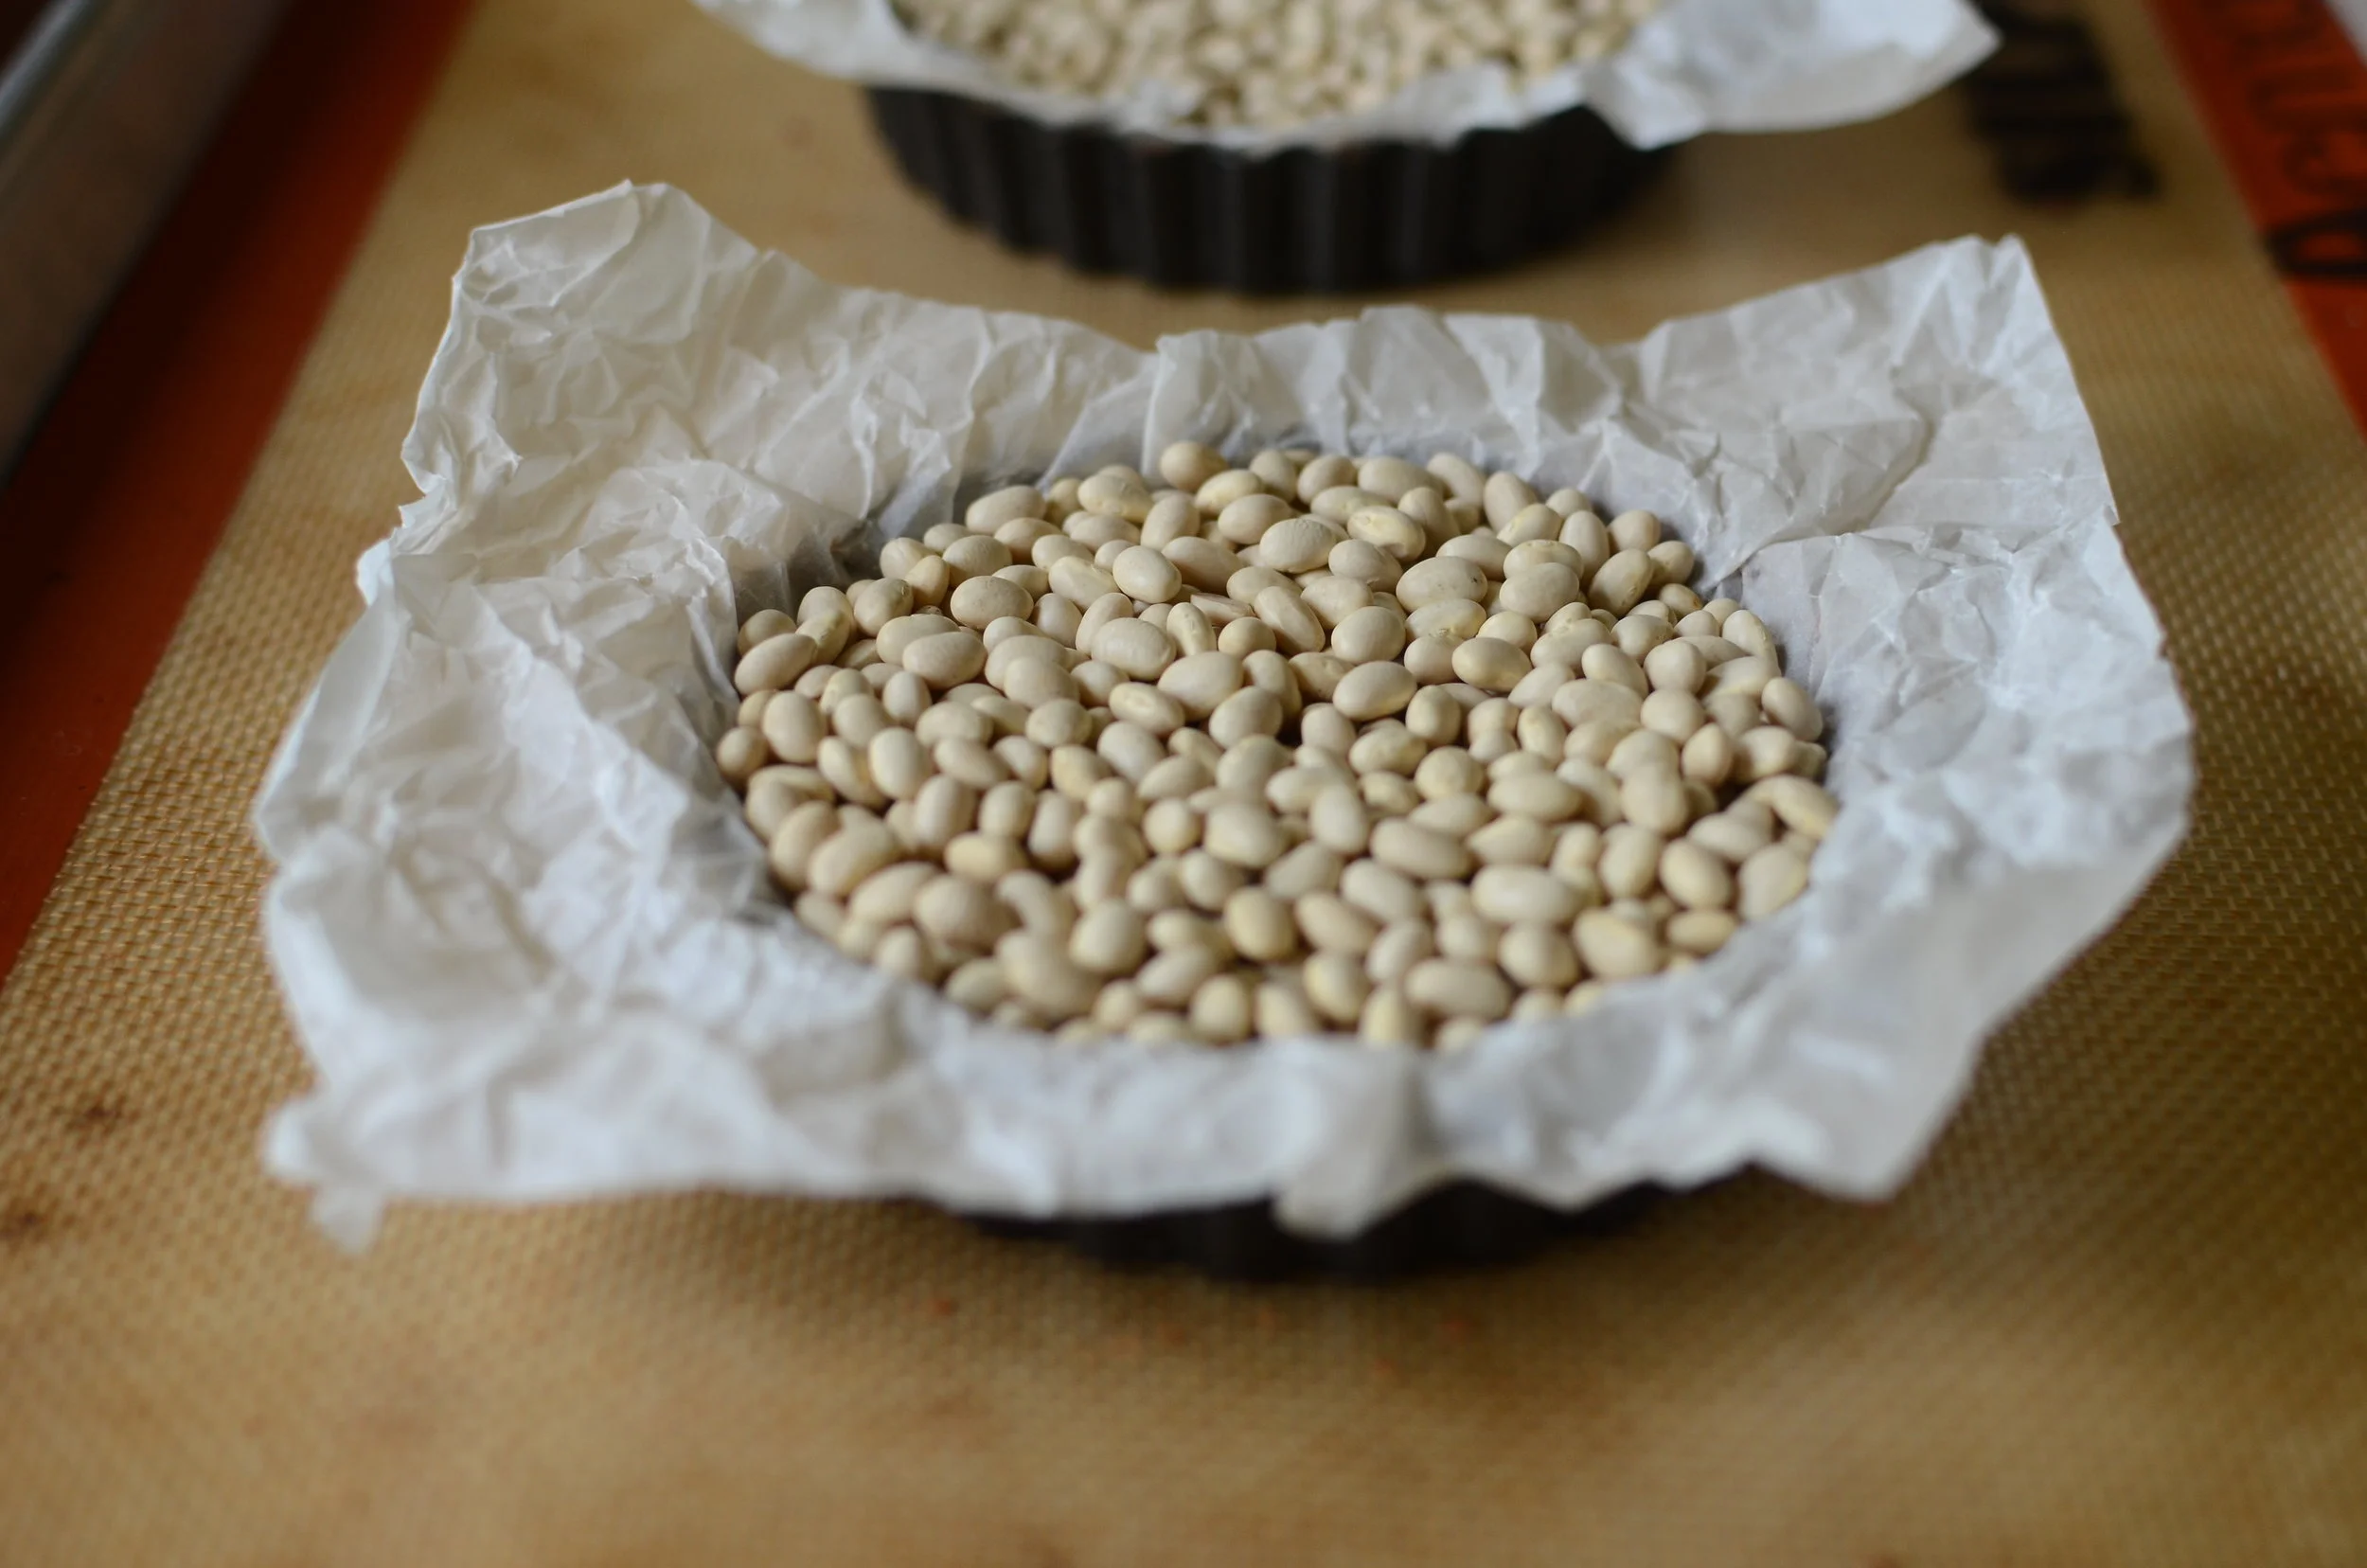
Now it's time to "bake them blind", which may sound really weird to someone not familiar with the technique, but basically it's partially baking the pie crust.  We do this by lining the tart crust with crumpled parchment paper (crumpling helps it easily fit the contours of the tart), then fill it with a variety of things that will 1) conduct heat, which will allow the crust to bake, and 2) keep the walls of the tart from slumping during the baking process.  

You can purchase metal or ceramic pie weights made specifically for the purpose of blind baking, but there are several substitutions you can use - dried beans, uncooked rice, or even granulated sugar.  Dried beans that have been used for this purpose can no longer be cooked for consumption, but they can be reused again and again so I let them cool completely, then store them in a jar in the pantry for next time.  Rice and sugar will toast slightly, but can be used for other recipes - they'll get slightly toasted in the oven, which imparts a lovely flavor.

lining-tart-shell-with-crumpled-parchment-paper

See how the crumpled parchment is able to hug the contours of the tart?  Much easier than trying to do the same thing with a piece of flat parchment, believe me!

blind-baking-tart-shells-butteryum

Fill with beans (or rice, sugar, pie weights, etc).  Chill well while the oven preheats.  Chilling the pate sucree before baking helps to keep it from shrinking during the baking process.

blind-baked-chocolate-tart-shell-for-raspberry-tart-butteryum

After 10-15 minutes, the sides of the tart will be set and you can remove the parchment and its contents.  You can see how the sides have lost their shine, but the bottom of the tarts need more time in the oven so return them for another 10 minutes or so.

chocolate-tart-shells-ready-to-fill-butteryum

You'll know they're done when they look dry and are firm to the touch.  Set aside to cool while you make the ganache filling.  

scalding-cream-to-make-chocolate-ganache

To make the ganache, heat cream until just before it begins to boil.

making-chocolate-ganache-butteryum

Pour over your chopped chocolate and let it sit, undisturbed, for a few minutes.  Then whisk together until smooth.

pouring-chocolate-ganache-in-prebaked-chocolate-tart shells

Pour the ganache into the baked tart shells.

ganache-filled-tart-shells-butteryum

Chill for at least 15 minutes before adding the raspberries so they don't sink into the chocolate. 

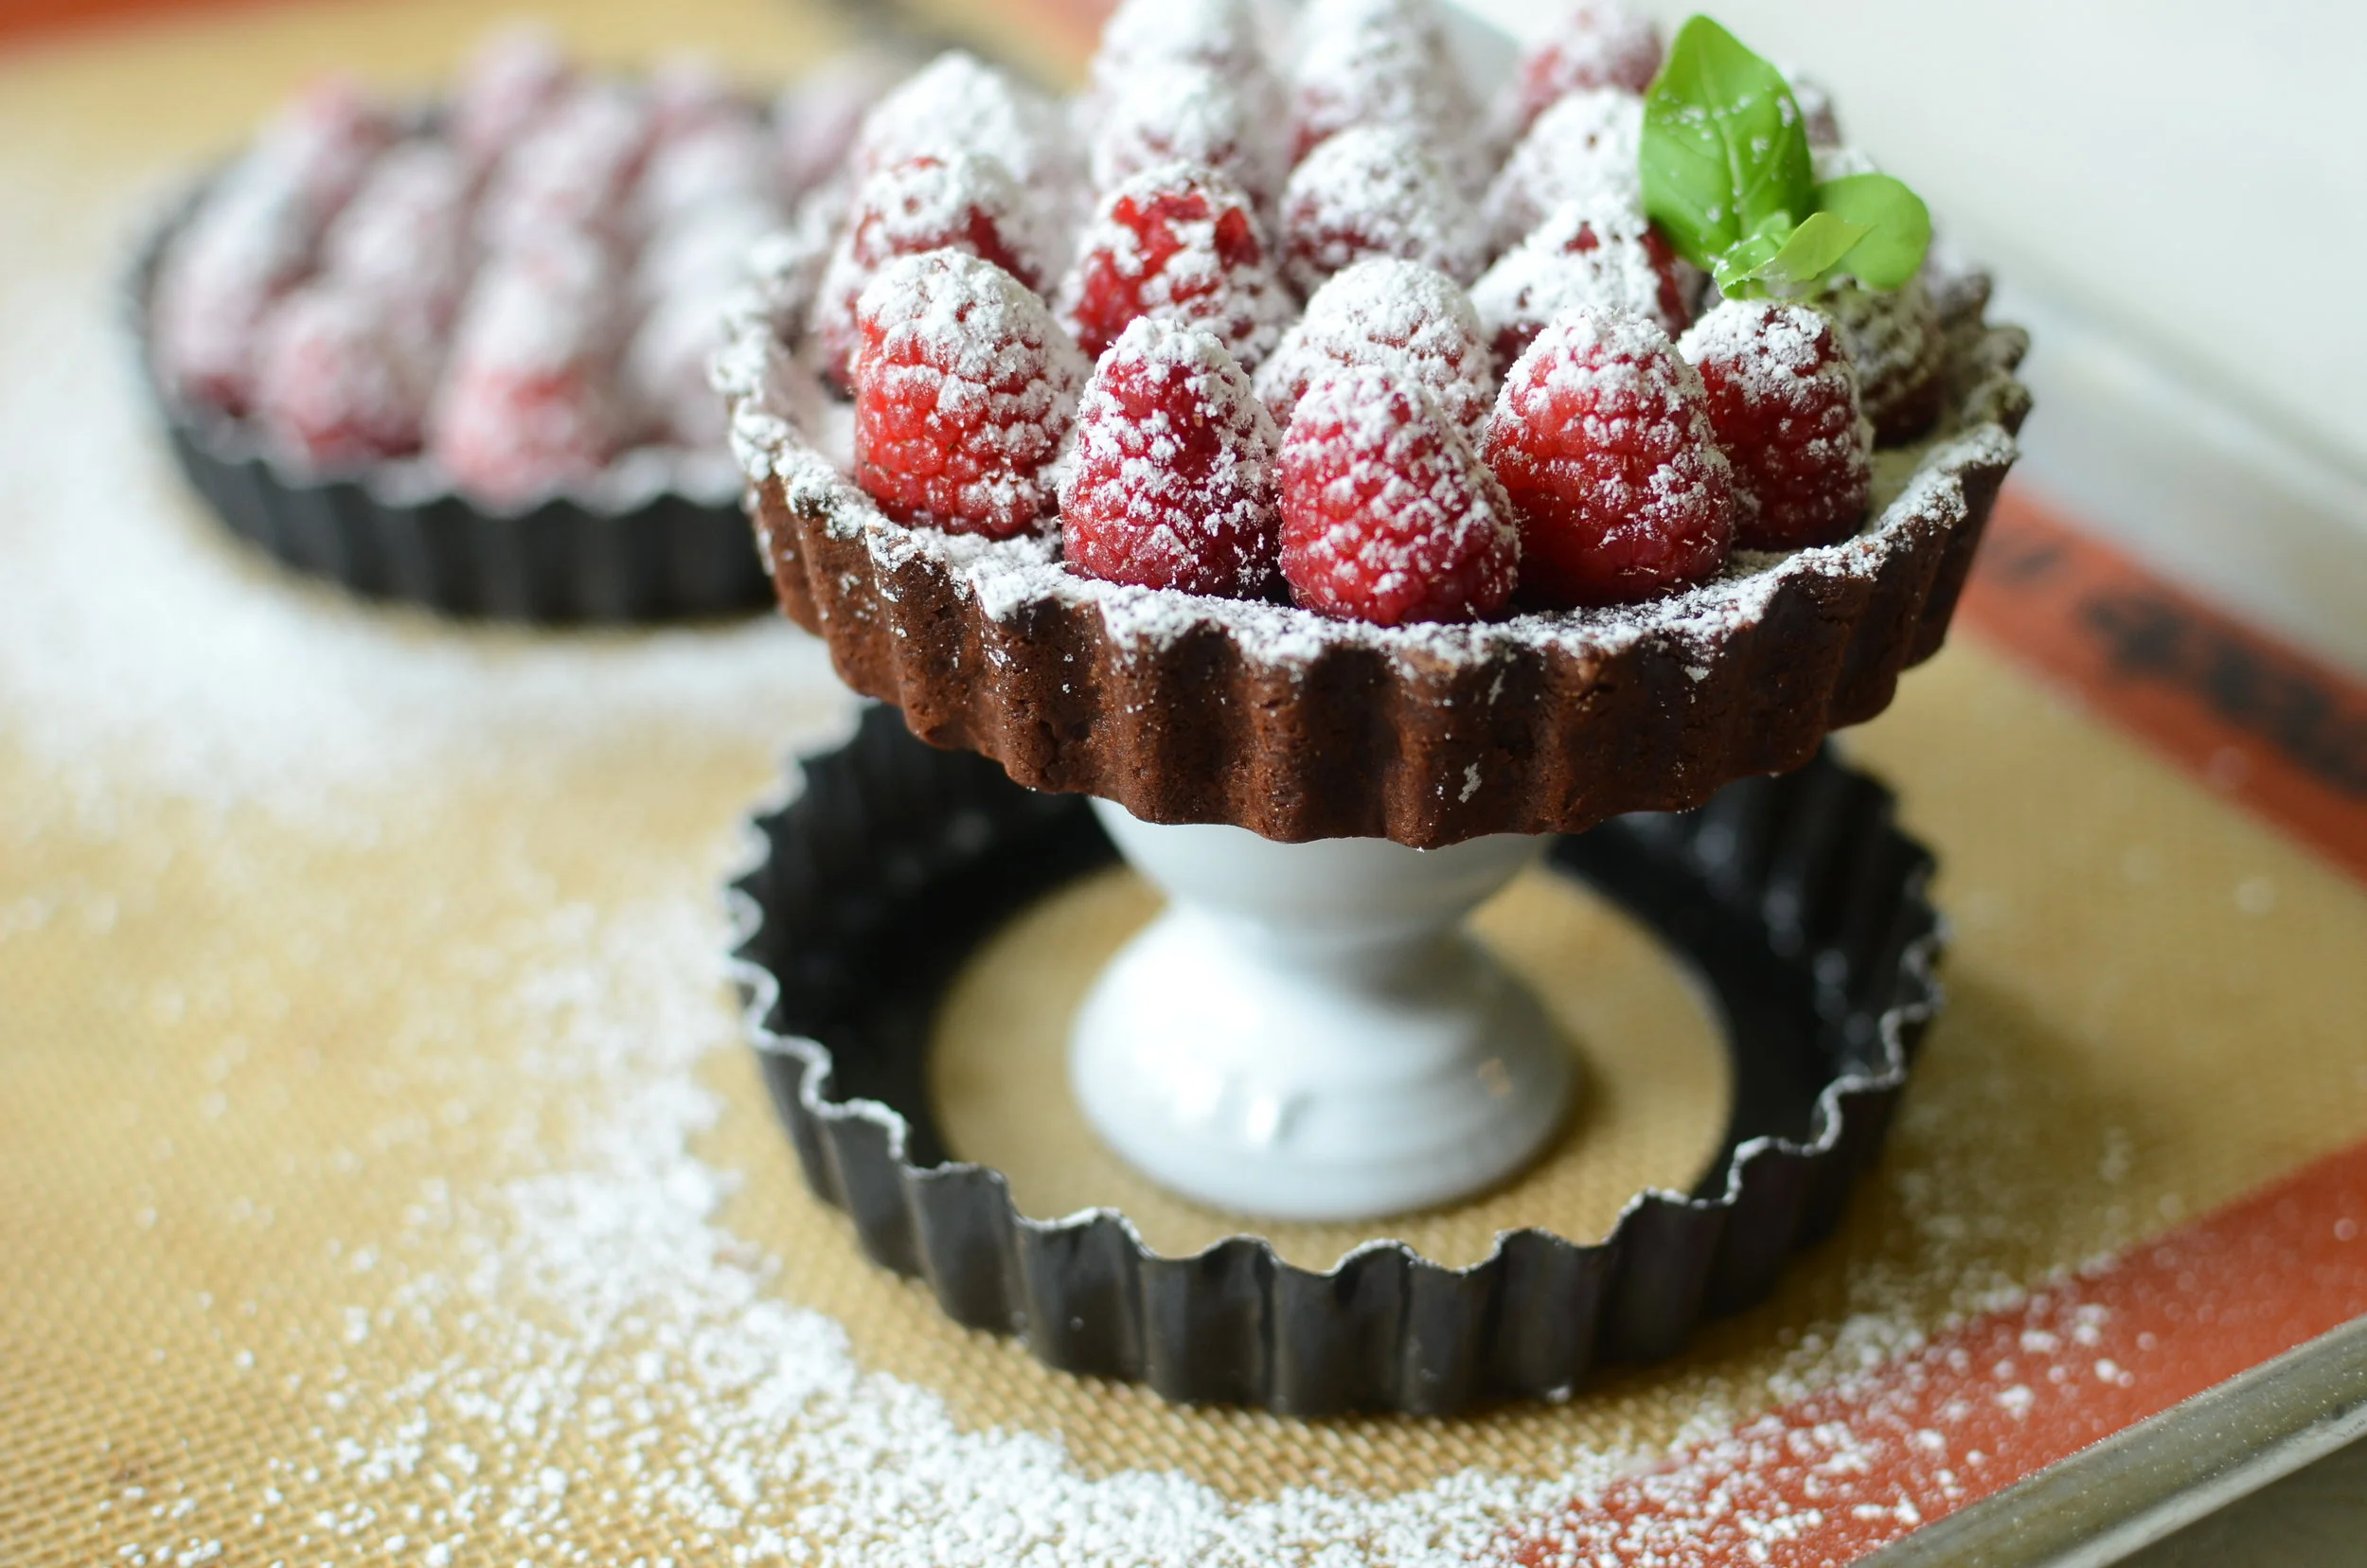
mini-chocolate-raspberry-tarts-butteryum

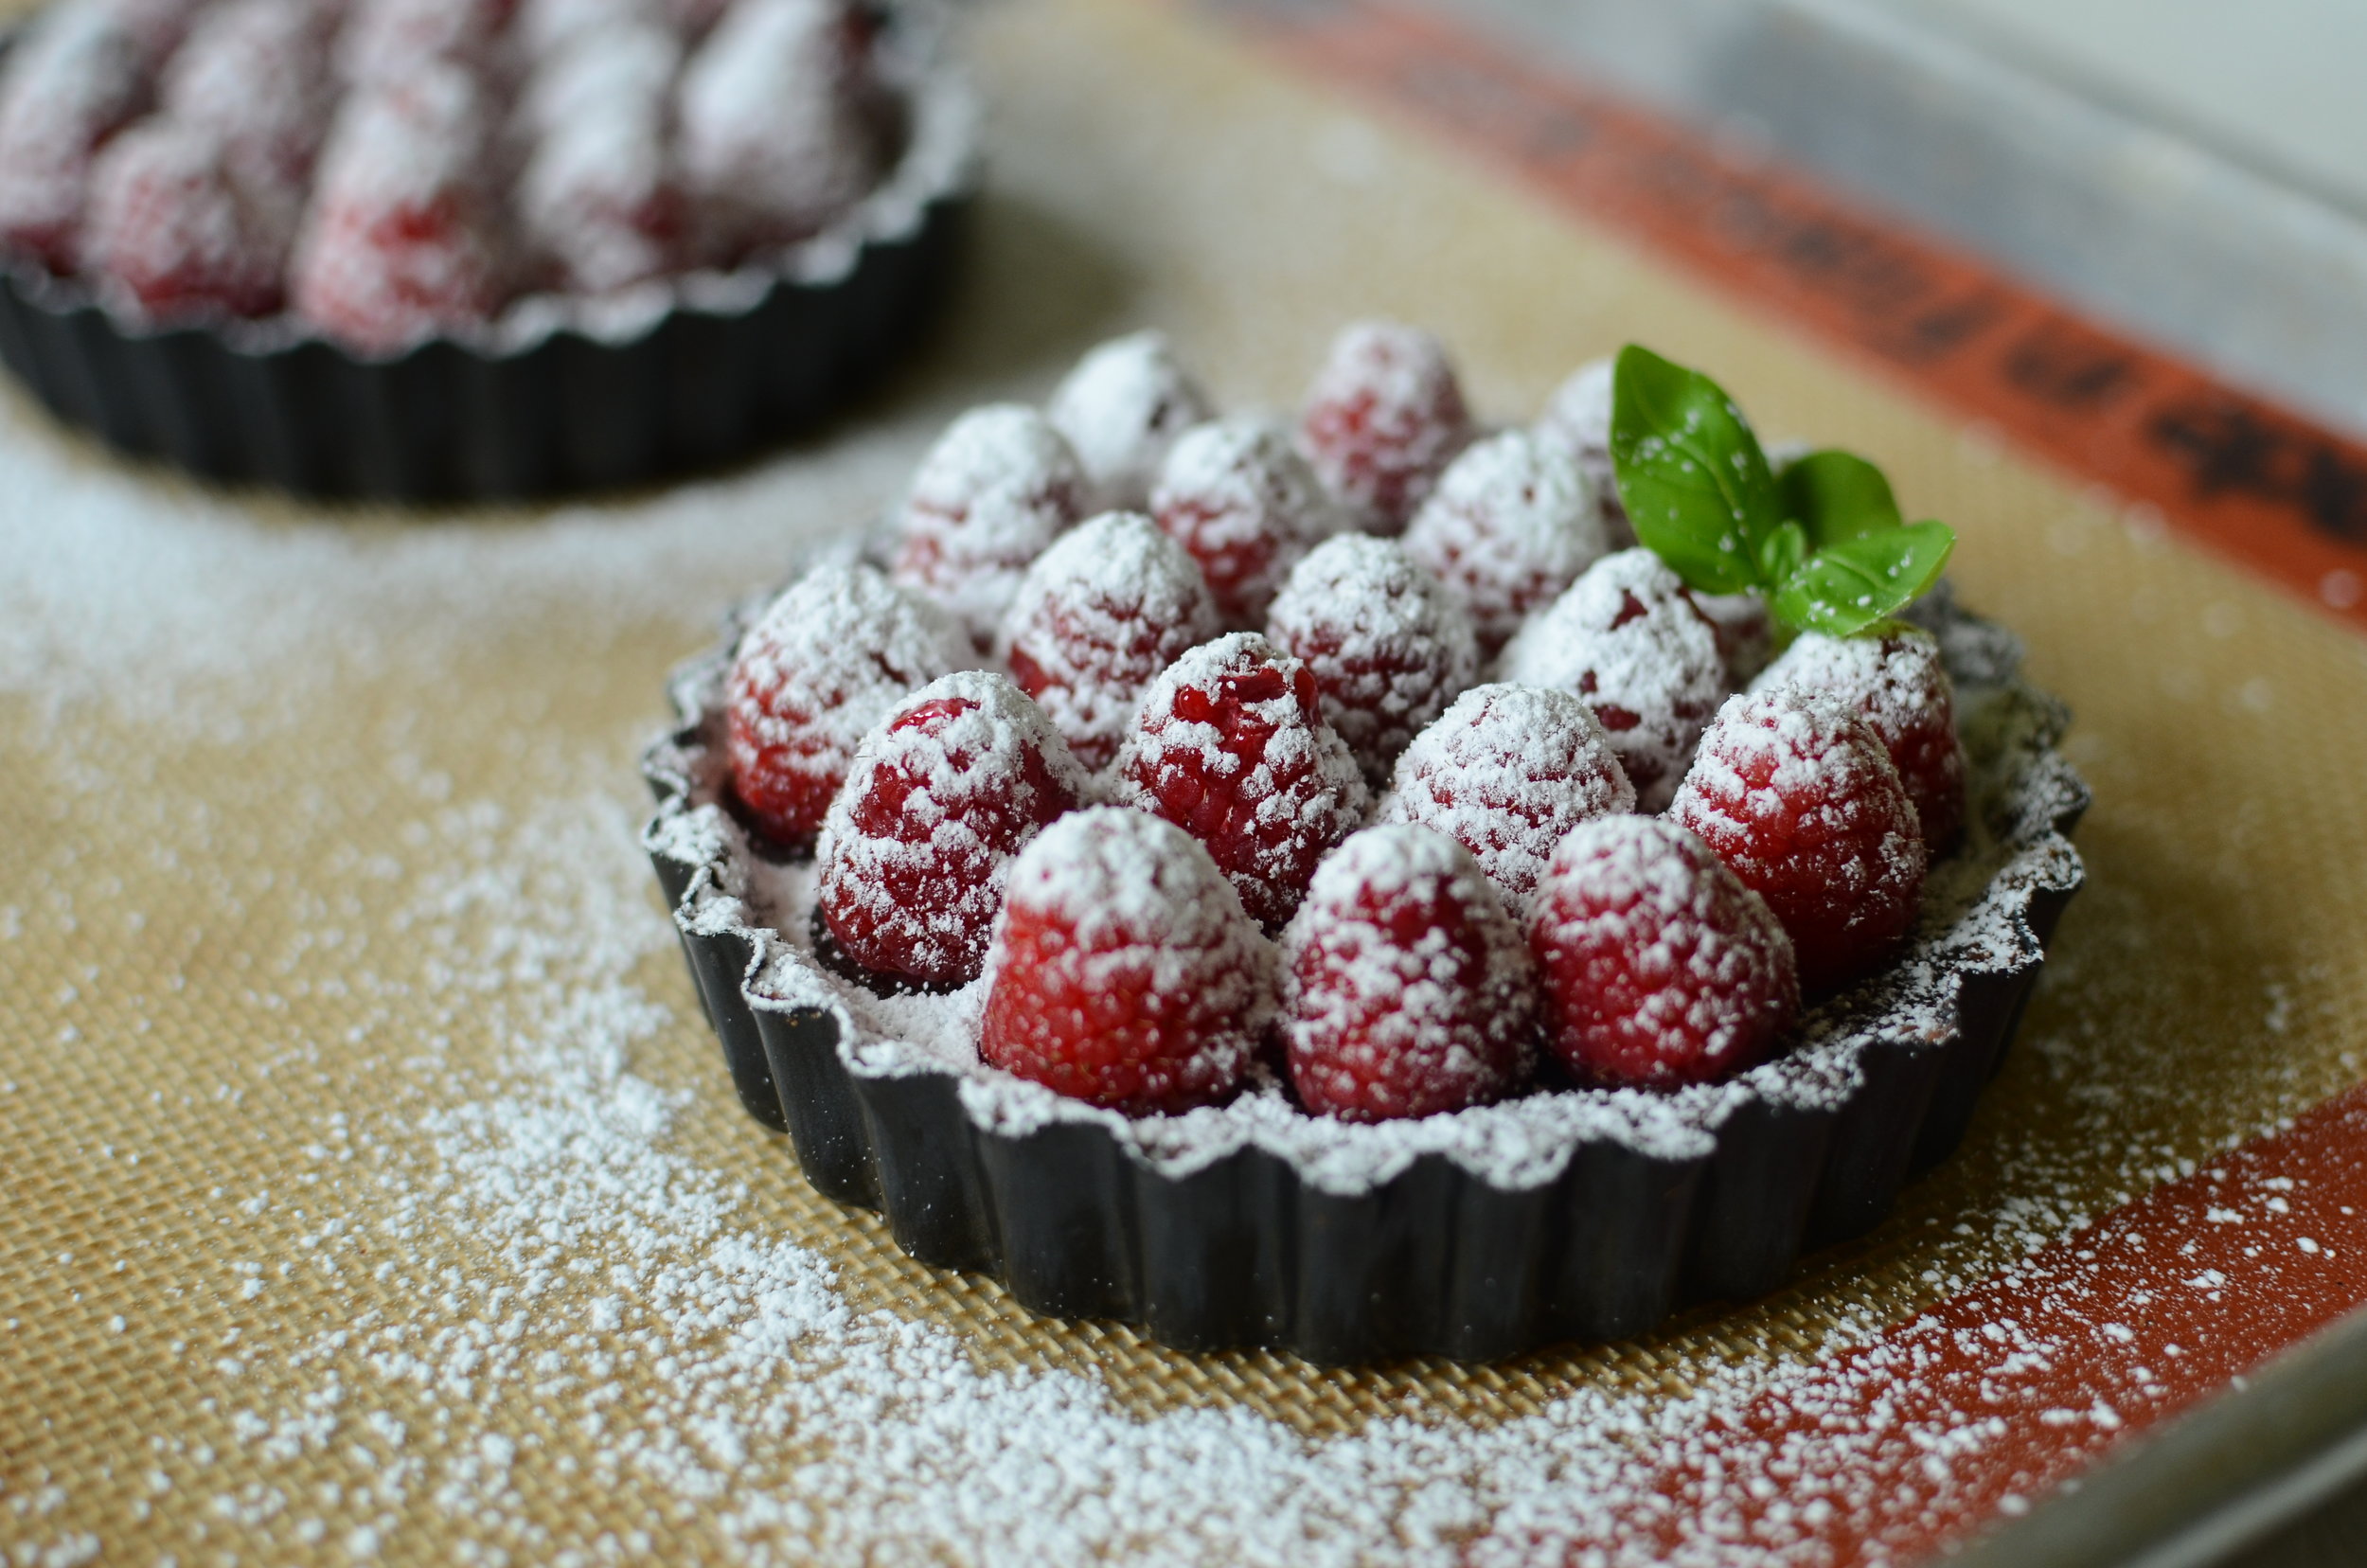
When you're ready to serve, sprinkle the berries with a little confectioner's sugar and remove the sides of the tart pan.

unmolding-chocolate-raspberry-tart-butteryum

Place the tart on something elevated, yet small enough for the sides of the tart pan to fit over.  Here I'm using an egg cup.  Using gentle pressure, push the sides of the pan down.  

Enjoy!

Items used to make this recipe:

(affiliate links)


Individual Chocolate Raspberry Tarts

makes 6 mini tarts (or one 9-inch tart)

Printable Recipe

Ingredients

Pate Sucree Crust:

Filling:

Garnish:

  • 3 pints fresh raspberries

  • confectioners sugar

  • mint sprigs

Directions

To Make Pate Sucree:

  1. In the bowl of a stand mixer fitted with a BeaterBlade or flat paddle attachment, combine the ingredients until fully combined and no traces of dry ingredients remain.

  2. Wrap will with plastic and chill for 30-60 minutes.

  3. Divide dough equally between 6 individual tart pans with removable bottoms and press evenly across bottom and up sides; chill for at least 15 minutes (or up to several days if wrapped well with plastic).

  4. Preheat oven to 325F and line chilled tart shells with parchment paper filled with beans, rice, sugar, or pie weights.

  5. Place filled tart shells on silpat-lined sheet pan and bake for 10-15 minutes, or until the sides of the tarts are set; remove parchment and return empty shells to oven to continue baking for another 10 minutes or until the bottom crust is set.

  6. Allow tart shells to cool until while you make the filling.

To Make the Filling:

  1. Place chopped chocolate in a heat-safe bowl; set aside.

  2. In a medium heavy-bottom saucepan, heat cream and butter until just before it reaches the boiling point (small bubbles will form around the edges).

  3. Remove cream/butter mixture from the heat and pour over chocolate.

  4. Let the chocolate and cream steep together for 2-3 minutes.

  5. Add the espresso powder and pure vanilla extract; whisk gently until smooth and shiny.

  6. Divide filling between tart shells, leaving 1/4-inch space at the top of each shell; chill for at least 15 minutes before adding berries.

To Serve:

  1. Top with fresh raspberries and sprinkle with confectioners sugar.

  2. Carefully remove sides of tart pan as shown above, and garnish with fresh mint.