contact us

Use the form on the right to contact us.

You can edit the text in this area, and change where the contact form on the right submits to, by entering edit mode using the modes on the bottom right.


123 Street Avenue, City Town, 99999

(123) 555-6789

email@address.com


You can set your address, phone number, email and site description in the settings tab.
Link to read me page with more information.

Blog

Butteryum food blog recipes

Filtering by Category: chicken recipes

Chicken Pot Pie

Patricia @ ButterYum

I found myself in need of a little comfort last week and the first thing that came to mind was a favorite meal from my childhood, my mother's chicken pot pie.  I like to make it using my homemade chicken stock and pie crust, but my mother always used a boxed crust mix and canned stock.  Feel free to do whatever works for you.  And if you don't have time to mess around with pie crust, no problem, serve this easy-to-make filling over biscuits or egg noodles.

saute-onions-in-butter

In a really good quality pan (here's mine), start by sauteing diced onions in a little butter.  Butter makes everything taste better!

DSC_2982.JPG

Add some kosher salt and pepper.

sauteeig-onions-and-butter

Cook, stirring frequently, for several minutes until the onions smell divine and make your mouth water.

using-a-flat-whisk-to-make-a-roux

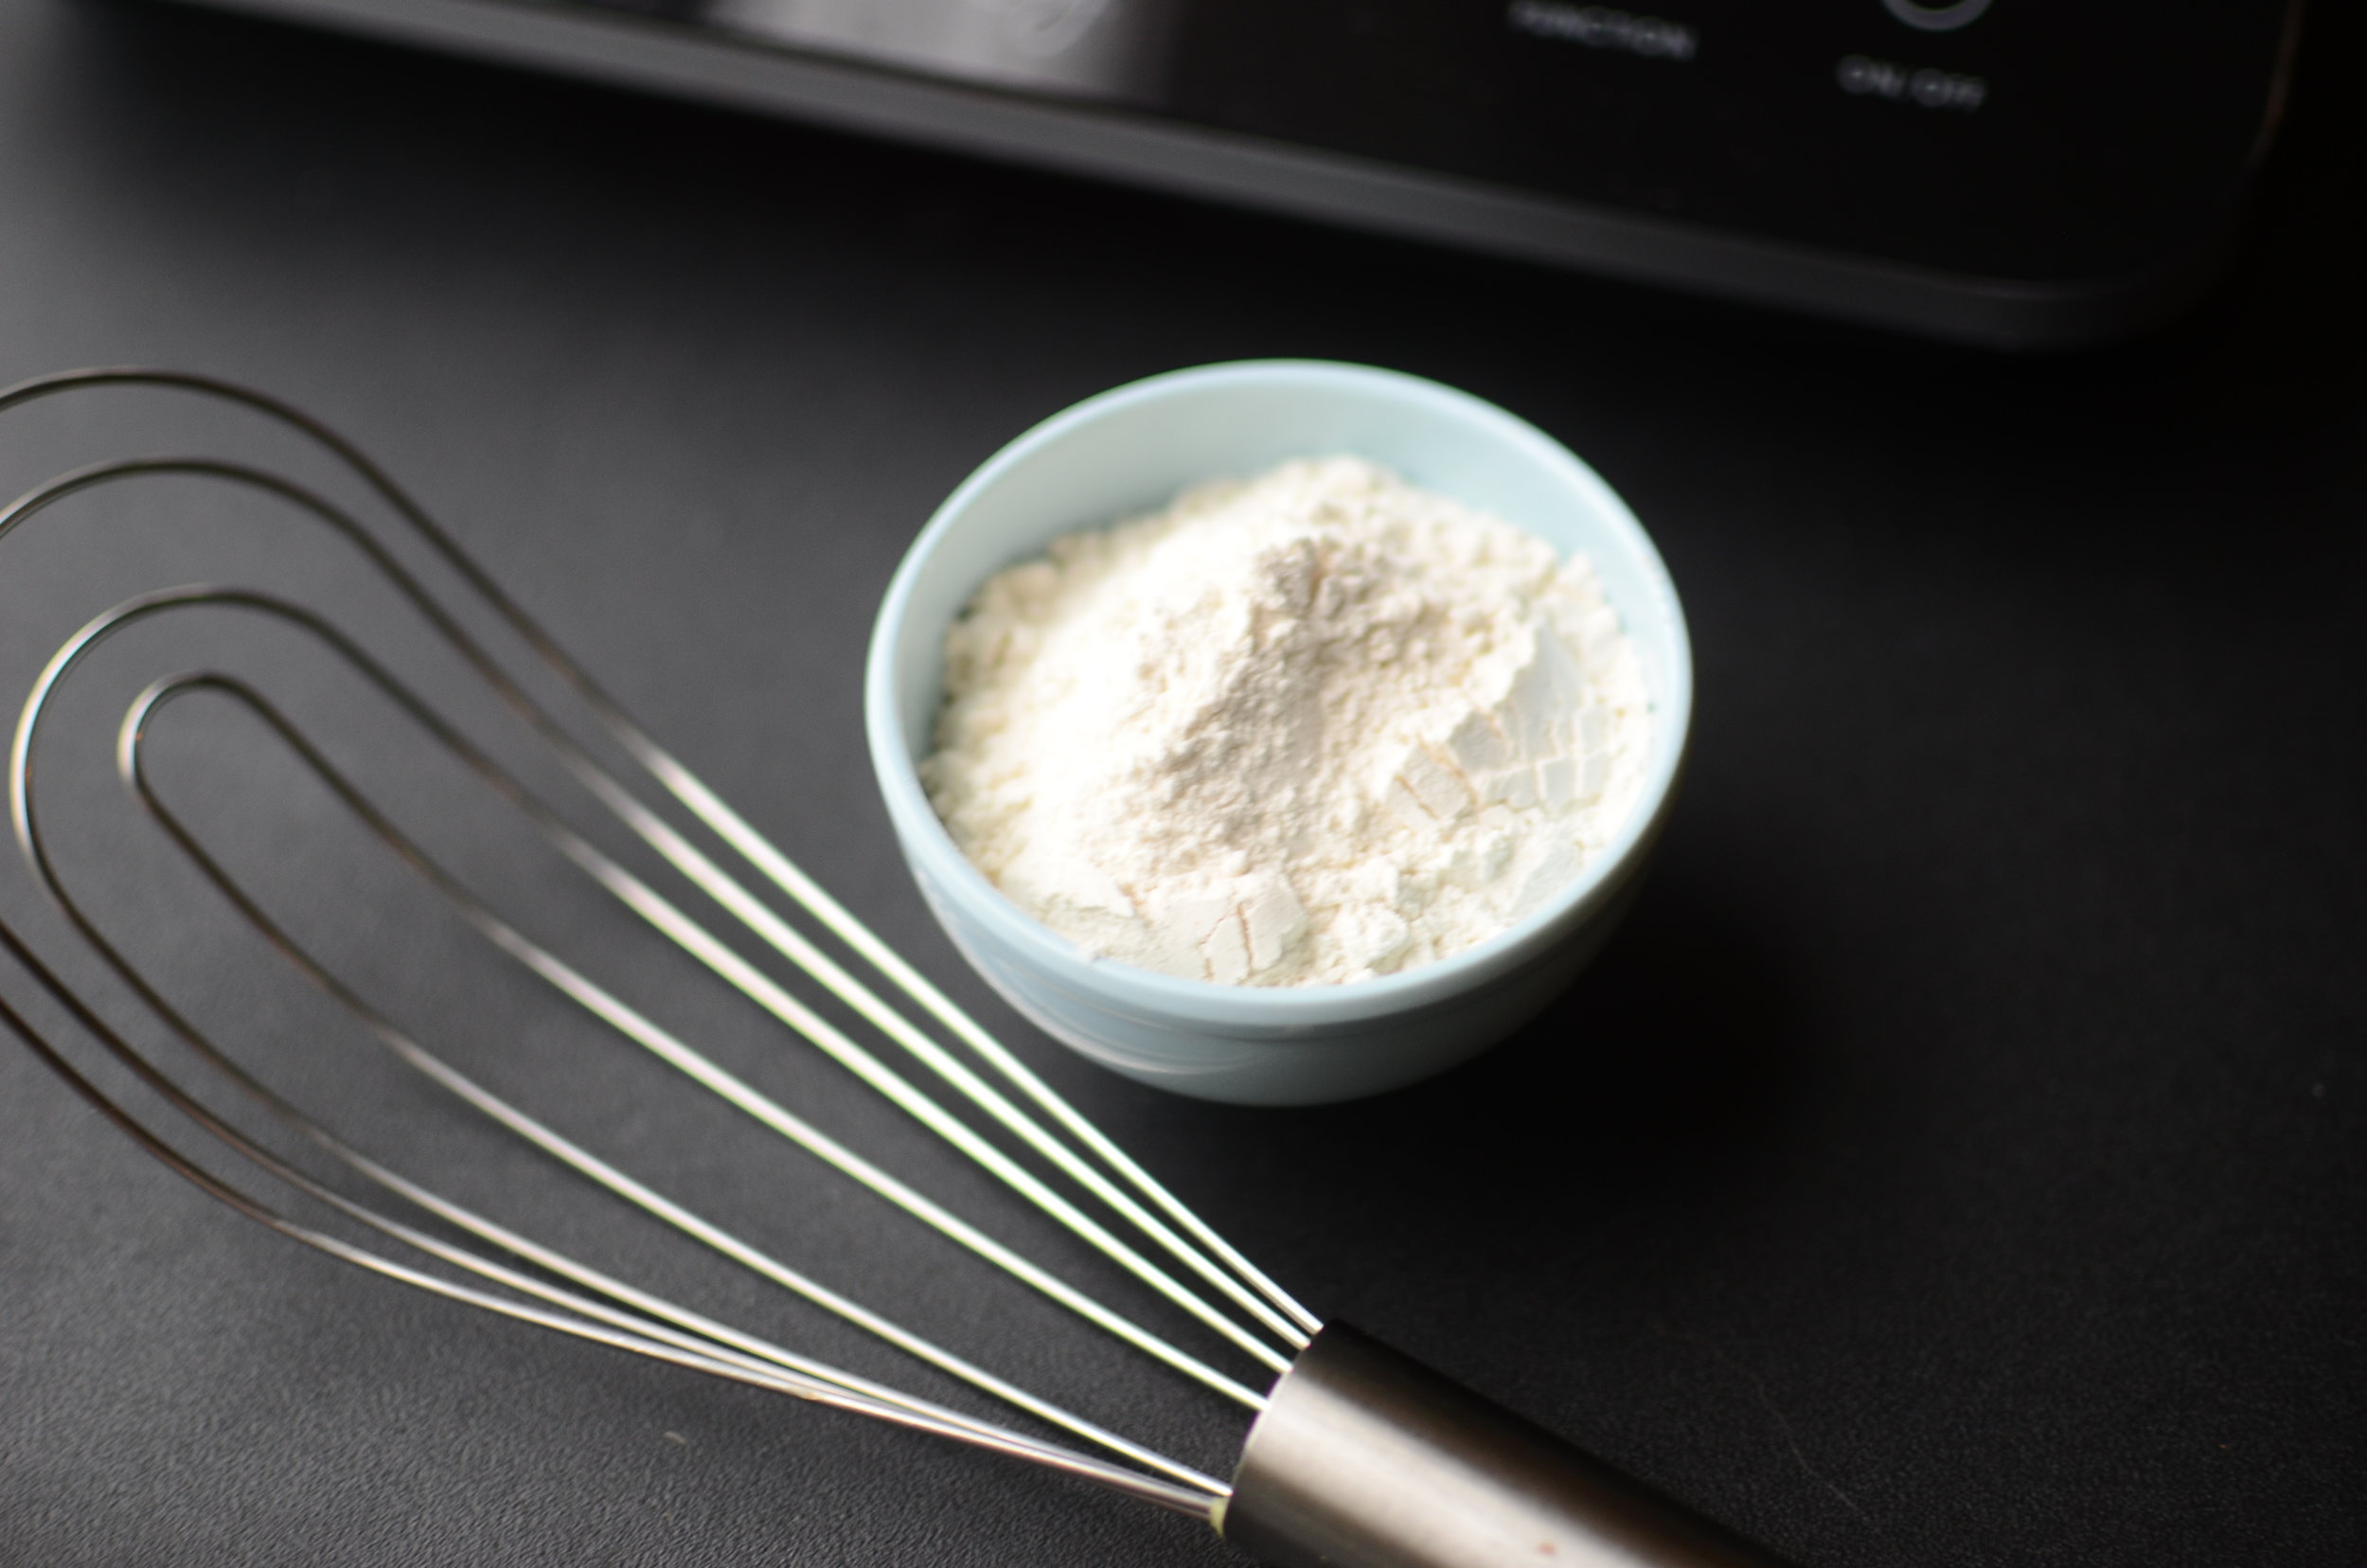
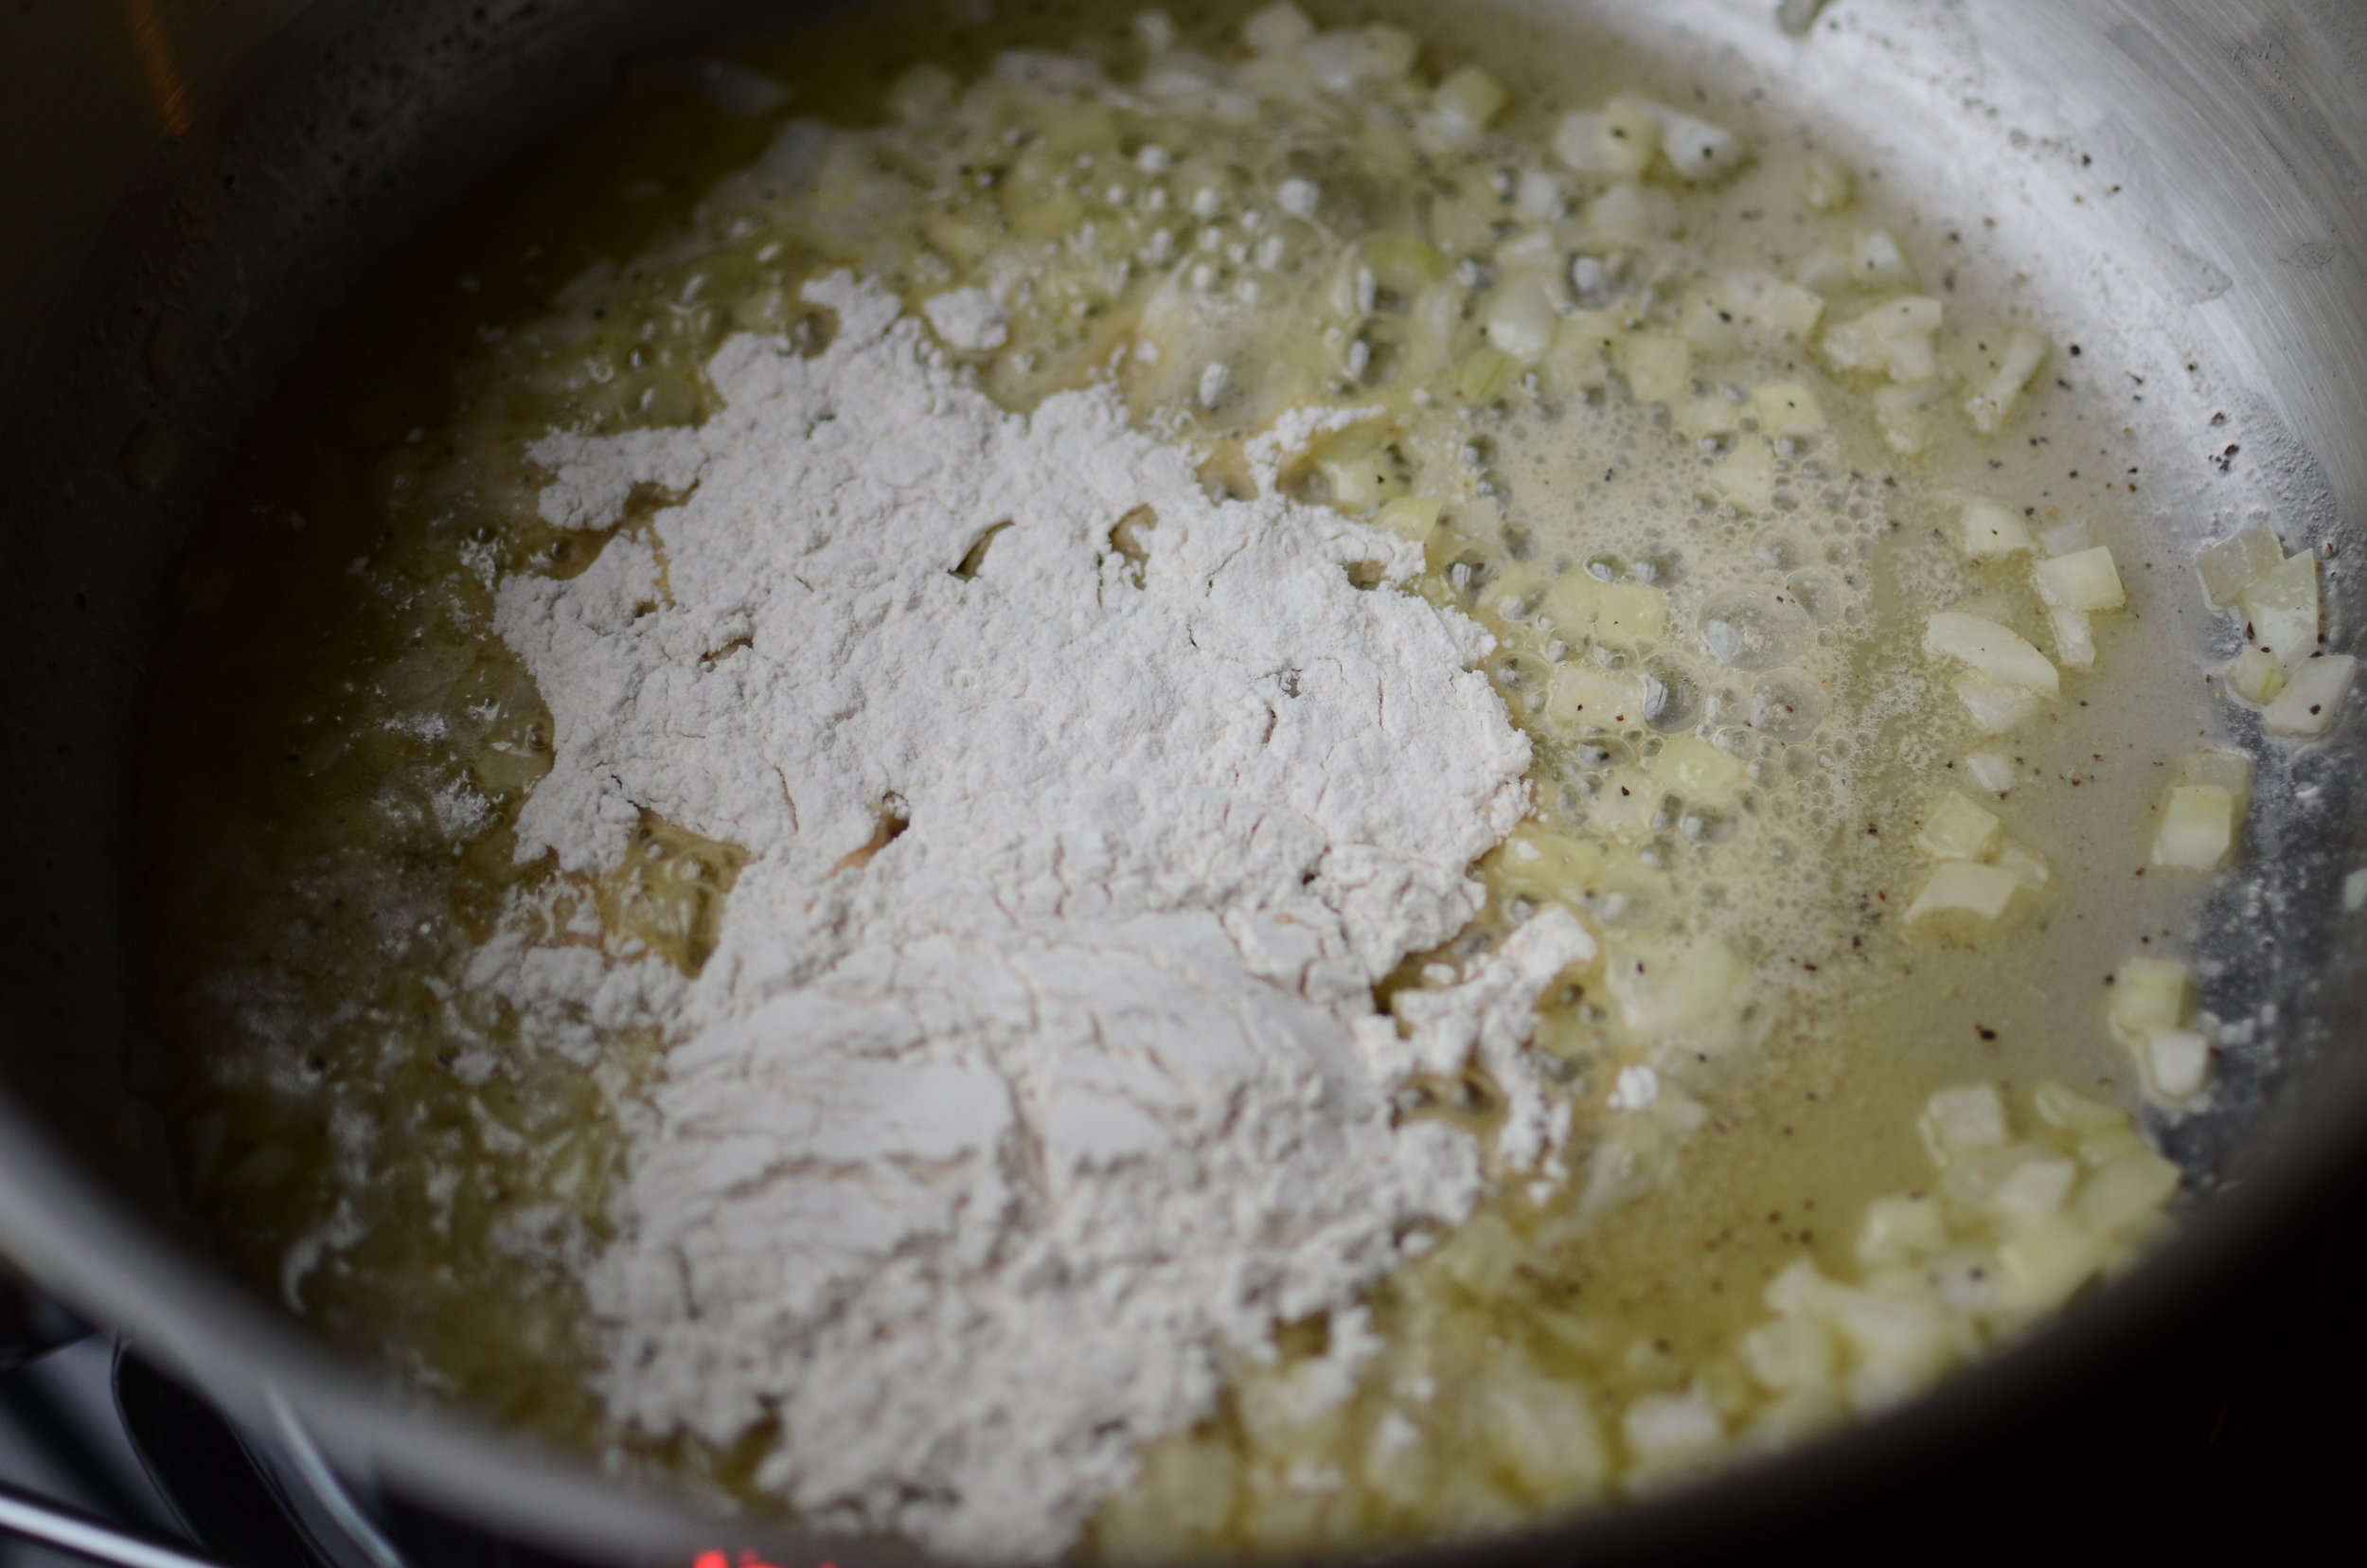
Next add flour to the pan.

making-a-roux

The flour is going to help thicken things up for us.

cooking-a-roux-with-a-flat-whisk-butteryum

Whisk the flour into the butter and cook for 1-2 minutes to cook off the raw flour flavor - stir constantly so the mixture doesn't burn.  I love using a flat whisk for this job.

Technical stuff:  this step is called making a "roux" (roo).  A roux will thicken a sauce, in this case, a "veloute" (vuh loo tay).  Veloute is one of the 5 classic mother sauces (the other 4 are bechamel, hollandaise, espagnole, and tomat).  Info you may not care to know, but there you go. 

homemade-chicken-stock-and-whole-milk-for-homemade-chicken-pot-pie

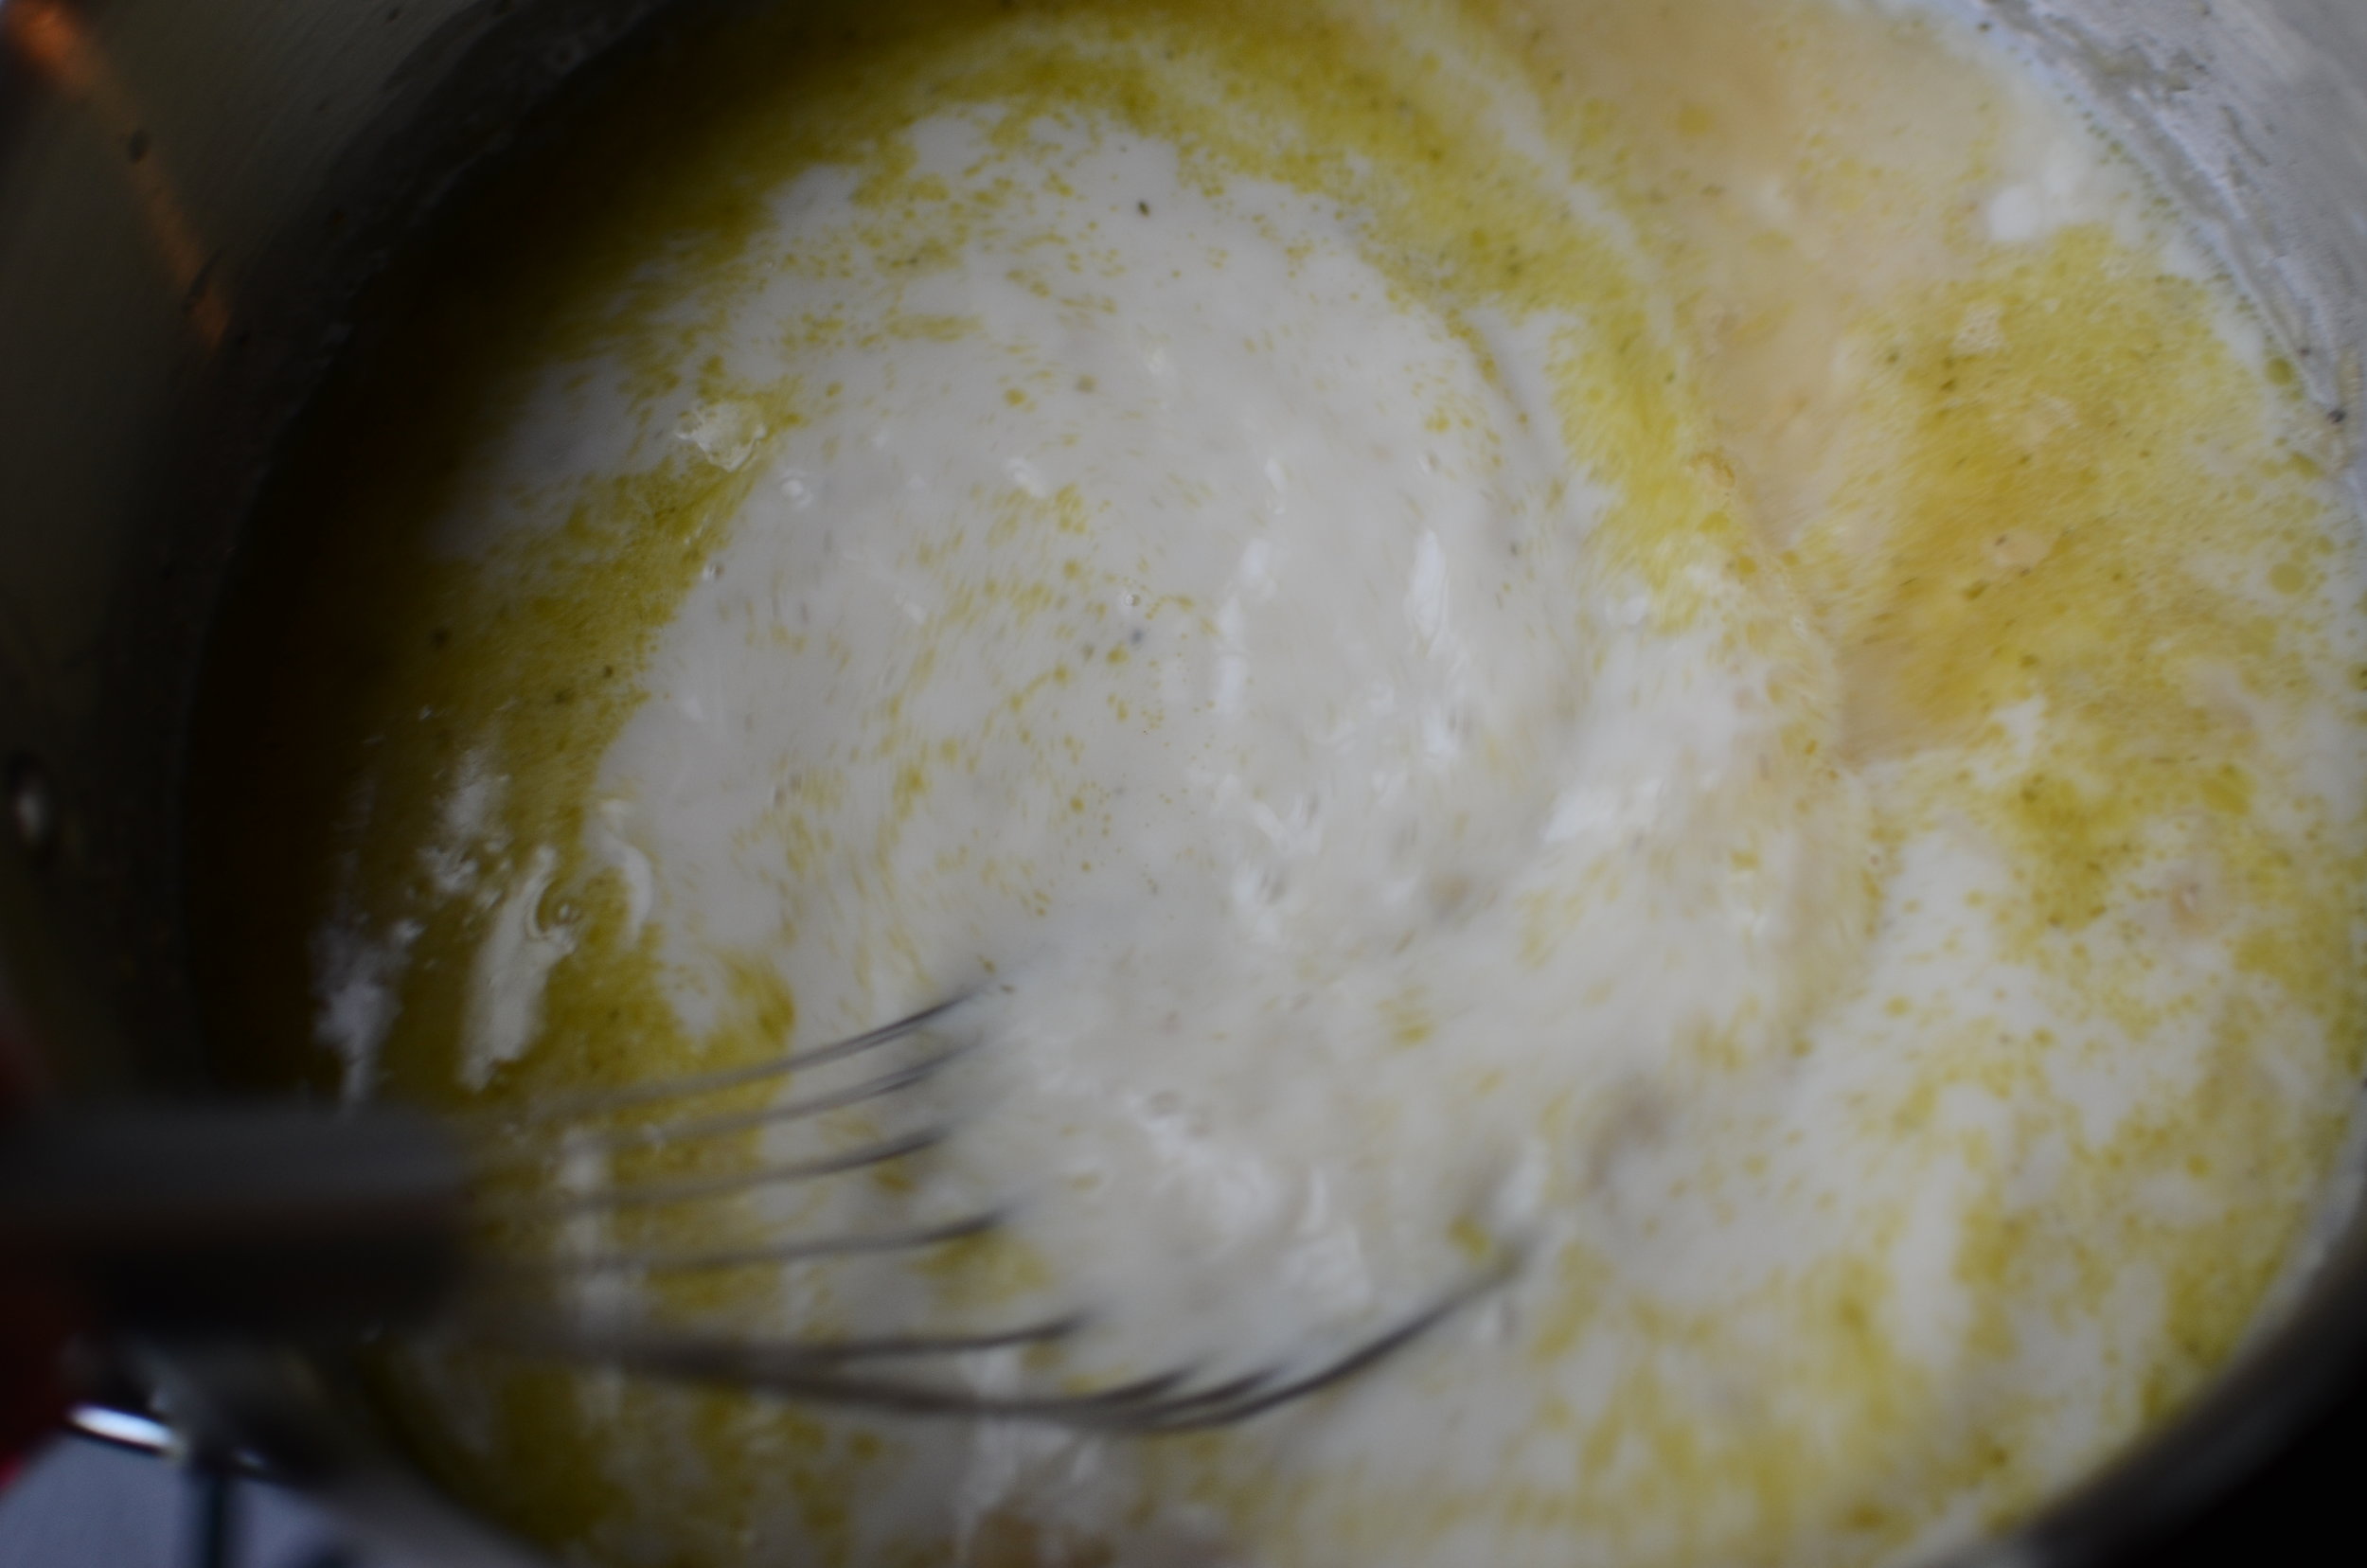
Back to our veloute - once the flour has bubbled away for a minute or two, add cold chicken stock (try my easy recipe) and milk.

making-the-sauce-for-pot-pie-filling

Now whisk constantly until the mixture boils.  The flour will reach its greatest thickening potential when it reaches a full boil. 

Professional tip - to reduce the risk of developing lumps in your sauce, add cold liquid to hot roux.  

simmering-pot-pie-sauce

Bubbles achieved! 

pot-pie-sauce-thickened

See how the mixture thickened?  You should be able to see a trail when you pull a wooden spoon across the bottom of your pan.  

Depending on how flavorful (salty) the chicken stock you used was, you may need to add more salt and pepper so taste it carefully and adjust if necessary.

cool-hot-pot-pie-filling-with-frozen-vegetables-butteryum

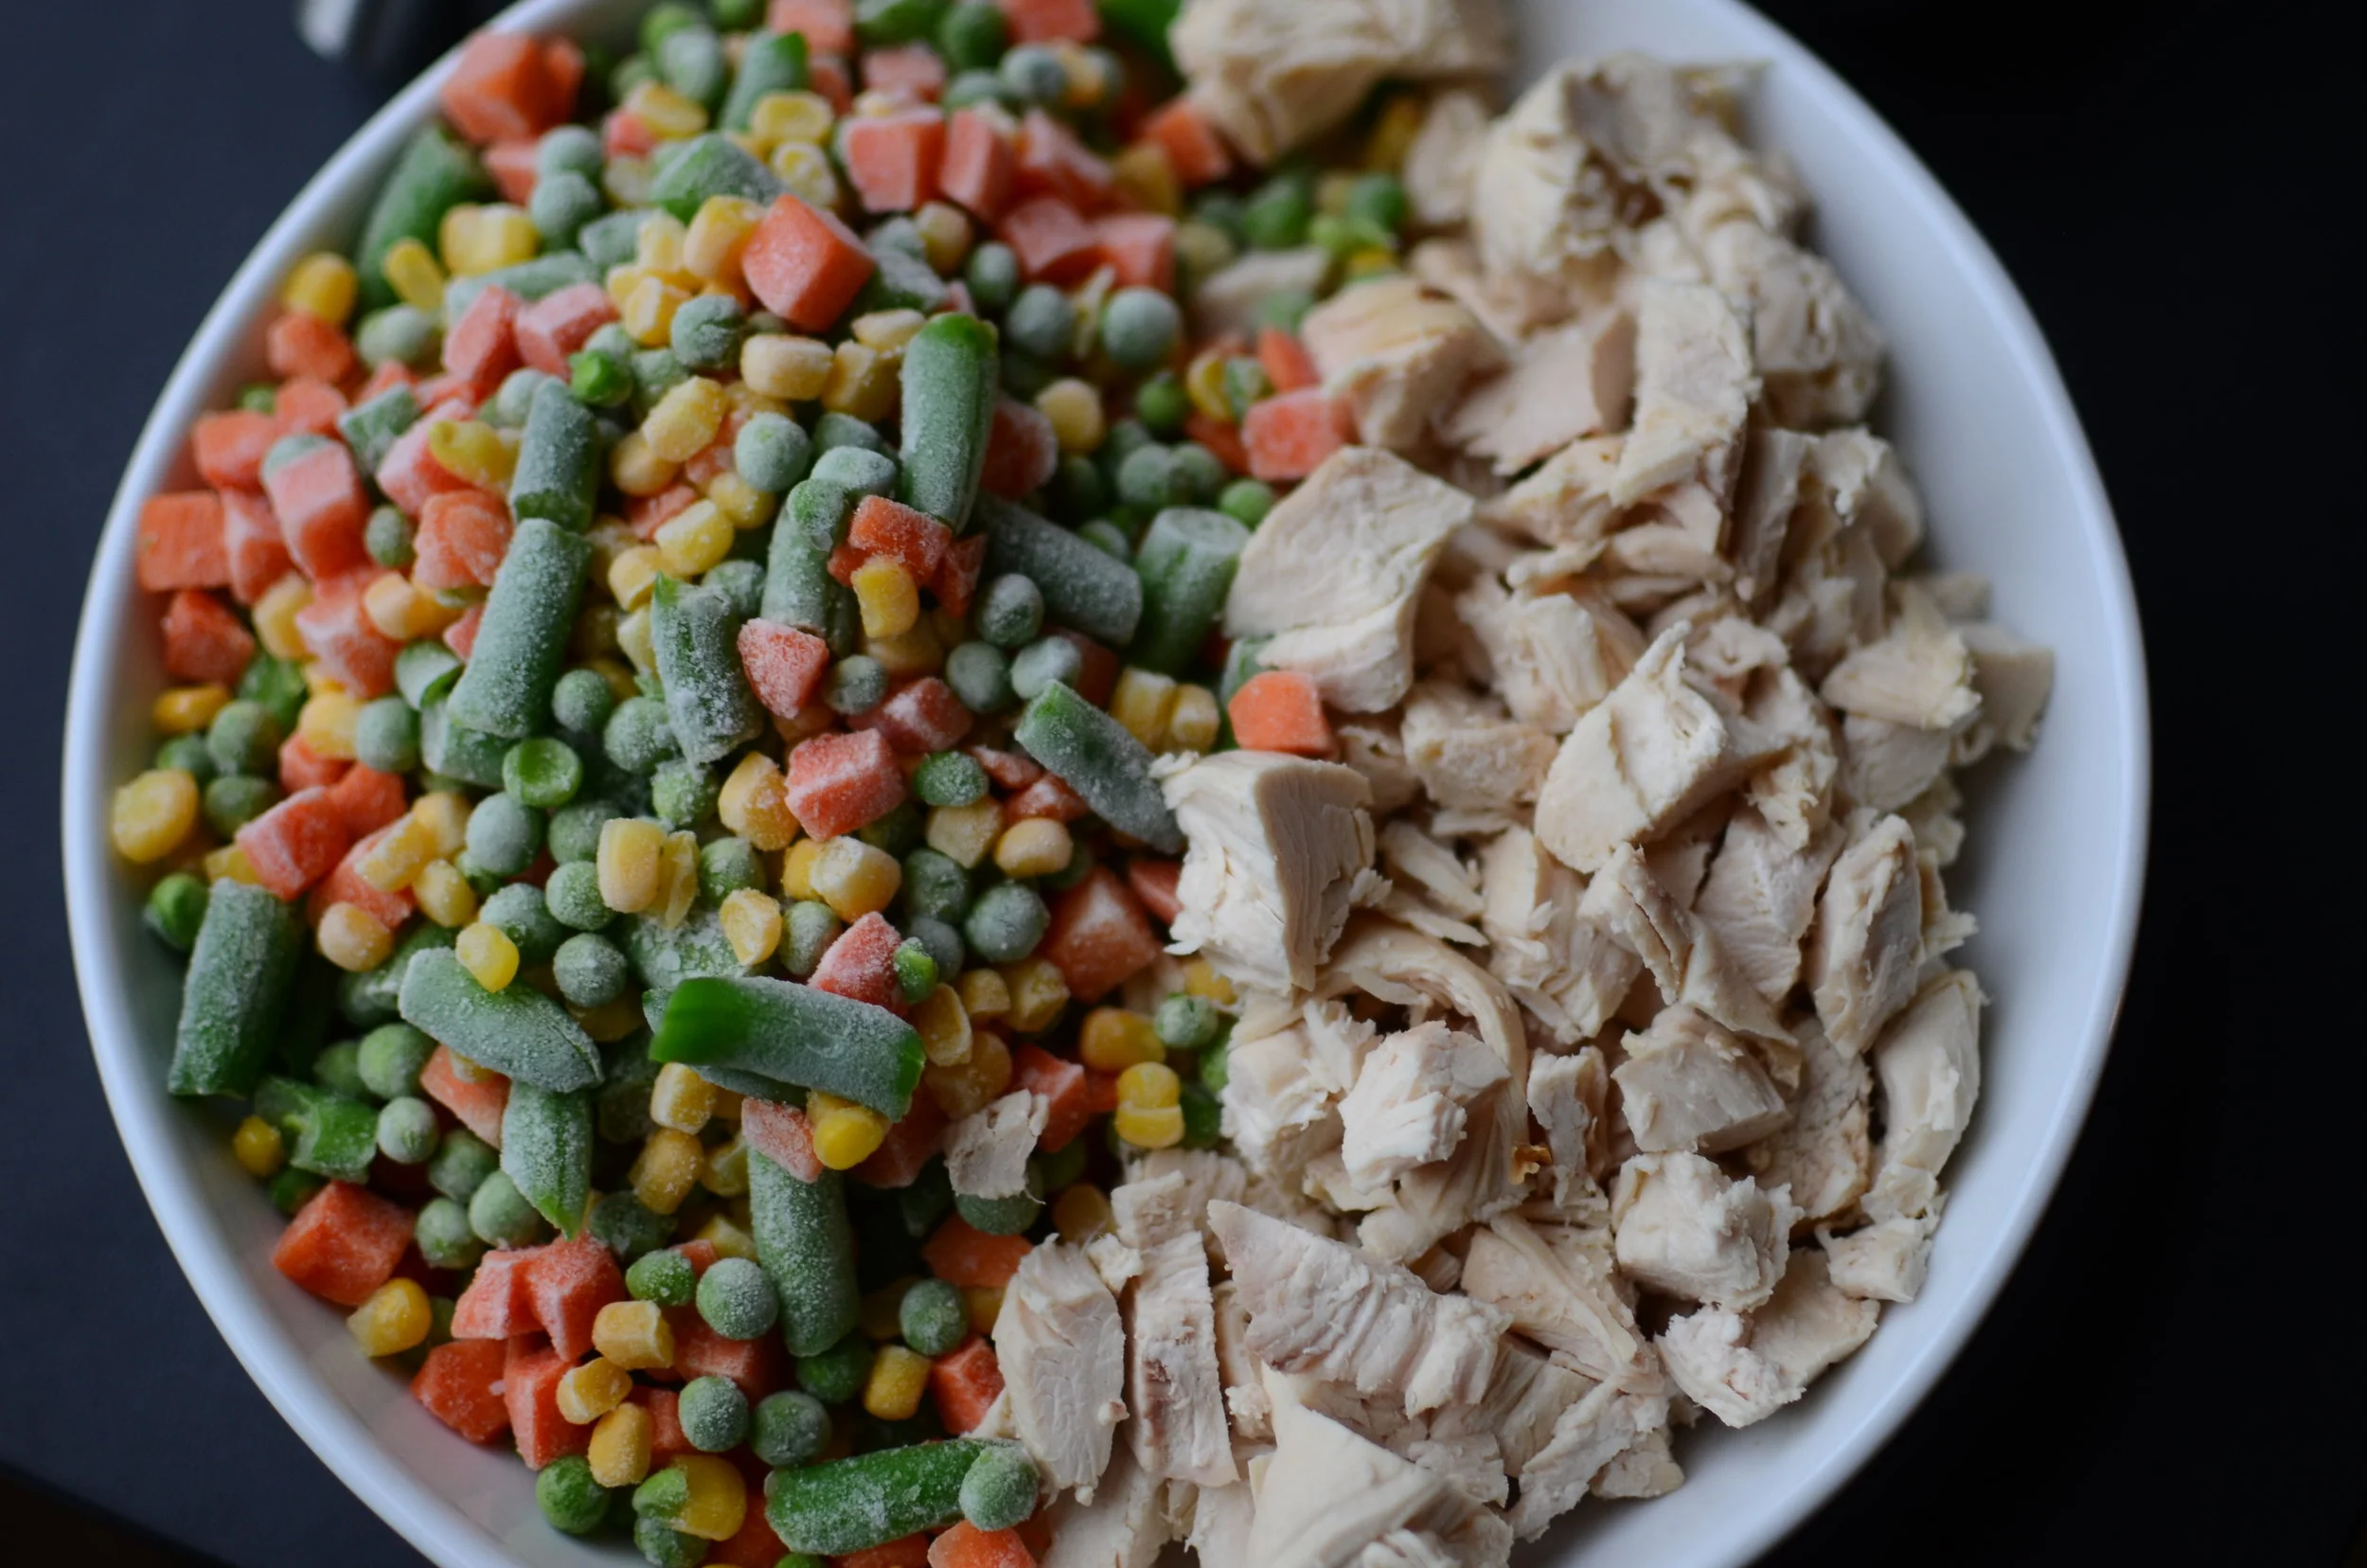
Remove the sauce from the heat and stir in the cubed chicken and frozen vegetables.  The frozen veggies will instantly cool down the filling - this is good because we want the filling to be cool when we fill the pie crusts.

cooled-creamy-chicken-pot-pie-filling

Set the filling aside until needed (or chill in an airtight container for several days).  Taste the filling again, just to be on the safe side.  

For a busy weeknight option, forgo making pie crust and serve this filling over biscuits or egg noodles.  Just heat it on the stovetop for a few minutes, stirring frequently, until the veggies are warmed through.

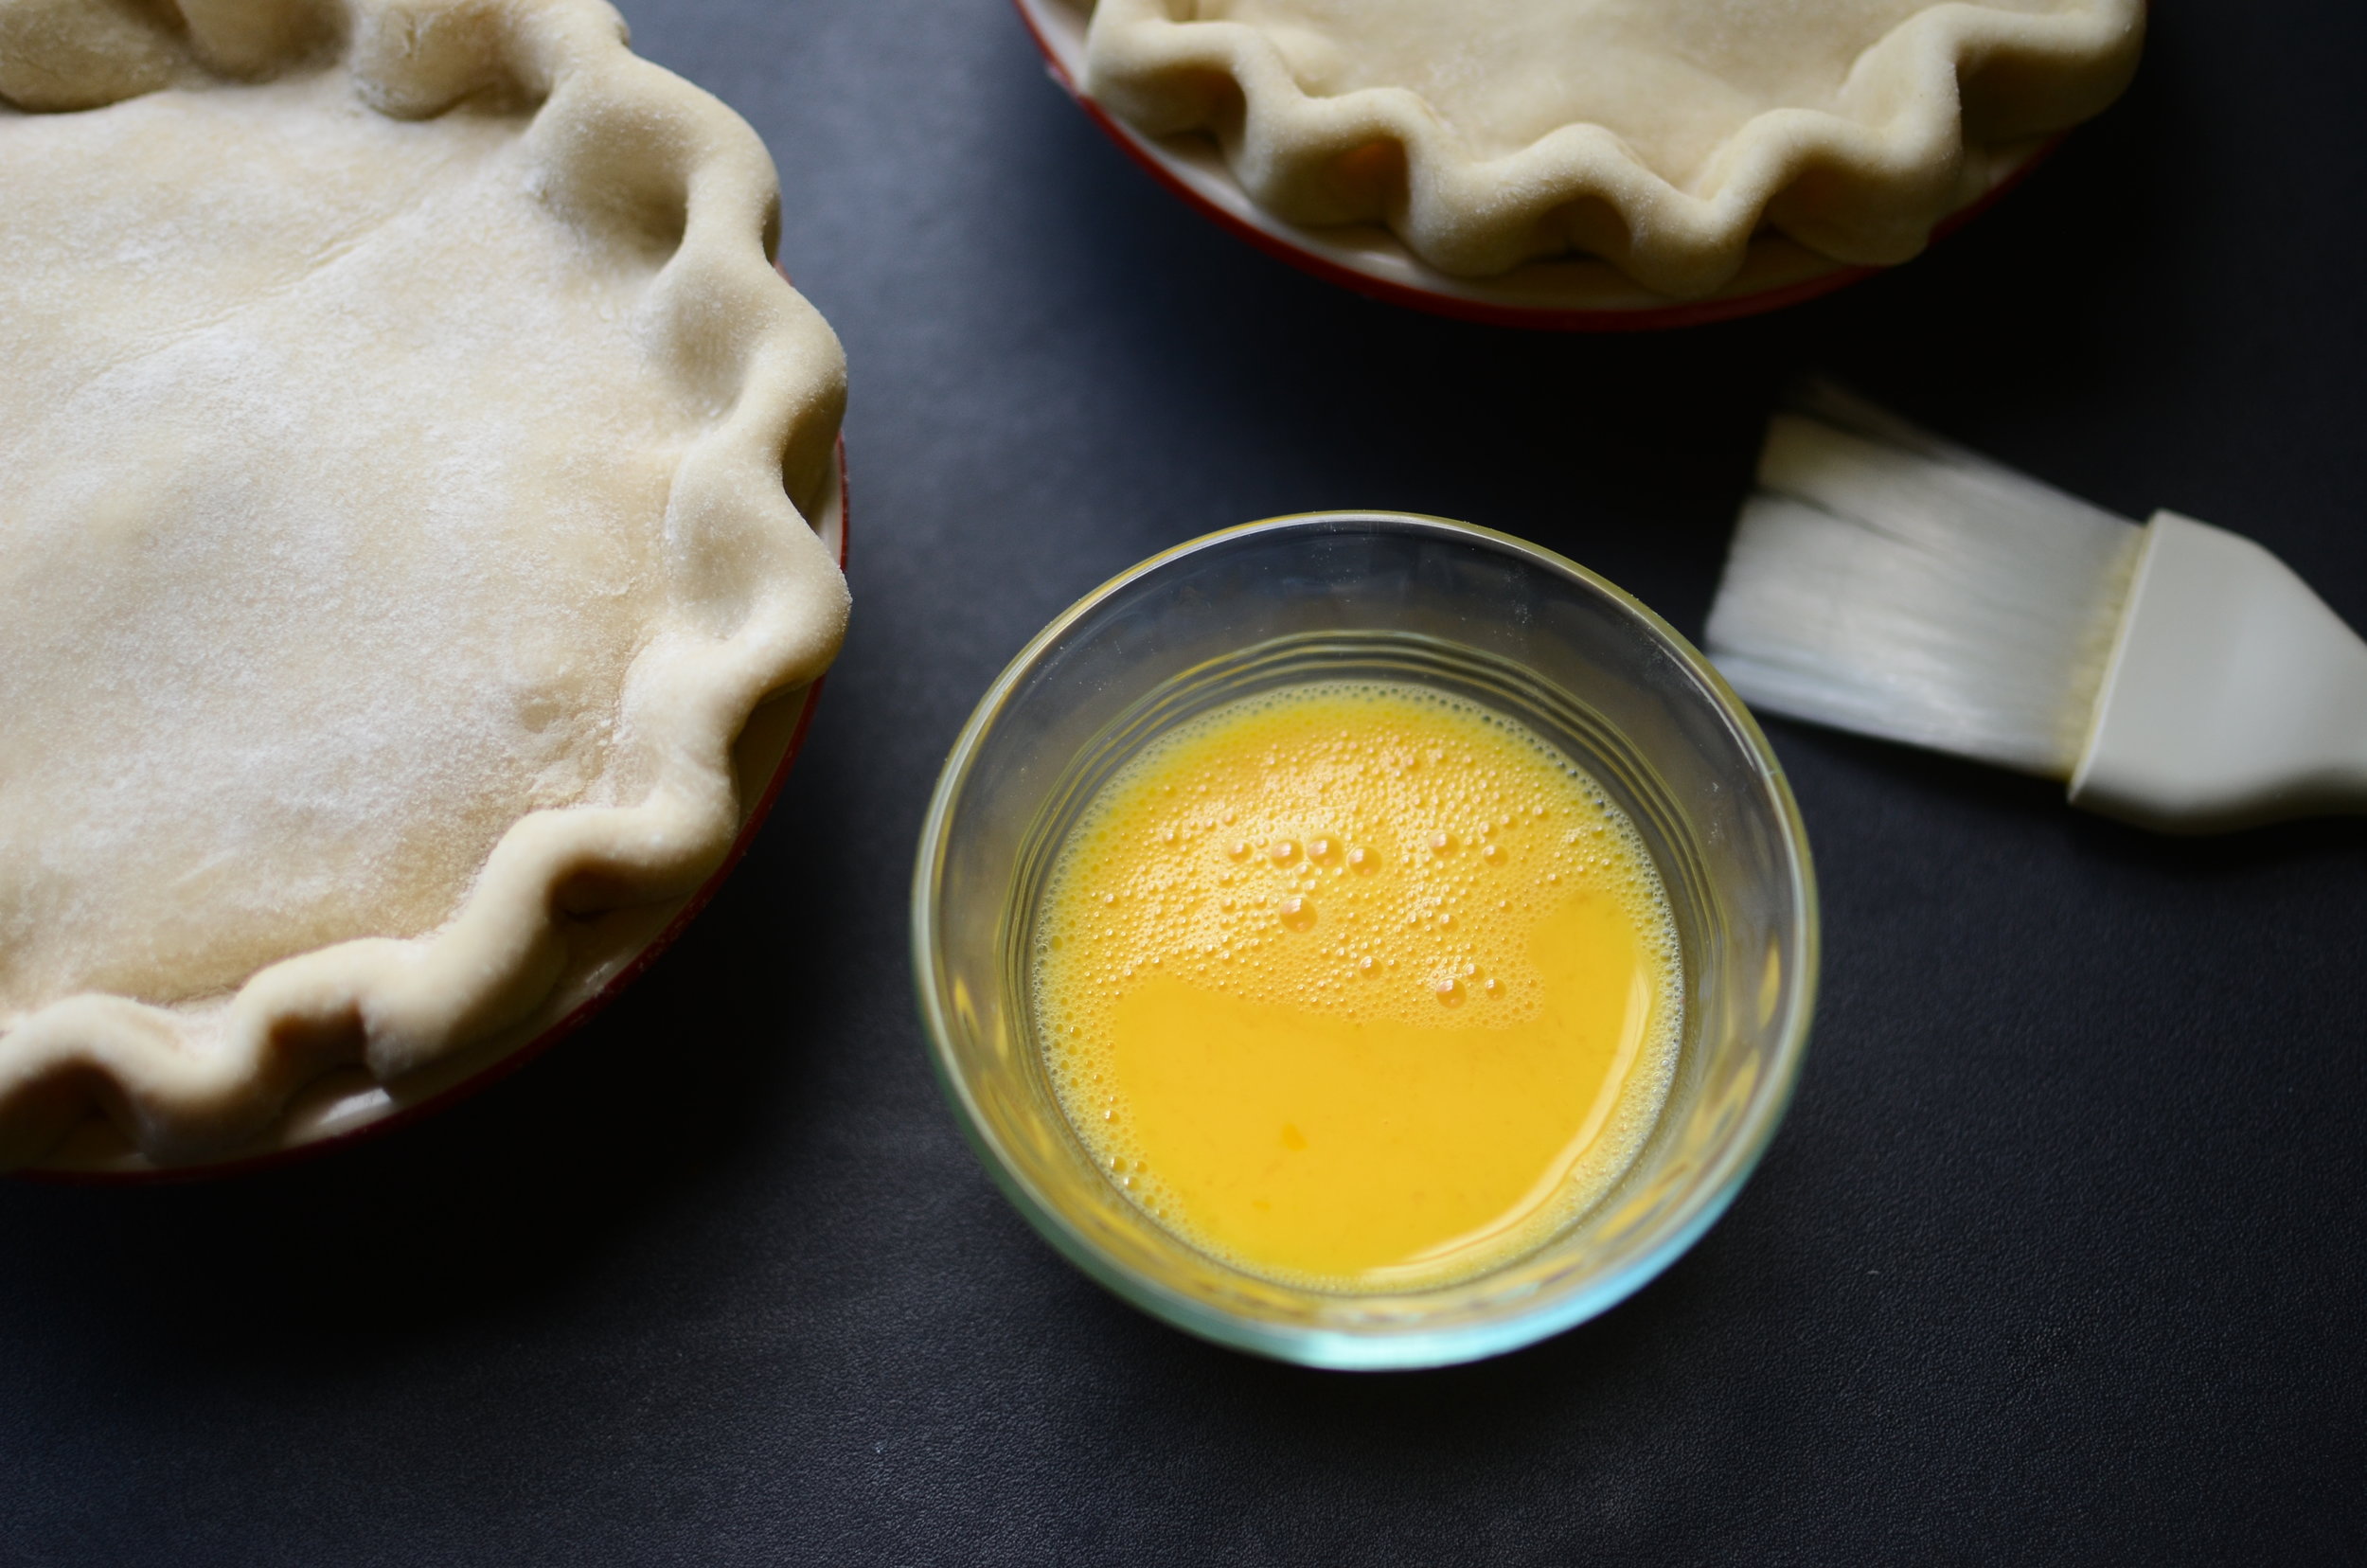
egg-wash-for-individual-chicken-pot-pies-butteryum

My hands were covered in flour so I didn't get photos of this part, but line two ceramic 5-inch mini pie plates with a bottom crust, fill with the cooled chicken pot pie filling, and add a top crust, crimping the edges together.  Here's my all-butter pie crust.

For a shiny, golden brown crust, make an egg wash by whisking together an egg with a tablespoon of water.

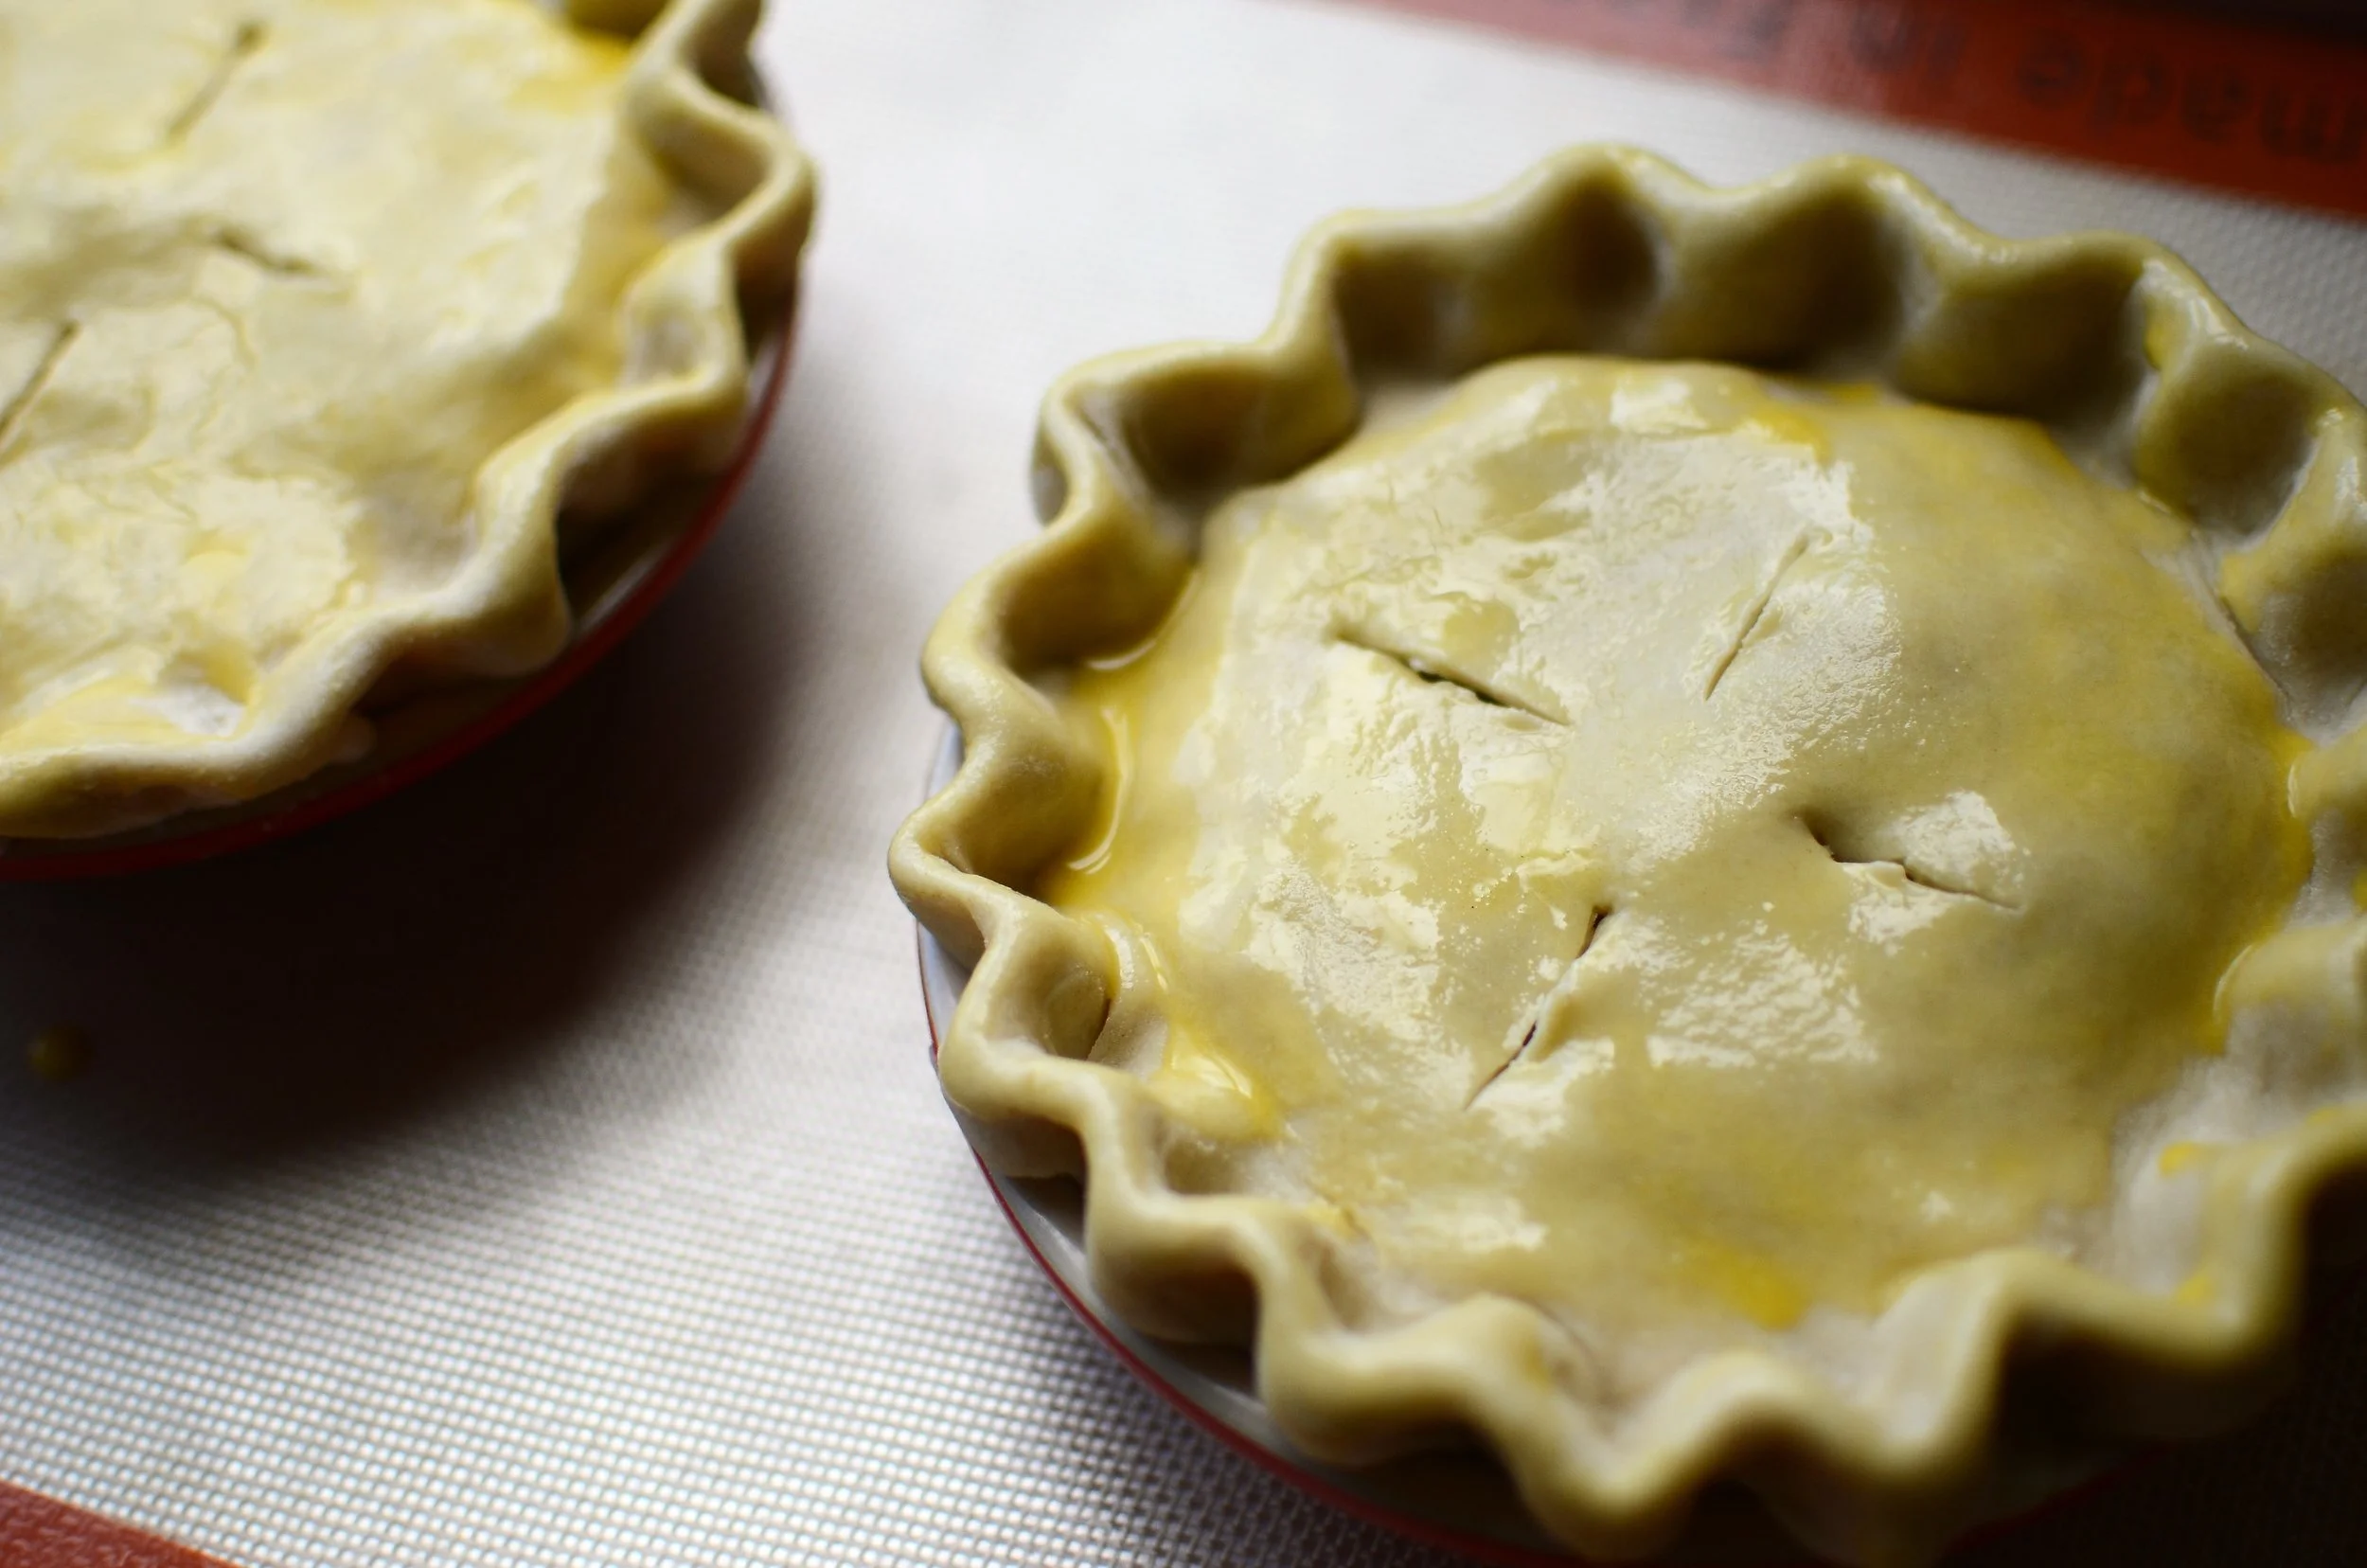
unbaked-chicken-pot-pie-with-egg-wash-on-crust

Use a pastry brush to brush the egg wash all over the crust.  Cut a few vent holes in the top crust and place the pies on a silicone-lined half sheet pan.  The silicone liner will keep the pies from sliding on the pan, which, I can tell you from personal experience, can be disastrous...

I'll never forget the time a pumpkin pie slid across my tray, spilling its contents all over - what a horrible mess.  The filling baked onto the hot oven door, all over the mesh door gasket, inside the door vents, and way down in the door hinges.  We had to let the whole thing cool overnight before my husband could take the entire door apart so I could chizzle the solidified pumpkin pie filling out of all the nooks and crannies, and off the 3 panes of window glass.  It was epic.  Never, ever, again! 

mini-chiciken-pot-pies-recipe-butteryum

But I digress - back to our chicken pot pies...

Bake until the crust is golden brown and the filling is hot and bubbly.  

homemade-chicken-pot-pie-with-all-butter-crust-recipe with photos

Wait about 15 minutes before you dig in - enjoy! 

Oh my goodness... it's sooooo good!!!!!!!

low-carv-chicken-pot-pie-idea

Extra - on days when I want to eat fewer carbs without completely giving up the pie crust, I fill 10-ounce French ramekins (here) with hot pie filling and top them with crust rounds that I bake for about 10 minutes.

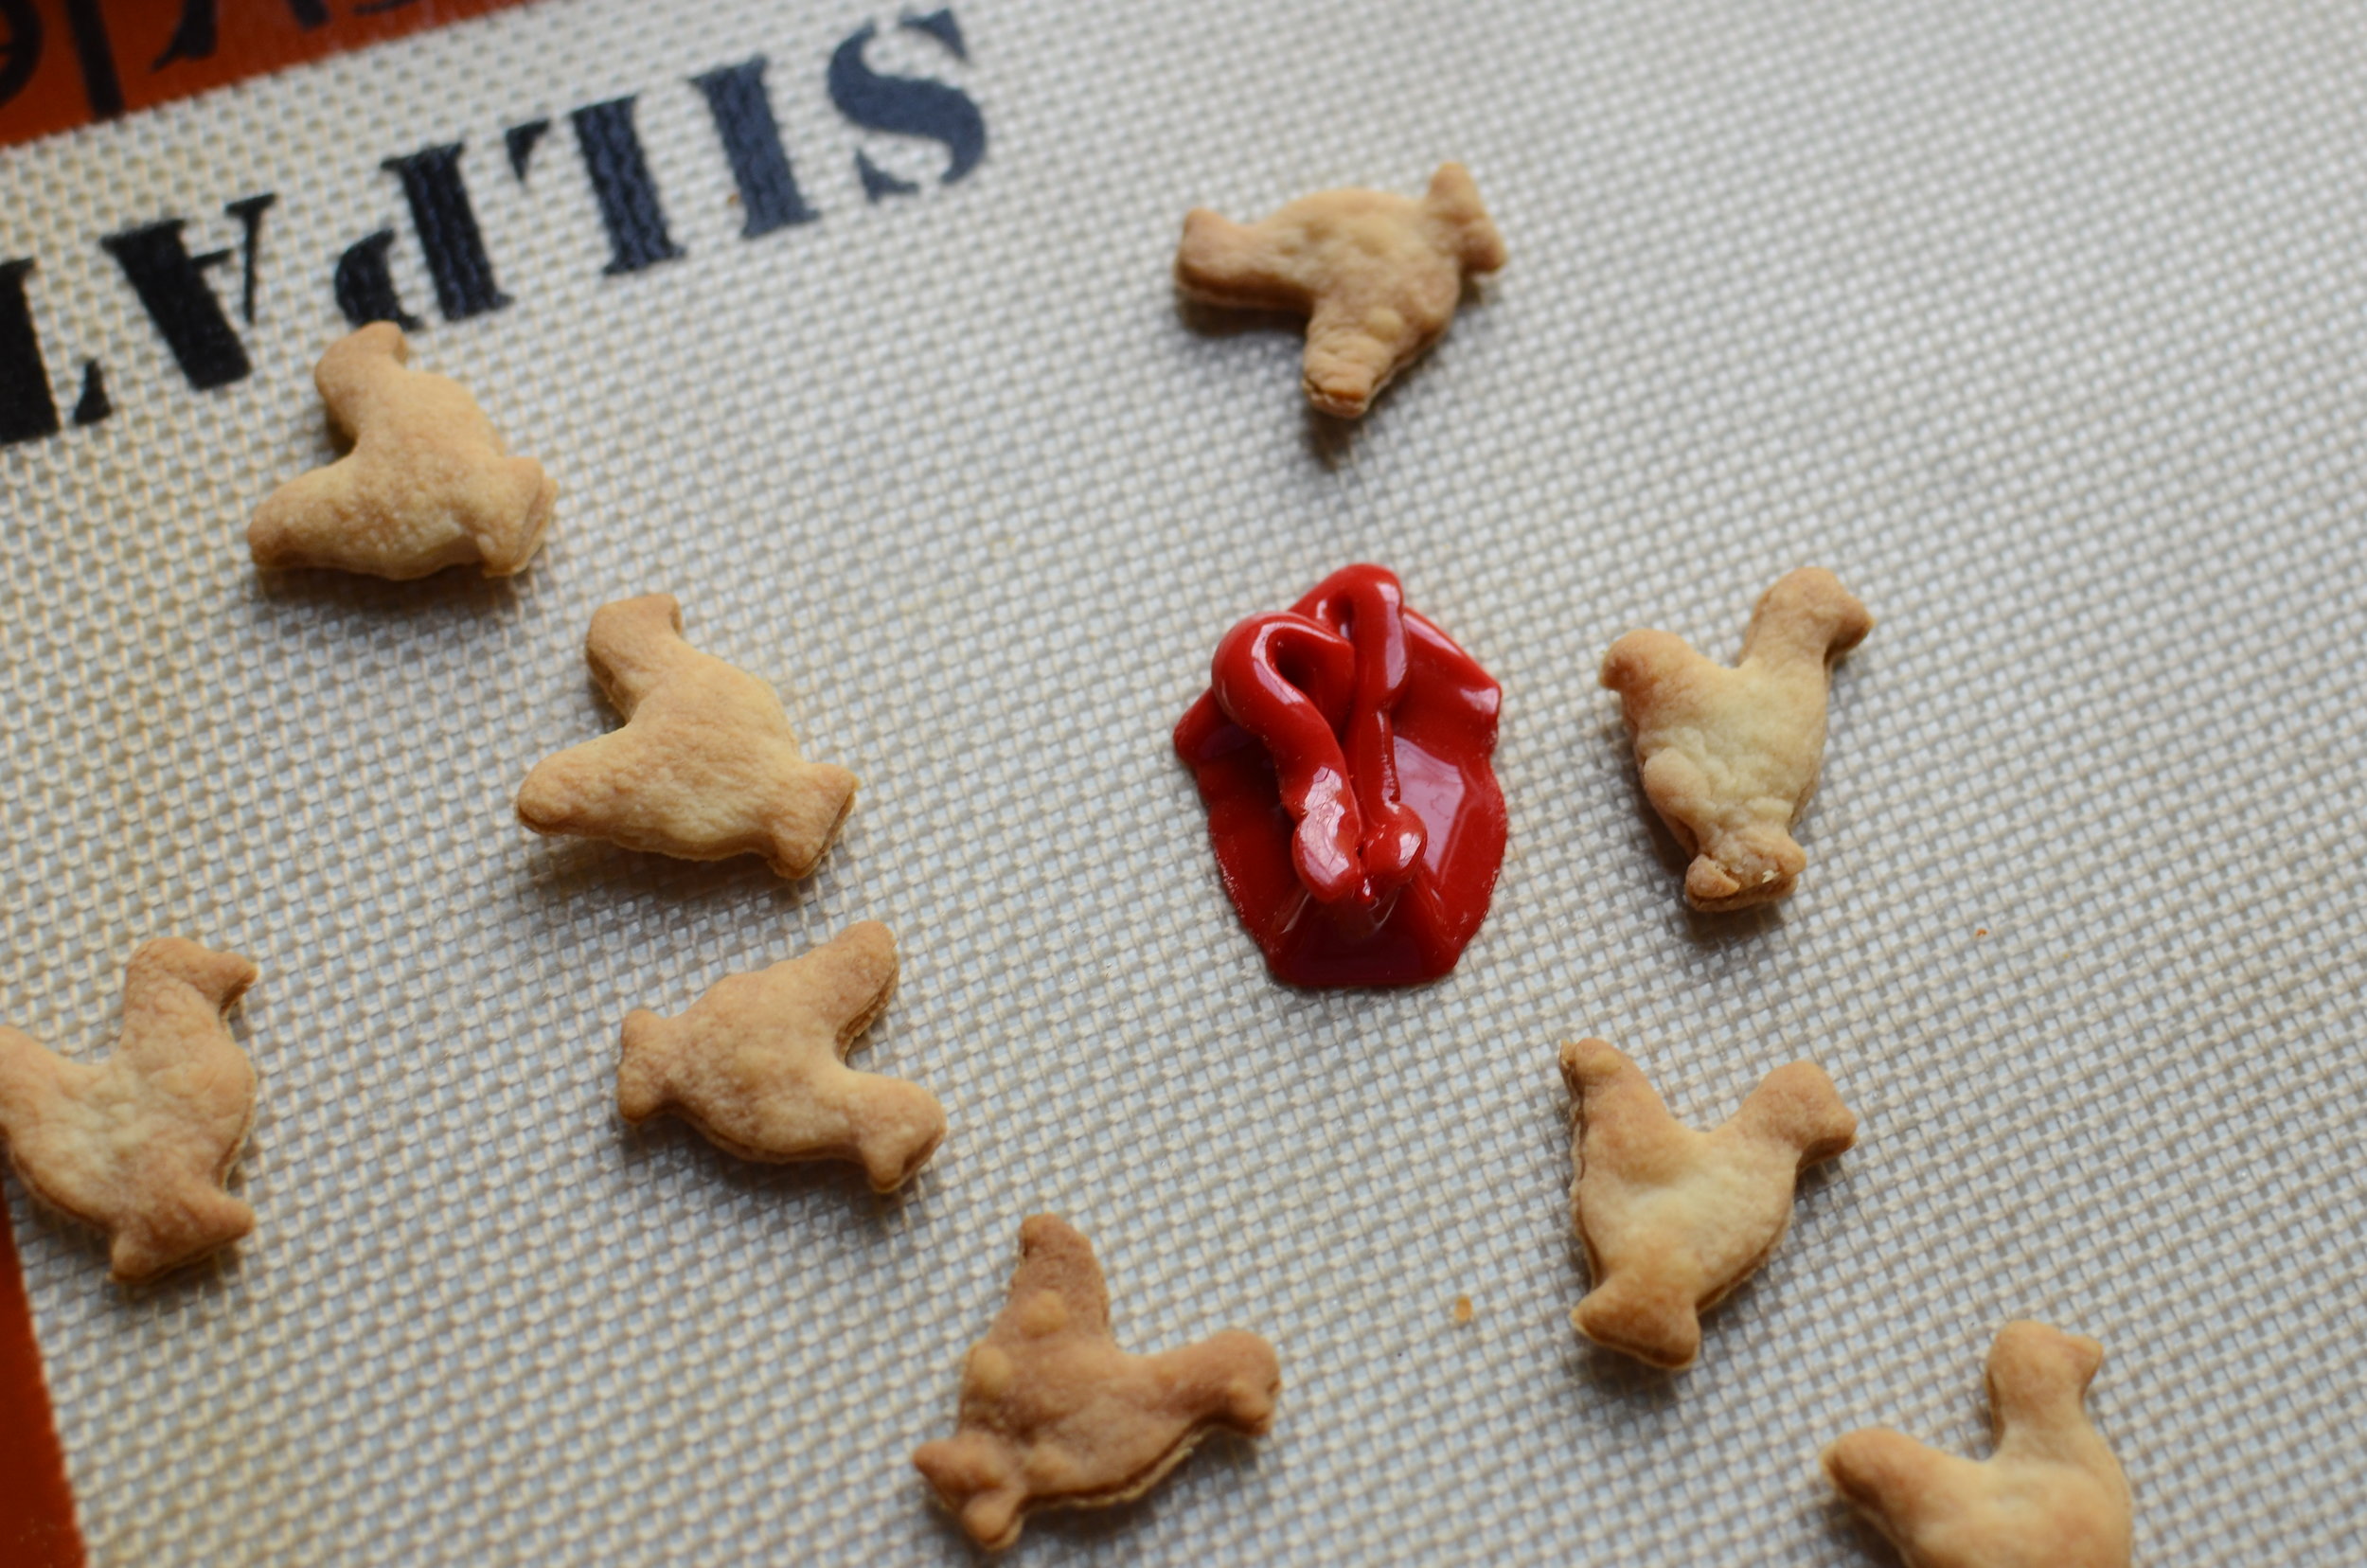
chicken-shapes-cut-out-of-crust-for-pot-pie

Or I cut the crust into cute little chicken shapes.  Kids love these.

pie-crust-topper-for-chicken-pot-pie

You could also place the unbaked crust shapes directly on the filling and bake them in the oven, but the shapes will bake faster if you bake them on a sheet tray.

oops

Oops, here's what happens when you forget to remove the cute little chicken shaped cutter from the sheet tray before you bake your cutouts.  Sigh... happy baking!

Items used to make this recipe:

(affiliate links)


Chicken Pot Pie

makes two 5-inch pies

Printable Recipe

Ingredients

  • double pie crust recipe (check out my all-butter crust here - lots of how-to photos)

  • 3 tablespoons minced onion

  • 3 tablespoons unsalted butter

  • 1/4 teaspoon kosher salt

  • 1/4 teaspoon ground black pepper

  • 1/4 teaspoon ground dried sage (optional)

  • 3 tablespoons all purpose flour

  • 3/4 cup plus 2 tablespoons (7 fluid ounces) low sodium chicken stock (try mine)

  • 1/3 cup whole milk

  • 1 cup diced cooked chicken (or turkey)

  • 1 cup frozen mixed vegetables

  • 1 egg (any size)

  • 1 tablespoon water

Directions

  1. In a large, heavy-bottomed pan, saute onions, butter, salt, and pepper together for several minutes until the onions soften.

  2. Add the flour and stir for 1-2 minutes.

  3. Add the cold milk and chicken stock, whisking constantly until the mixture comes to a full boil; taste carefully and adjust seasoning if needed.

  4. Remove from heat and stir in cubed chicken and frozen mixed vegetables; set aside until needed.

  5. Preheat oven to 325F and place rack in lower third of oven.

  6. Divide a double pie crust recipe into 4 portions; roll two of them into 8-inch rounds and line two 5-inch pie plates; fill each with half of the filling mixture.

  7. Roll the remaining two portions of crust into 6-inch rounds and use them to top the pot pies; tuck under and crimp the edges.

  8. Chill pies for at least 10 minutes before baking.

  9. Make and egg wash by whisking together the egg and water; brush on top crust and cut several vent holes.

  10. Place pie plates on silicone lined sheet pan and bake in preheated oven for 30-35 minutes until the crust is golden brown and the filling is bubbly.

  11. Remove from oven and cool for 15 minutes before serving.

Notes

  • To make a 9-inch deep pie pot pie, double the filling ingredients.

  • To make a 9x13-inch casserole, quadruple the filling ingredients and use a double crust recipe to top the casserole (no bottom crust). Increase baking time until filling bubbles, 45-60 minutes.

  • All chicken stocks are not created equally so be sure to taste the filling and add salt and pepper, if needed, before filling pie shells.

  • For an alternative crust variation, add 2 teaspoons of celery seed to a double crust recipe.

  • To make turkey pot pie, substitute turkey for the chicken and add 1/2 teaspoon ground sage while sauteing the onions.

Keto Pizza Crust (no cauliflower, no yeast)

Patricia @ ButterYum

It seems like just about everyone is reducing their carb intake these days.  It's true, even my husband has been eating low-carb.  It's also true that my husband's favorite food is pizza - which we all know is most definitely not a low-carb food.  That is, until now.
Probably the most popular low-carb pizza crust recipe floating around out there is made with cauliflower that has to be grated, cooked, strained, and squeezed with every ounce of your strength before you can use it. And I bet you didn’t know cauliflower contains a lot of carbs. But the recipe I'm going to share with you today is much easier to make, and it has NO carbs!  Also, it’s a great no-yeast pizza crust even if you’re not counting carbs! Alright, let me show you how to make it.

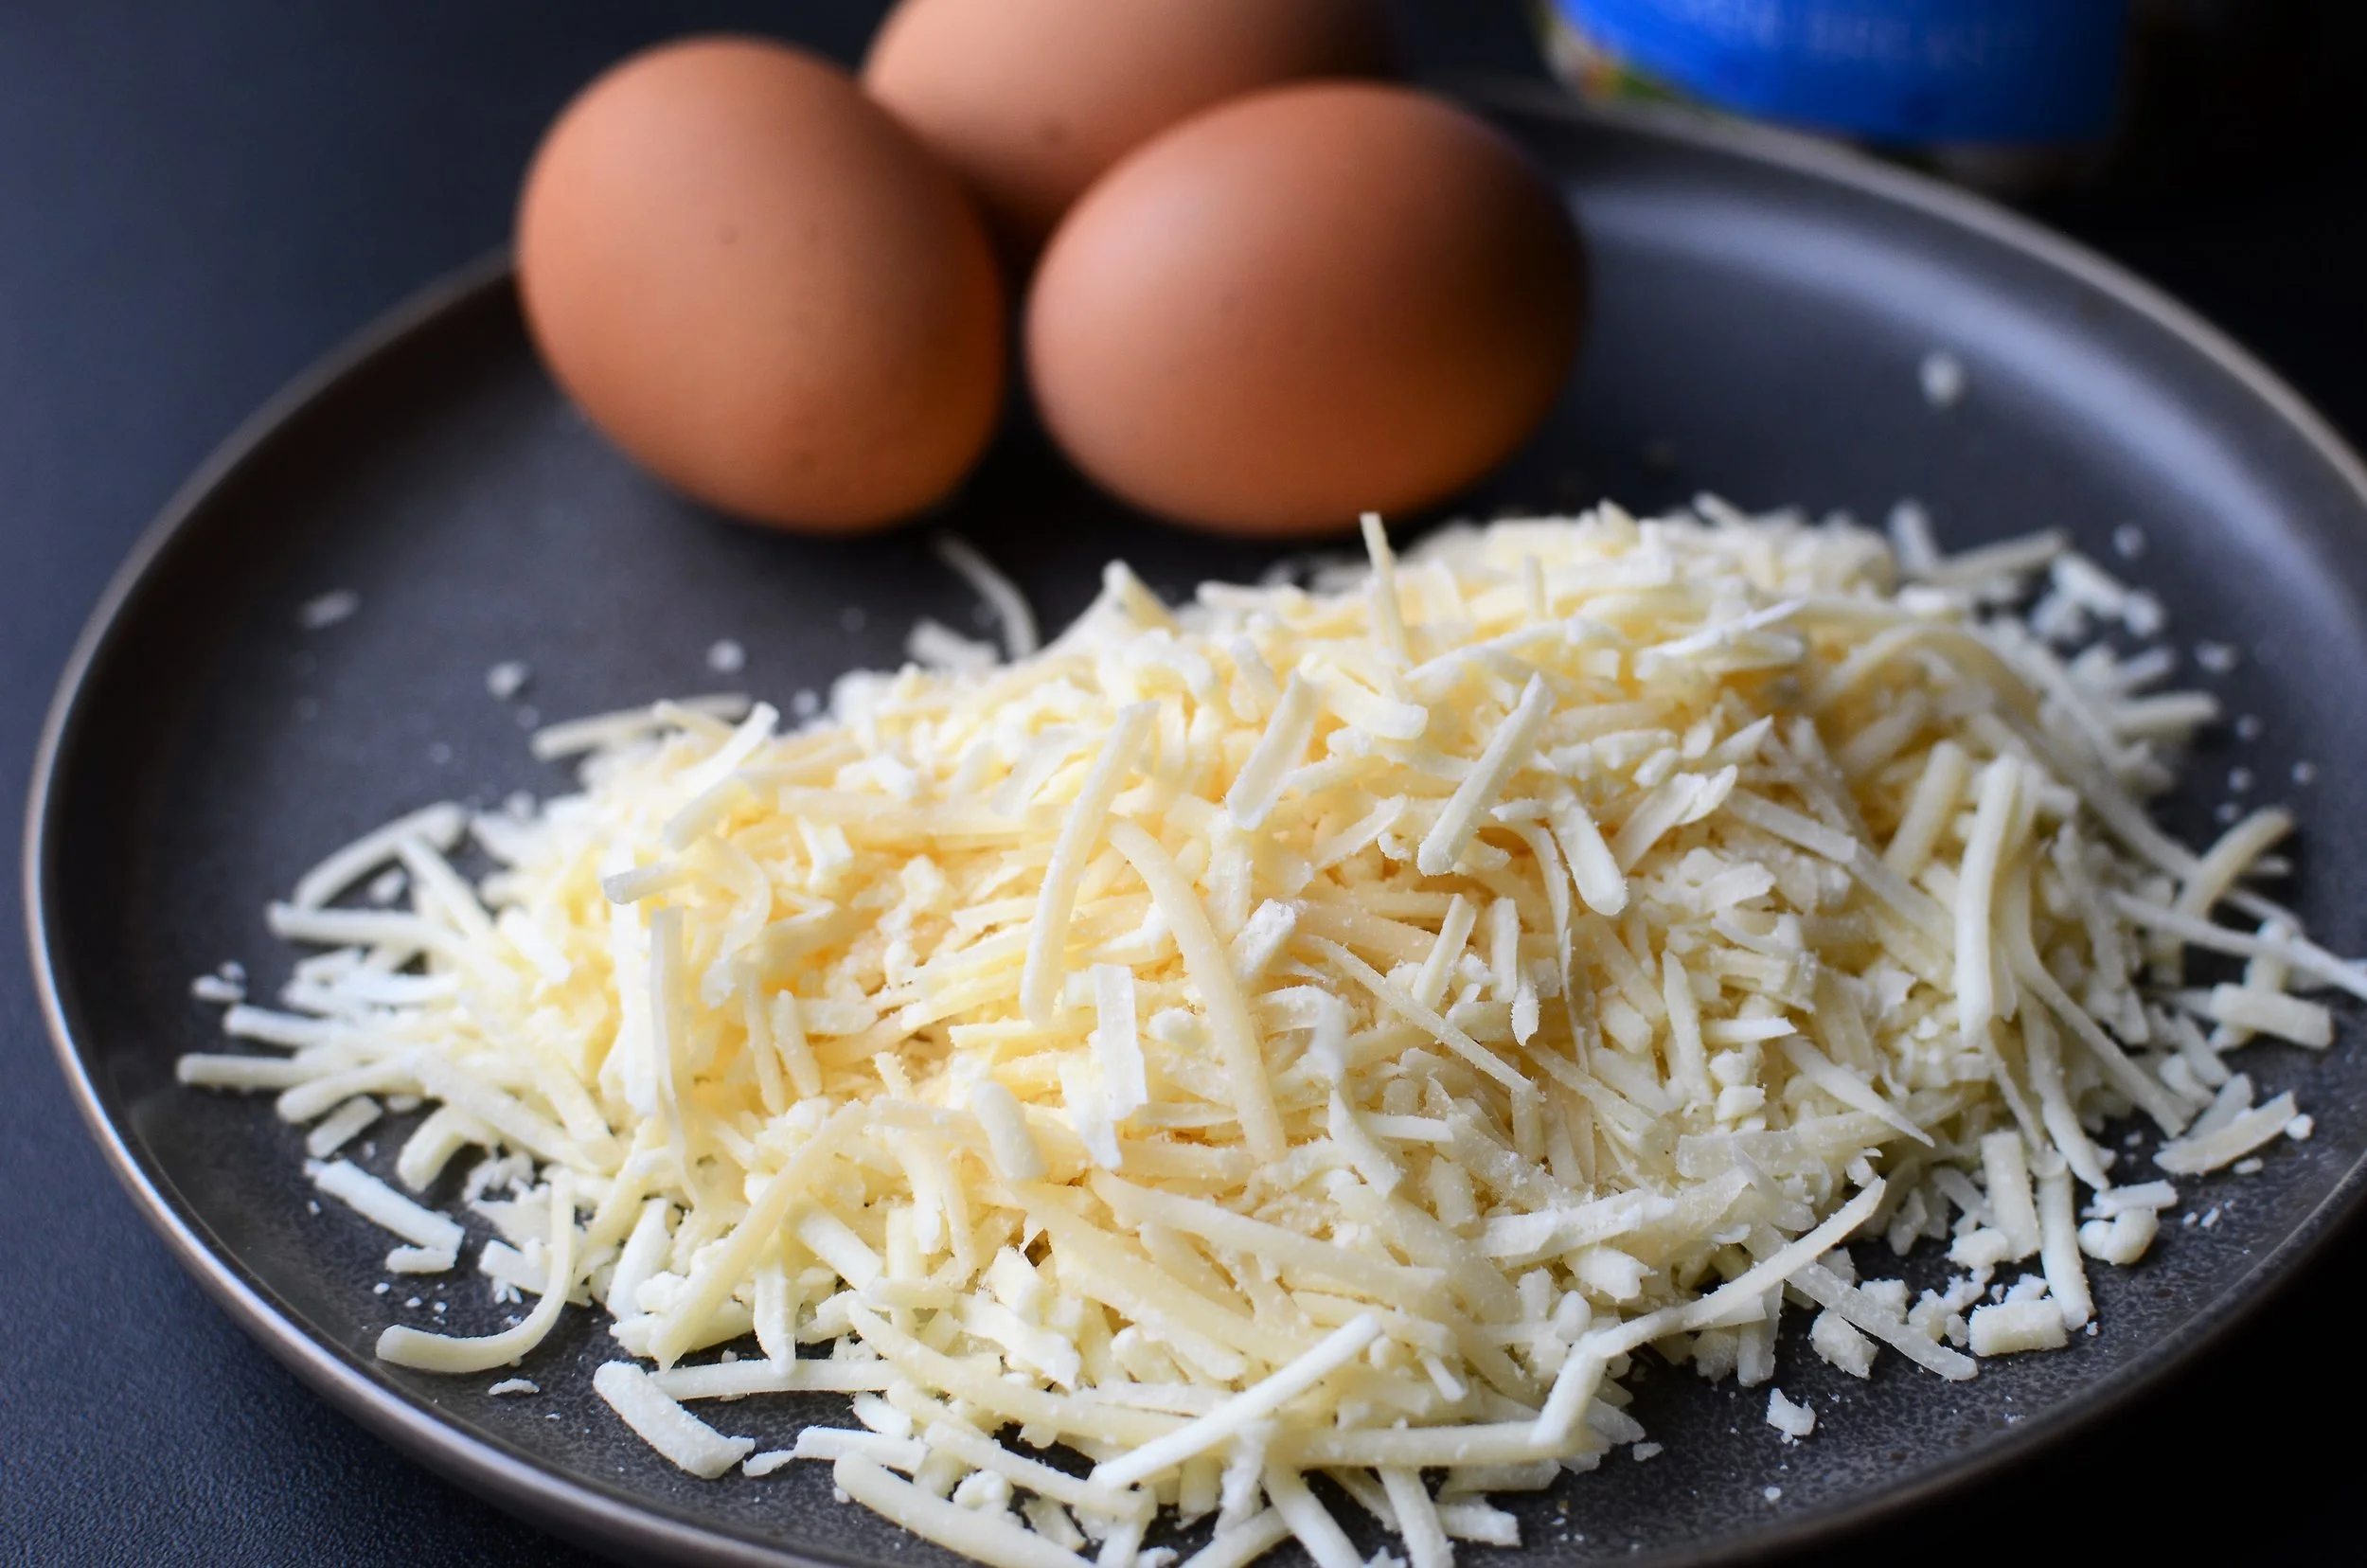
eggs-and-parmesan-cheese-butteryum

You'll need 3 simple ingredients to make this crust - eggs, grated parmesan or romano cheese, and...

canned-chicken

The magic ingredient.... high quality canned chicken!  

After trying several brands, we decided we like Kirkland Signature from Costco the best.  

draining canned chicken

See how the chunks of chicken are nice and big?  Some lower quality brands of chicken are mushy and pasty - try to avoid mushy and pasty chicken.  Anyway, drain the water from the can.  This nifty tool will keep your hands dry and clean while draining all that juice from the can.  I also love using this safety can opener to eliminate sharp can edges.

Use a spatula to gently press the chicken to remove any last drops of water.  What started out as a 12.5-ounce can of chicken really ends up being about 7.5 ounces of drained chicken.  

drying-canned-chicken-in-oven

Spread both cans of drained chicken out on a parchment lined sheet pan, breaking up large chunks.  Place in a preheated 350F oven for about 10 minutes to dry the chicken a bit.

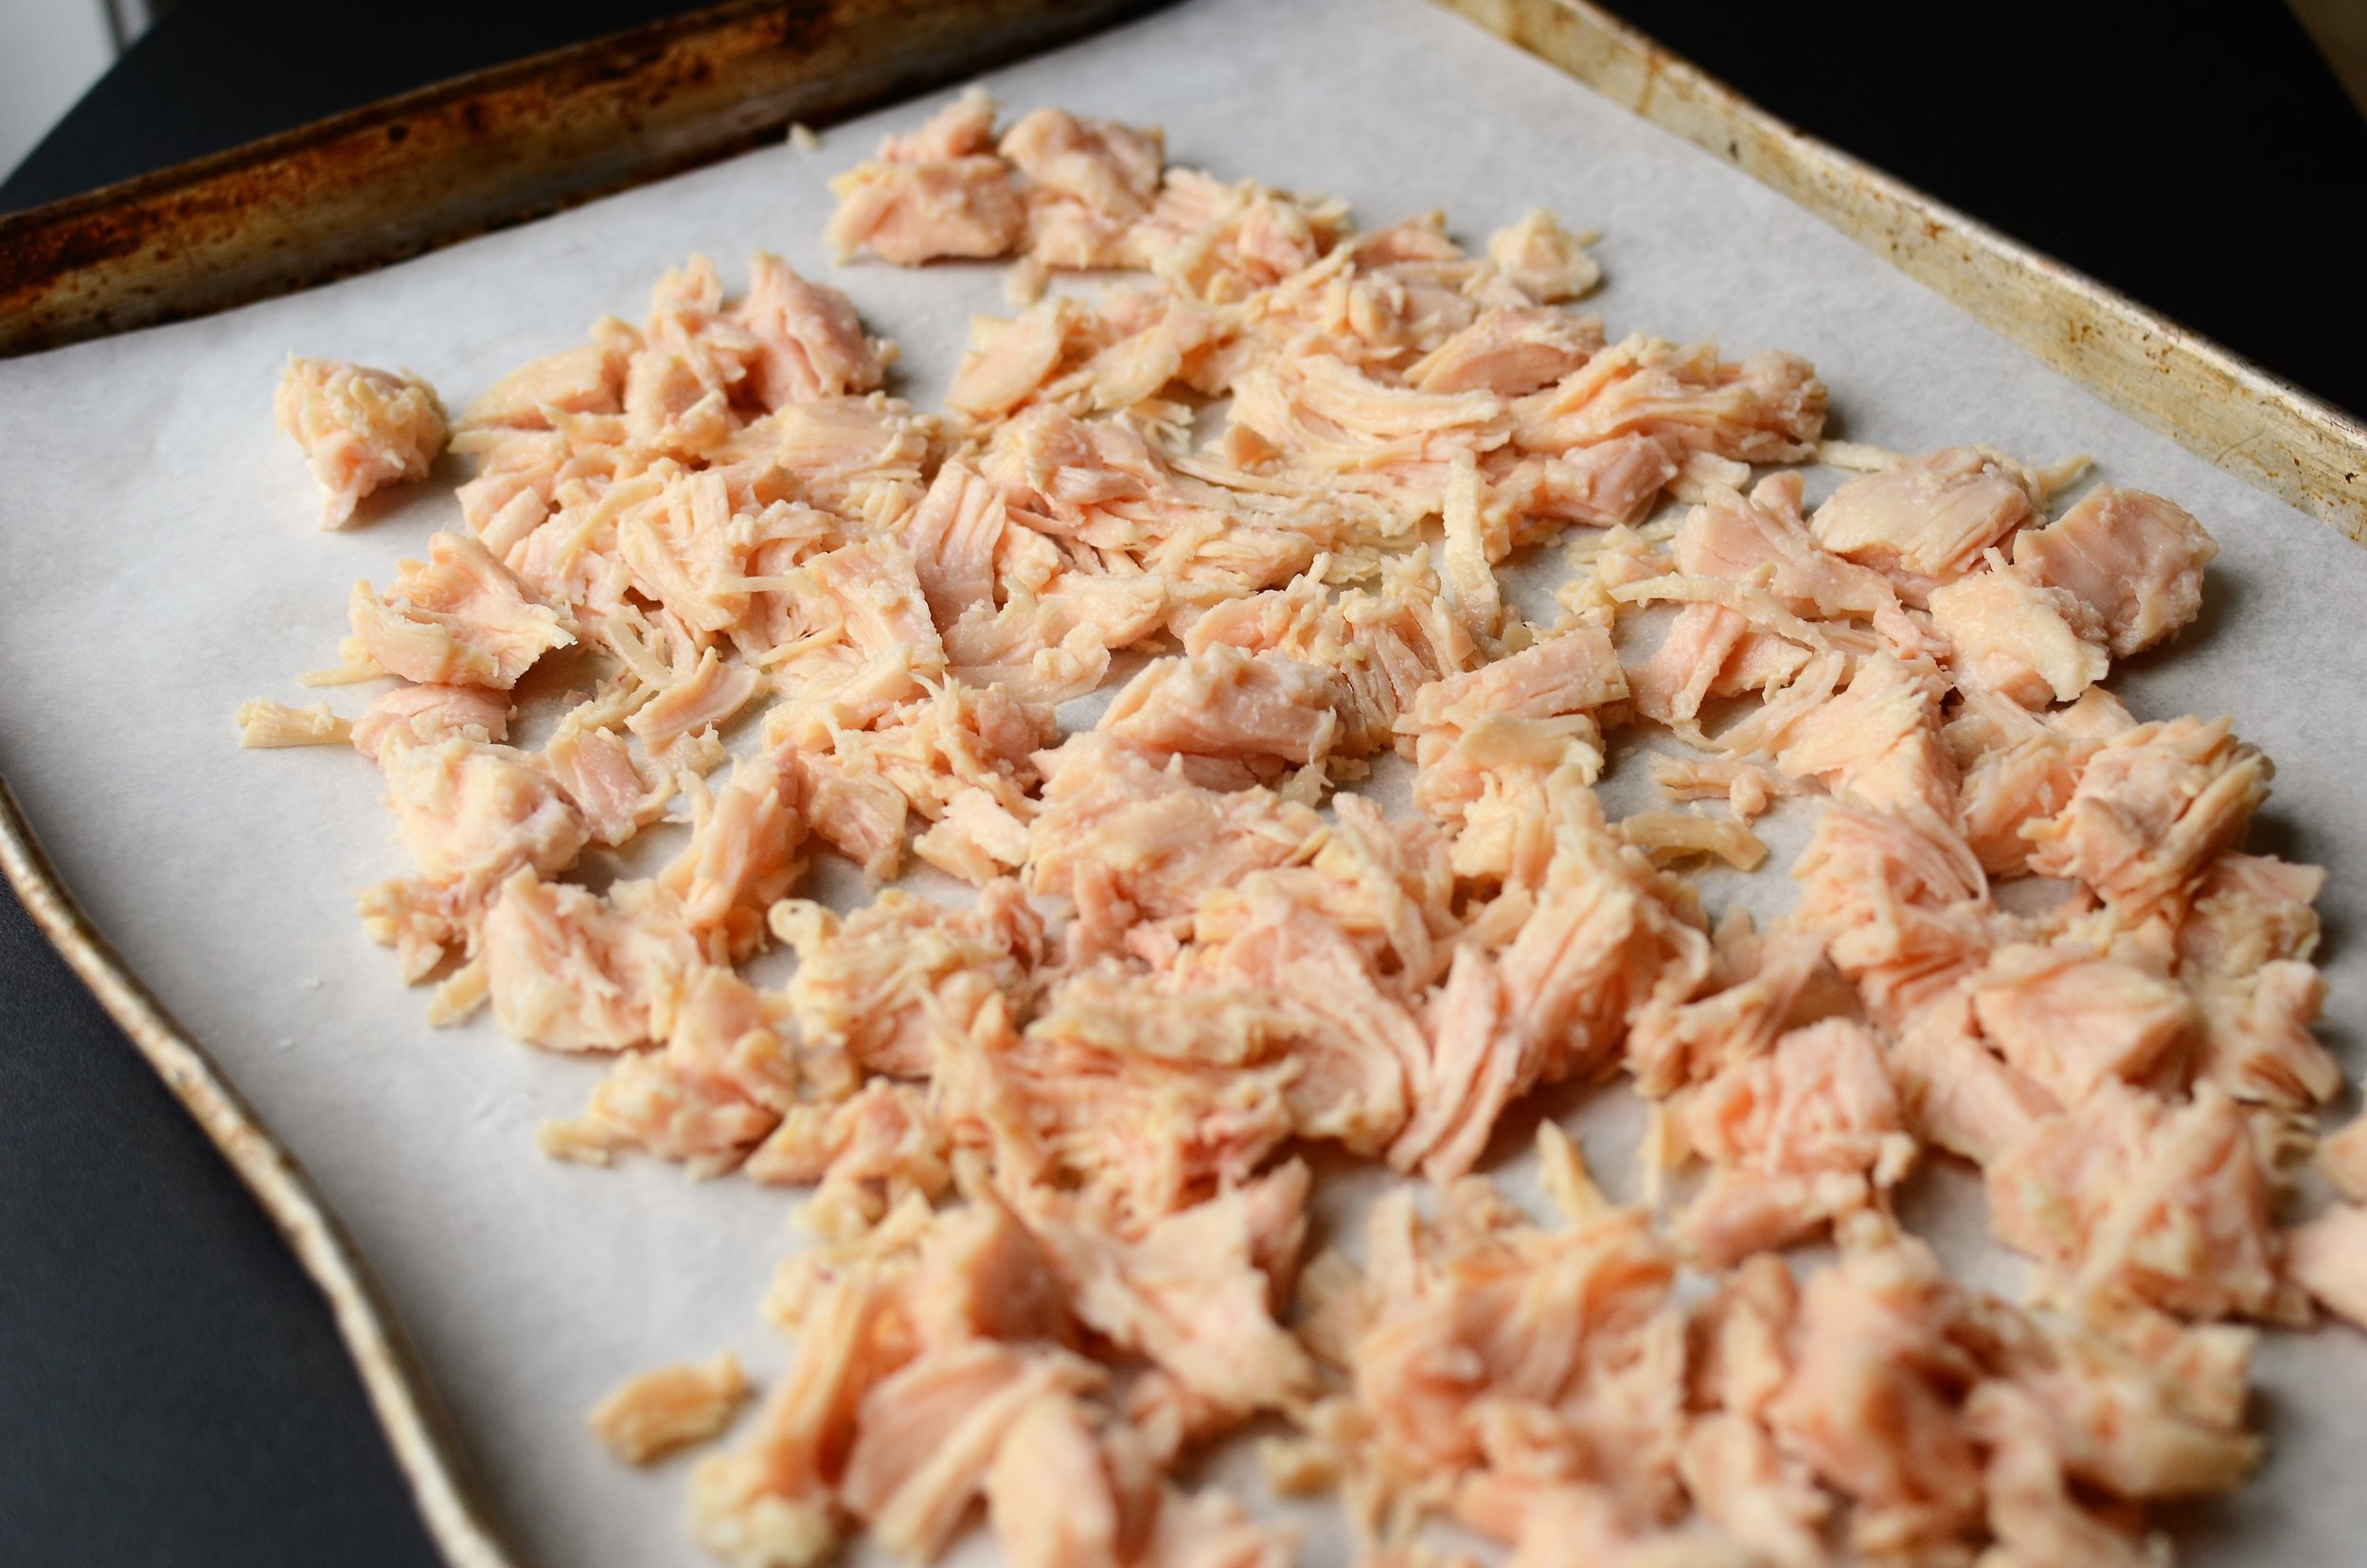
canned-chicken-that-has-been-dried-in-oven

After the chicken comes out of the oven raise the temperature to 500F.  Notice how the color of the chicken has deepened.  Allow the chicken to cool for several minutes before proceeding.

make-keto-pizza-crust-with-chicken-cheese-and-egg-butteryum

When the chicken is cool, combine it with the eggs and cheese.  I like to use a stand mixer fitted with a BeaterBlade attachment to do this, but you can mix it by hand.

high-protein-keto-pizza-crust-butteryum

See how nicely the stand mixer and BeaterBlade does the job?

Update: one of my readers suggested processing the mixture in a food processor, which makes it easier to spread. This is now our preferred method.

keto-chicken-crust-for-pizza-butteryum

Divide the chicken mixture in half and use your fingers to press it into two 6x9-inch rectangles right on the same parchment lined sheet pan (below).

Update: We now spread each portion on its own half sheet pan so we can press it out as large (and thin) as possible. Bake each crust individually.

no carb (no cauliflower) pizza crust recipe with photos. chicken and cheese pizza crust recipe with photos. no carb, high protein pizza crust recipe with photos. how to make a no carb pizza crust without cauliflower - recipe and photos. The best car…

When the oven temperature reaches 500F, prebake the crusts for 10 minutes.

how to make the best carb-free pizza crust that doesn't contain cauliflower - recipe and photos

Remove the crust from the oven and add the usual toppings.  Tomato sauce....

PS - here's a link to my San Marzano Tomato Sauce. If time is an issue, here’s a link to my Busy Weeknight Marinara.

make-low-carb-pizza-with-no-cauliflower-crust-butteryum

Mozzarella cheese...

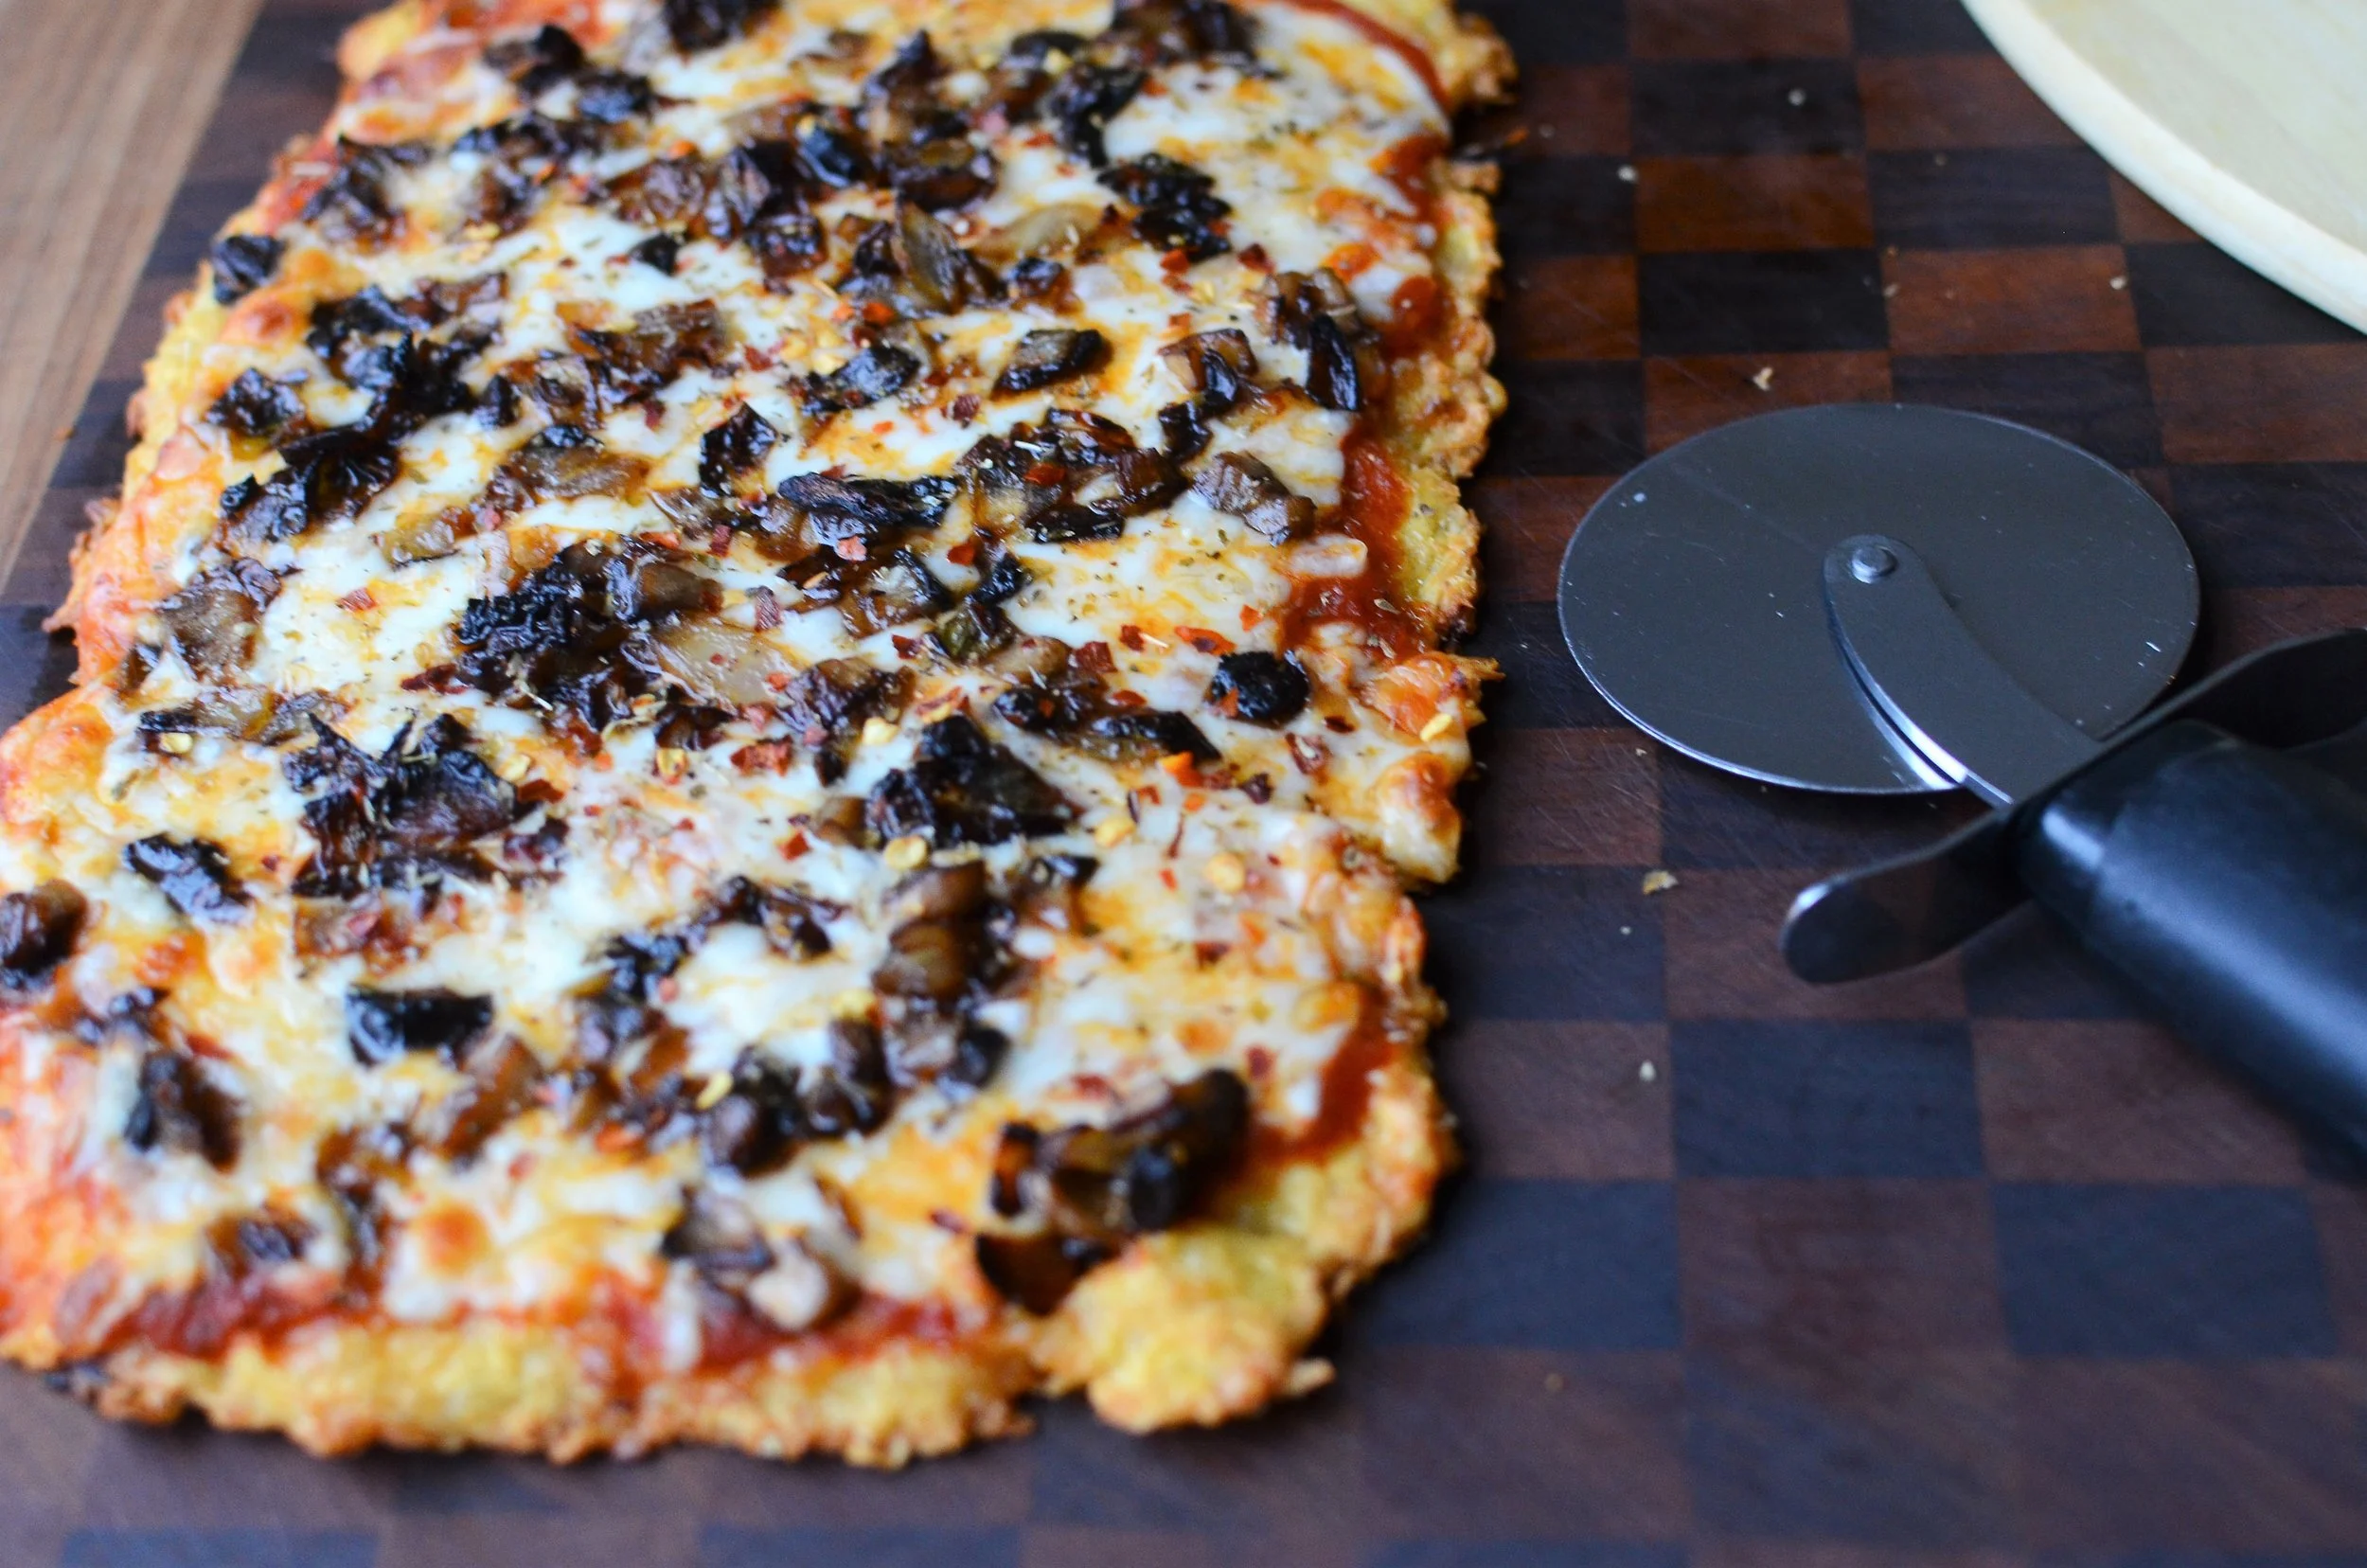
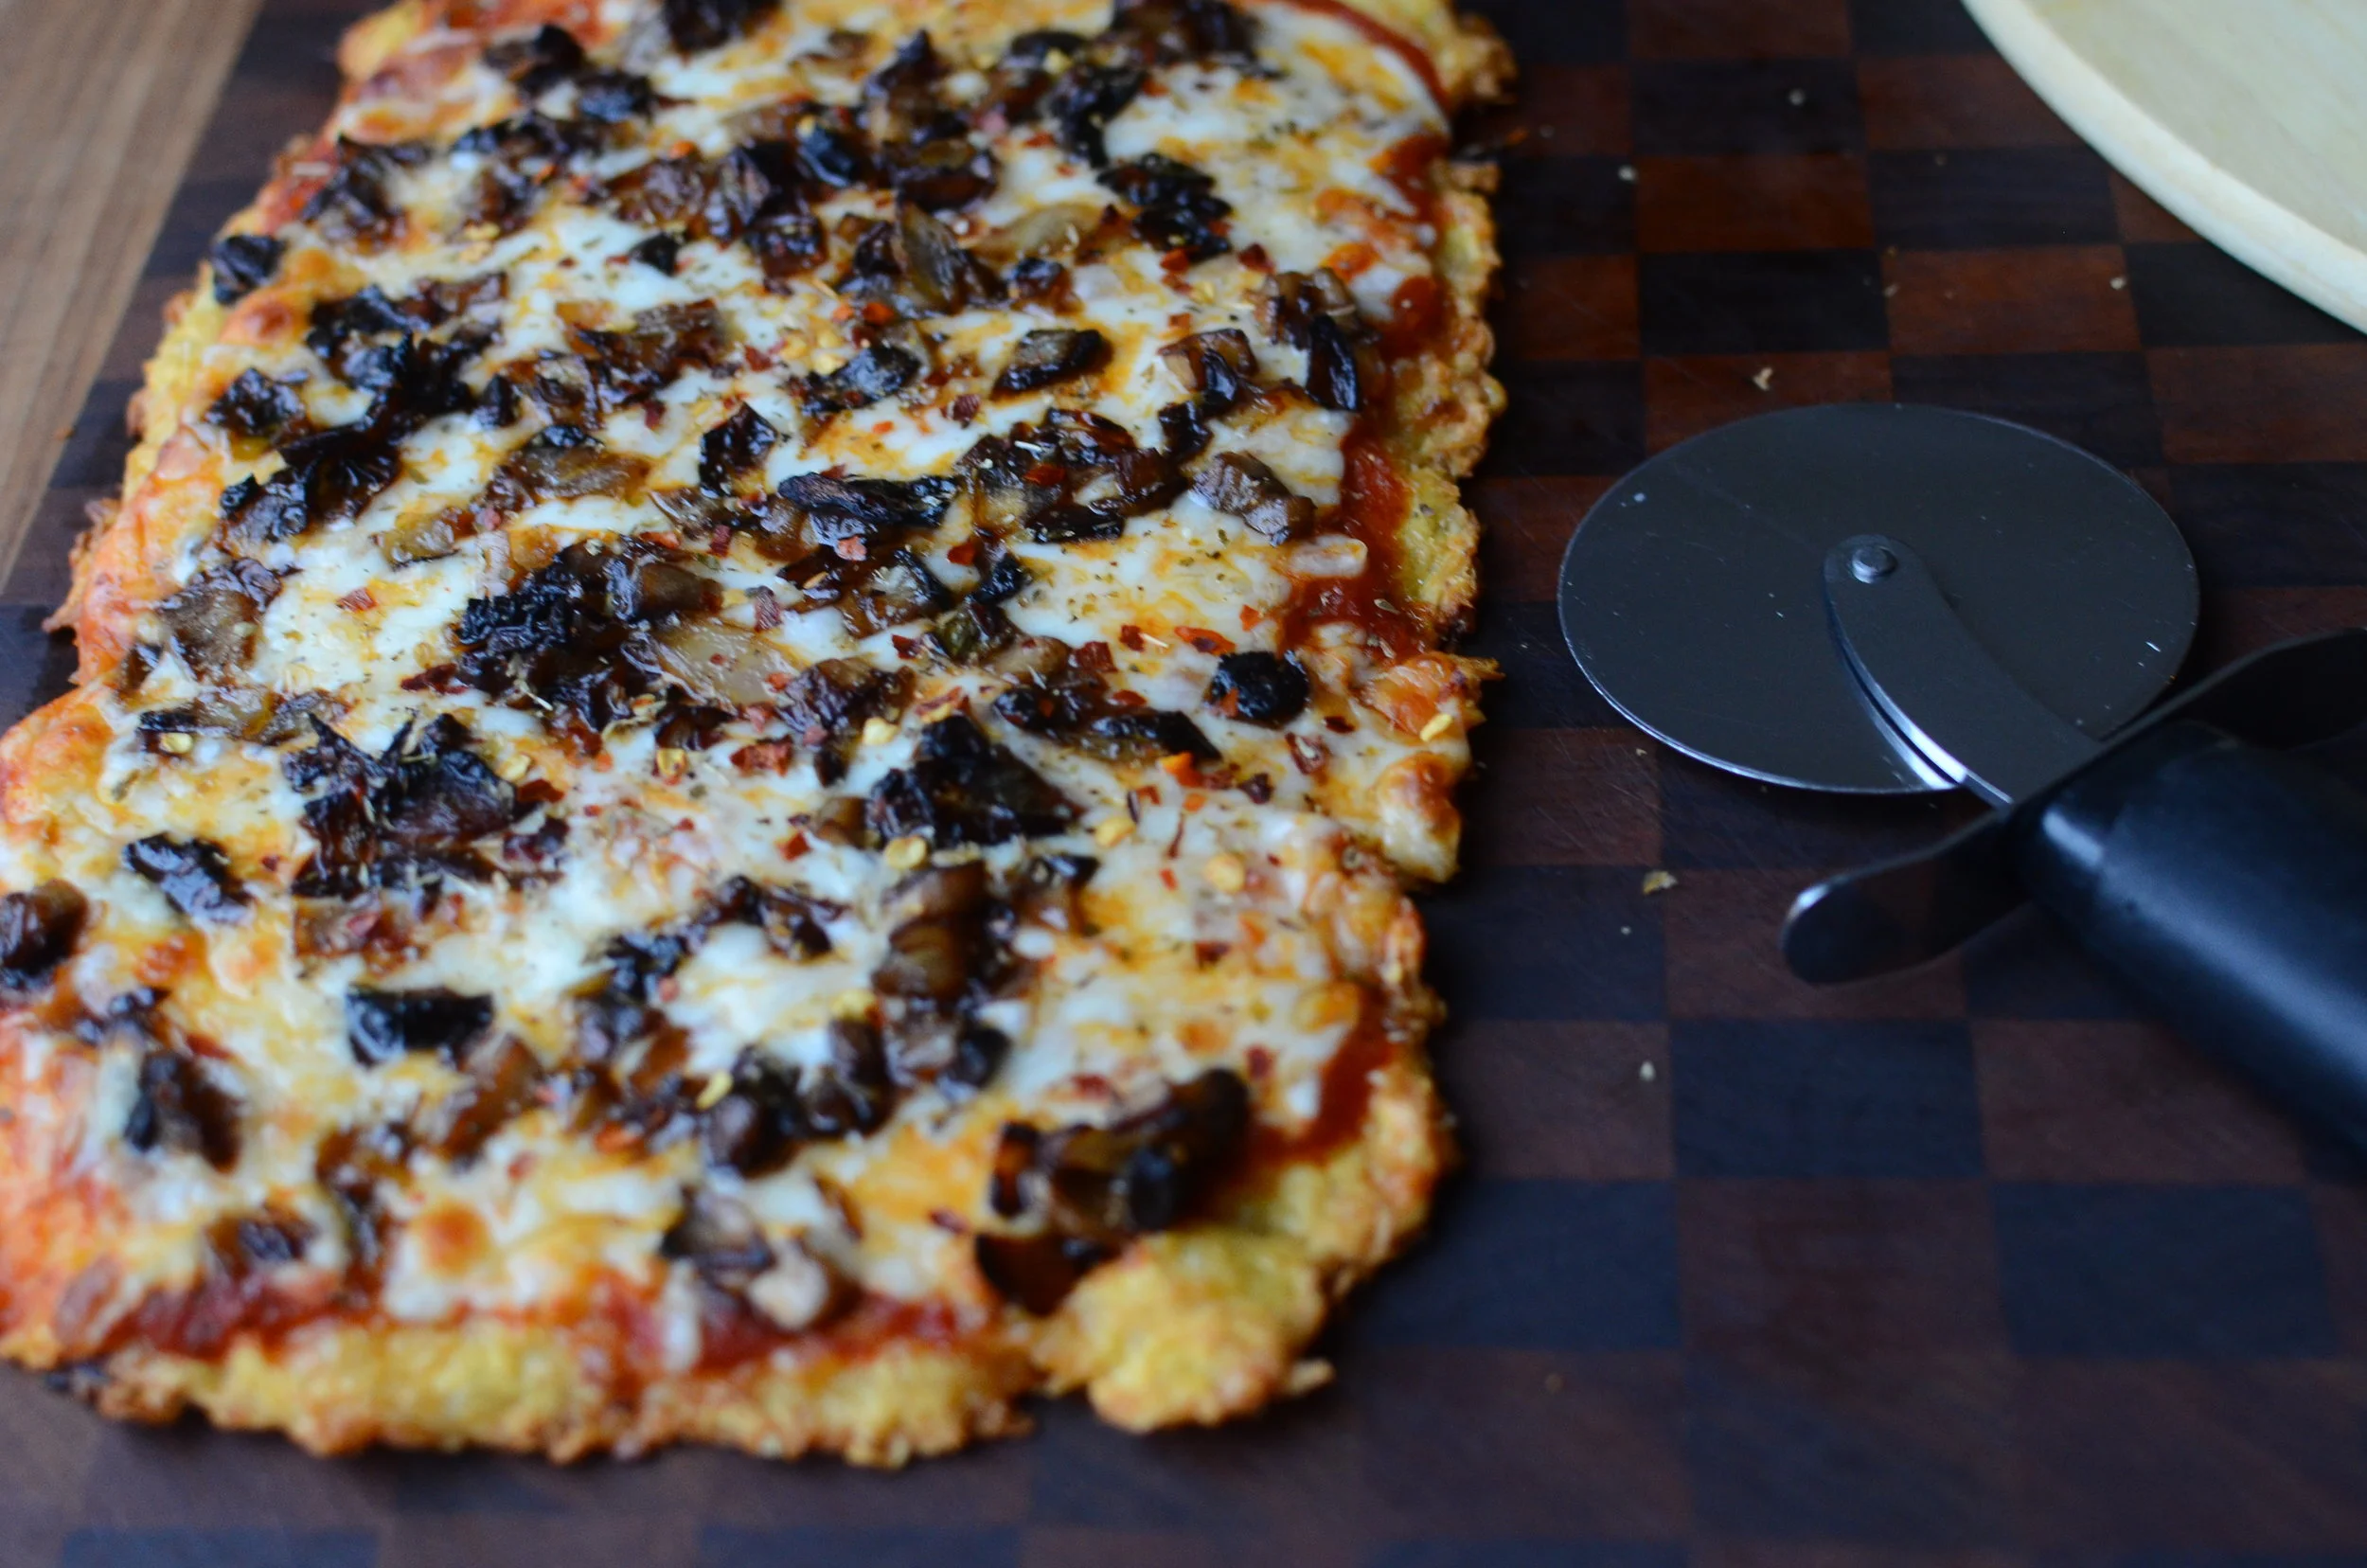
keto-pizza-recipe-no-cauliflower-crust-butteryum

And for this particular pizza, I added some sauteed onions and mushrooms.  Sometimes I like sausage crumbles and green peppers. My husband especially likes pepperoni on his. Add whatever pizza toppings you like!

how to make a no carb pizza crust. how to make a low carb pizza crust. how to make atkins pizza crust. how to make keto pizza crust. how to make ketogenic diet pizza crust. how to make keto friendly pizza. how to make atkins friendly pizza. how to m…

Return the pizza to the oven for 5-10 minutes until the mozzarella cheese is bubbly and brown.  

chicken-and-cheese-crust-pizza-butteryum

Cool for 5 minutes before cutting with a pizza wheel. 

keto-cheese-and-chicken-crust-pizza-butteryum

I know you're wondering about the bottom crust so here's a quick shot - not bad, eh? 

Like traditional pizza crust, this recipe is crisp around the edges, chewy in the center, and it gets firmer as it cools.  It truly is the very best non-traditional pizza crust we’ve tried. We really love it and I hope you will too.

Items used to make this recipe:

(affiliate links)


Low-Carb Keto Pizza Crust

makes 8 servings

Printable Recipe

Ingredients

  • 25 ounces canned premium chicken in water, drained

  • 3 large eggs

  • 3 ounces grated parmesan or romano cheese

Directions

  1. Preheat oven to 350F, line a half sheet pan with parchment, and place oven rack in upper third position.

  2. Drain canned chicken and spread out on parchment paper, breaking up large clumps.

  3. Bake chicken for 10 minutes, then remove from oven to cool for several minutes.

  4. Increase oven temperature to 500F (see note below).

  5. Combine precooked chicken, eggs, and cheese well (do this in a stand mixer, or even better, use a food processor).

  6. Divide chicken mixture in half and press each out into a large rectangle on two parchment-lined half sheet pans; bake for 10 minutes.

To make pizza: top crusts with tomato sauce, mozzarella cheese, and your favorite pizza toppings (meats should be precooked).  Bake in 500F oven for 5-10 minutes or until cheese is melted. 

Note

  • Cook’s Illustrated has spoken with parchment paper manufacturers and they report it is safe to use parchment above the suggested temperature range (even as high as 500F) for up to 30 minutes. The paper will not release toxic chemicals or catch on fire, but it will turn very dark brown and become quite brittle

adapted from ketoconnect.com