Instant Pot Chicken Stock
Patricia @ ButterYum
I’ve long touted the benefits of keeping homemade chicken stock in the freezer and now, more than ever, having a good supply on hand seems like a really good idea. My original recipe (from away back in 2009) was a stove-top version that would simmer away for up to 12 hours. I’ve updated that recipe and now make it in as little as 2 hours.
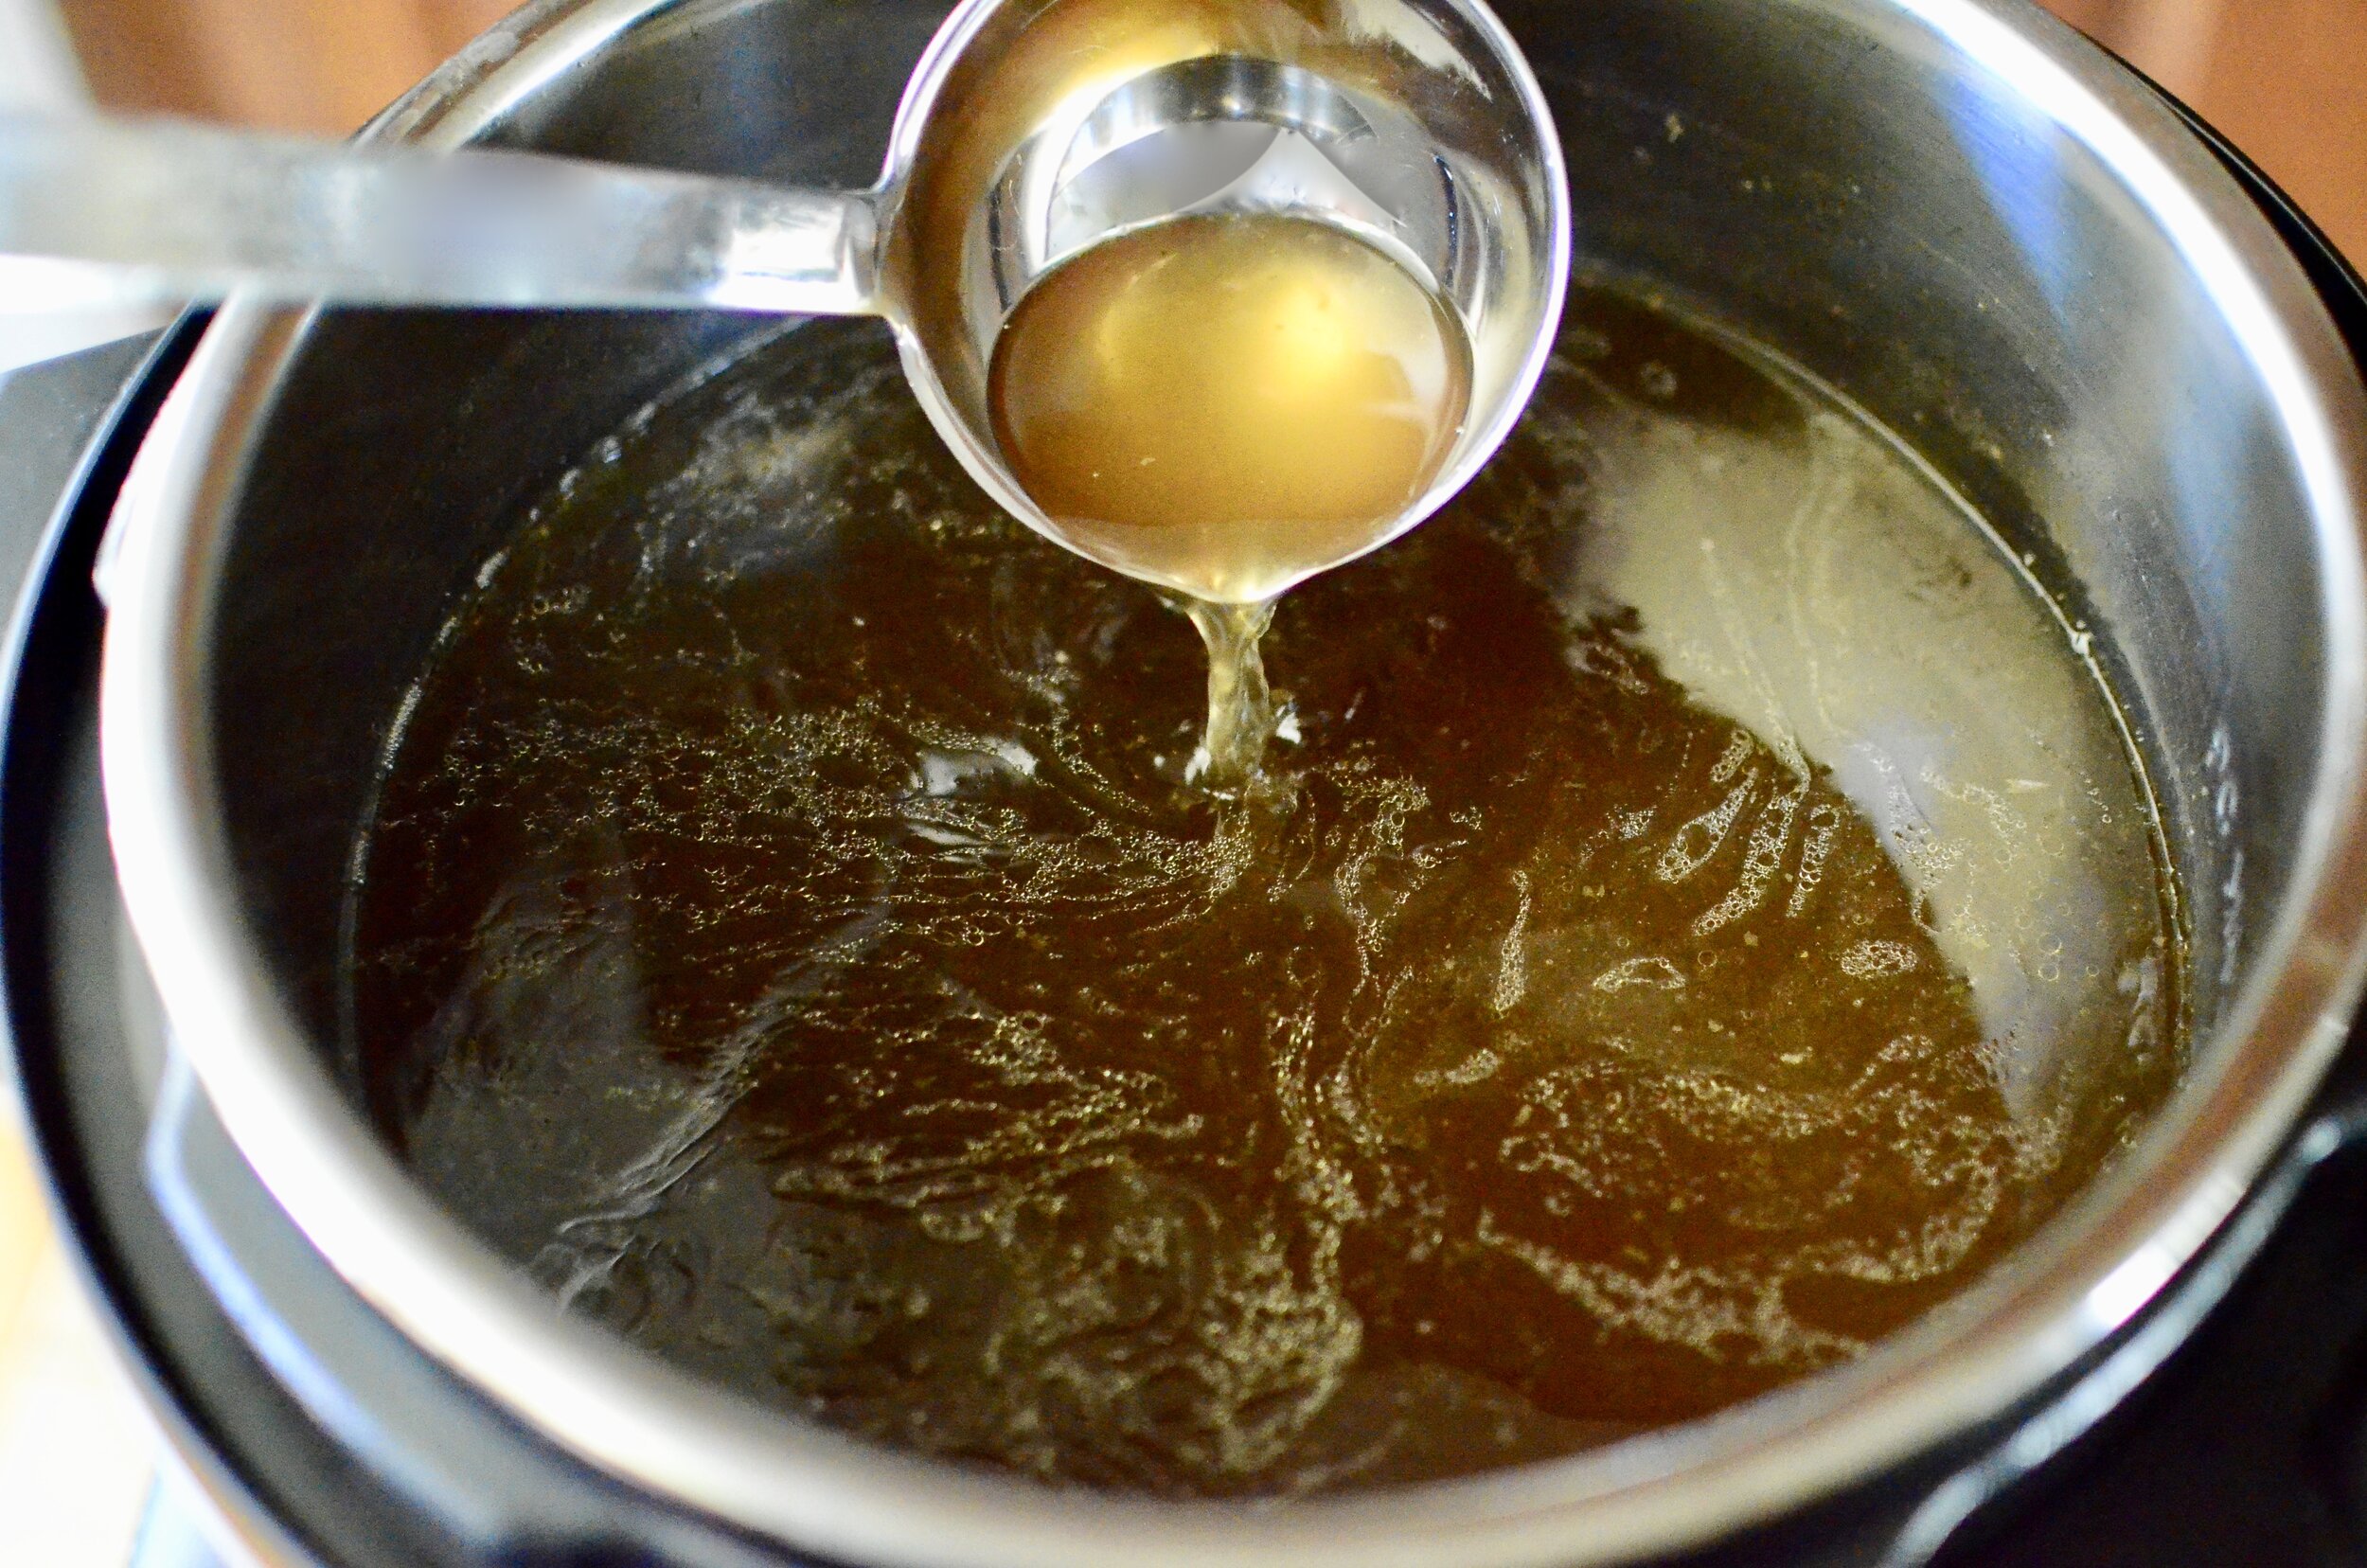
Just look at the rich, gorgeous color!! You can practically taste it, can’t you?
I like to start with a Rotisserie chicken - the ones from Costco are my favorite, but any will do. You can even use a chicken that you roast yourself (need a recipe for that? here’s one I shared way back).
Remove all the white and dark meat from the chicken (don’t forget to flip that bird over and get the meat from the bottom - there’s a lot). Save the meat for another use (like my homemade chicken noodle soup, or this version featuring flavors of the Southwest).
When making chicken stock, I like to use all the bones and skin (if you can manage to keep your family from eating it all). The skin adds wonderful color and flavor. No skin, no problem - you can still make this recipe.
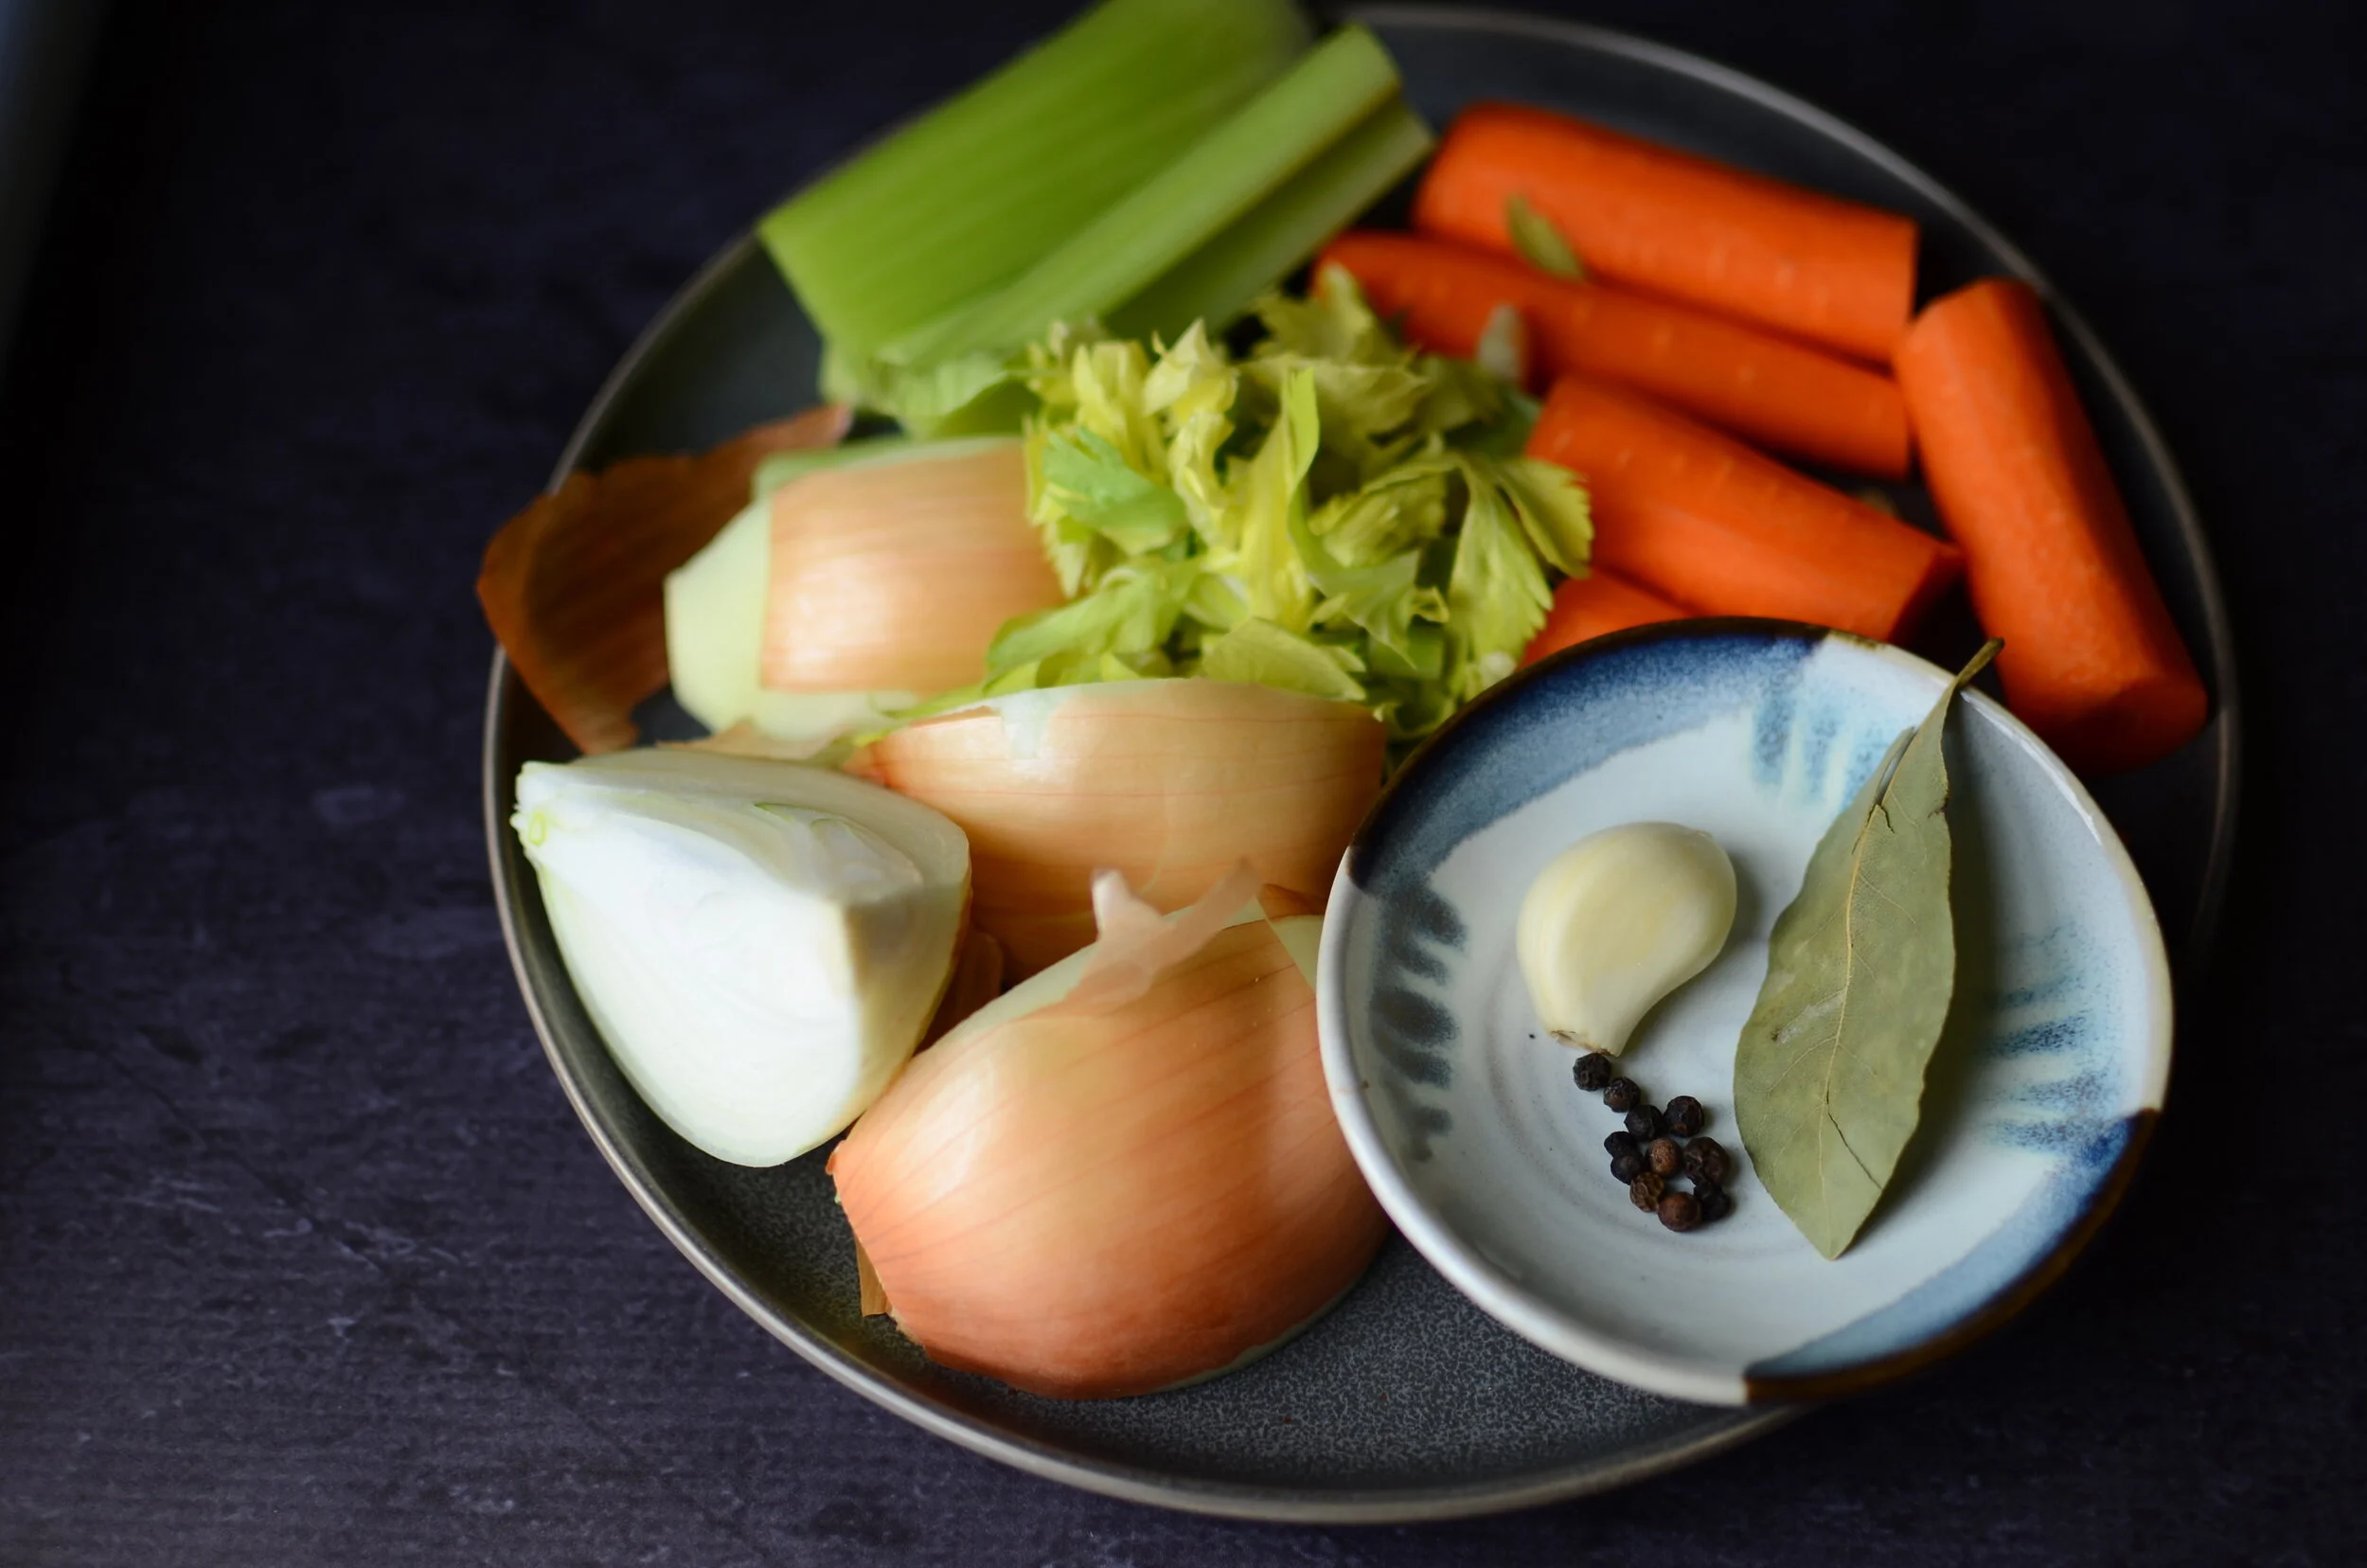
In addition to the skin and bones, you’ll need onion, carrot, celery, garlic, bay, black peppercorns, and I forgot to put parsley in the photo - you can use dried parsley or fresh (leaves or the stems that typically get tossed).
Place everything in the inner pot of your Instant Pot and cover with water, being careful not to go above the max fill line (I can add about 16 cups of water on top of the chicken and veggies in my 8-quart instant pot).
Notice I’m using a mesh basket that fits in my IP. When the stock is done cooking, all I’ll have to do is grab the basket handle and pull it out of the stock, straining away all the solids in the process. Discard the solids and you’re left with the most wonderful chicken stock ever!
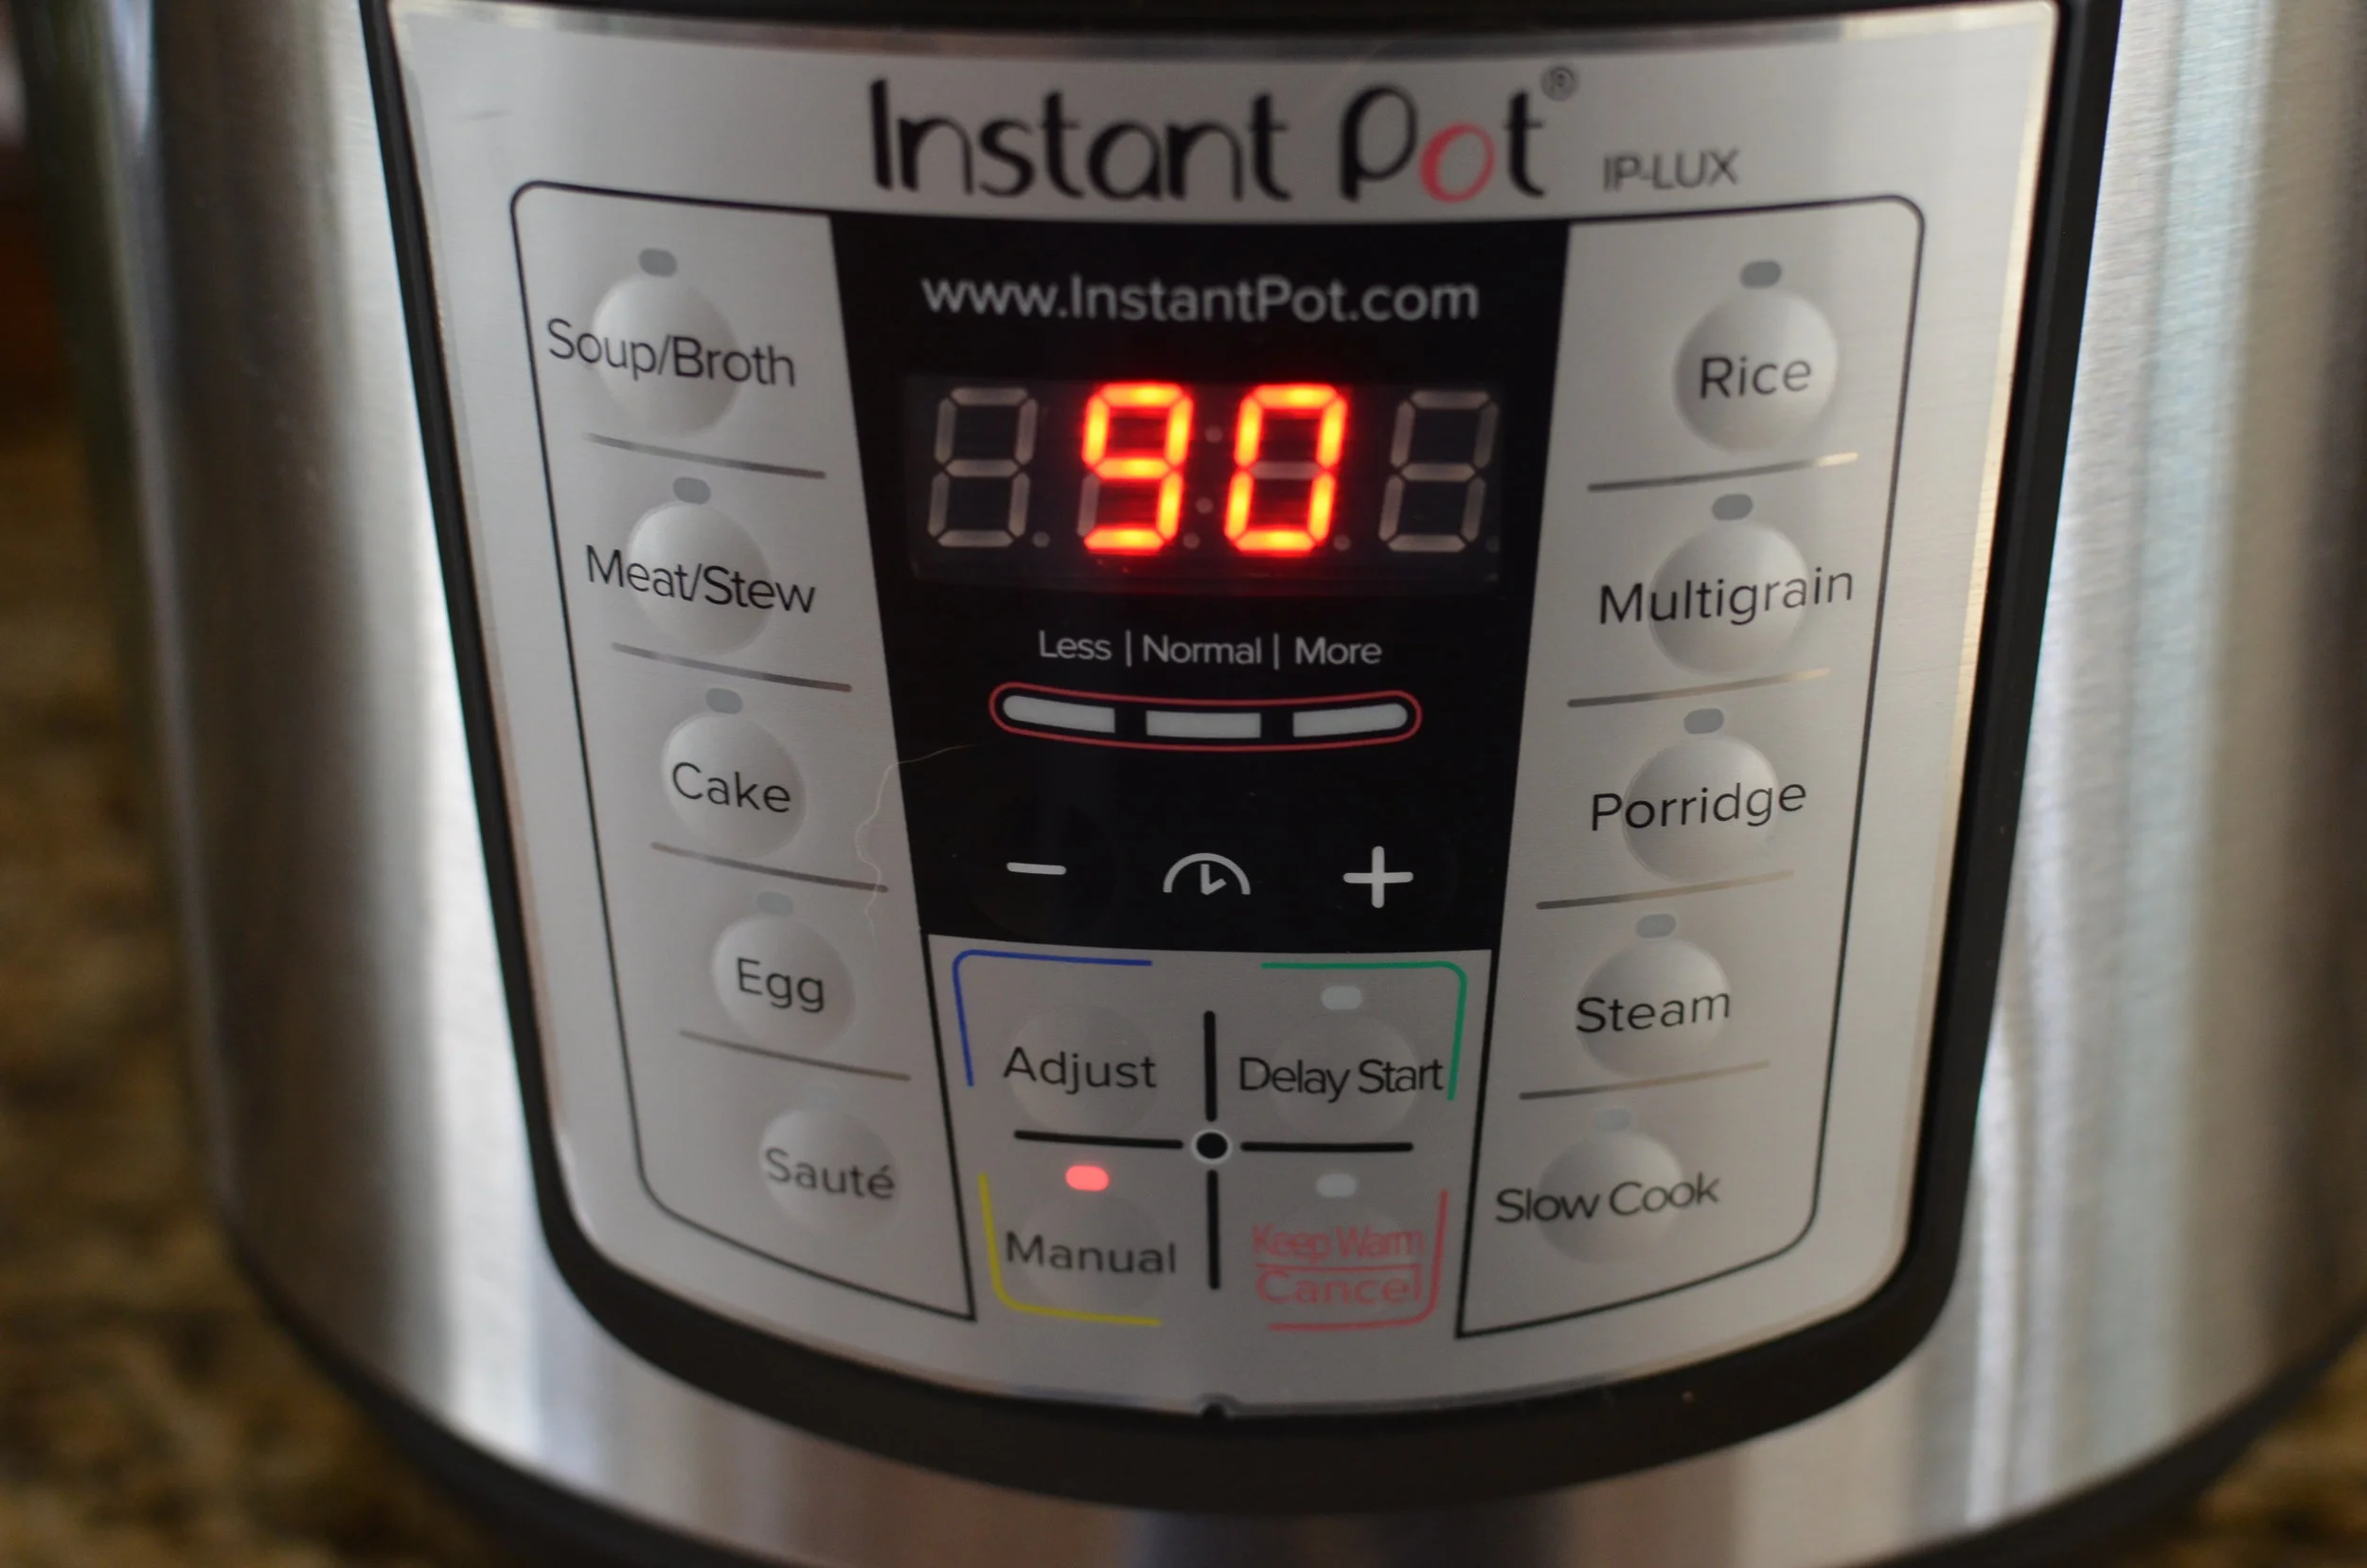
Place the lid on the Instant Pot and make sure the knob is in the “sealing” position. Cook on “manual” or “pressure cook” for 90 minutes and disable the keep warm feature (for my model, I do that by pressing the “manual” button twice). When the timer is done, you can release the pressure manually by switching the knob to “venting”, then open the lid and strain away all the solids. OR you can leave the lid on for 7, 8, 9 hours until you’re ready to deal with it. As long as you leave the lid on, the IP will stay sealed and the stock will cool on its own. I often will start the stock making process right before I go to bed and wake up the next morning to a pot of cooled chicken stock ready to go. I just pull out the solids and transfer to containers for storage.
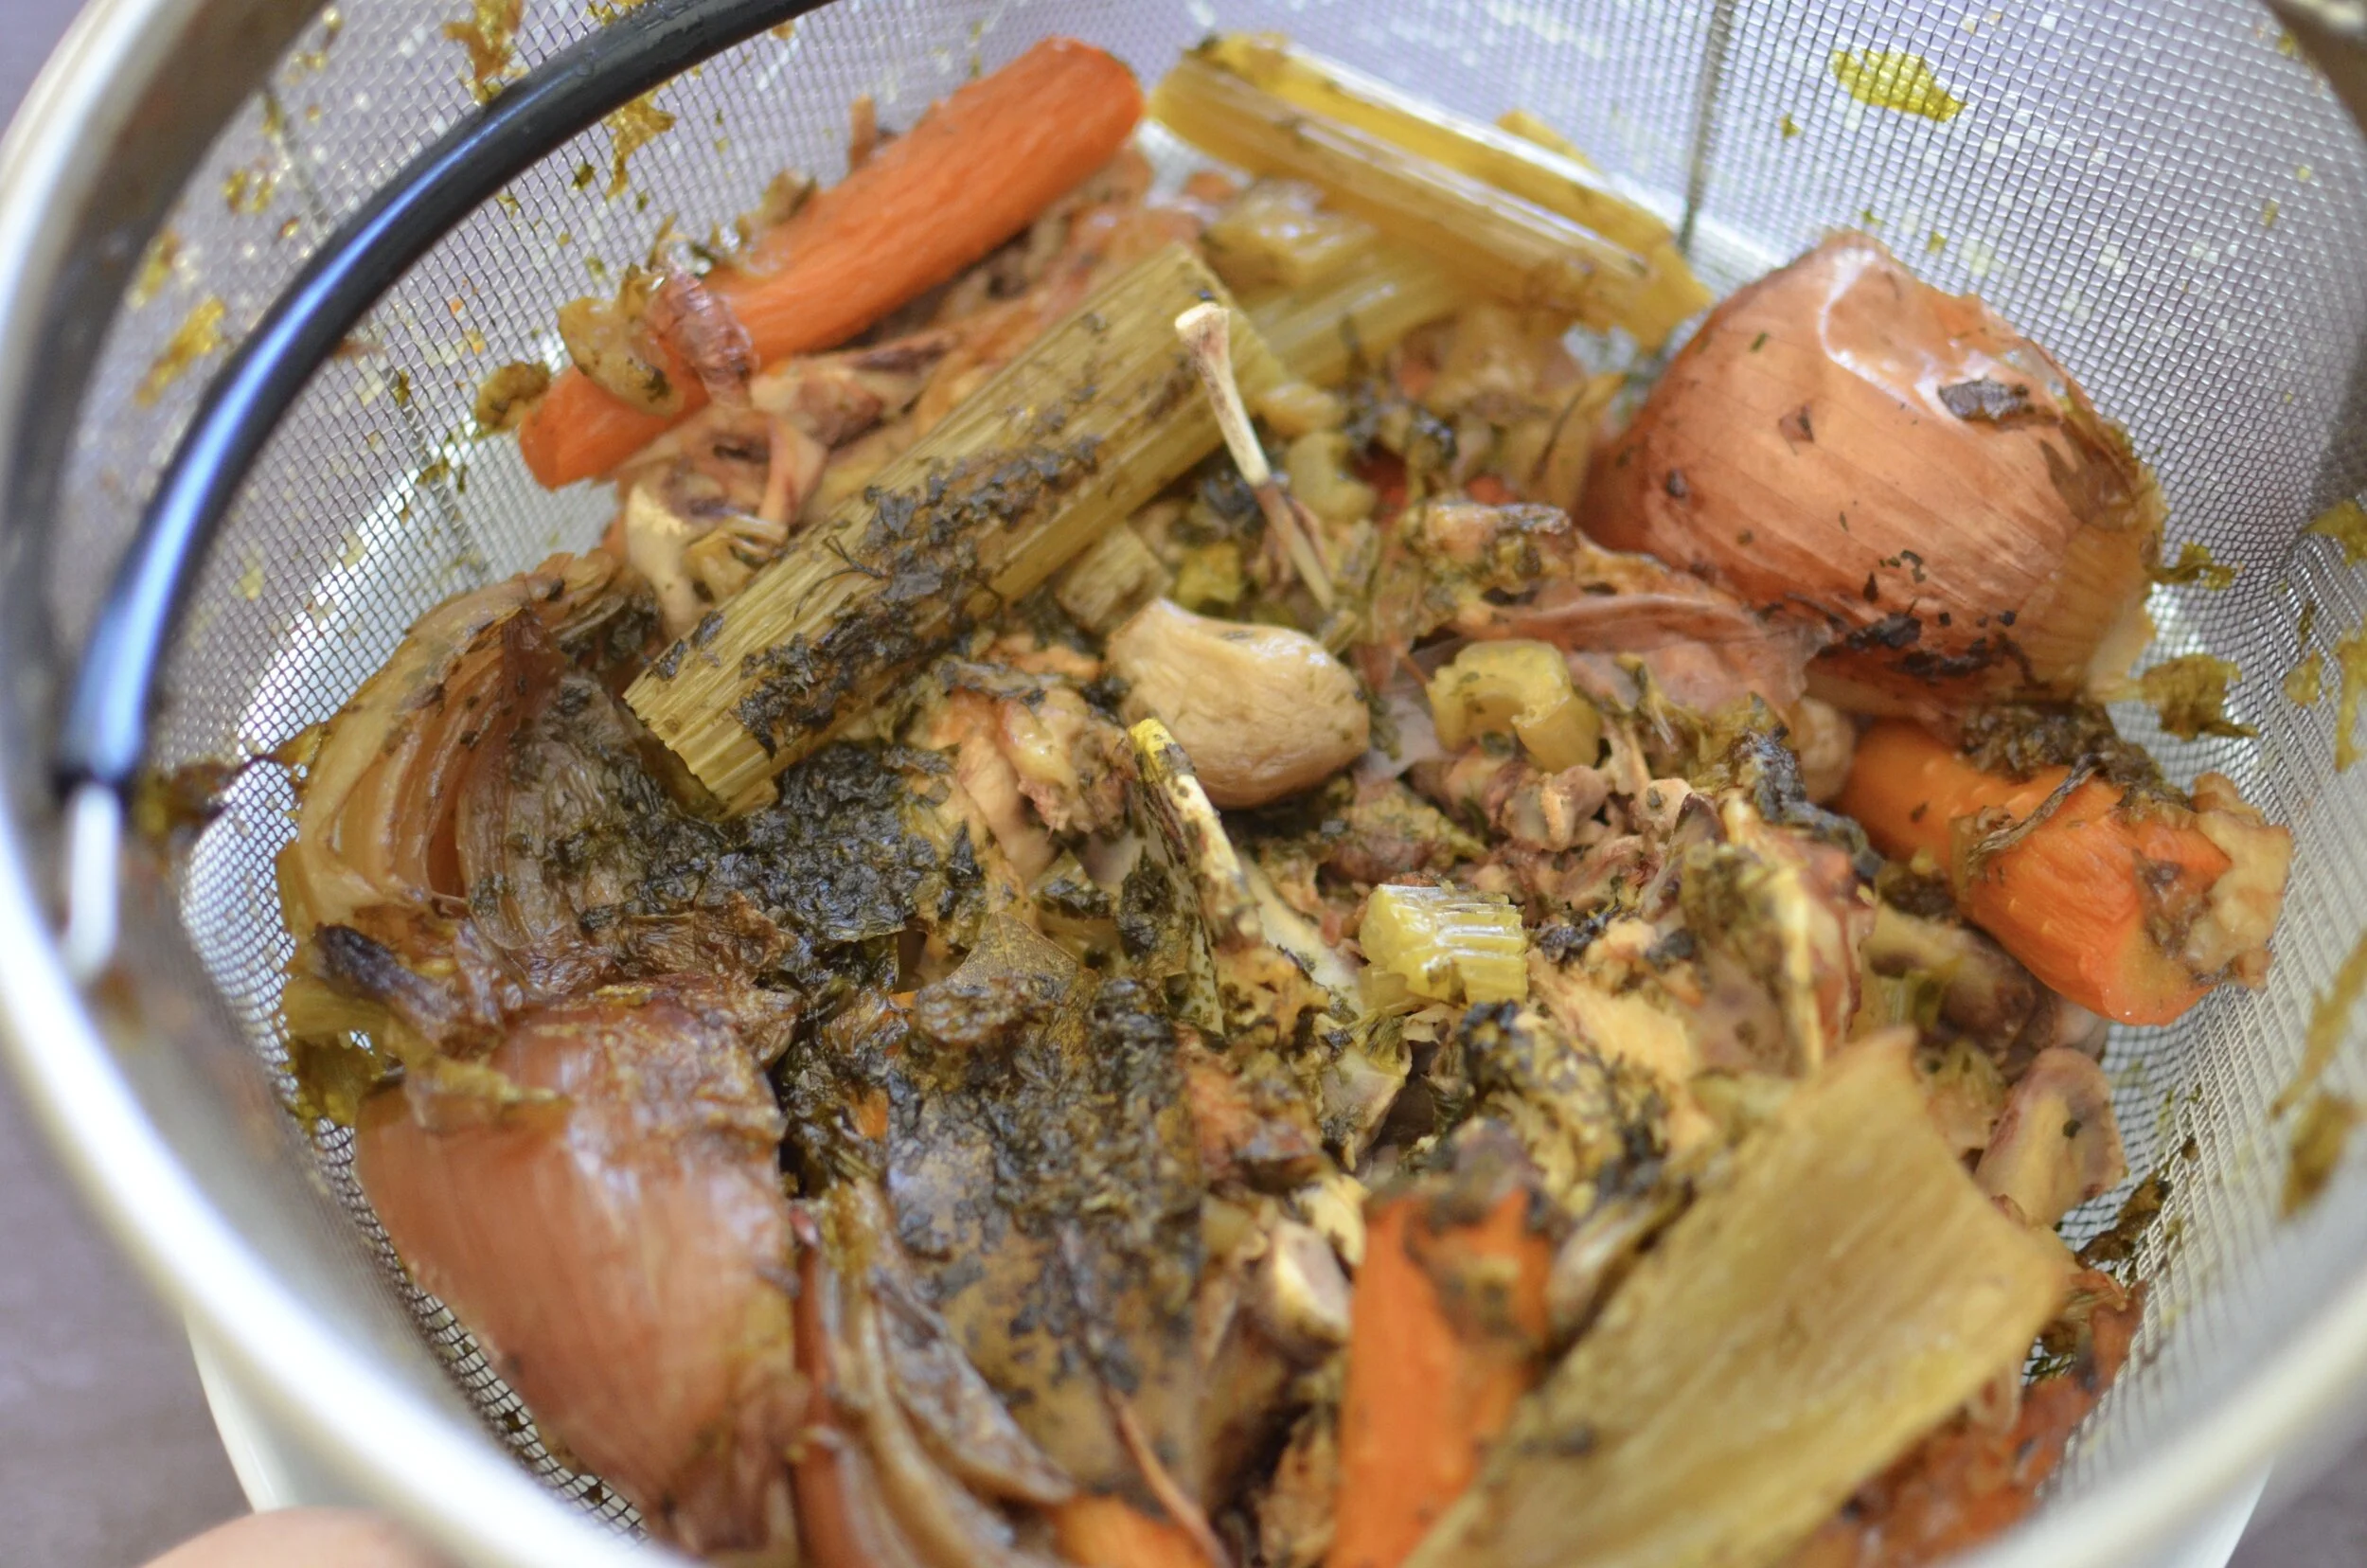
Just in case you were wondering what all those solids look like after the stock is finished cooking, here they are. They’ve cooked down to a fraction of their original size and all their wonderful flavor and nutrients have transferred over to the stock so you can go ahead and get rid of them. LOVE that mesh basket!!
Important - I like to store my stock unsalted. You will definitely need to add salt when you use it or it won’t taste very good at all. I find 1 teaspoon of kosher salt (or half as much table salt) for each quart of stock (4 cups) works out to be just about perfect. The amount of salt can change depending on how you plan to use the stock, but 1 teaspoon per quart is a pretty good place to start.
The stock freezes well in airtight containers, and since my original post way back in 2009, I’ve been reducing my homemade stock down to 1/4 of it’s original volume to conserve freezer space. The reduced stock can be added to pan sauces, or diluted to its original strength by adding 3 cups of water to each cup of reduced stock (remember, don’t salt it until you use it).
Alighty - there you go. Enjoy!!
Items used to make this recipe:
(affiliate links)
8-quart Instant Pot https://amzn.to/2R978vn
mesh strainer basket https://amzn.to/2XbV93Q
32-ounce freezer-safe containers https://amzn.to/3dS9Zmj
8-ounce freezer-safe containers https://amzn.to/2x1Gwp8
reduction spatula https://amzn.to/2UH3ZoV
my favorite soup ladle https://amzn.to/3uK8KjP
Instant Pot Chicken Stock
makes 8 cups
Ingredients
1 rotisserie chicken carcass (skin, bones, and juices that may have collected in the container)
1 medium onion, cut into wedges (you can leave the skin on)
1 medium carrot, cut into large pieces (peel if you wish)
1 stalk of celery, cut into large pieces (inner light green leaves are also good to add)
1 palmful of dried parsley
1 large clove garlic, whole (2 if small)
1 medium bay leaf
8-10 black peppercorns
water (approximately 8-10 cups)
salt to taste (after cooking - see notes below)
Directions
Place all ingredients in inner pot of instant pot (optional, you can also use a mesh strainer basket for easy removal).
Cover with cold water and seal instant pot.
Disable the “keep warm” feature and cook on “manual” or “pressure cook” for 90 minutes.
Strain solids and discard.
If using right away, add salt to taste (see notes below for storage).
Notes
Once you’ve strained all the solids out of the finished chicken stock, you can store the stock (unsalted) in an airtight container in the fridge for up to a week, or freezer for longer storage. To save space in the freezer, I like to reduce the stock down from 1 cup to 1/4 cup. To use, just add 3 parts water to 1 part reduced stock (or see notes below to use for a beef stock substitution).
When using for soup, I like to add about 1 teaspoon of kosher salt to each quart (4 cups) of chicken stock (if using table salt, use 1/2 teaspoon per quart).
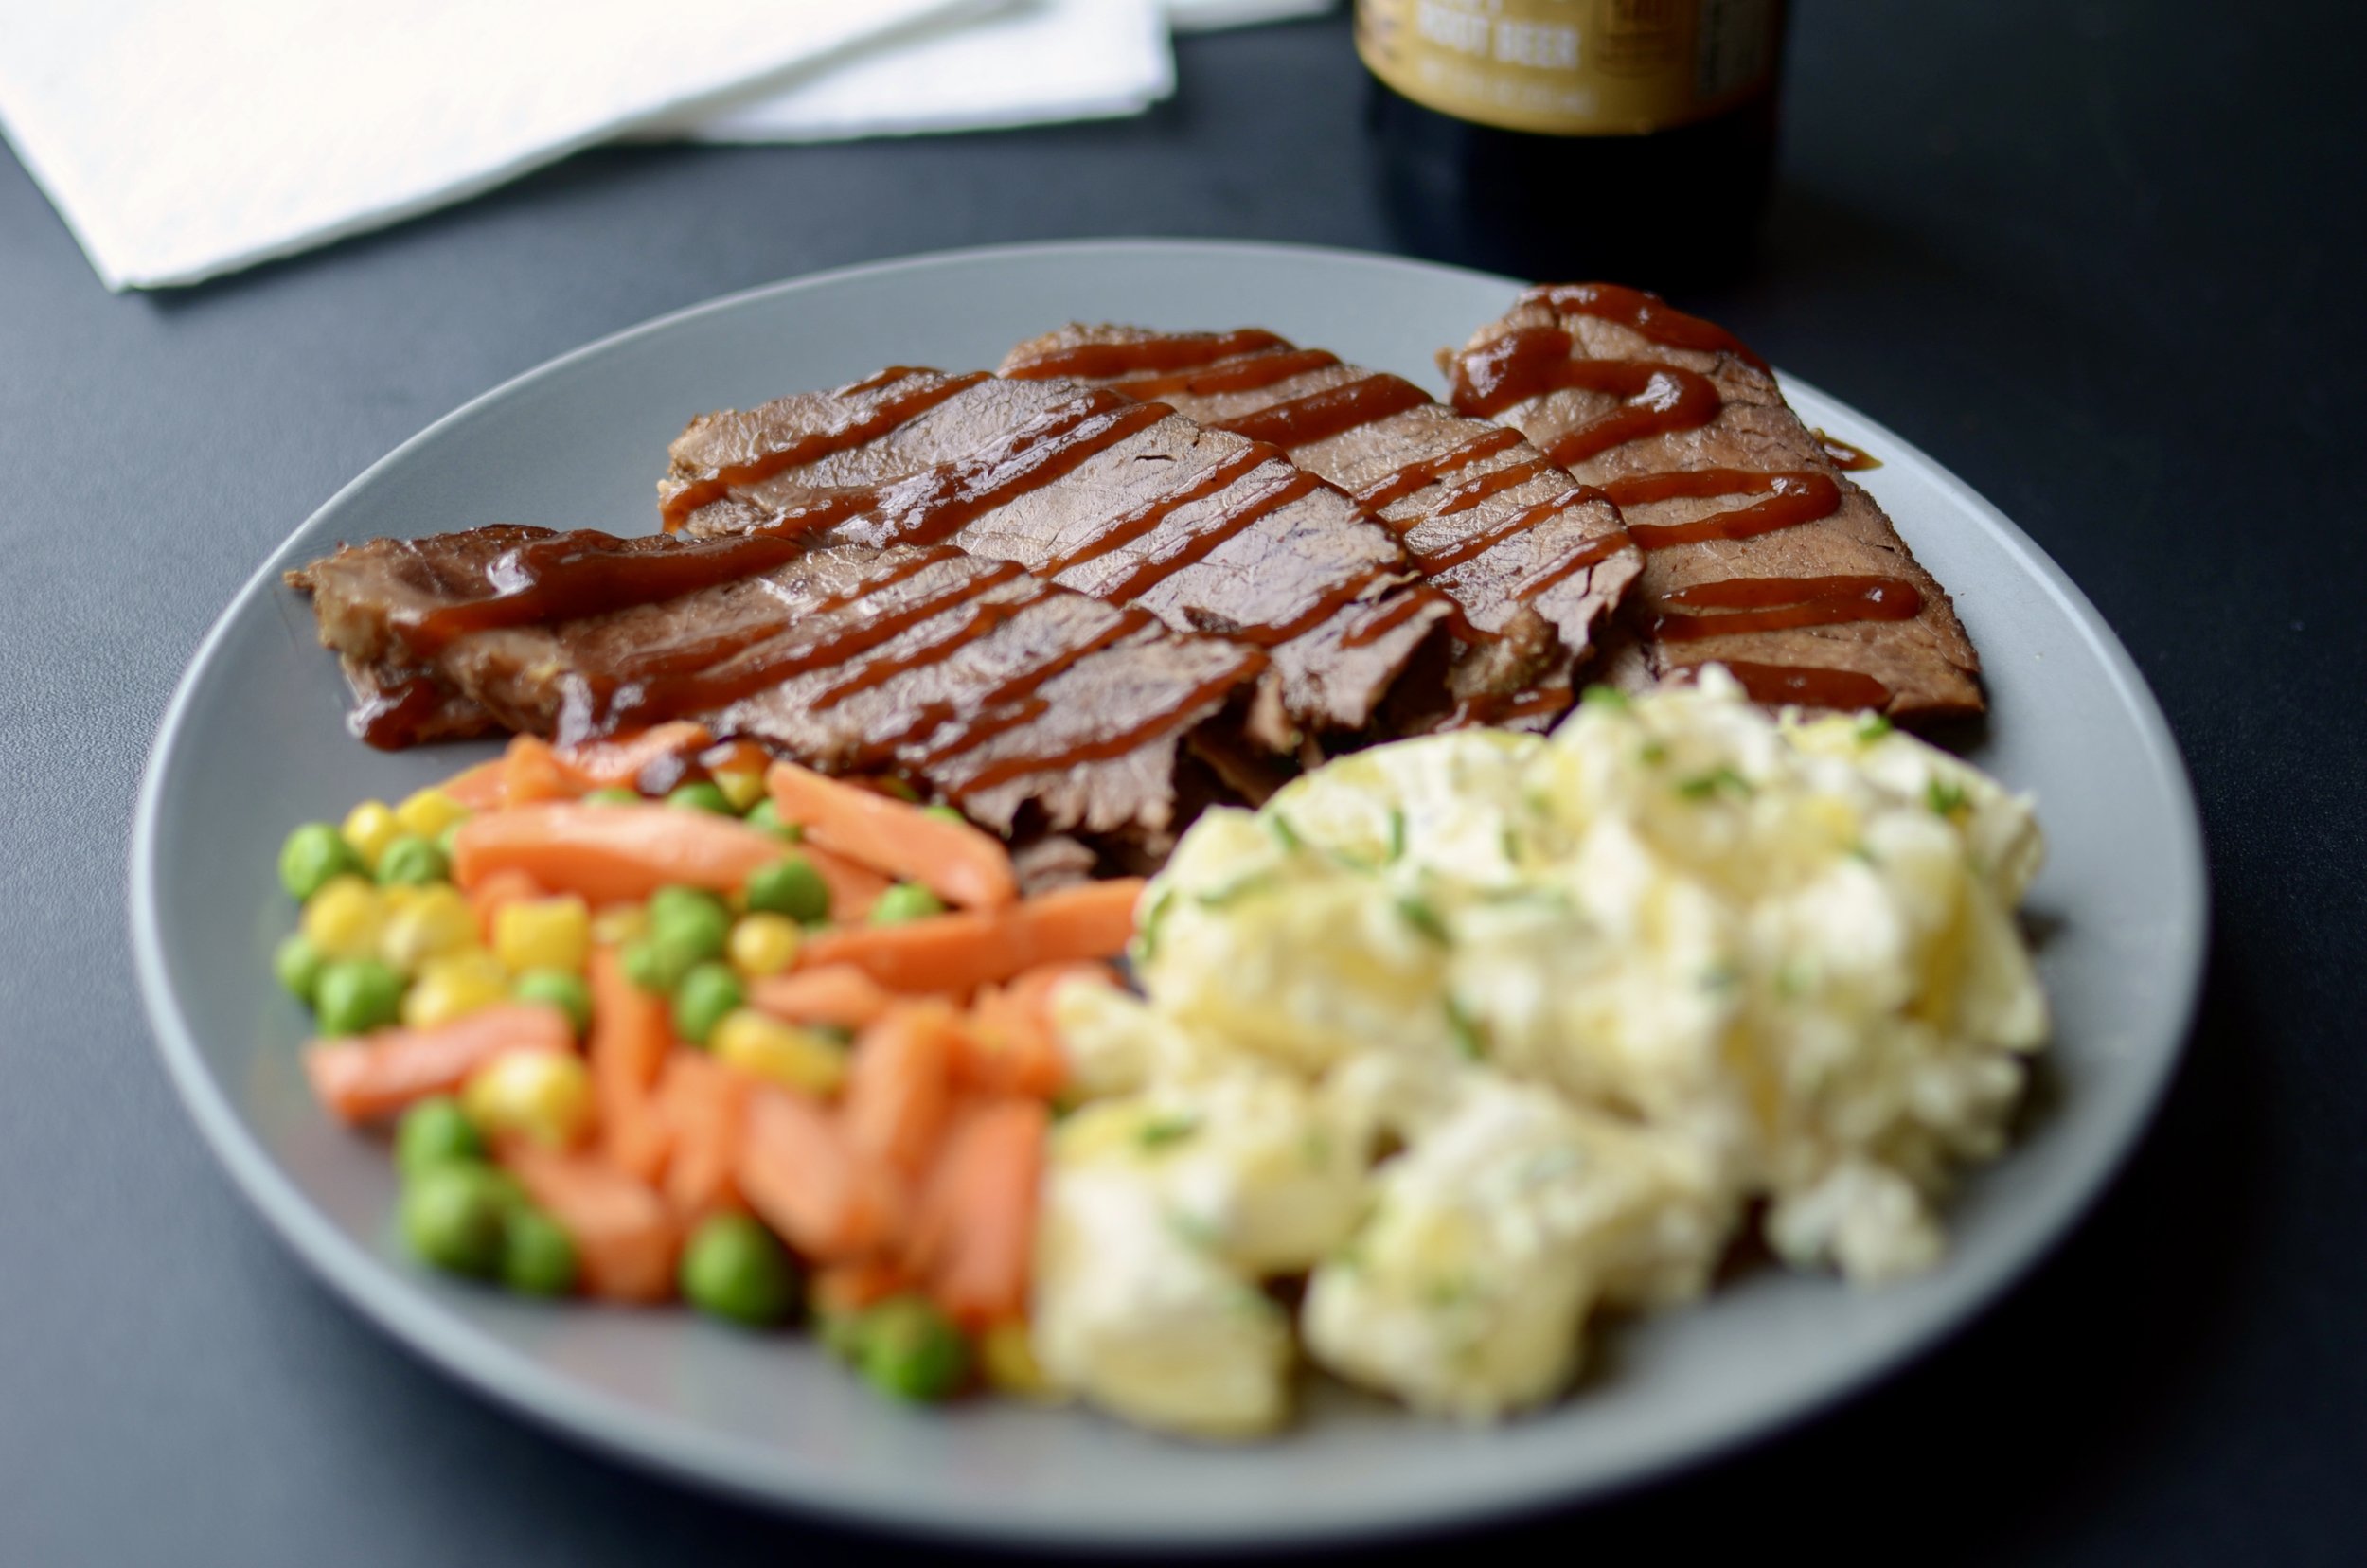
To save room in my freezer, I like to reduce the stock down by simmering it util it’s 1/4 of its original volume. This concentrated stock can be used in its reduced form to make pan sauces, or to use in place of beef stock (1 cup of reduced chicken stock can replace 1 cup beef stock). The reduction can be restored to its original strength by adding 3 cups water to 1 cup reduced stock.
Do not salt stock that you plan to reduce down to a concentrate - it will be way too salty.
