contact us

Use the form on the right to contact us.

You can edit the text in this area, and change where the contact form on the right submits to, by entering edit mode using the modes on the bottom right.


123 Street Avenue, City Town, 99999

(123) 555-6789

email@address.com


You can set your address, phone number, email and site description in the settings tab.
Link to read me page with more information.

Blog

Butteryum food blog recipes

Filtering by Category: cookie and bar recipes

Giant Chocolate Toffee Cookies

Patricia @ ButterYum

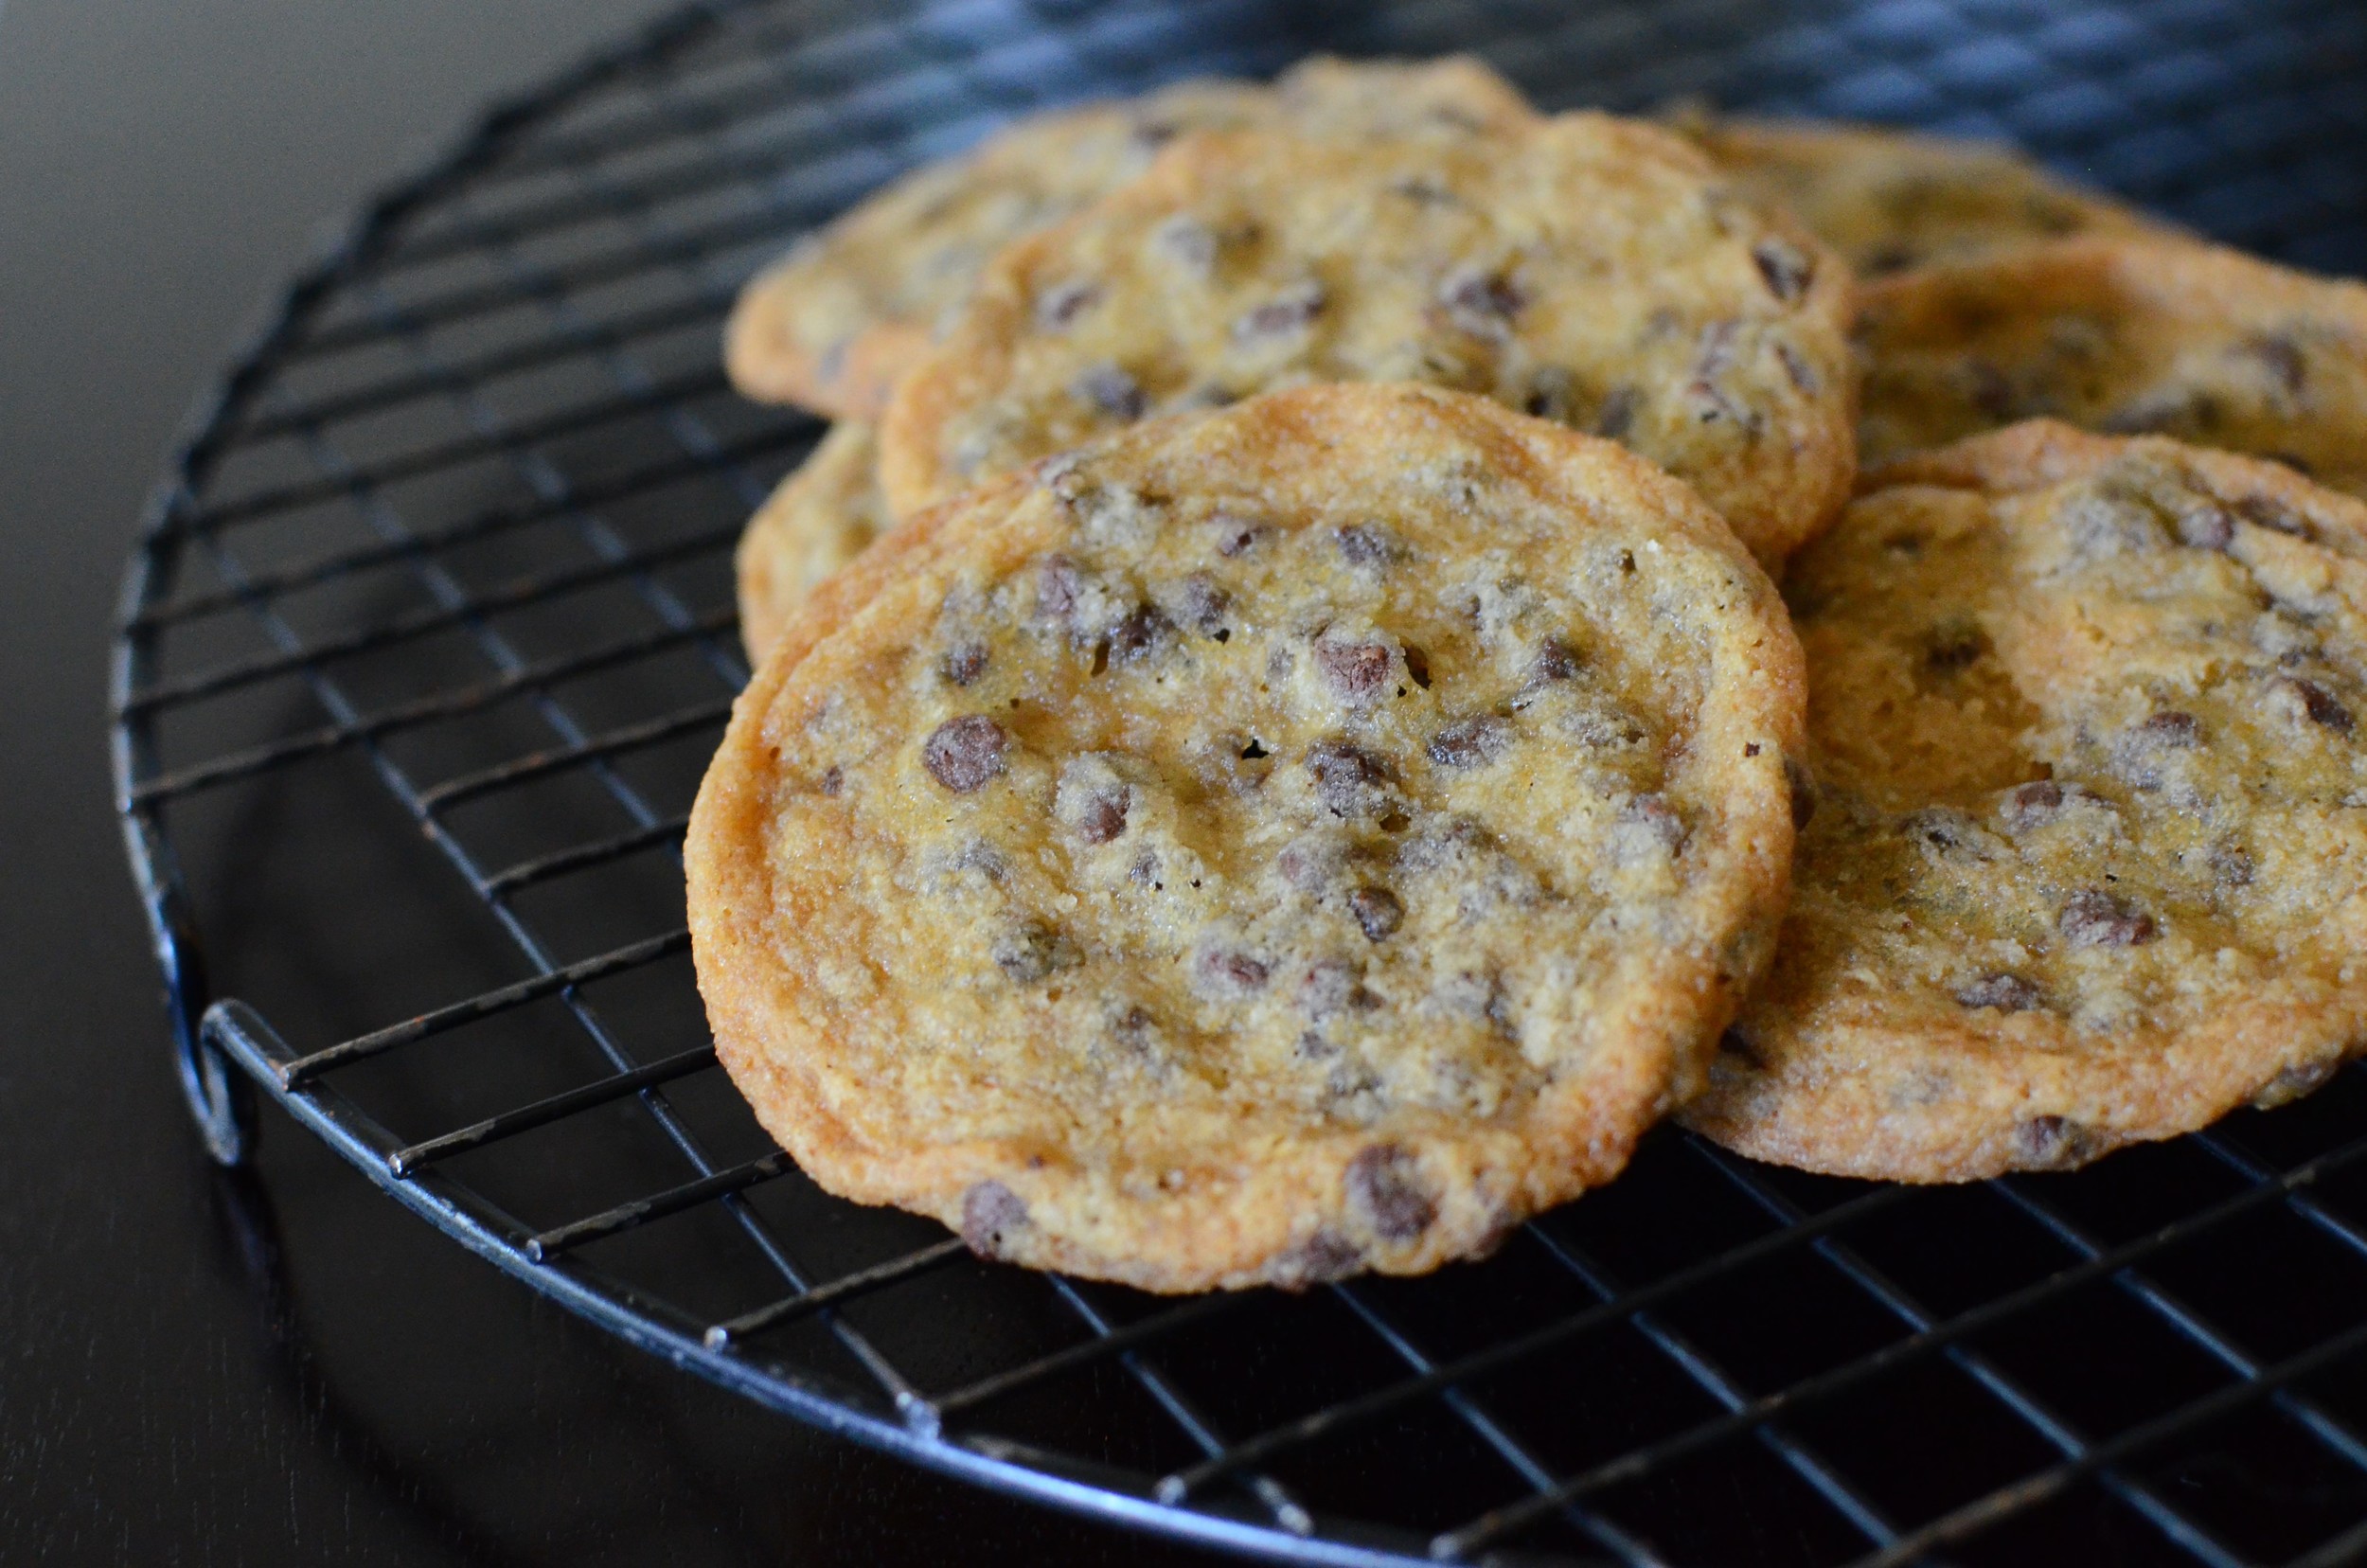
For this month's Secret Recipe Club, I was assigned the blog Bitchin Kitchin by Ellie in NJ.  Ellie is a true foodie and her wonderful blog is full of savory and sweet selections, complete with lots of great photos that walk you through her recipes.  If you get a chance, you must check out her cupcakes (so many tempting flavor combinations). It's been a very hectic month in the ButterYum household, so I chose a simple recipe to share with you today - Giant Chocolate Toffee Cookies.  And yes, Giant is an accurate description as each cookie measure about 4-inches in diameter.  These cookies are a bit unusual - the recipe calls for only 1/2 cup flour, but an entire pound of chocolate, 4 large eggs, and 1 3/4 cup brown sugar.  They bake up big and heavy, but with a meringue-like quality to them - crispy on the outside, soft and chewy on the inside.

My Notes:  The cookie batter is a snap to make, but it has to chill for 45 minutes before baking.  I used a #20 cookie scoop to portion out the dough, which yielded exactly 24 large cookies,  I baked only 6 cookies per sheet pan, chilling the dough between batches.  Much like dipping ice cream, rinsing the scoop with hot water every couple of dips allowed the hard, cold dough to release from the scoop easily.  Plan to use several sheet pans as the cookies need to cool completely before being moved.  Also, I see no reason why you couldn't make them smaller if you wanted to - simply adjust the baking time. These fantastic cookie are even better a day or two after they're baked.
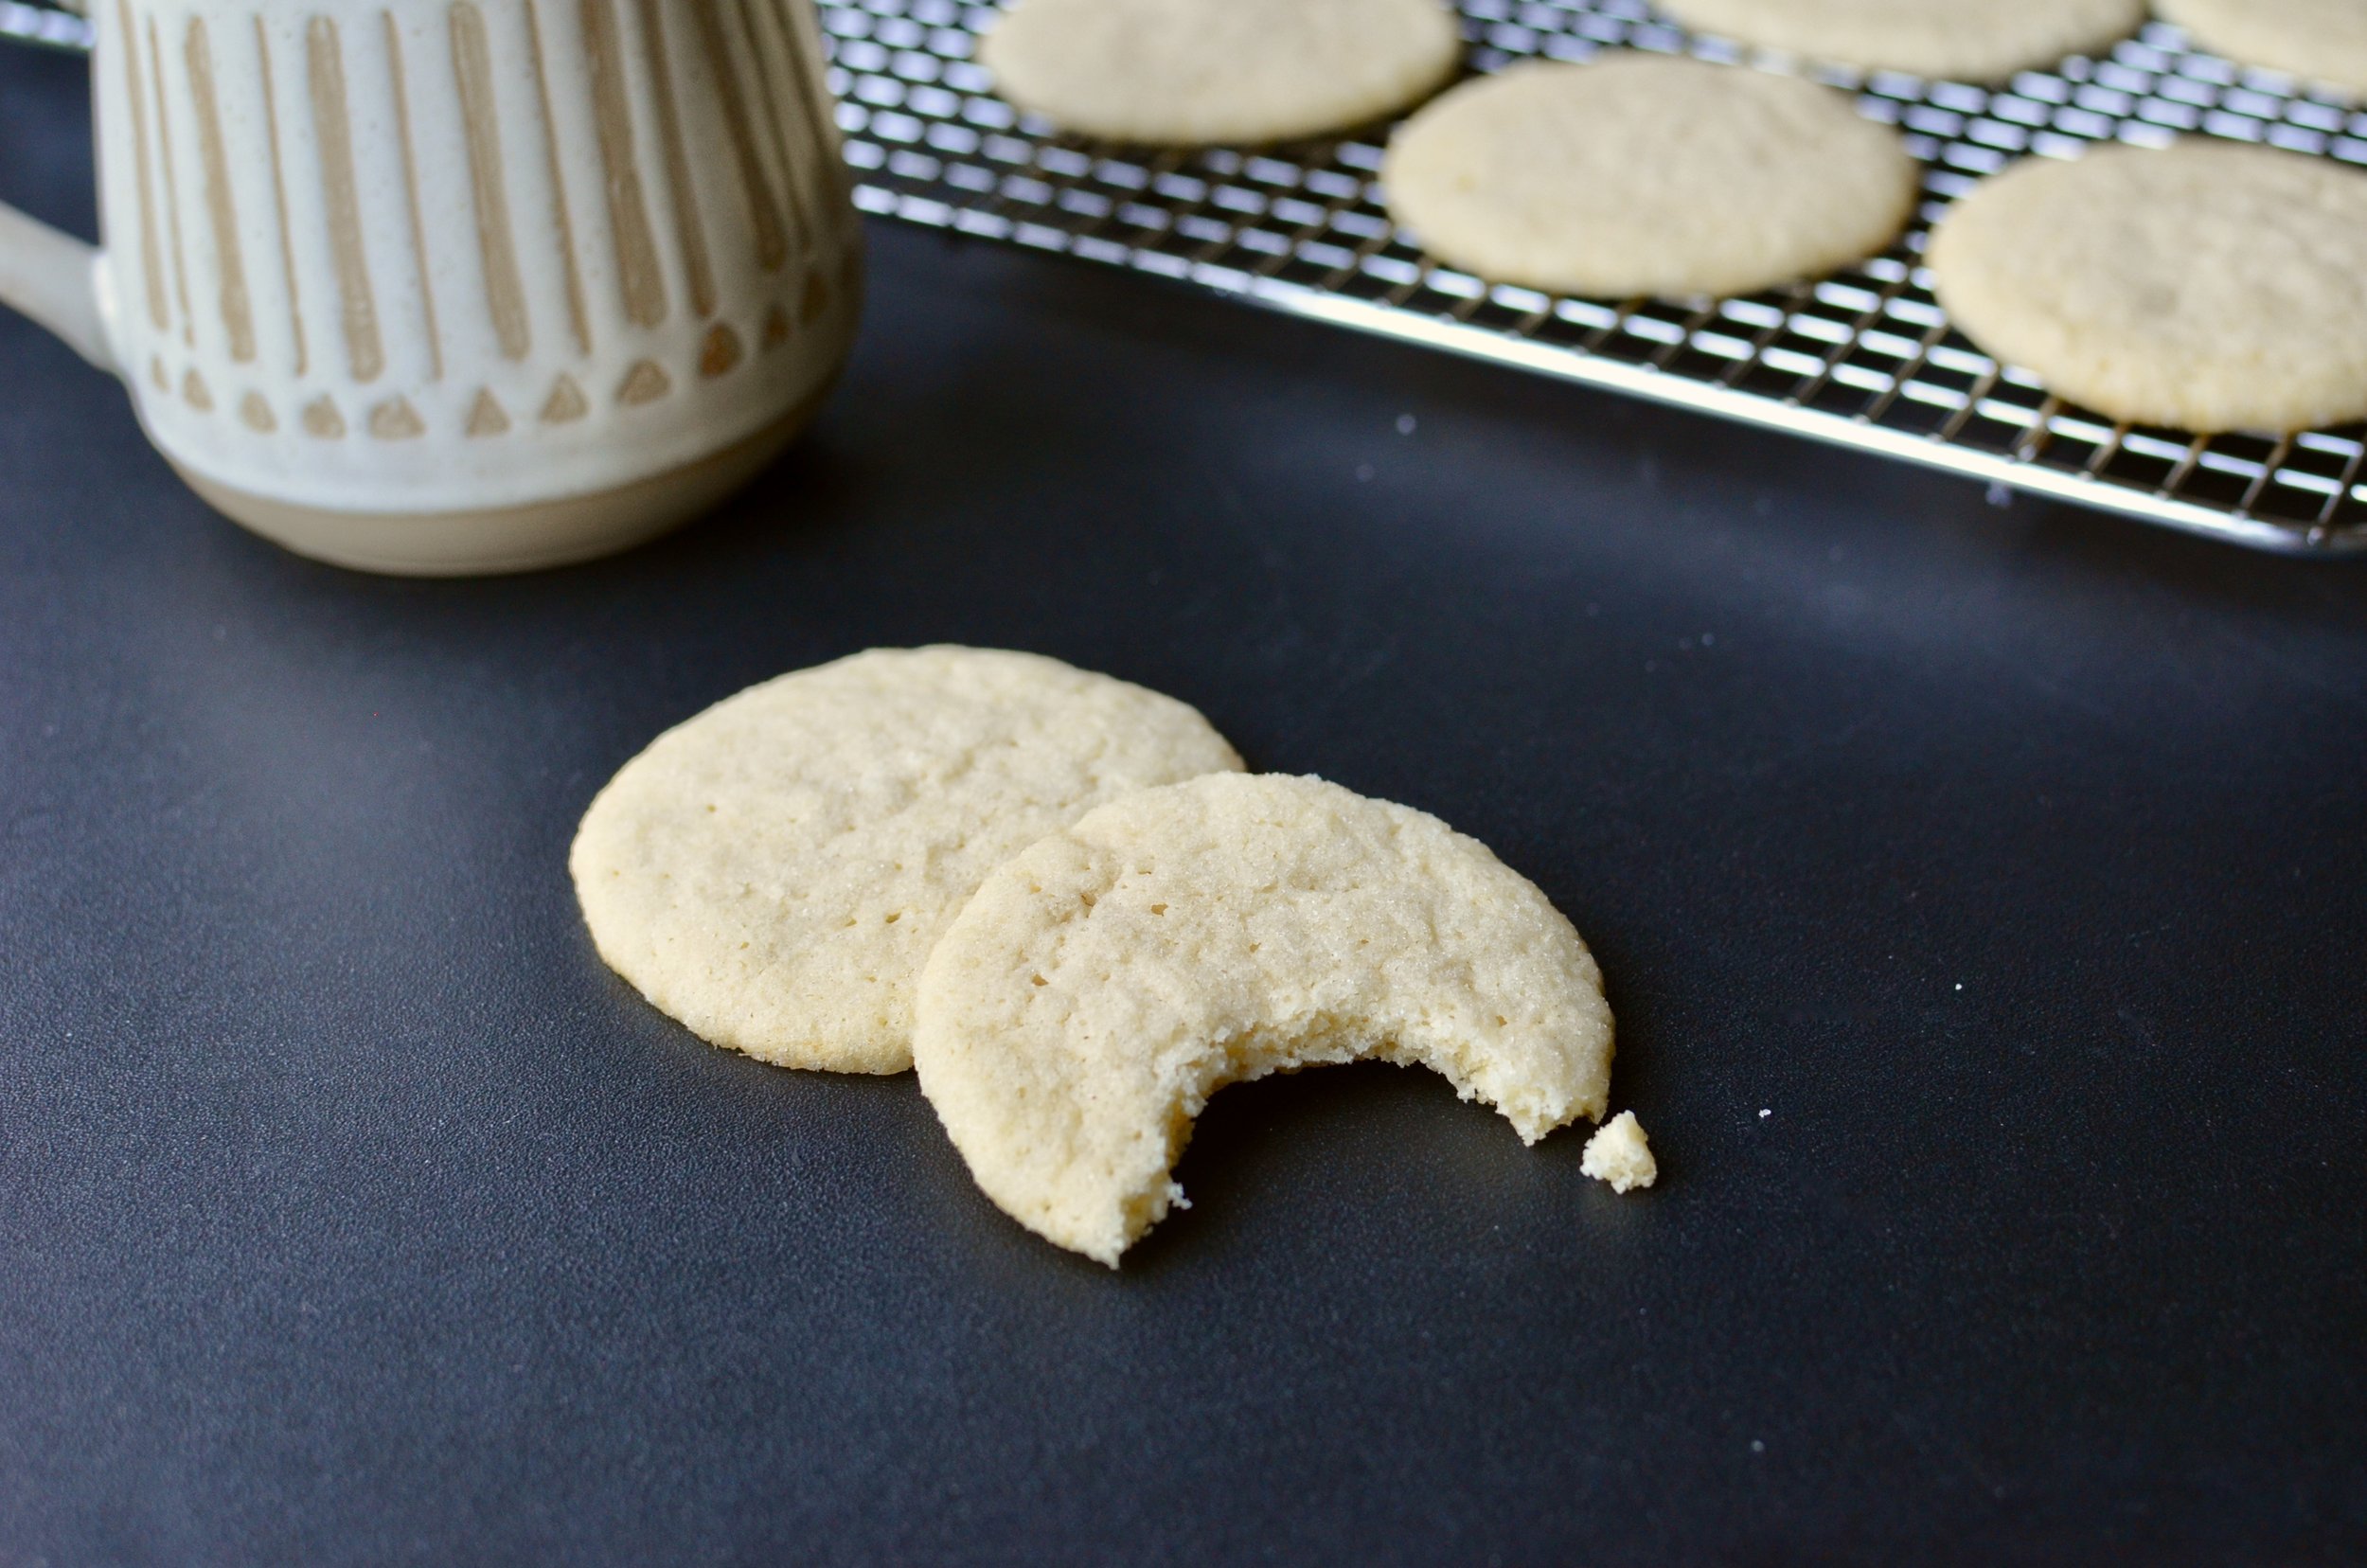
Items used to make this recipe:

(affiliate links)


Giant Chocolate Toffee Cookies

makes 24 cookies (using #20 scoop)

Printable Recipe

Ingredients

  • 1/2 cup all purpose flour

  • 1 teaspoon baking powder

  • 1/4 teaspoon salt

  • 16 ounces bittersweet or semisweet chocolate, chopped

  • 4 tablespoons unsalted butter

  • 1 3/4 cups packed brown sugar

  • 4 large eggs

  • 1 tablespoon pure vanilla extract

  • 7 ounces chocolate covered toffee bits or a whole bar, chopped (Skor, Heath, etc)

  • optional 1 cup walnuts, toasted and chopped (black walnuts would work particularly well here)

Directions

  1. In a small bowl, whisk together flour, salt, and baking powder; set aside.

  2. In a double boiler over medium heat, slowly melt the chocolate and butter together until smooth; set aside and cool until lukewarm.

  3. Beat sugar and eggs together for about 5 minutes until thick (I used my stand mixer with the whisk attachment).

  4. Slowly add the melted chocolate and vanilla extract.

  5. Next add the flour mixture, followed by the chopped toffee candy and nuts.

  6. Cover bowl with plastic and chill for 45 minutes.

  7. Preheat oven to 350F.

  8. Use a #20 scoop to portion cookie dough, 2 1/2-inches apart onto half sheet pans lined with parchment or silicone (6 cookies per sheet pan).

  9. Bake for 15 minutes; cool completely before removing.

  10. Store cookies in an airtight container at room temperature.

Chocolate and Vanilla Linzer Hearts

Patricia @ ButterYum

About 6 weeks ago I shared a recipe for Two-Tone Ganache Filled Snowflake Cookies that was so yummy, my family hasn't stopped talking about them.  So I thought I'd expand a bit on the recipe to make Linzer-like heart cookies for Valentine's Day, filled with my homemade Strawberry Jam.   

Note - the recipe makes half vanilla and half chocolate cookie dough.  Since the vanilla dough spreads more during baking, I suggest you use it to make the bottom halves of these cookies.    

 Check out this set of nesting heart cutters I found.

I rolled my cookie dough between layers of waxed paper.  I chose to use wax paper because flour would discolor the surface of the chocolate dough.  You can see the wax paper left a few wrinkles on the surface of the dough, but they disappeared in the oven. 

To prevent the cookie shapes from distorting when being moved, I slide the wax paper/cookie dough onto a half sheet pan, cut the shapes on the pan, and pop the whole thing into the fridge so the dough can firm up.  Once chilled, I pop the individual shapes out of the sheet of dough and place them on a separate sheet pan to be baked.
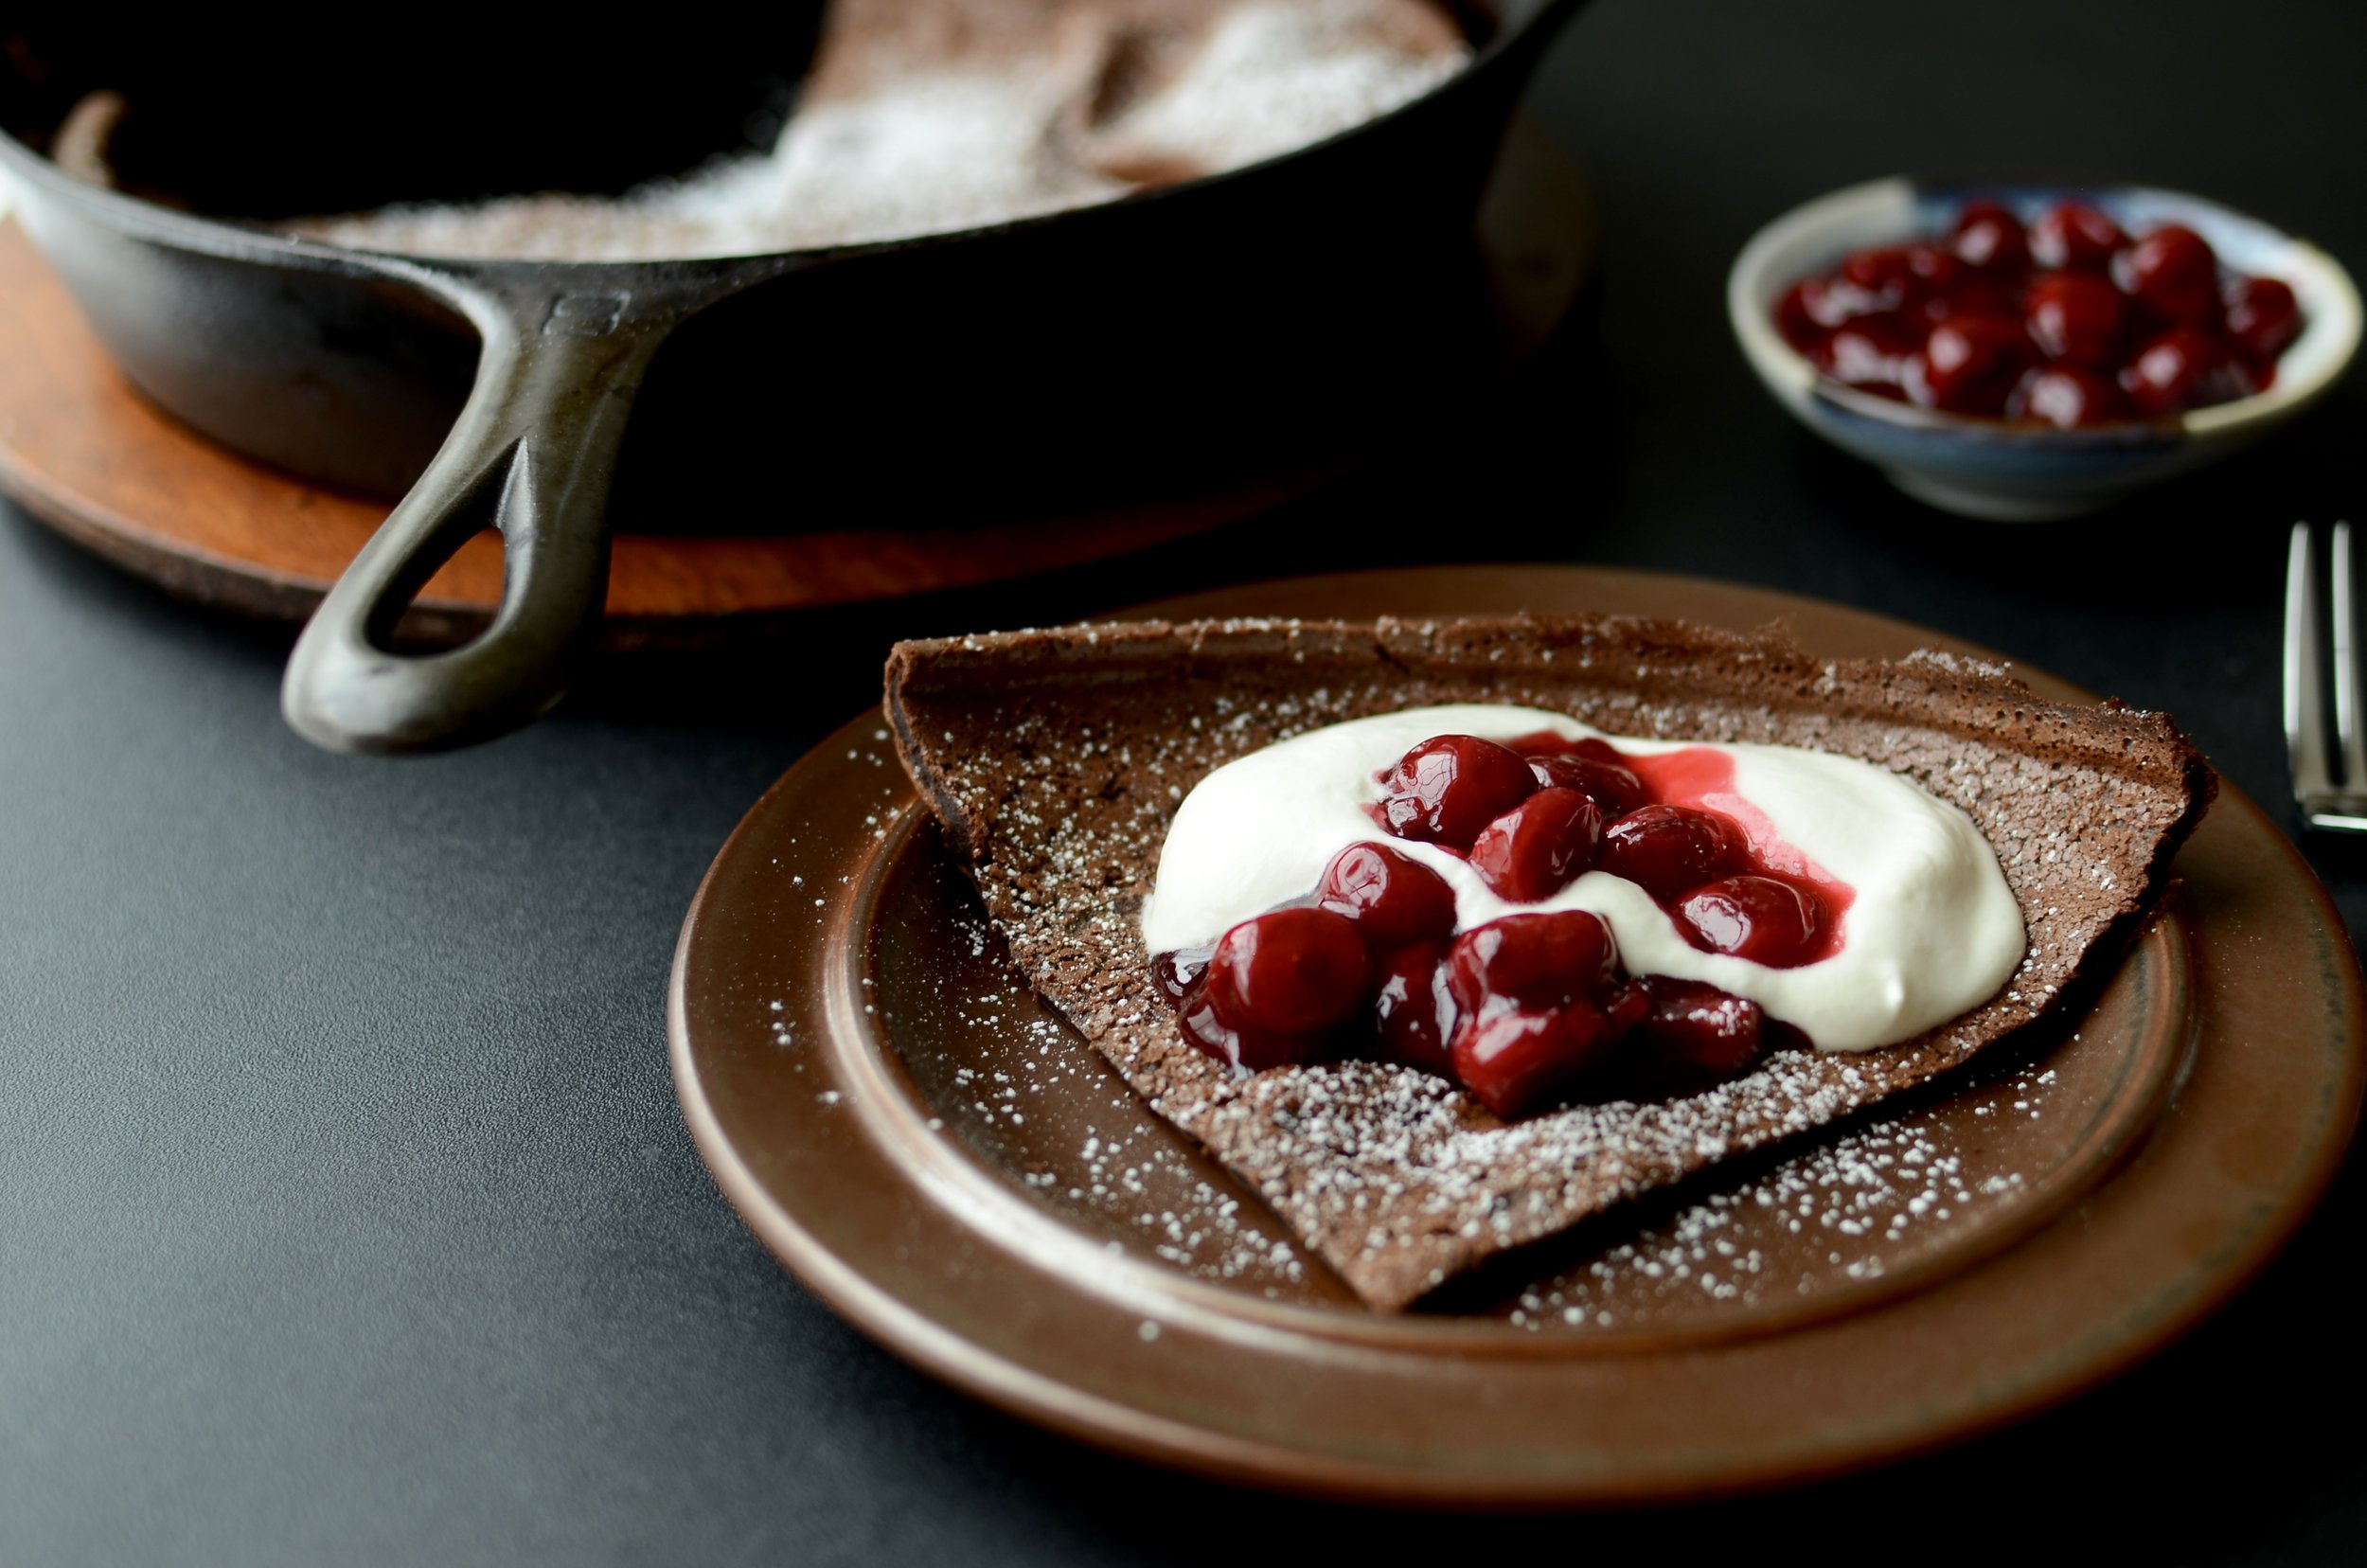

Here's one of the baked shapes - see all those raggedy edges?  Those little suckers might not bother you, but they sure do bother me...

So I use a toothpick to file them away - I just run it along the raggedy edges and Voila - all gone!

Yes, I know - Baking OCD, but look how the edges are all nice and smooth now.

I'm just saying.

Items used to make this recipe:

(affiliate links)


Chocolate and Vanilla Linzer Heart Cookies

makes approximately 30-40 cookies

Printable Recipe

Ingredients

Ganache:

  • 1/2 cup dark chocolate, chopped

  • 1/2 cup heavy cream

Cookie Dough:

  • 1 cup butter, softened

  • 1 cup granulated sugar

  • 1 teaspoon baking powder

  • 1/4 teaspoon salt

  • 1 large egg

  • 1 teaspoon pure vanilla extract

  • 2 1/4 cups all-purpose flour

  • 1/4 cup unsweetened cocoa powder, sifted (added to only one half of the dough - see directions below)

Filling:

  • 1/4 cup heavy cream

  • 2 ounces high quality semi-sweet chocolate, chopped

Garnish:

  • powdered sugar

  • strawberry or raspberry jam

Directions

To make the ganache:: 

  1. Gently heat the cream and chocolate together; stirring until completely smooth and combined. Cover with a clean kitchen towel and chill for 30 minutes (do not cover with plastic wrap, which can allow condensation to drip into the ganache and seize the chocolate). Alternatively, you can make the ganache several hours in advance and let it sit at room temperature until it thickens to a piping consistency.

To make the cookie dough:

  1. In the bowl of a stand mixer fitted with the blade attachment, beat the butter on medium high speed for 30 seconds. Add sugar, baking powder, and salt; beat until combined, scraping bowl as needed. Add egg and vanilla; beat to combine. Add flour until incorporated. Divide dough into two portions; adding sifted cocoa powder to one portion. Wrap each portion with plastic wrap and chill for 1-3 hours.

  2. Preheat oven to 375F. Roll the vanilla dough to 1/8-inch thickness on a lightly floured surface (or between two layers waxed paper). Cut out the bottom cookies out of the vanilla dough using a heart-shaped cutter. Chill dough on waxed paper until firm before transferring cutouts to ungreased cookie sheet; spacing 2-inches apart. Bake for 8 minutes or until edges are set; cool completely on a cooling rack. Repeat the process with the chocolate dough, but this time cut a small shape from the center of each cookie. Chill and bake as directed above. When the cookies are completed cool, sprinkle only the chocolate ones with powdered sugar (I left the smaller chocolate shapes unadorned).

To assemble cookies:

  1. Place the vanilla cookies upside down on your work surface. Pipe a ganache "dam" on the bottom cookies (place the dam so it will be be hidden when the chocolate cookie tops are added). The ganache dam will keep the jam from oozing out of the assembled cookies (and it tastes really, really delicious!). Spoon about a teaspoon of jam inside the ganache dam; top each of the bottom cookies with a powder sugar dusted chocolate cookie. Cookies may be assembled up to a day ahead.

Notes

  • The dough can be made 2-3 days ahead (be sure to wrap each flavor individually and chill in an airtight container). 

  • Alternately, cookies can be baked ahead of time - place unfilled cookies in an airtight container between layers of waxed paper - store at room temperature for 3 days or frozen for up to 3 months.  Thaw before assembling.