contact us

Use the form on the right to contact us.

You can edit the text in this area, and change where the contact form on the right submits to, by entering edit mode using the modes on the bottom right.


123 Street Avenue, City Town, 99999

(123) 555-6789

email@address.com


You can set your address, phone number, email and site description in the settings tab.
Link to read me page with more information.

Blog

Butteryum food blog recipes

Filtering by Category: dinner recipes

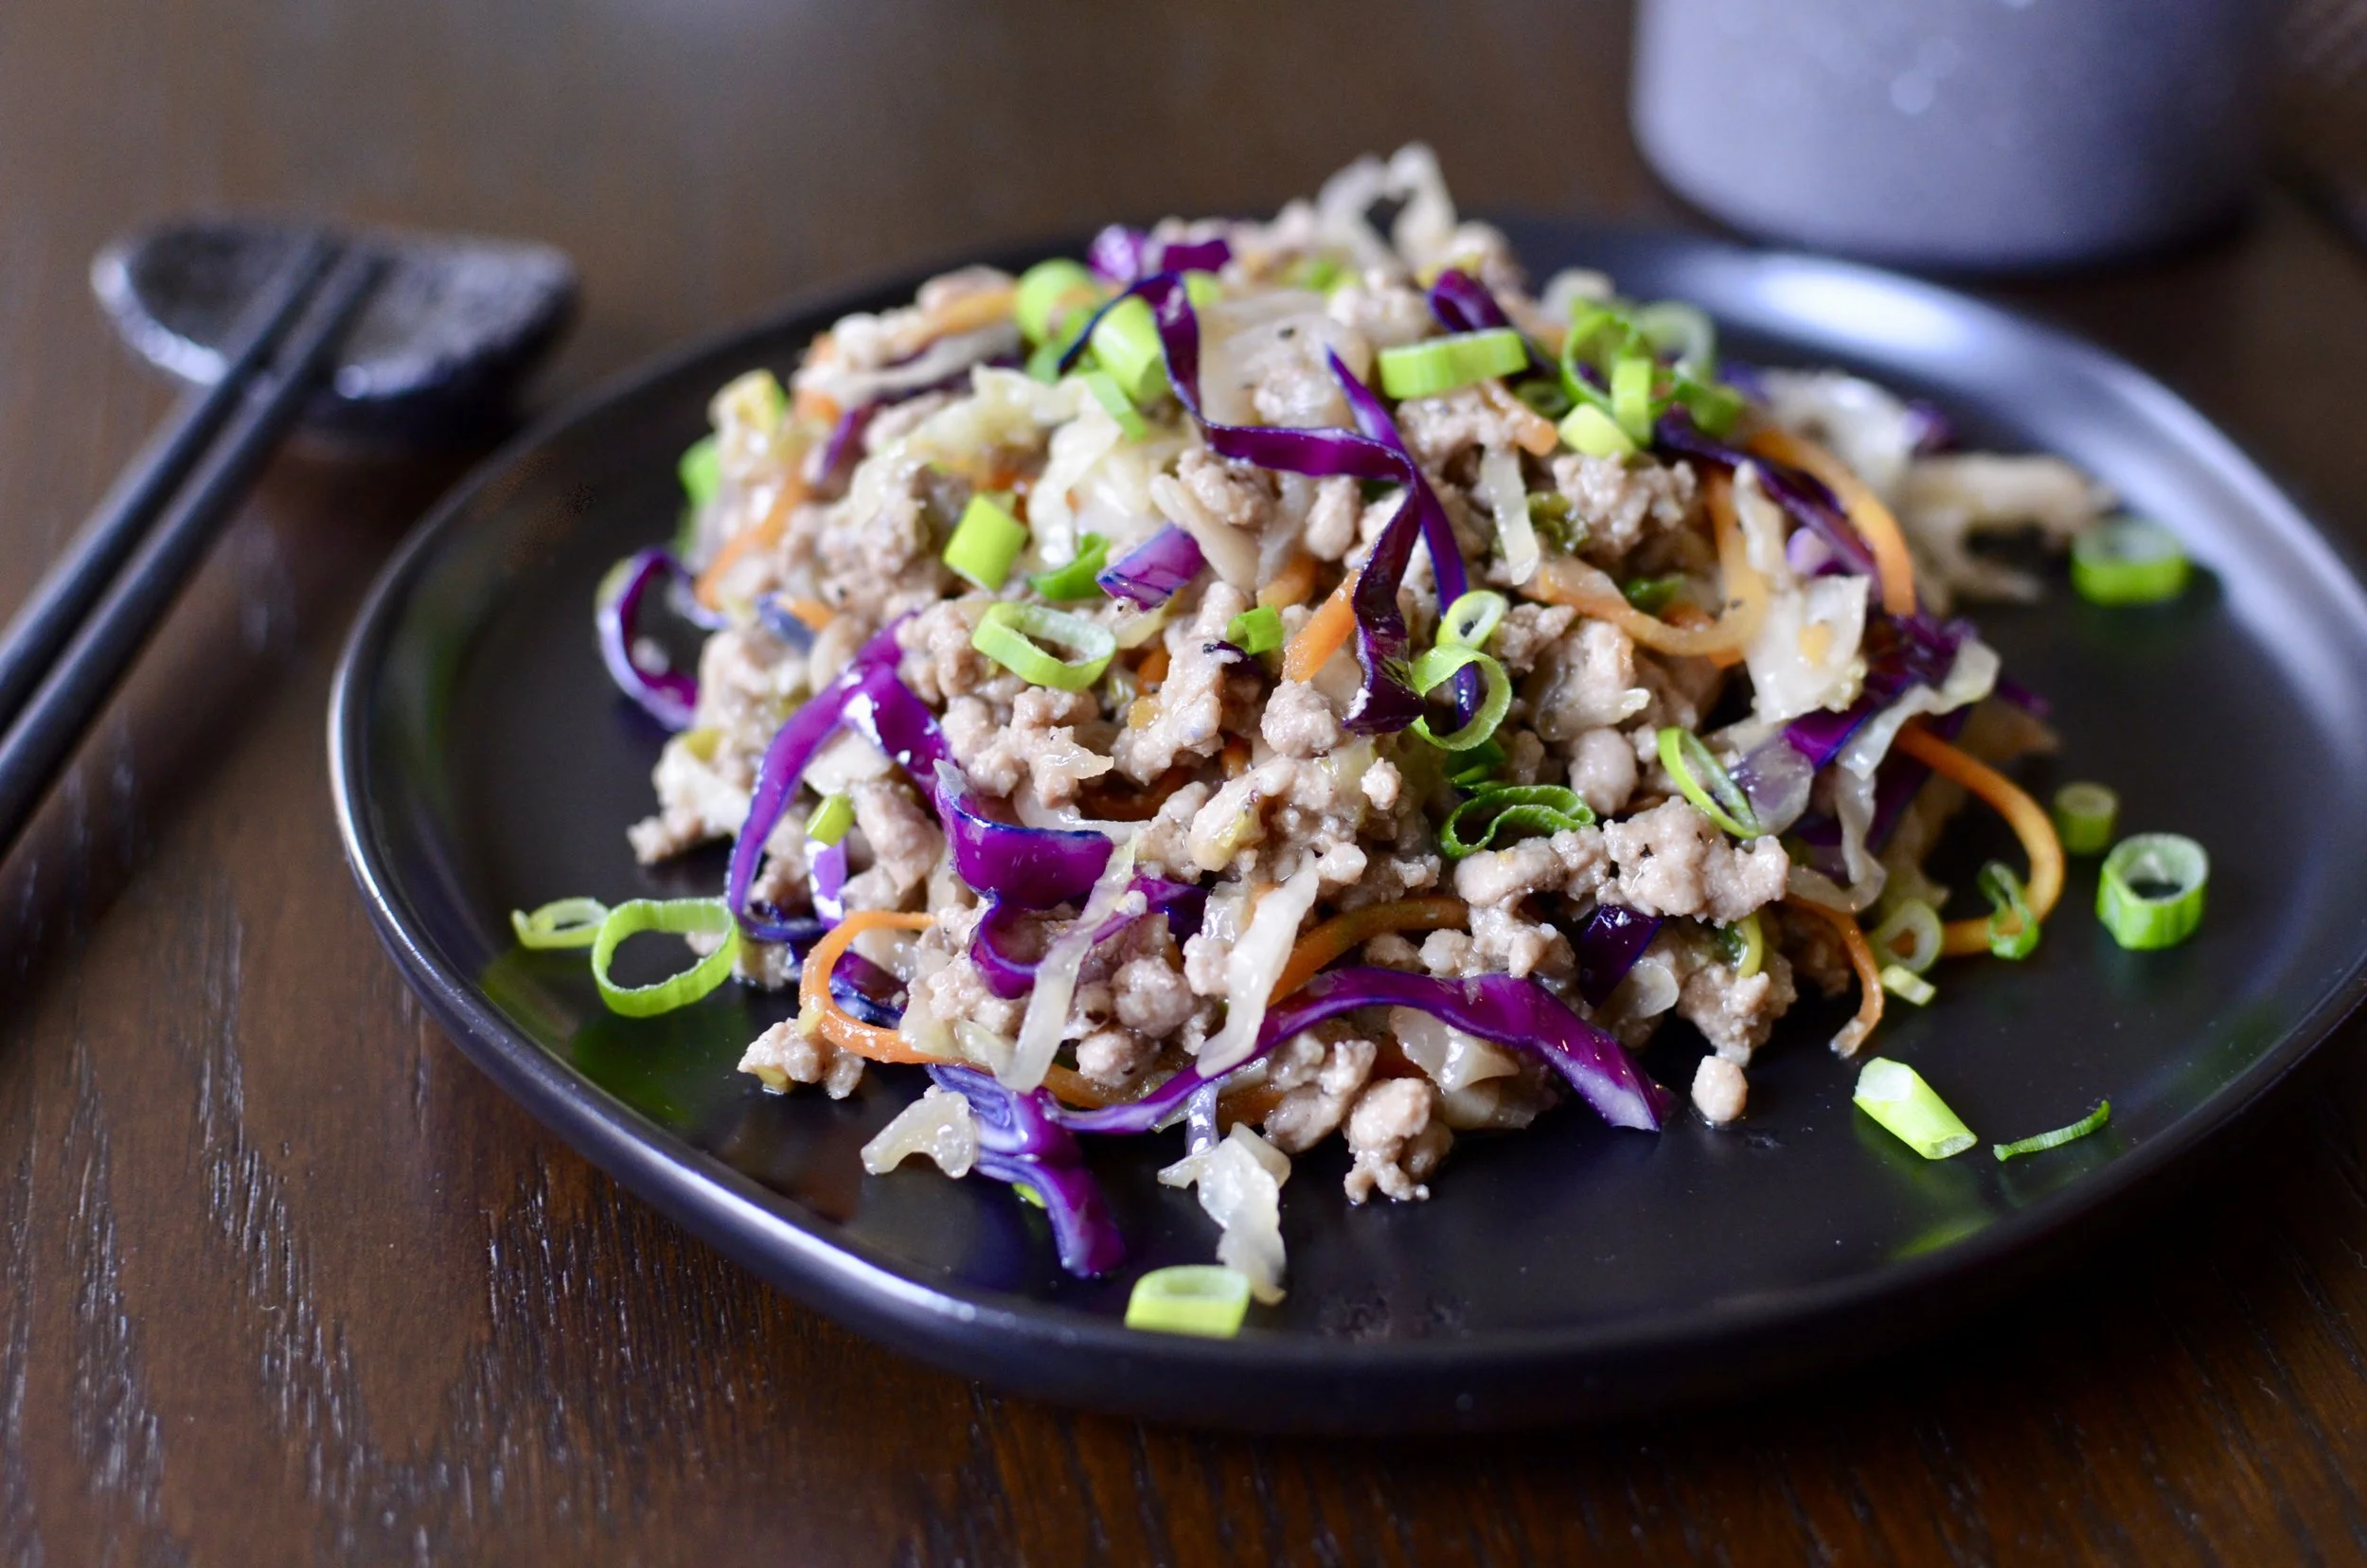
Egg Roll in a Bowl

Patricia @ ButterYum

Egg Roll in a Bowl Recipe - ButterYum. Eggroll bowl - ButterYum

I love, love, love egg rolls, but I don’t love how high in carbs they are. Thankfully I can still enjoy all the flavor without all the guilt, and it comes together in a matter of minutes.

Start by heating toasted sesame oil in a 12-inch or larger skillet.

DSC_8802.JPG

Slice a bunch of scallions and separate the light green parts from the dark green parts.

Add the light green parts to the skillet and sauté for a minute or two over medium-high heat.

Add minced garlic and ginger…

DSC_8809.JPG

Saute for another minute or so, stirring constantly. Be sure ti doesn’t burn.

DSC_8811.JPG

Add ground pork. Ground beef, turkey, or chicken can be substituted, but pork is traditional.

Cook, stirring and crumbling, until no pink remains.

DSC_8814.JPG

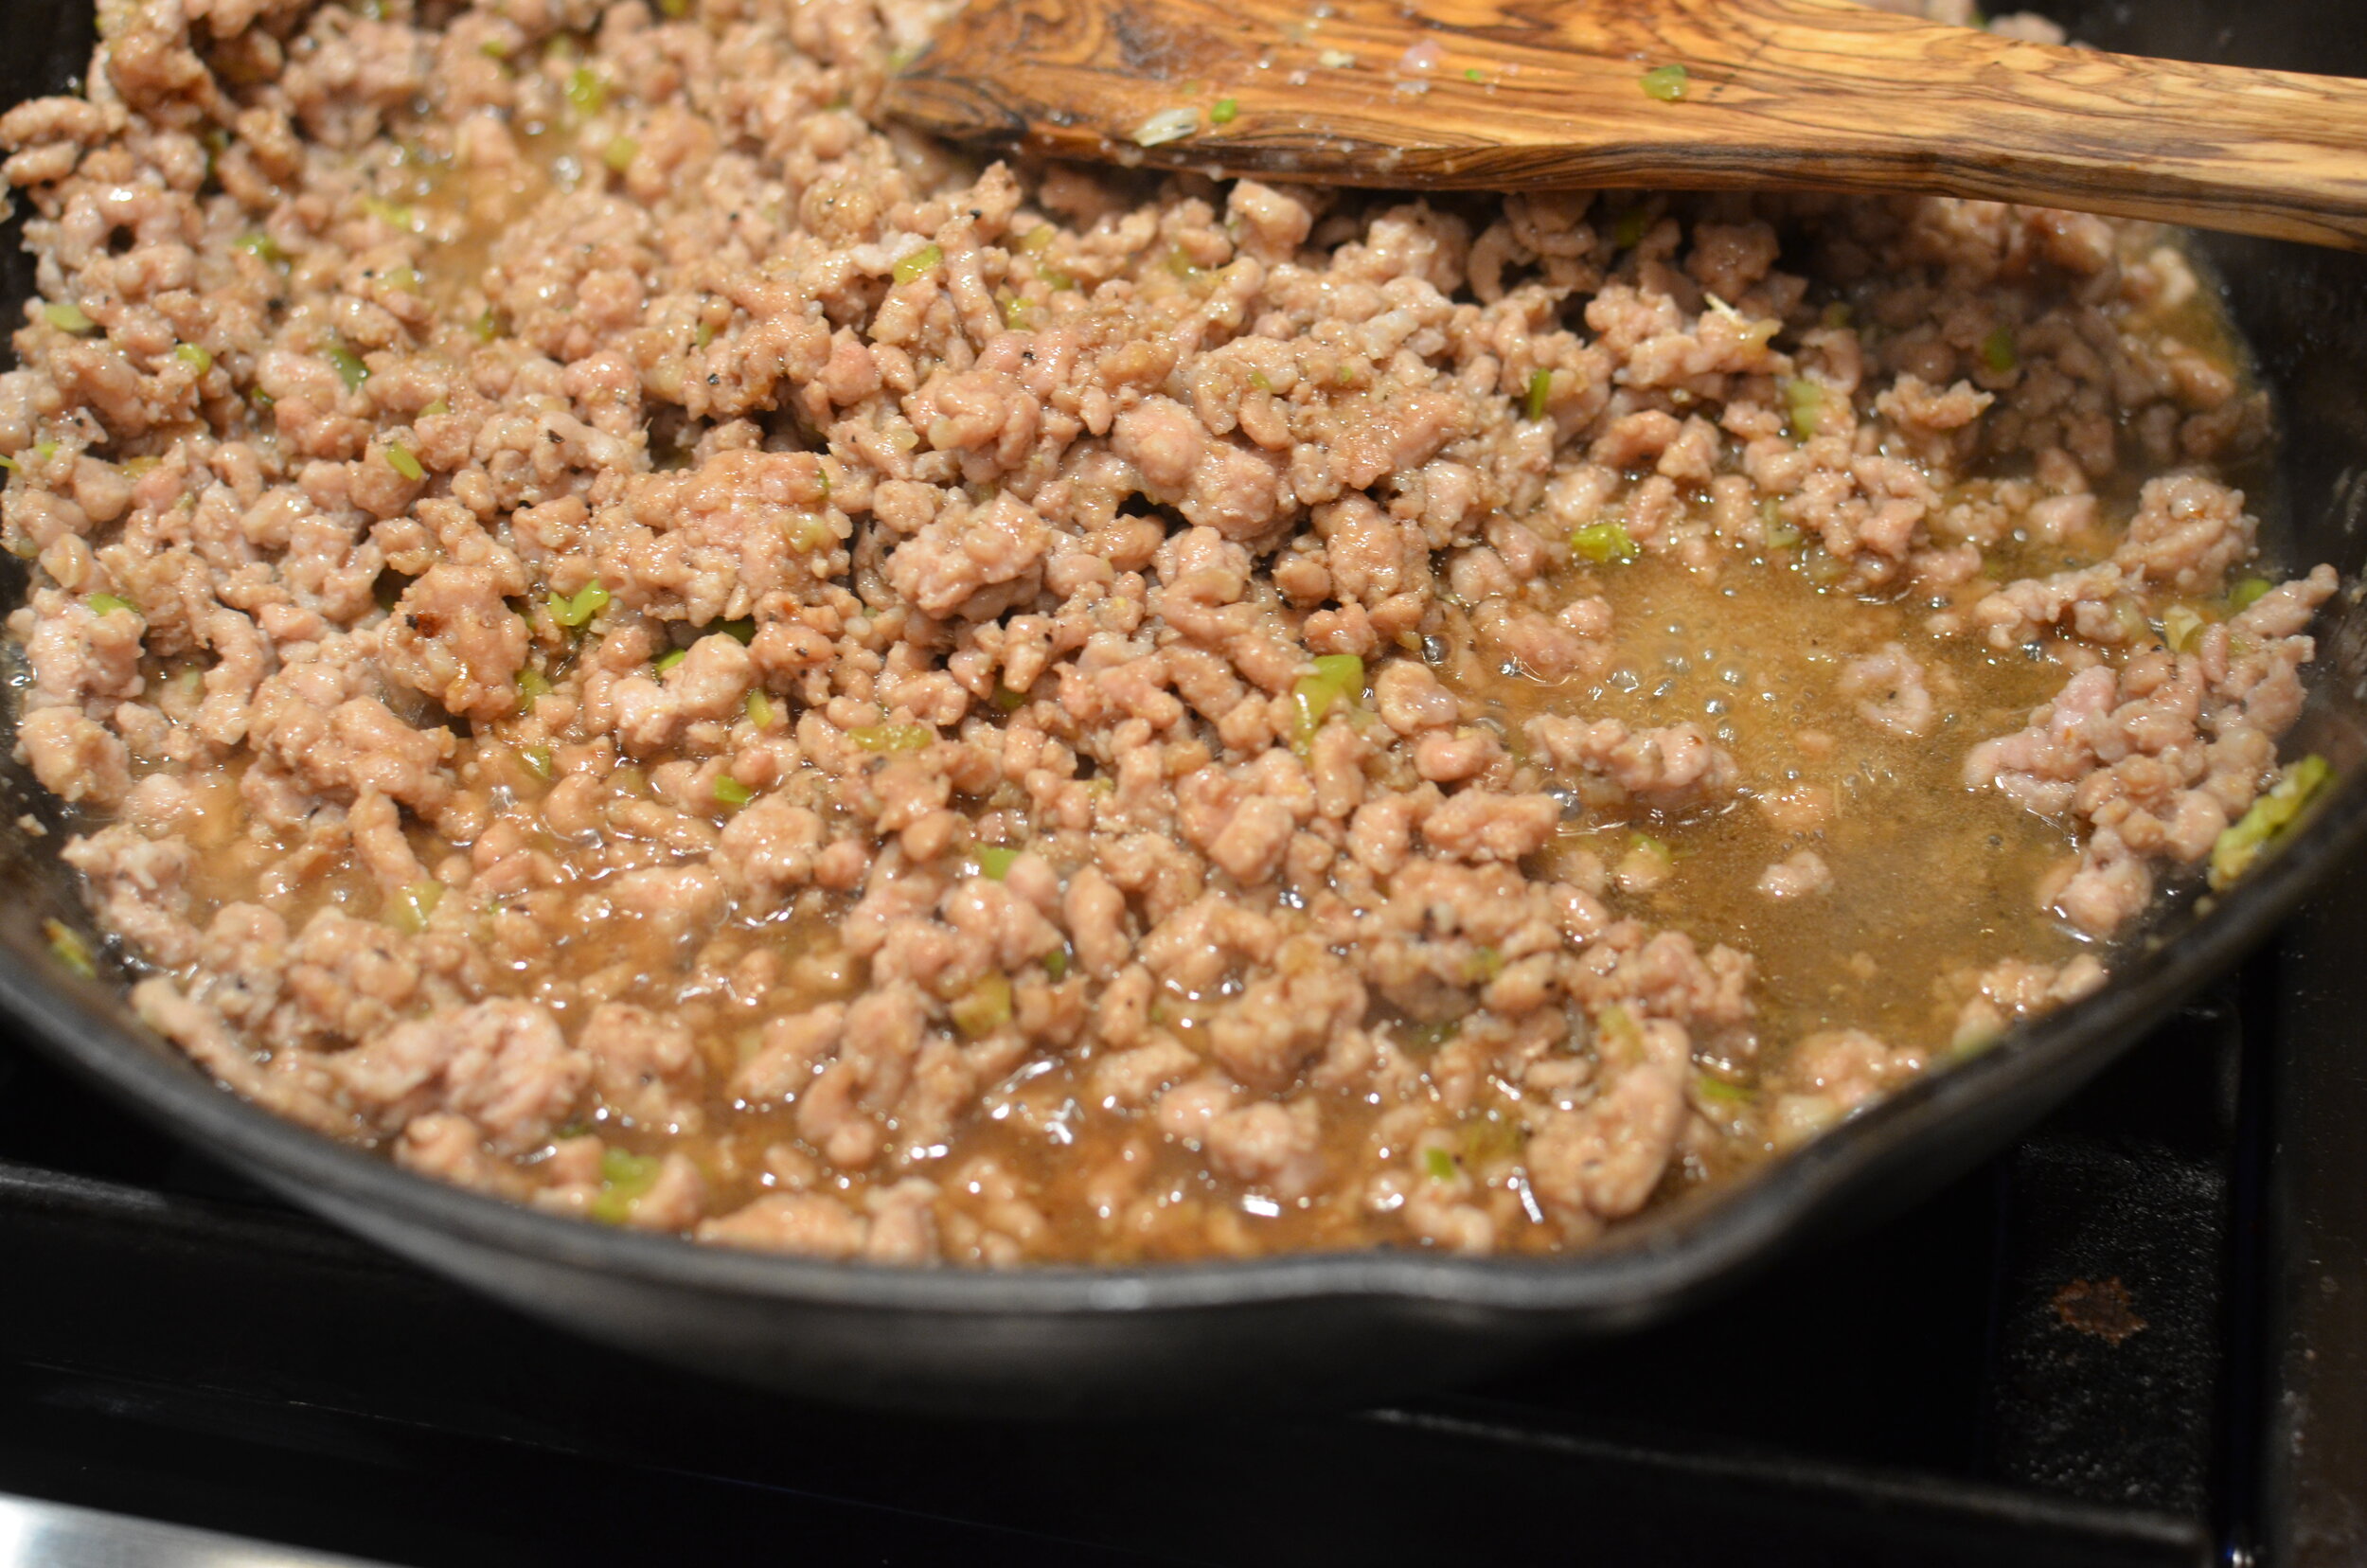
Add a few more ingredients = more sesame oil, rice vinegar, and liquid aminos. Liquid aminos are a gluten-free, low-sodium seasoning similar to soy sauce. You can substitute low-sodium soy if you don’t have liquid aminos.

DSC_8819.JPG

The addition of the sesame oil, rice vinegar, and liquid aminos (or low-sodium soy) will make a sauce in the skillet.

fullsizeoutput_3bc3.jpeg

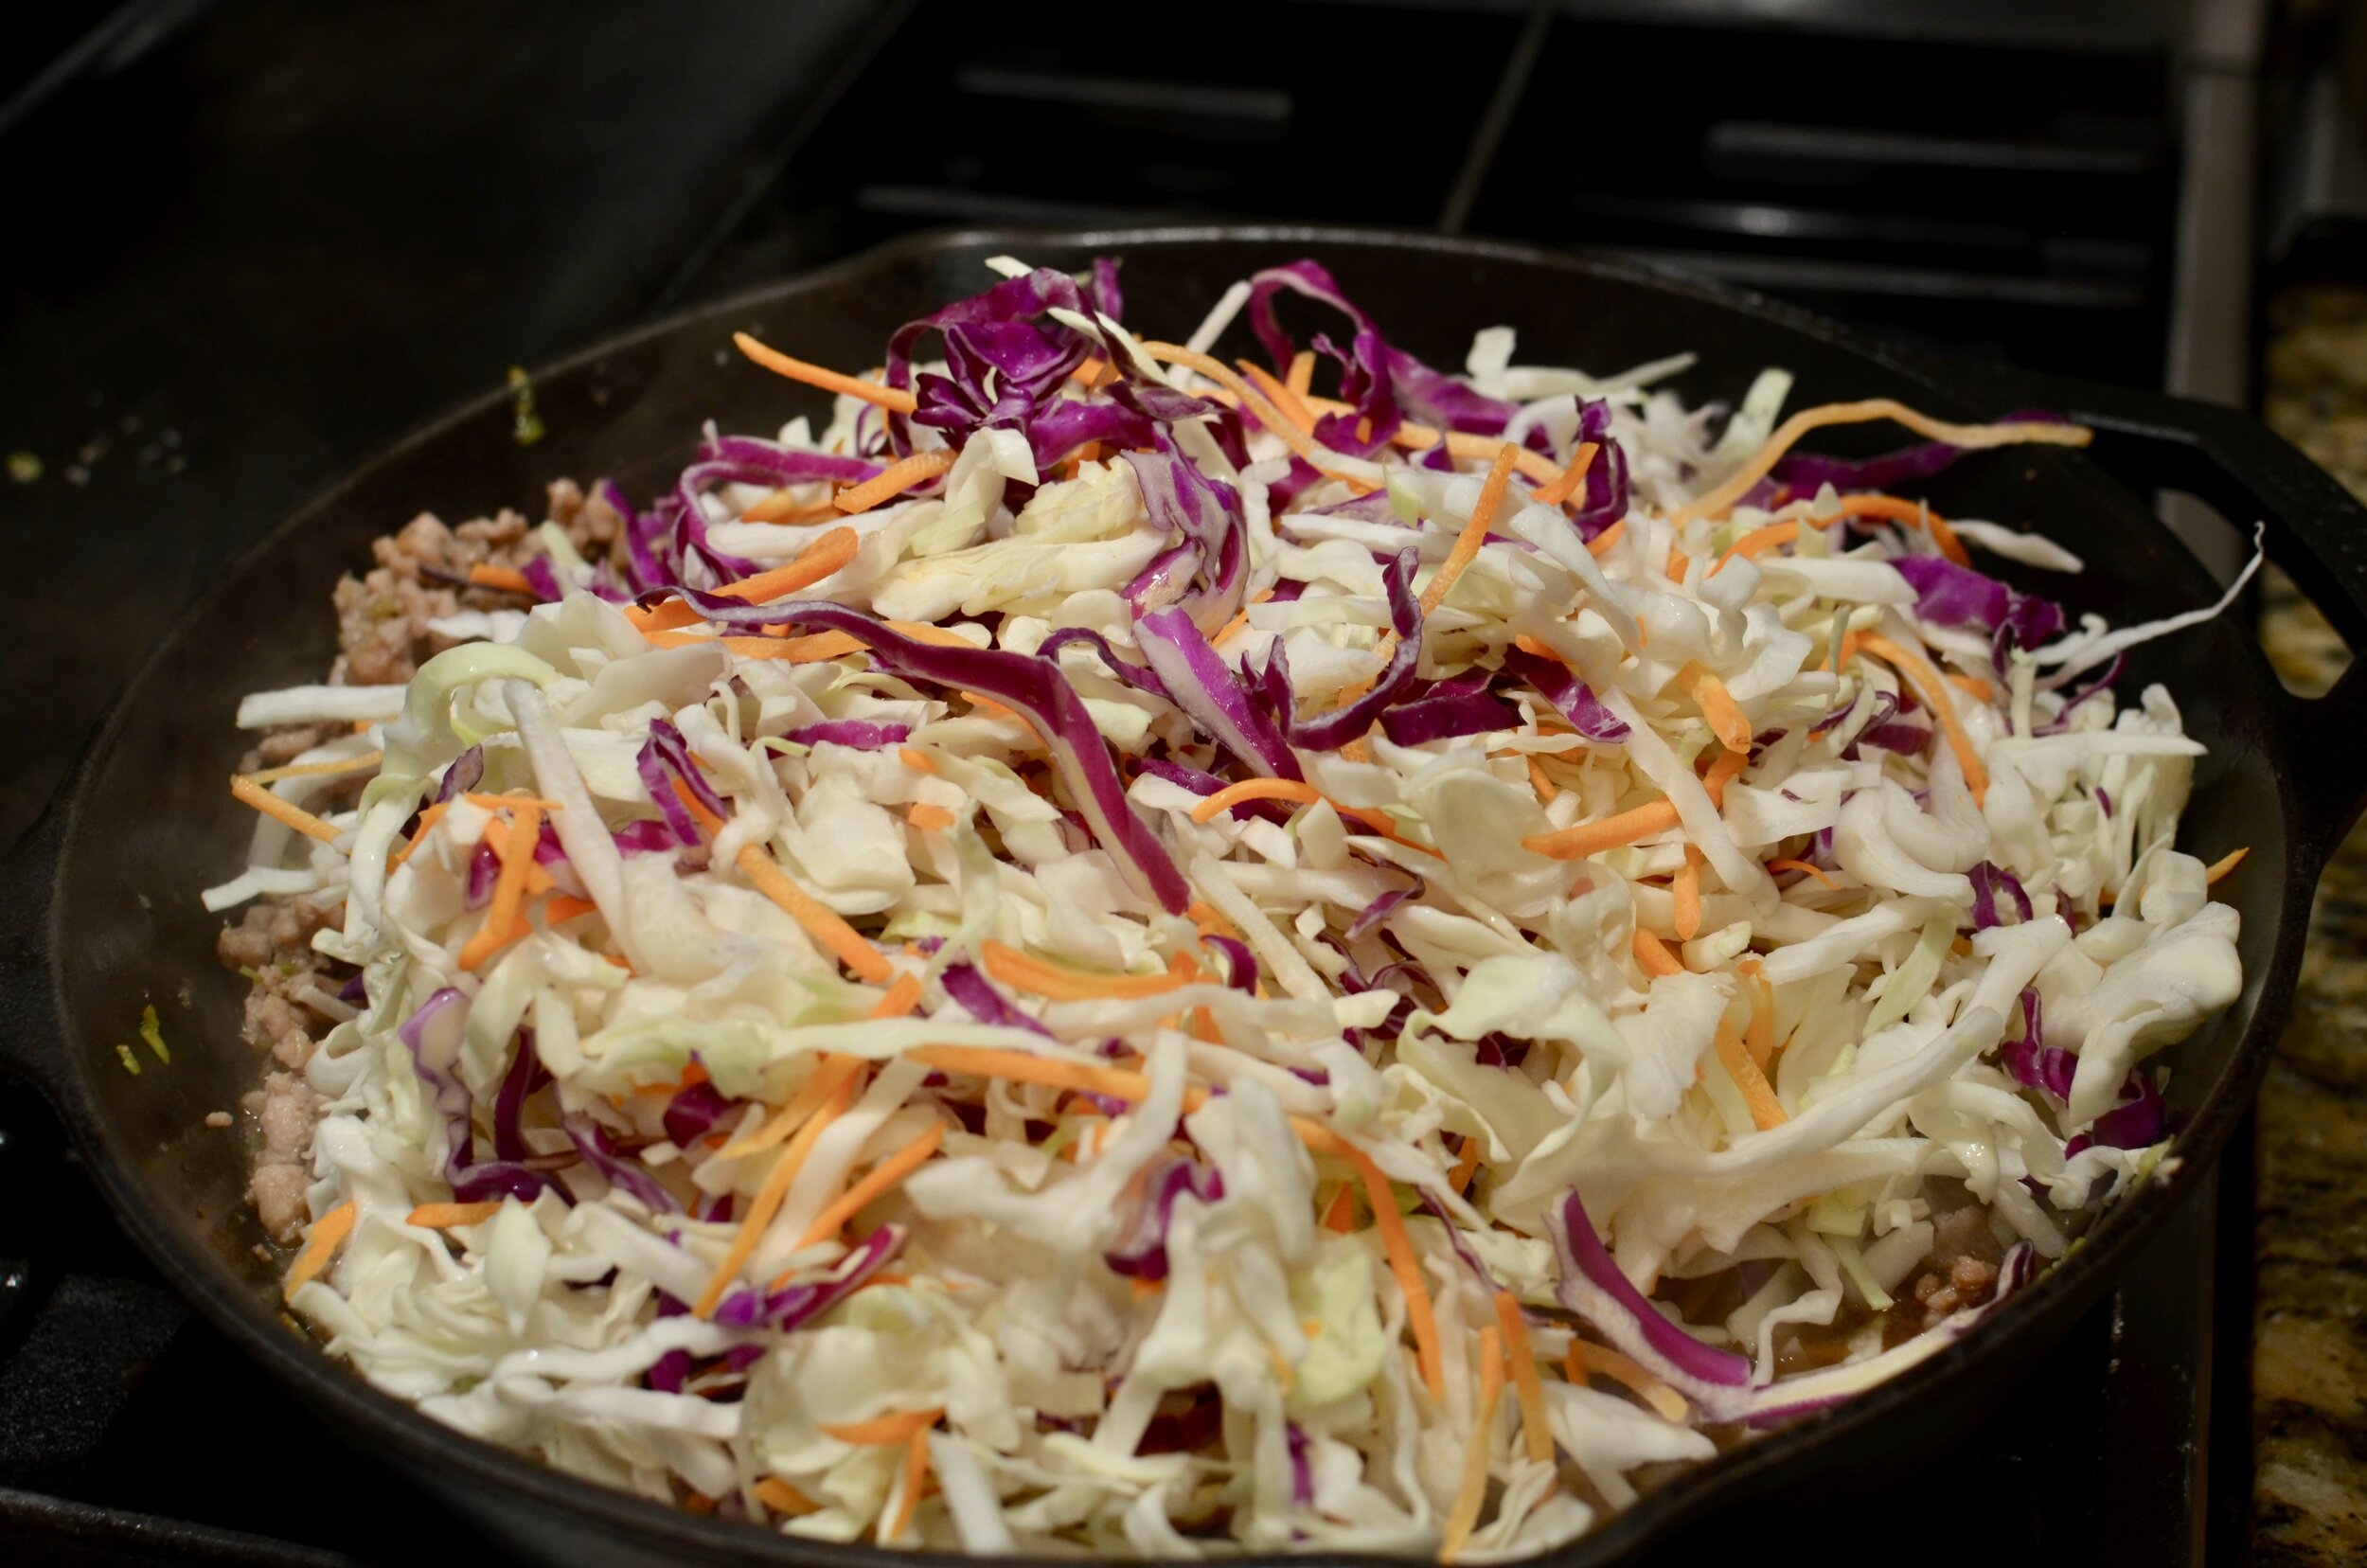
Next we add cole slaw mix - I like to use the tri-colored one. It just looks so pretty on the plate.

DSC_8824.JPG

Saute for a few more minutes until the slaw softens a bit. I like it serve it with a crisp-tender texture and still retain its color so I don’t cook it much longer than that. If you like it softer, by all means, cook it longer (and opt for a slaw mix that doesn’t contain red cabbage because it will turn an unappetizing gray color if cooked for more than a few minutes).

DSC_8828.JPG

just before serving, add the dark green scallion parts. Enjoy!

Items used to make this recipe:

(affiliate links)


Egg Roll in a Bowl

makes 6 servings

Printable Recipe

Ingredients

  • 2 tablespoons toasted sesame oil

  • 1 bunch scallions, sliced (light and dark parts separated)

  • 1 tablespoon minced or pressed fresh garlic

  • 1 tablespoon minced or grated fresh ginger

  • 1 1/2 pounds ground pork (or beef, turkey, chicken)

  • 3 tablespoons liquid aminos (or low-sodium soy)

  • 1 tablespoon rice vinegar (seasoned or unseasoned)

  • 1 tablespoon sesame oil

  • 1 pound tri-colored slaw mix

  • 1/4 teaspoon ground black pepper

  • 1/8 teaspoon fine salt

Directions

  1. In a 12-inch or larger skillet over medium-high heat, cook light green scallion parts in 2 tablespoons toasted sesame oil for a minute or two.

  2. Add garlic and ginger; stir constantly for another minute, being sure not to allow the garlic to burn.

  3. Add the ground pork; cook by stirring and crumbling until no pink remains.

  4. Add the liquid aminos, rice vinegar, and additional toasted sesame oil.

  5. Add the slaw mix, pepper, and salt; toss frequently for several minutes until slaw mix wilts and softens a bit.

  6. Remove from heat and top with reserved dark green scallion parts.

Note

  • I like my egg rolls heavily peppered so I will often double, or even triple the pepper called for in the recipe above.

Slow Roasted Eye of Round Roast

Patricia @ ButterYum

slow-roasted-eye-of-round-roast-butteryum

Eye of round roasts are one of the least expensive roasts you can purchase because they’re a tougher, leaner cut of beef. I used to prepare them with a high-temperature cooking technique, but I’ve since discovered a low and slow technique that results in a much more tender and flavorful roast that practically melts in your mouth. You absolutely must give it a try! Plan ahead, the beef needs to “dry brine” in the fridge for 24 hours before roasting.

salting-beef-roast-butteryum

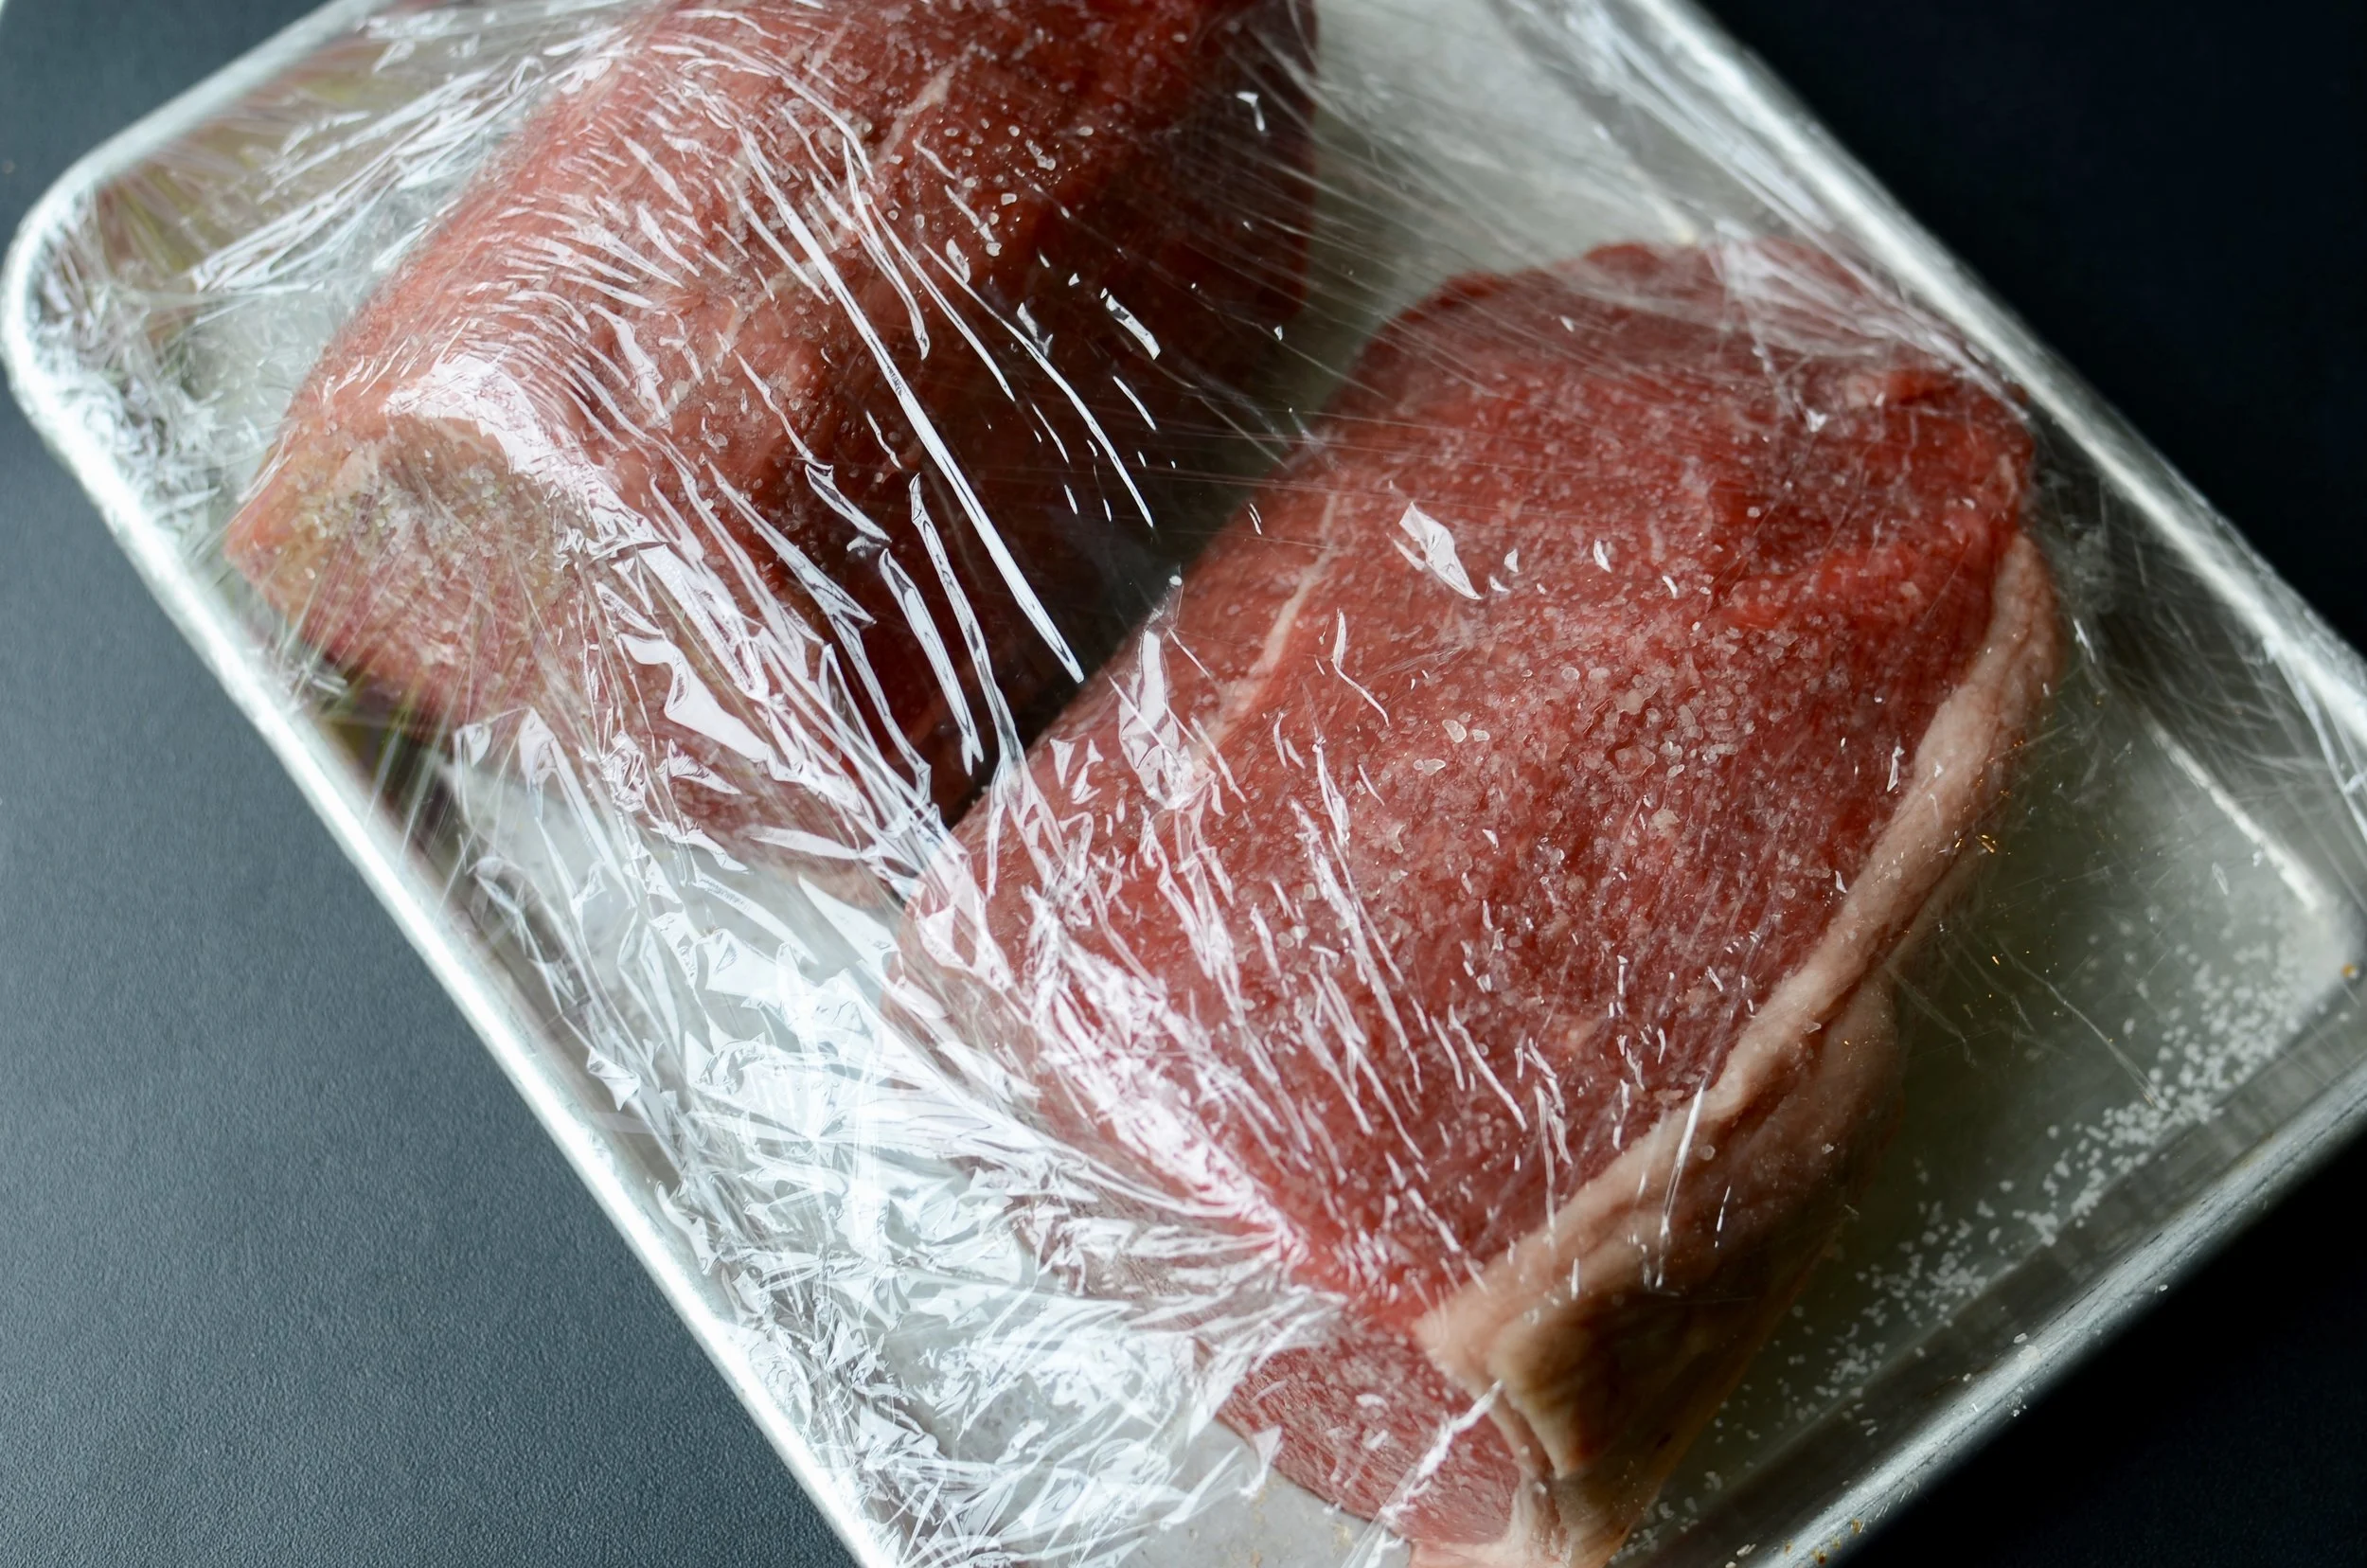
To begin, liberally sprinkle all sides of the roast with kosher salt. Here I salted two 3-pound roasts, each with about 2 teaspoons of kosher salt (IMPORTANT: if using fine table salt, reduce by half). Wrap well and refrigerate for 20-24 hours.

searing-beef-roast-butteryum

The next day, heat a little oil in a cast iron skillet. Unwrap the roast(s) and dry well with paper towels (DO NOT RINSE), then brown on all sides in the hot oil (don’t forget the flat end). Sprinkle with freshly ground pepper if desired.

seared-roast-butteryum

Each side should take around 3-4 minutes to brown.

probe-thermometer-butteryum

Place the seared roast(s) on a rack sitting on a sheet pan and insert an oven-safe probe thermometer, so the tip of the probe is positioned in the center of the roast.

probe-thermometer.jpeg

As you can see, the current internal temperature of my roast is 36F, but I want it to reach an initial target temperature of 126F. Follow the guidelines below to determine how you want your roast to be cooked - your initial target temperature should be 10 degrees below the final temperature you want your roast to reach.

BEEF DONENESS CHART

  • 125-130F (52-55C) = Rare

  • 130-140F (55-60C) = Medium Rare

  • 140-150F (60-65C) = Medium

  • 150-155F (65-69C) = Medium Well

225f-oven.jpeg

Place the roast(s) in the center of a 225F oven and cook until the probe alerts you when the internal temperature reaches whatever temp you set your probe thermometer for (that should be 10 degrees below your final target temperature).

My 3-pound roasts took about 1 hour and 20 minutes to reach my initial target temp of 126F.

medium-rare-probe-thermometer.jpeg

Once the roasts reaches the initial target temperature (again, for me that was 126F), turn the oven off and let the roast(s) sit in the hot oven, with the door closed, for an additional 10-20 minutes, or until the internal temperature rises 10 more degrees to the final target temperature (for me, 136F). This is an official culinary technique called “carryover cooking”.

So what makes this roasting technique so good? Two things. 1) Dry Brining, which draws moisture from the interior of the meat to the surface where it dissolves the salt and allows it be reabsorbed back into the roast (so the salt flavors the entire roast, inside and out). And 2) Carryover Cooking, which ensures the meat does not over-cook and enables the juices to redistribute throughout the roast. The combination of these two techniques will result in a juicer, more flavorful roast.

how-to-cook-eye-of-round-butteryum

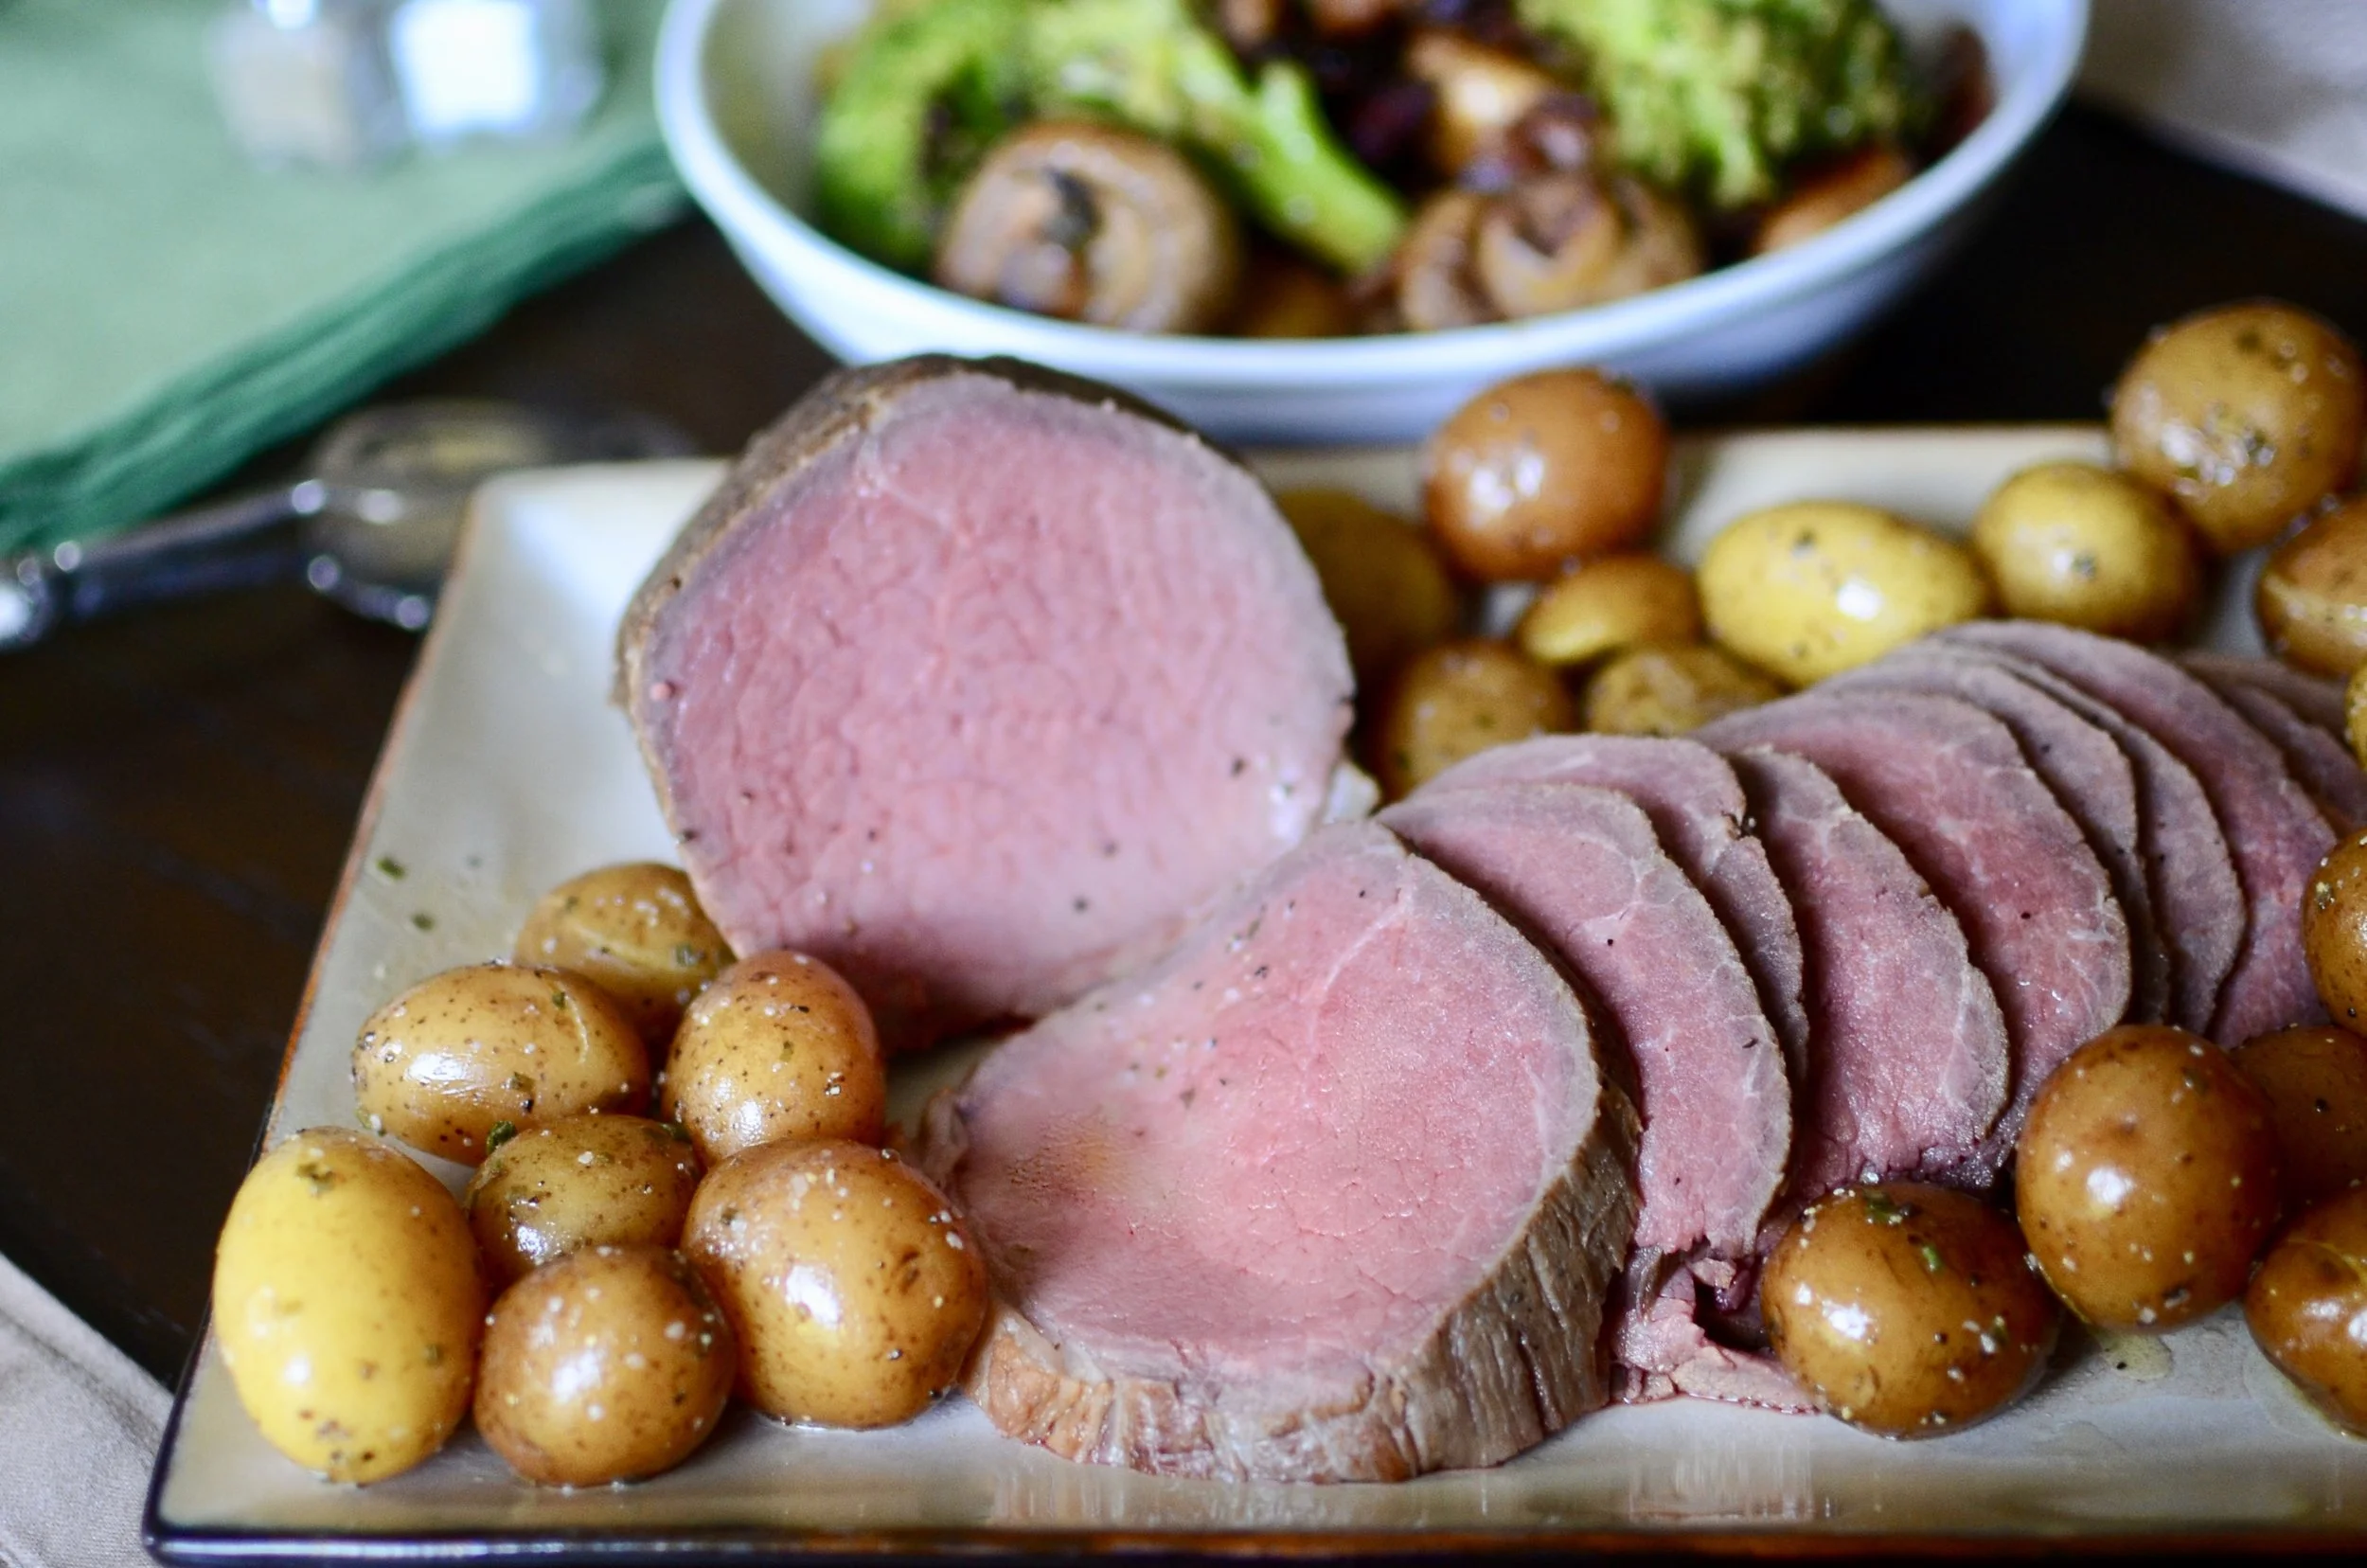
Your roast is now perfectly cooked and ready to serve. I hope you make extra, because your guests are going to devour it!

Tip: I like to serve this roast cut into thin slices and the best way I’ve found to cut thin, even slices is to use an electric knife, but a long, sharp slicing knife works as well. Happy roasting!

Items used to make this recipe:

(affiliate links)


Slow Roasted Eye of Round Roast

makes 8-10 servings

Printable Recipe

Ingredients

  • 3 to 5 pound eye of round beef roast

  • 2-3 teaspoons kosher salt (or half fine table salt)

  • freshly ground pepper

  • oil for searing

Directions

  1. (24 hours before serving) Dry roast well with paper towels and sprinkle kosher salt evenly all over; place roast on a tray and wrap well (or put it in a sealed zip-top bag) and place in refrigerator for 20-24 hours.

  2. (2 hours before serving) Preheat oven to 225F and place rack in the center position.

  3. Place an oven-safe cooling rack or roasting rack on a half sheet pan; set aside until needed.

  4. Unwrap roast and dry well with paper towels (do not rinse); if desired, sprinkle with freshly ground black pepper.

  5. Heat a couple tablespoons of oil in a cast iron skillet over medium-high heat and brown all sides of the roast for 3-4 minutes, including the flat end.

  6. Place roast on rack suspended over half sheet pan, fat side up, and insert an oven-safe probe thermometer into the center of the roast; using the chart below, set the probe thermometer to an initial target temperature of 10 degrees BELOW the final temperature you want your roast to reach.

  7. Place the roast in the center of the oven and wait for the probe thermometer to alert you when the initial target temperature is reached (example 126F).

  8. Turn the oven off and let the roast sit in the hot oven, with the door closed, for an additional 10-20 minutes, or until the internal temperature rises 10 more degrees to the predetermined final target temperature (example 136F).

  9. Remove roast from oven and rest for 10-15 minutes before slicing as thinly as possible (I find an electric knife works particularly well).

adapted from Cook’s Illustrated

BEEF DONENESS CHART

  • 125-130F (52-55C) = Rare

  • 130-140F (55-60C) = Medium Rare

  • 140-150F (60-65C) = Medium

  • 150-155F (65-69C) = Medium Well