contact us

Use the form on the right to contact us.

You can edit the text in this area, and change where the contact form on the right submits to, by entering edit mode using the modes on the bottom right.


123 Street Avenue, City Town, 99999

(123) 555-6789

email@address.com


You can set your address, phone number, email and site description in the settings tab.
Link to read me page with more information.

Blog

Butteryum food blog recipes

Cold Brine Dill Pickles

Patricia @ ButterYum

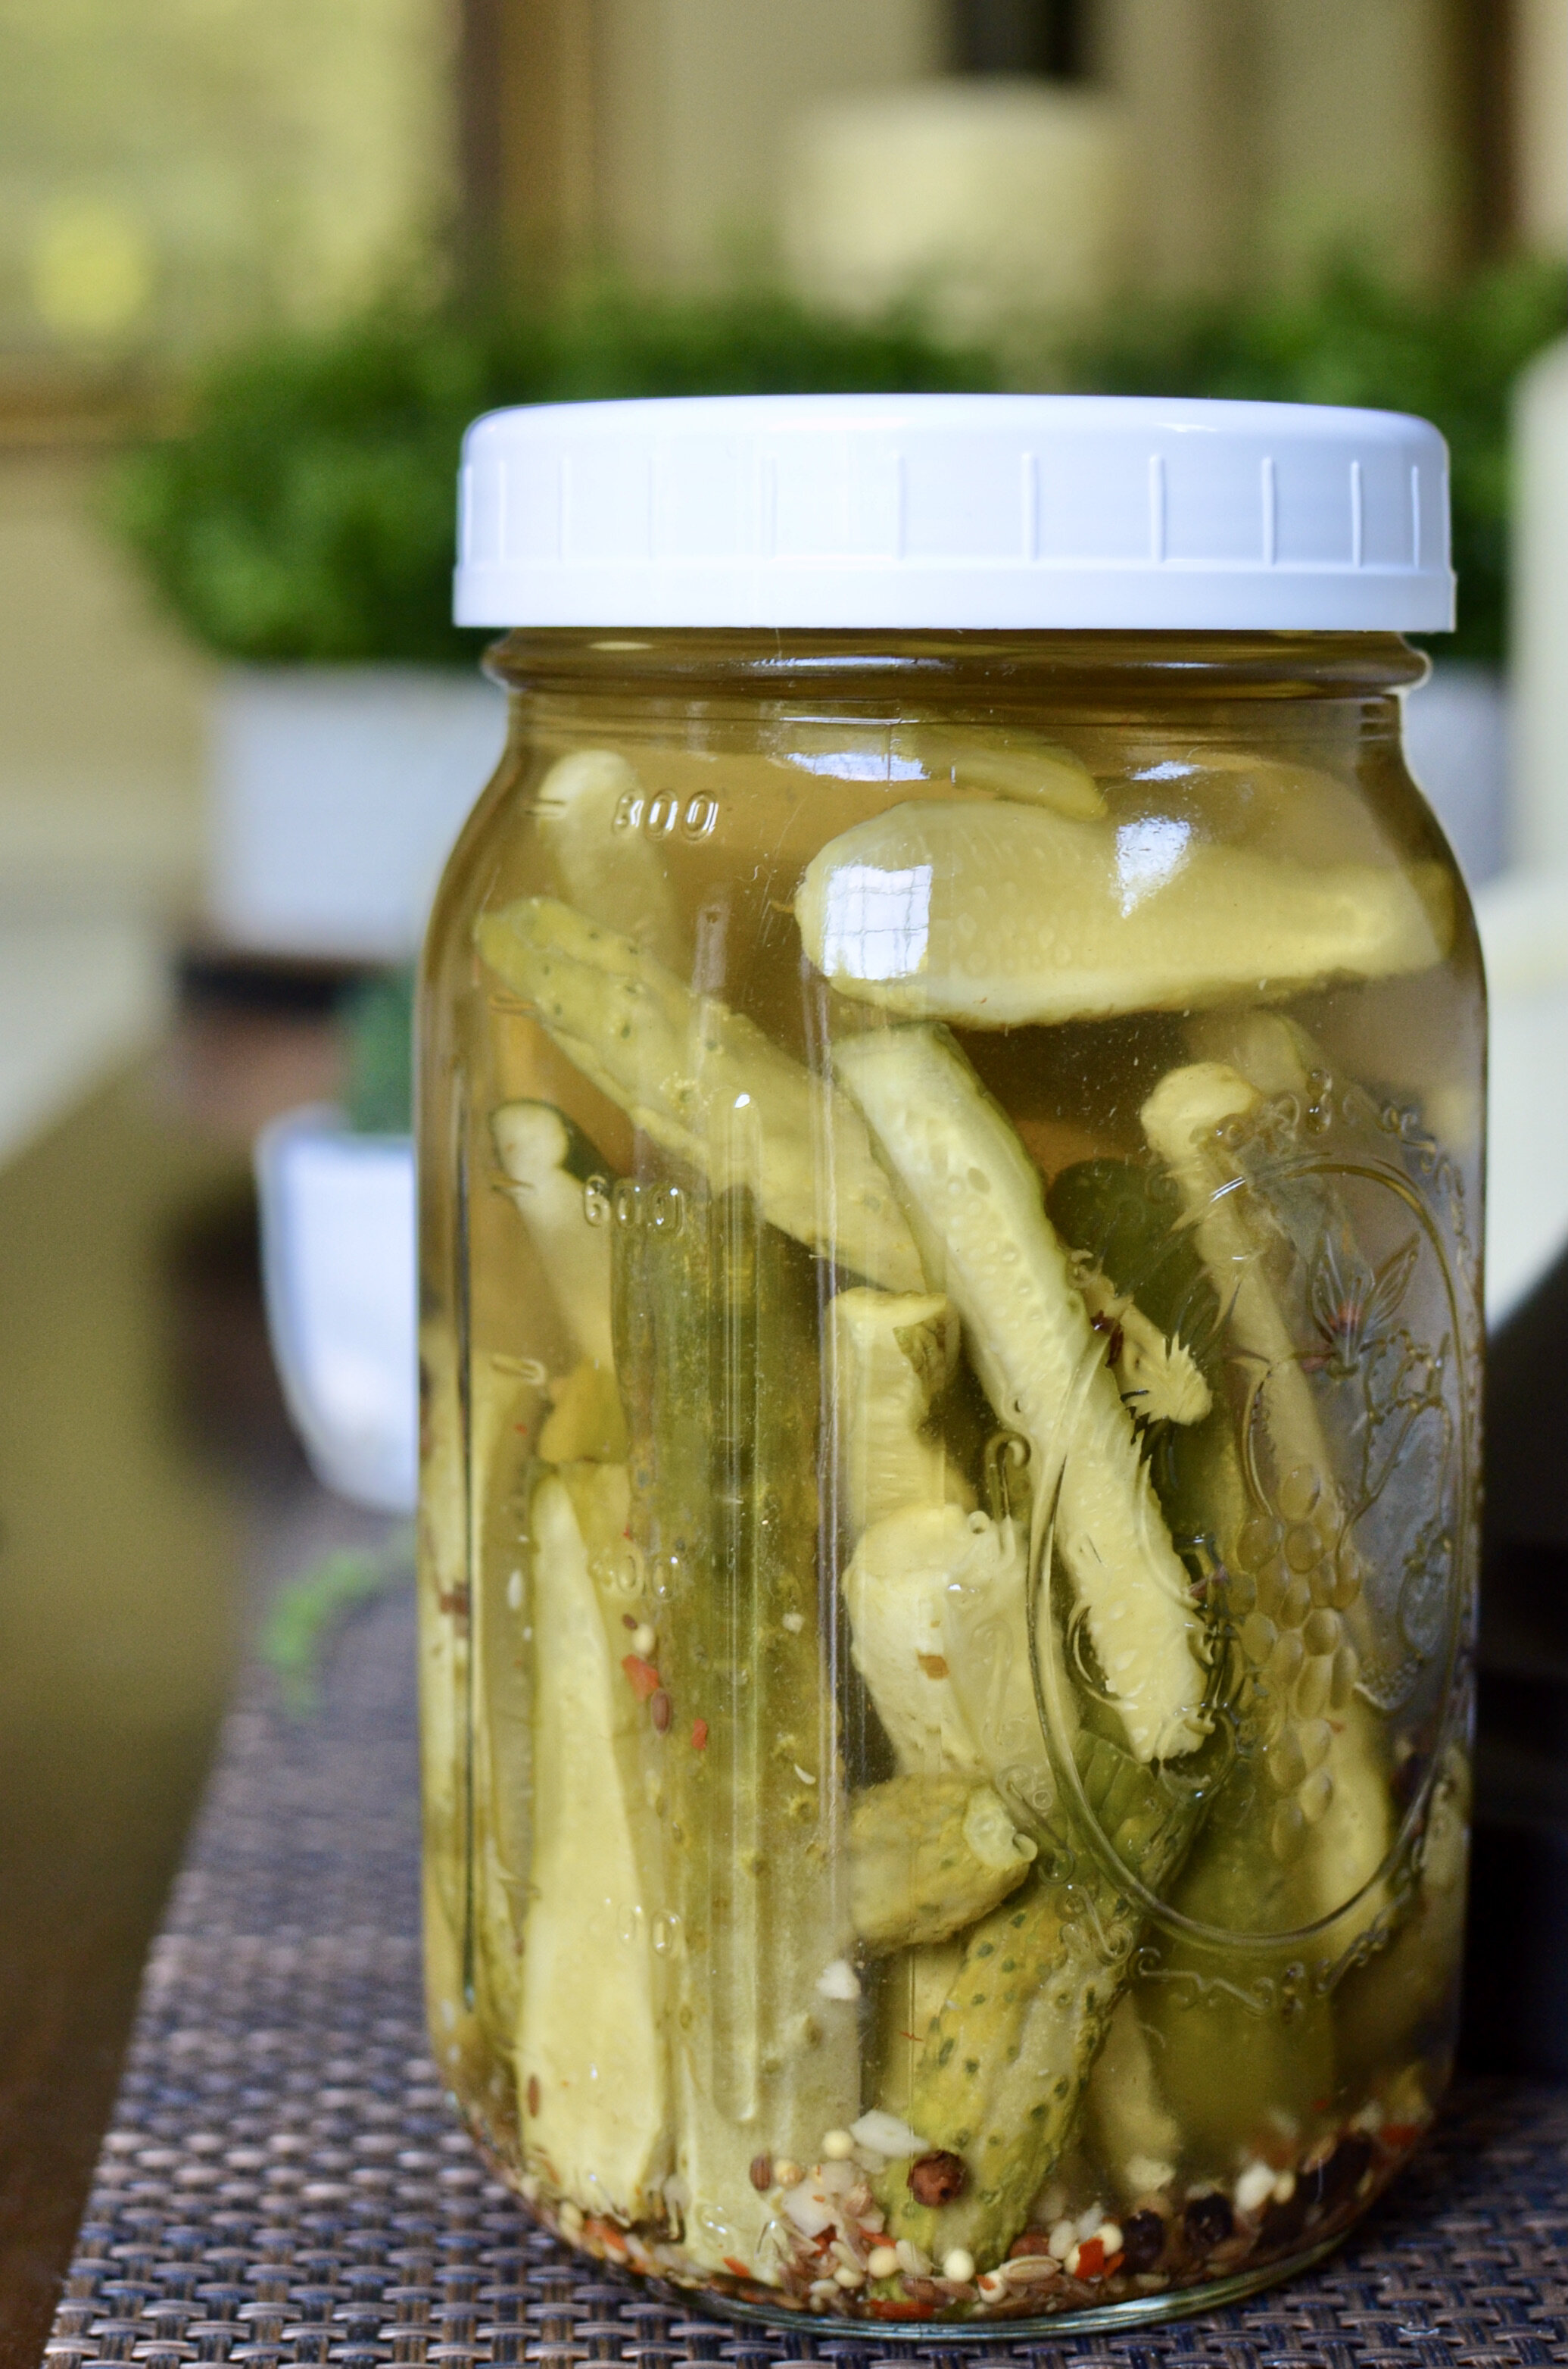
cold.brine.dill.pickles.1_butteryum.jpg

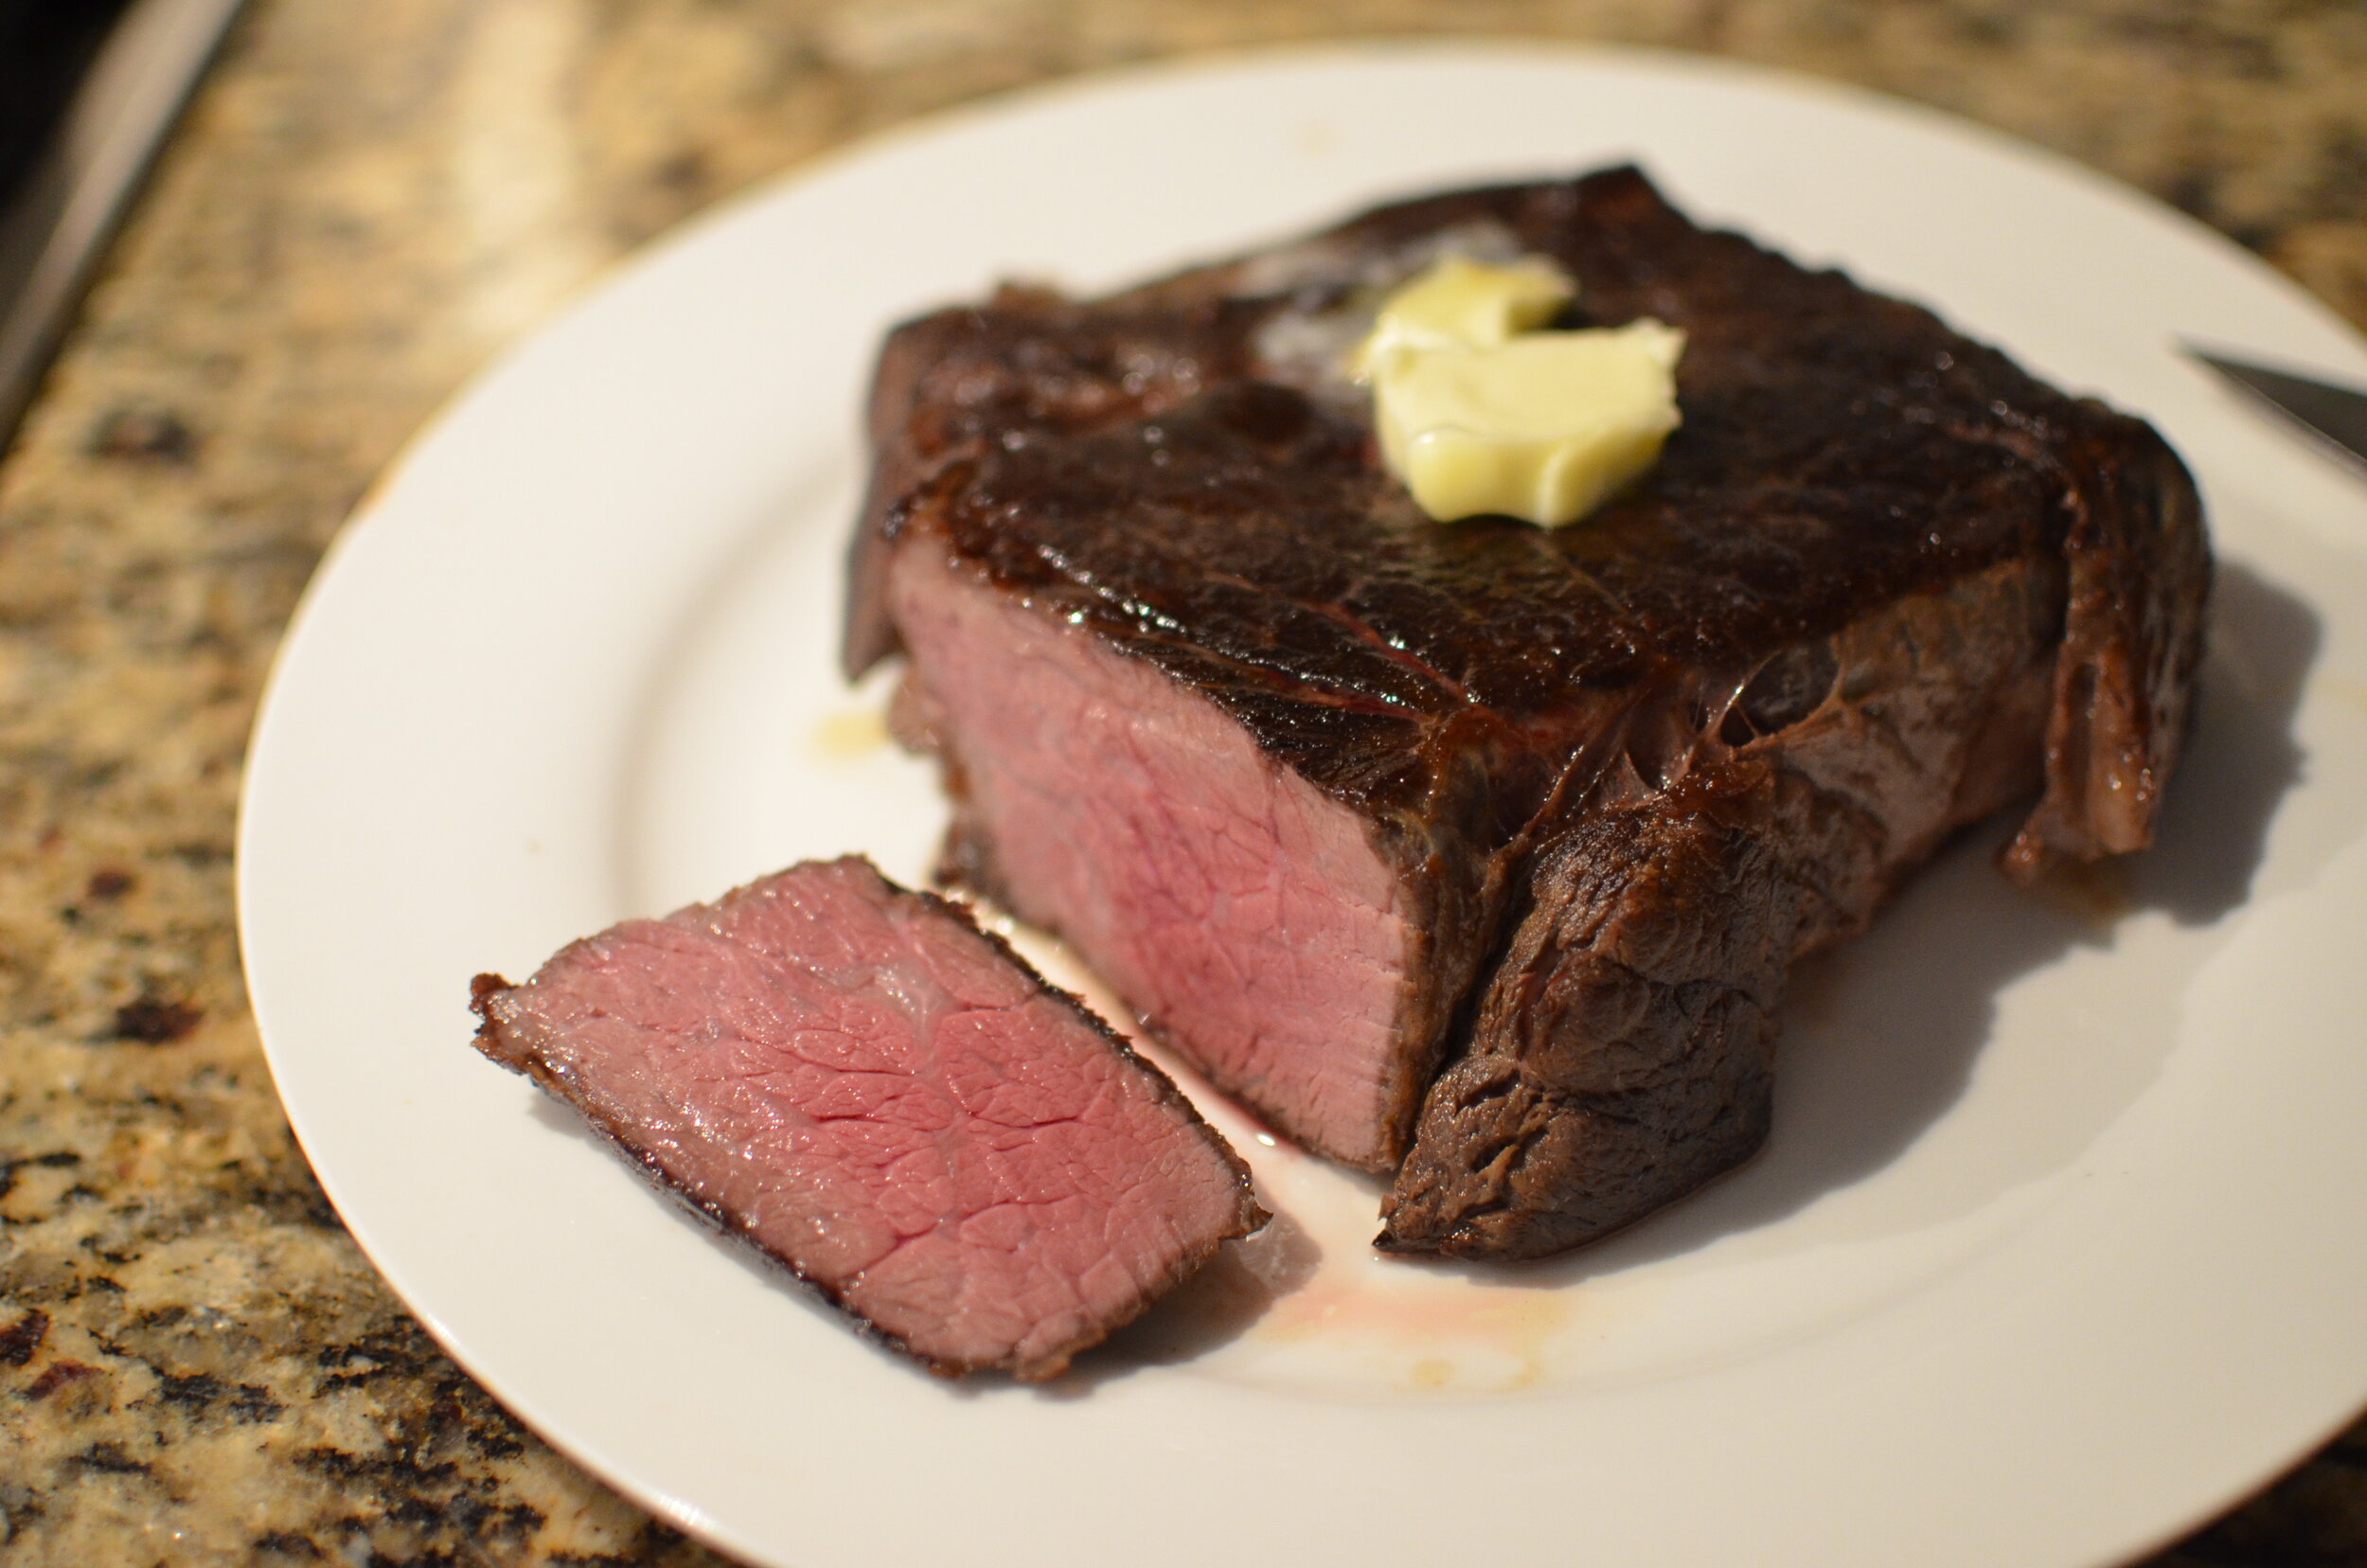
Most pickle recipes call for the use of a hot brine, but this recipe uses a cold brine. In my house, that’s good for a couple of reasons: 1) one of my family members absolutely despises the smell of hot vinegar, and 2) no heating means these pickles are extremely fast and easy to make. Here we go.

Start by washing pickling cucumbers. Don’t be tempted to use regular cucumbers - they just don’t hold up very well to pickling.

See those fuzzy things on the end of some of the cucumbers? Those are the dried up blossoms - they grow on the opposite of the stem end. You want to remove those.

unsplash-image-OnAwTs0tu3k.jpg

Like I said, you definitely want to trim the blossom end away (they can make your jar of pickles cloudy). If you’re not sure which end is which, feel free to trim both ends, then cut the cucumbers into spears. I usually quarter them, but if your cukes are very large, cut them into 6 or 8 spears (if they’re very small, just cut them in half).

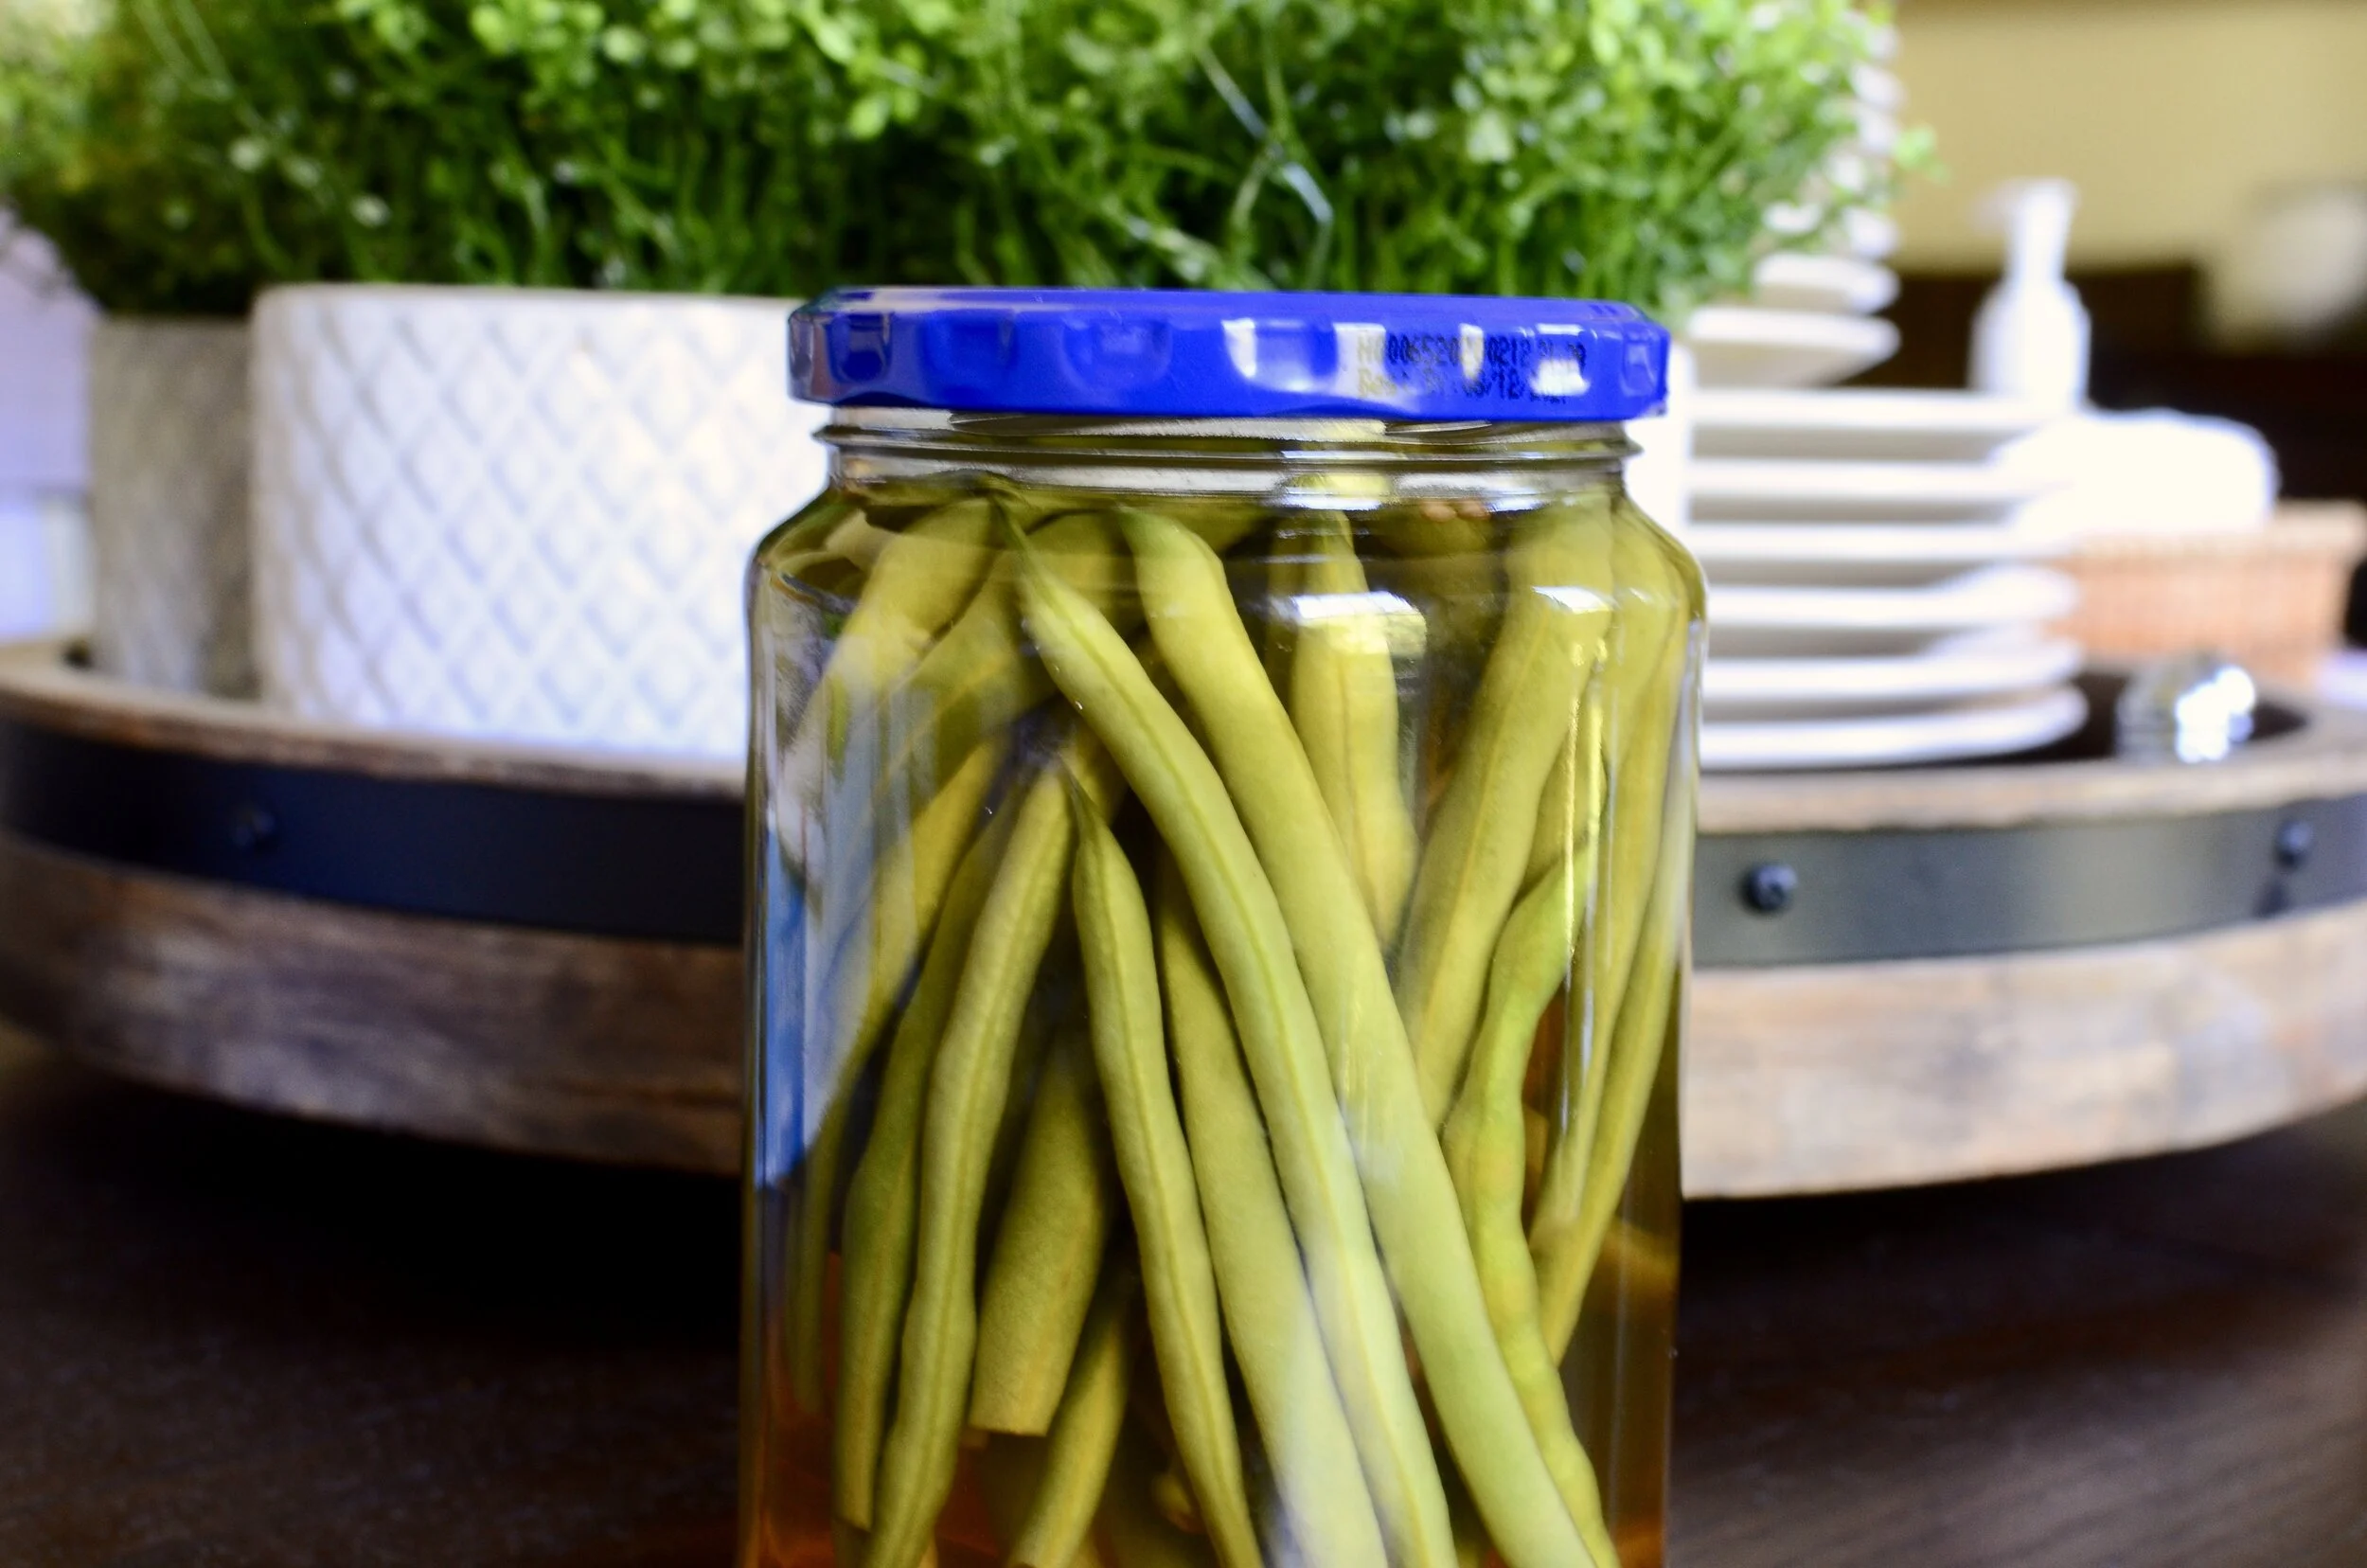
Place the sliced cucumbers into clean jars before adding the spices. Top off each jar with the brine mixture, following the directions in the recipe below.

unsplash-image-rUmET8NYXFU.jpg

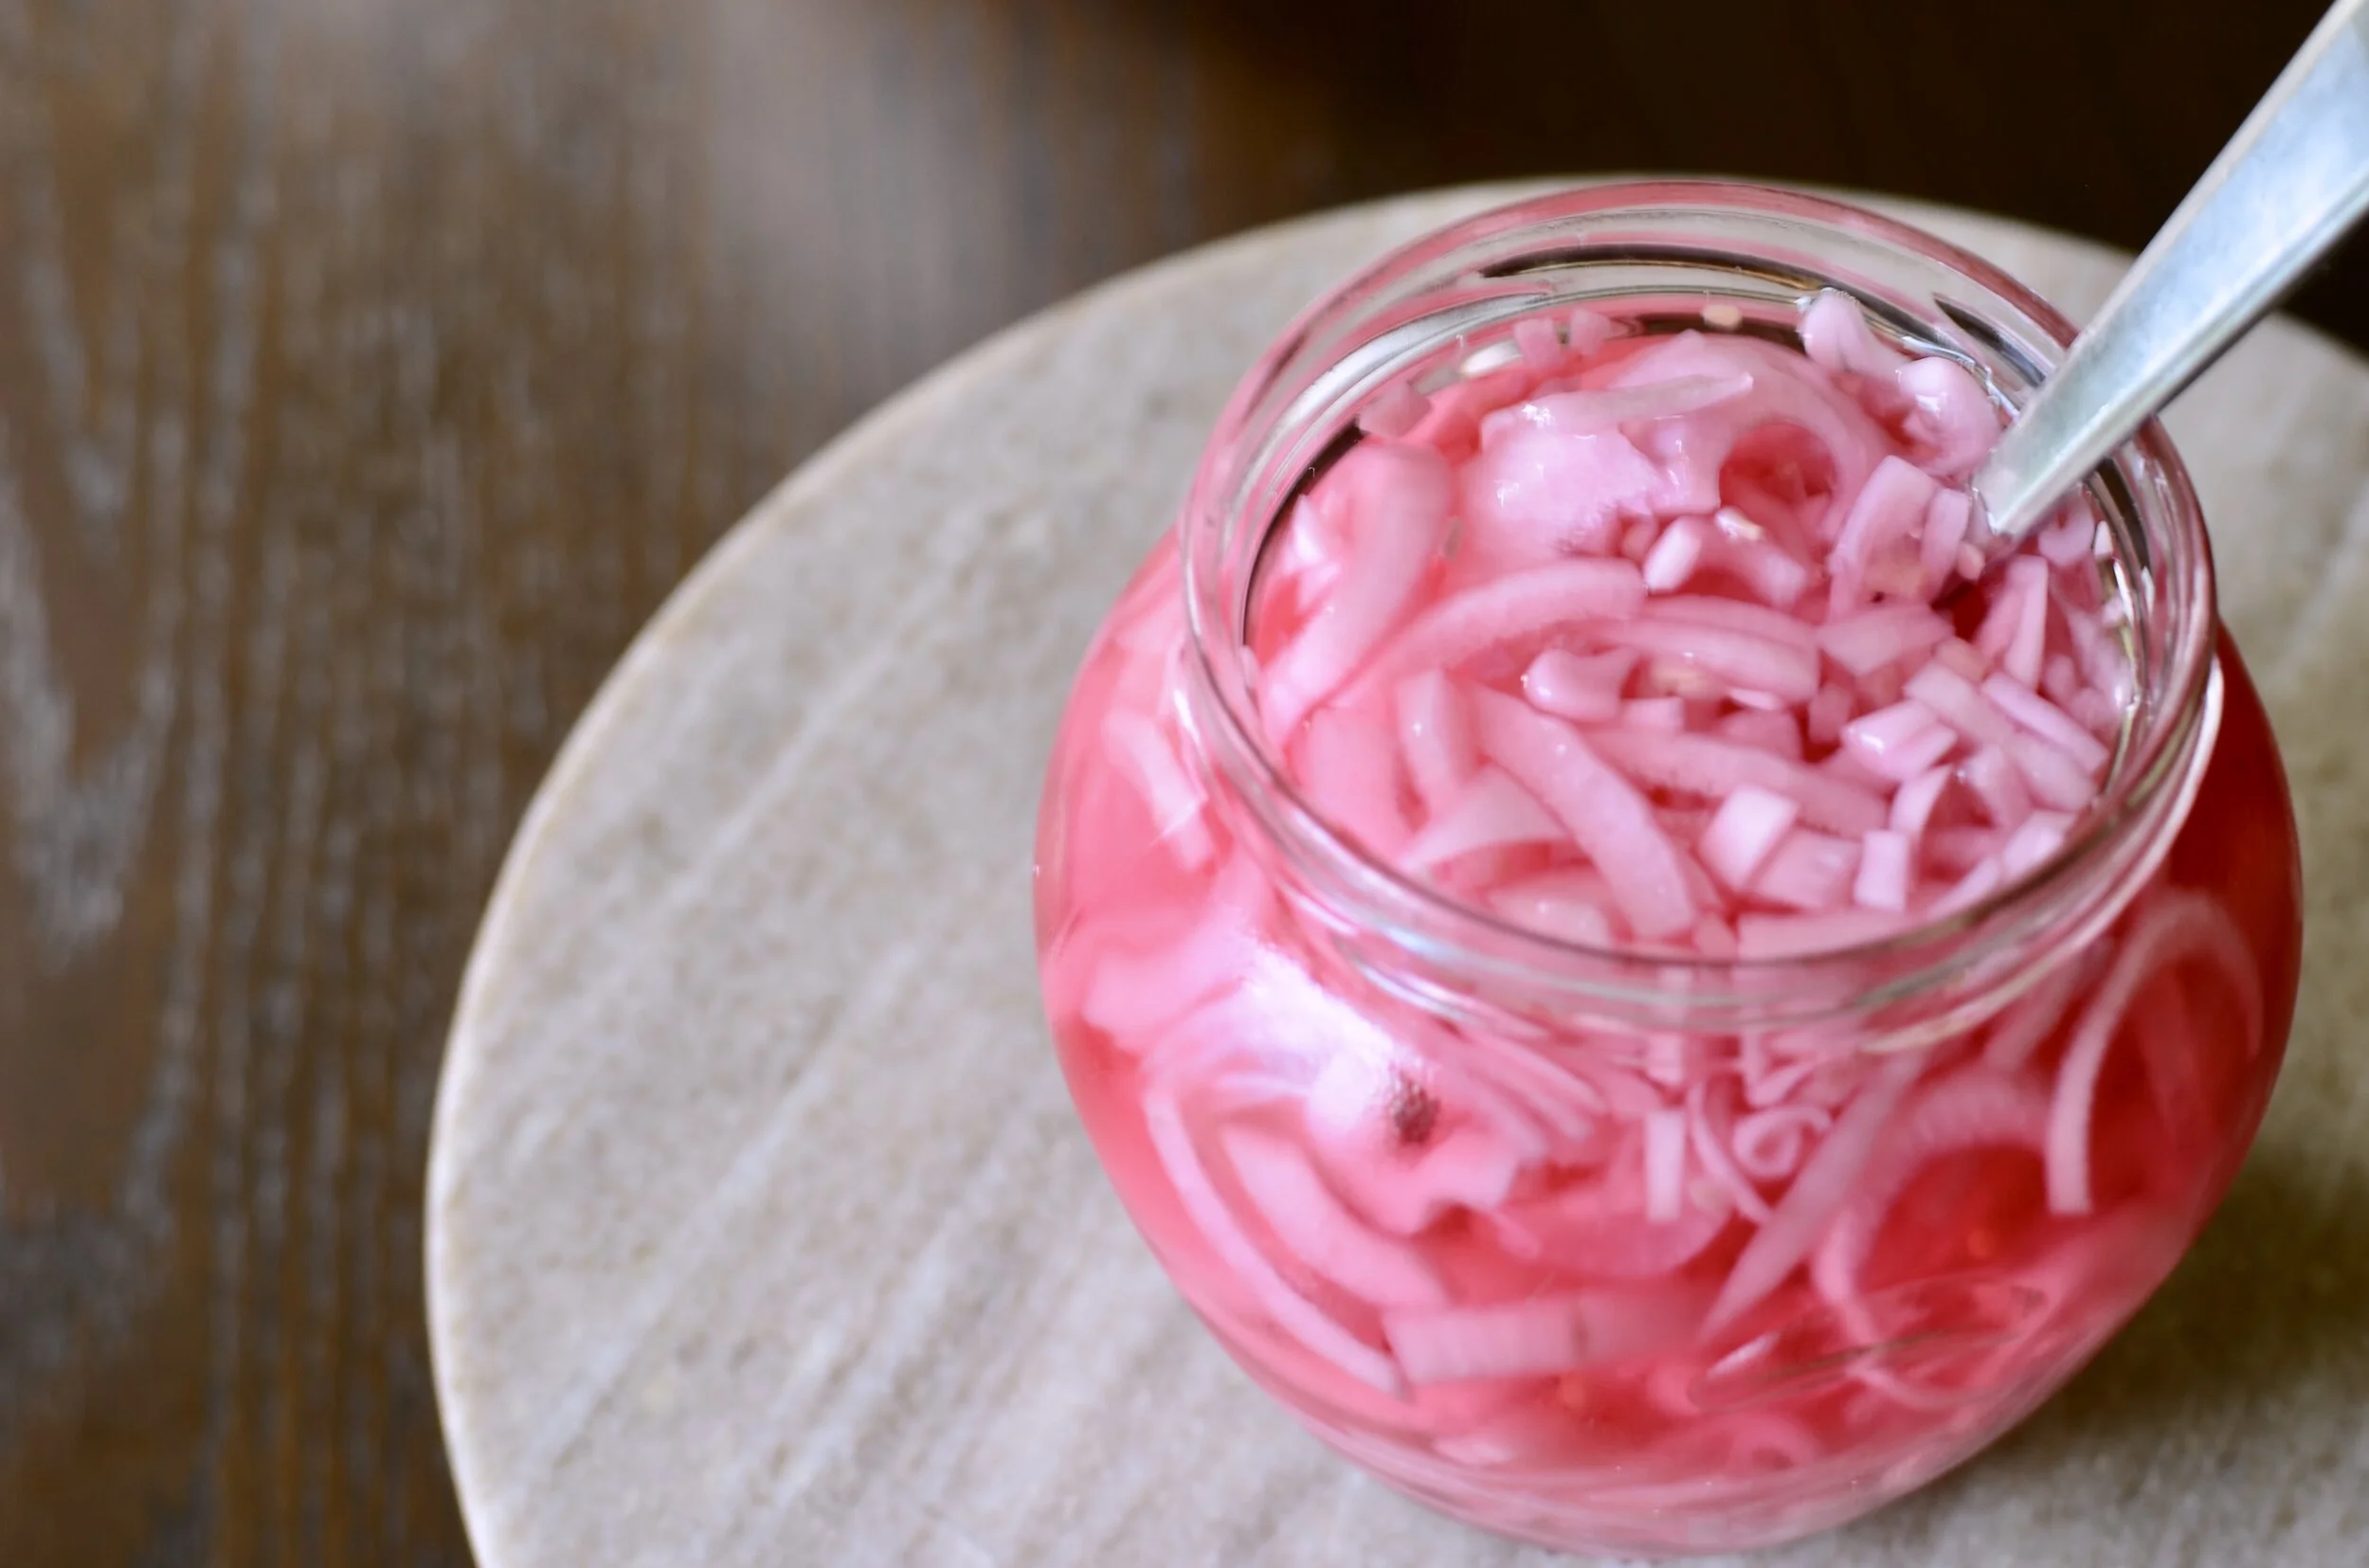
Enjoy!

Items used to make this recipe:

(affiliate links)


Cold Brine Dill Pickles

makes four pints, two quarts, or one half gallon

Printable Recipe

Ingredients

For the Brine:

  • 8 cups cold water

  • 1/2 cup white distilled vinegar (at least 5% acid)

  • 1/3 cup (96g) canning/pickling salt (may substitute coarse kosher salt)

For the Pickles:

  • 20-25 medium size pickling cucumbers, washed and ends trimmed

  • 1 tablespoon whole dill seed

  • 1 tablespoon whole black peppercorns

  • 1 teaspoon whole coriander seed

  • 1/2 teaspoon whole mustard seed (any color)

  • 1/2 teaspoon dried minced garlic

  • 1/4 teaspoon crushed red pepper flakes

Directions

To Make the Brine:

  1. In a large bowl, whisk together the water, vinegar, and canning/pickling salt until the salt is completely dissolved; set aside.

To Prepare the Pickles:

  1. Evenly distribute the spices among the jar(s).

  2. Place the sliced cucumbers in the jar(s).

  3. Fill the jar(s) with enough brine to completely cover the sliced cucumbers, leaving about 1/2-inch of space at the top of the jar.

  4. Cover the jar(s) lightly with a cloth and allow them to sit, undisturbed, in a cool place for 24 hours.

  5. Replace cloth cover with jar lid(s); transfer to refrigerator for 3 days before enjoying. Use within 6 months.

Notes

  1. This recipe will fill one 1/2 gallon jar, two quart jars, or four pint jars.

  2. Be sure to use pickling cucumbers only.

  3. Be sure to trim the blossom end of the cucumbers (it’s fine to trim both ends).

  4. Use only canning/pickling salt or coarse kosher salt.

adapted from Amanda’s Cookin’
Sous Vide Chuck Roast Steak

Patricia @ ButterYum

unsplash-image-iehau6a1l8Q.jpg

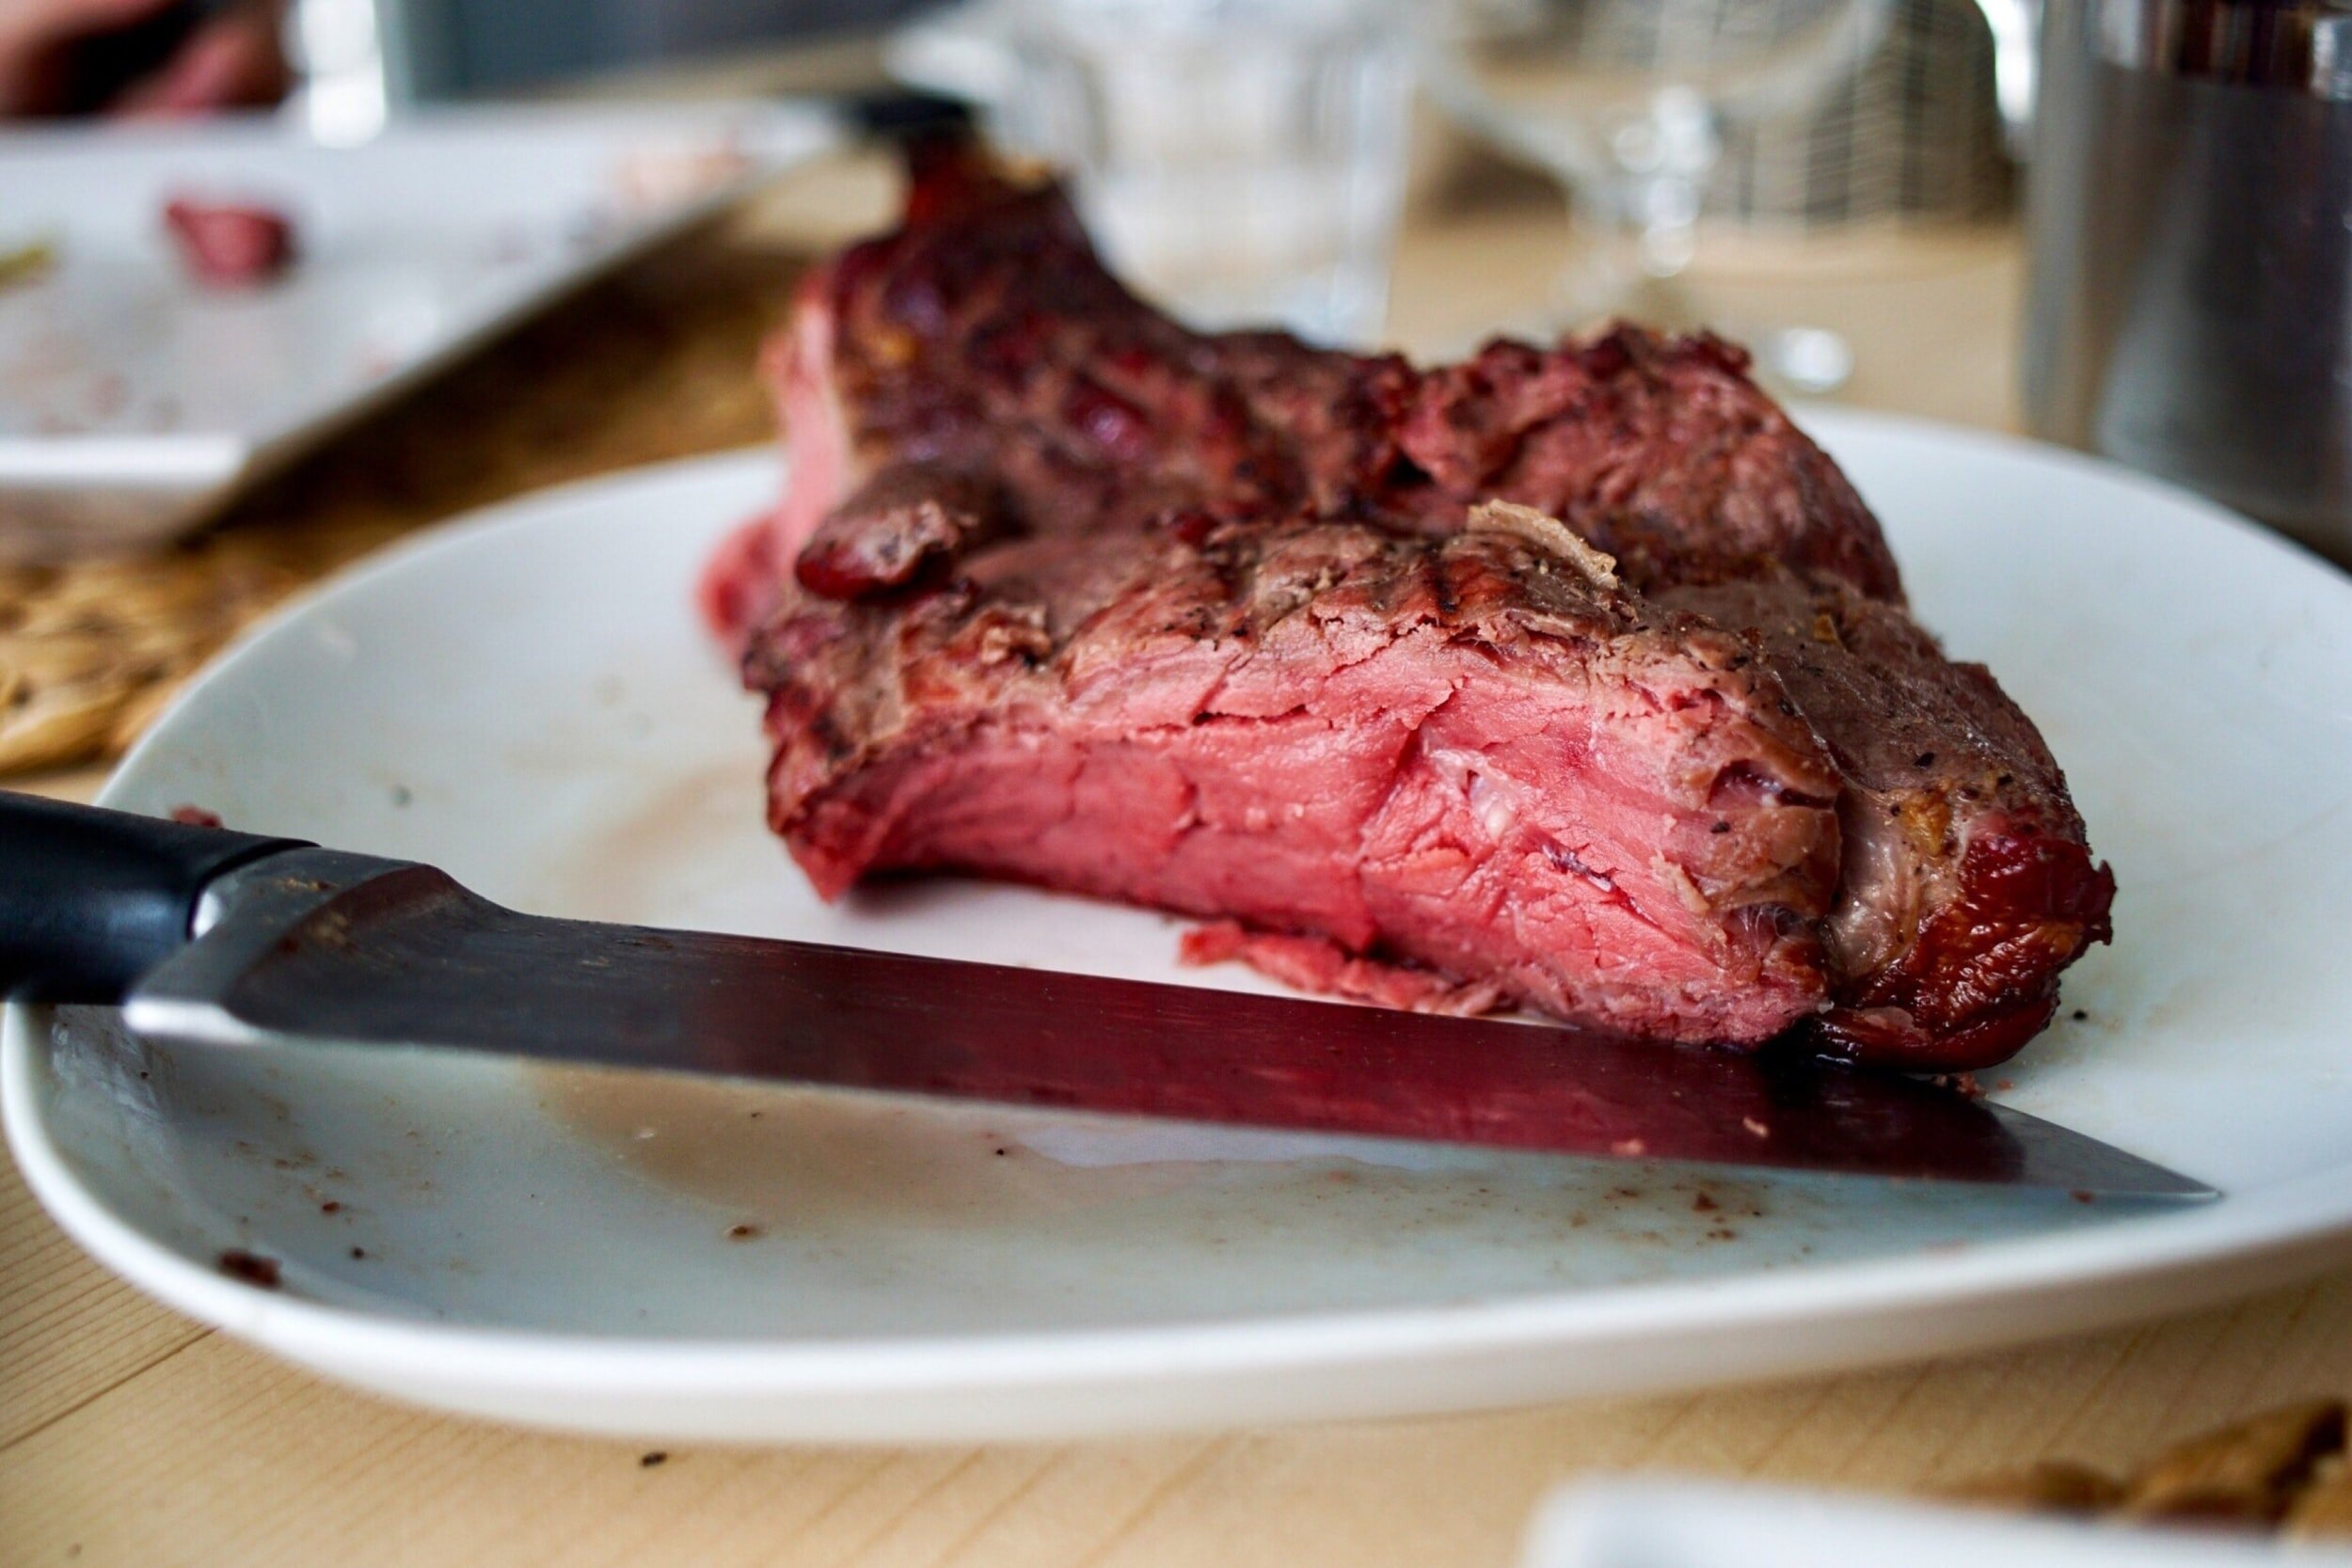
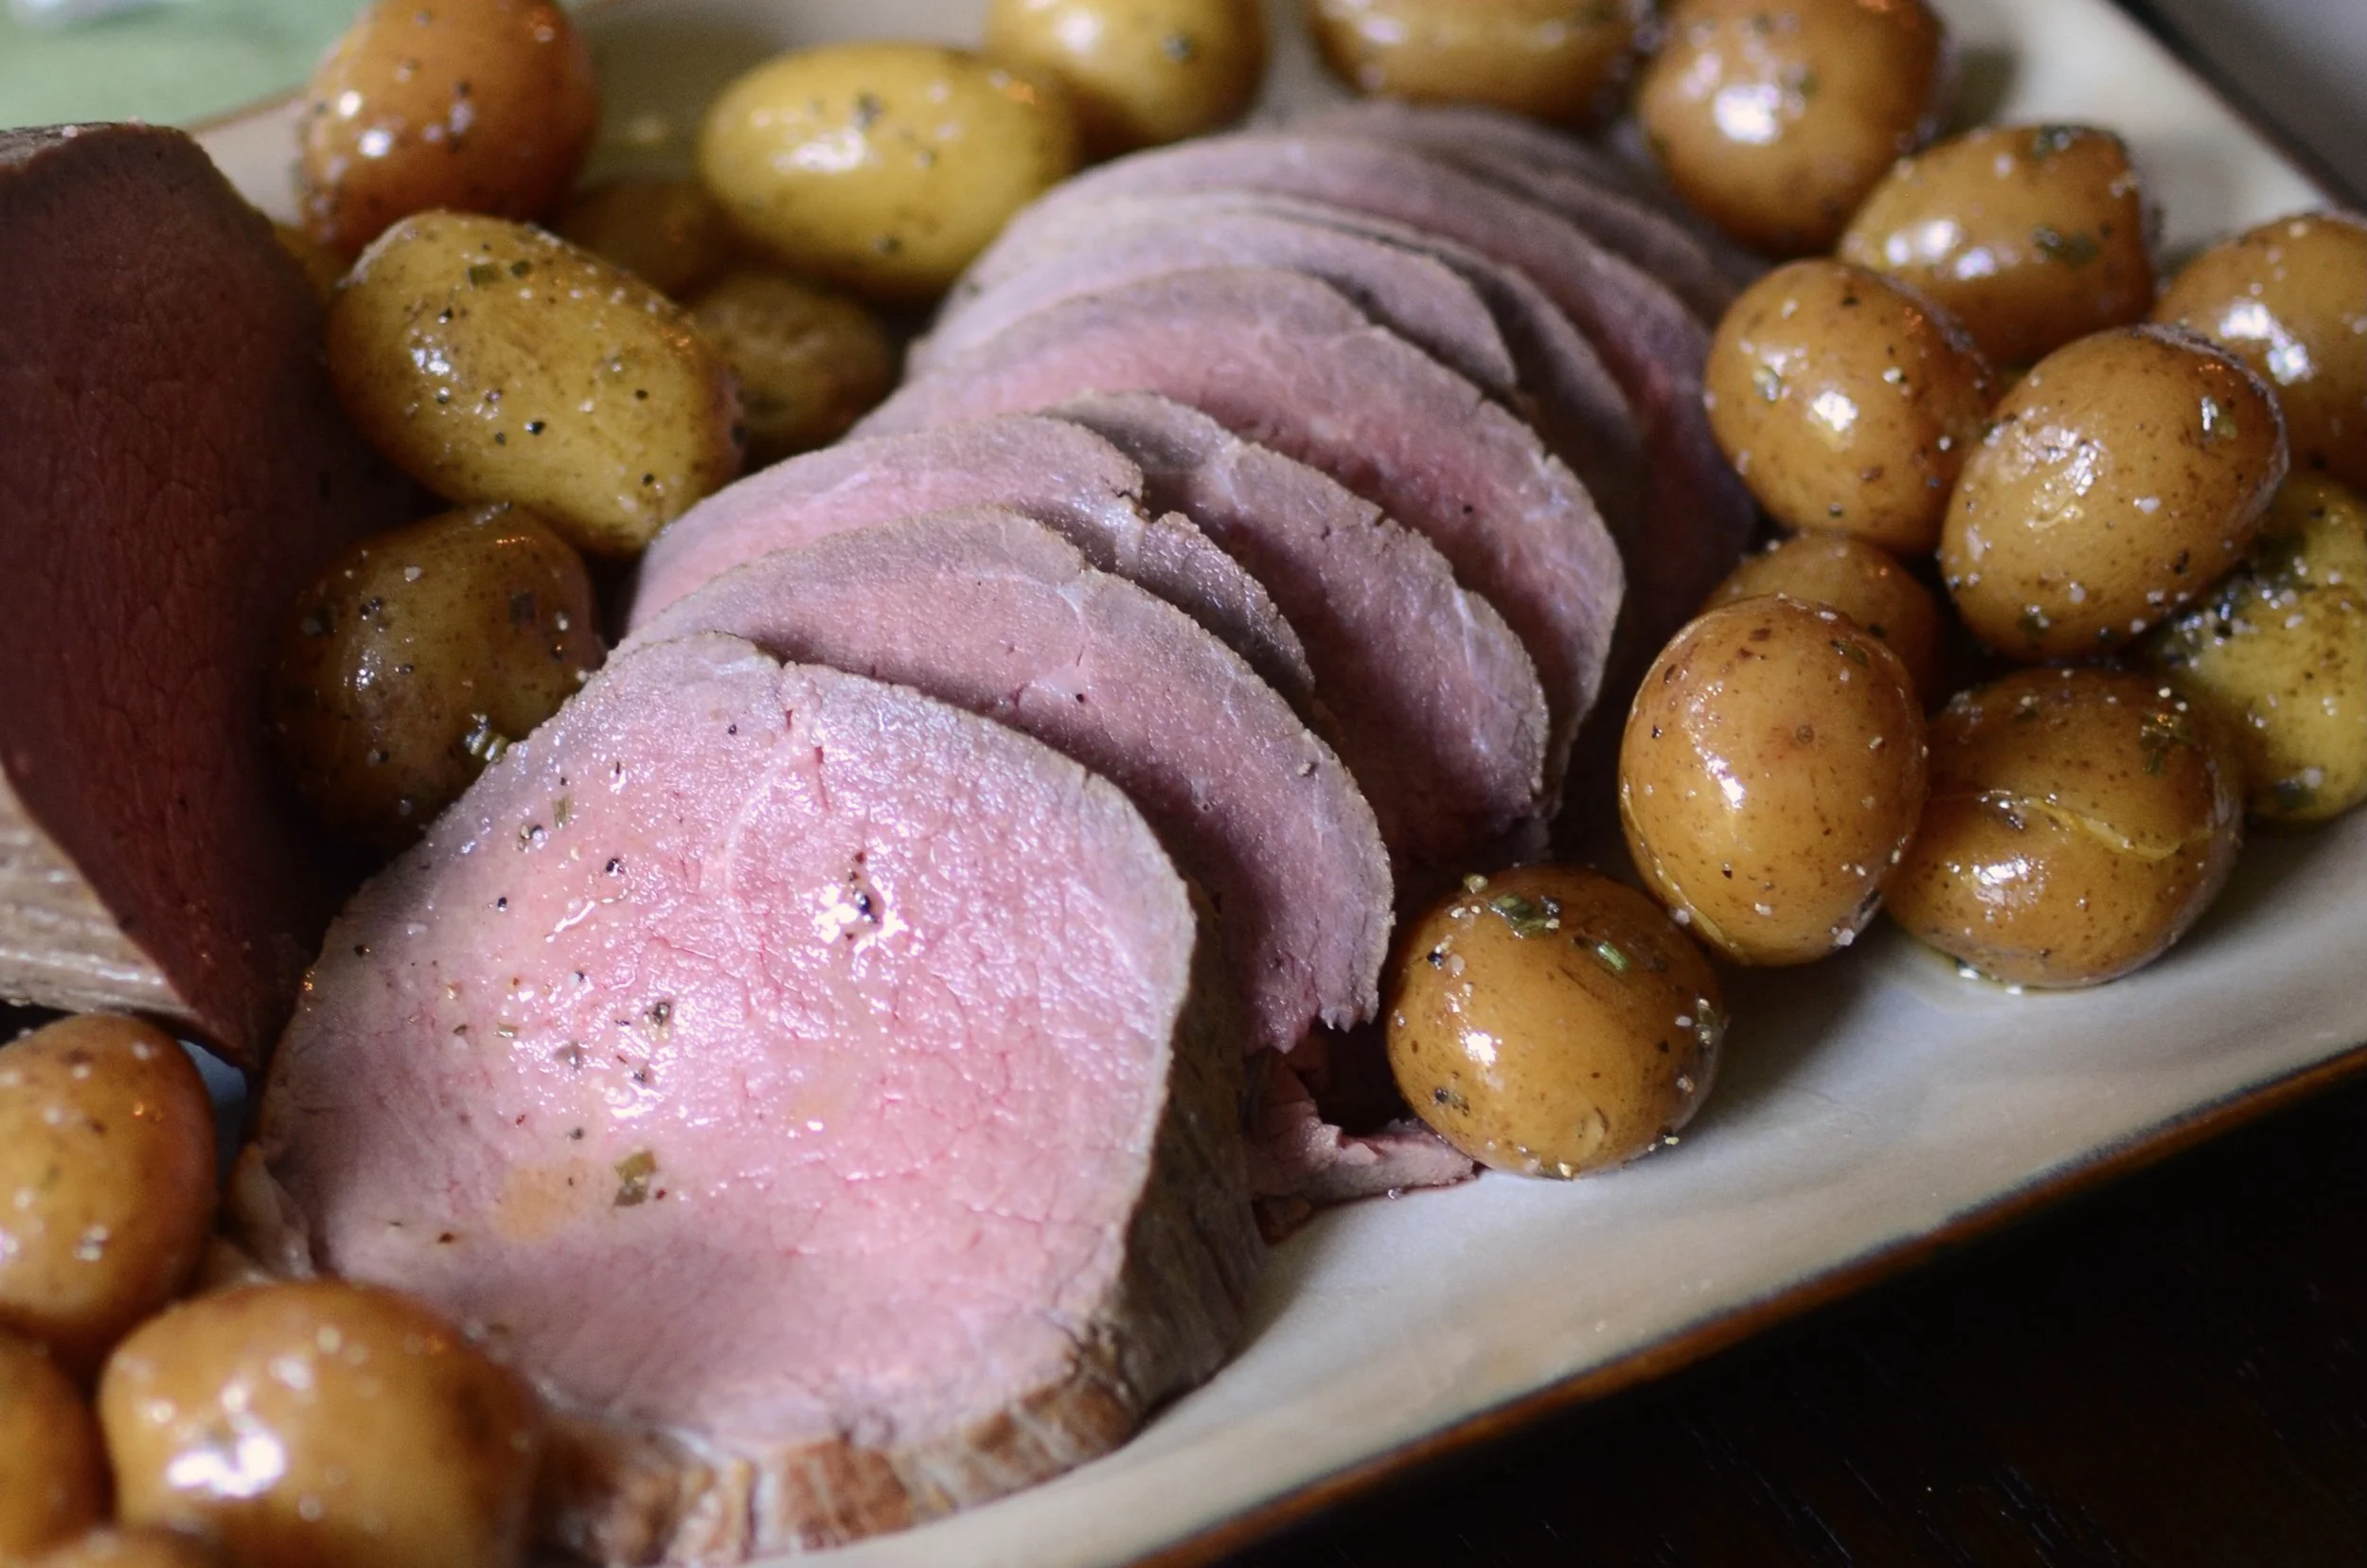
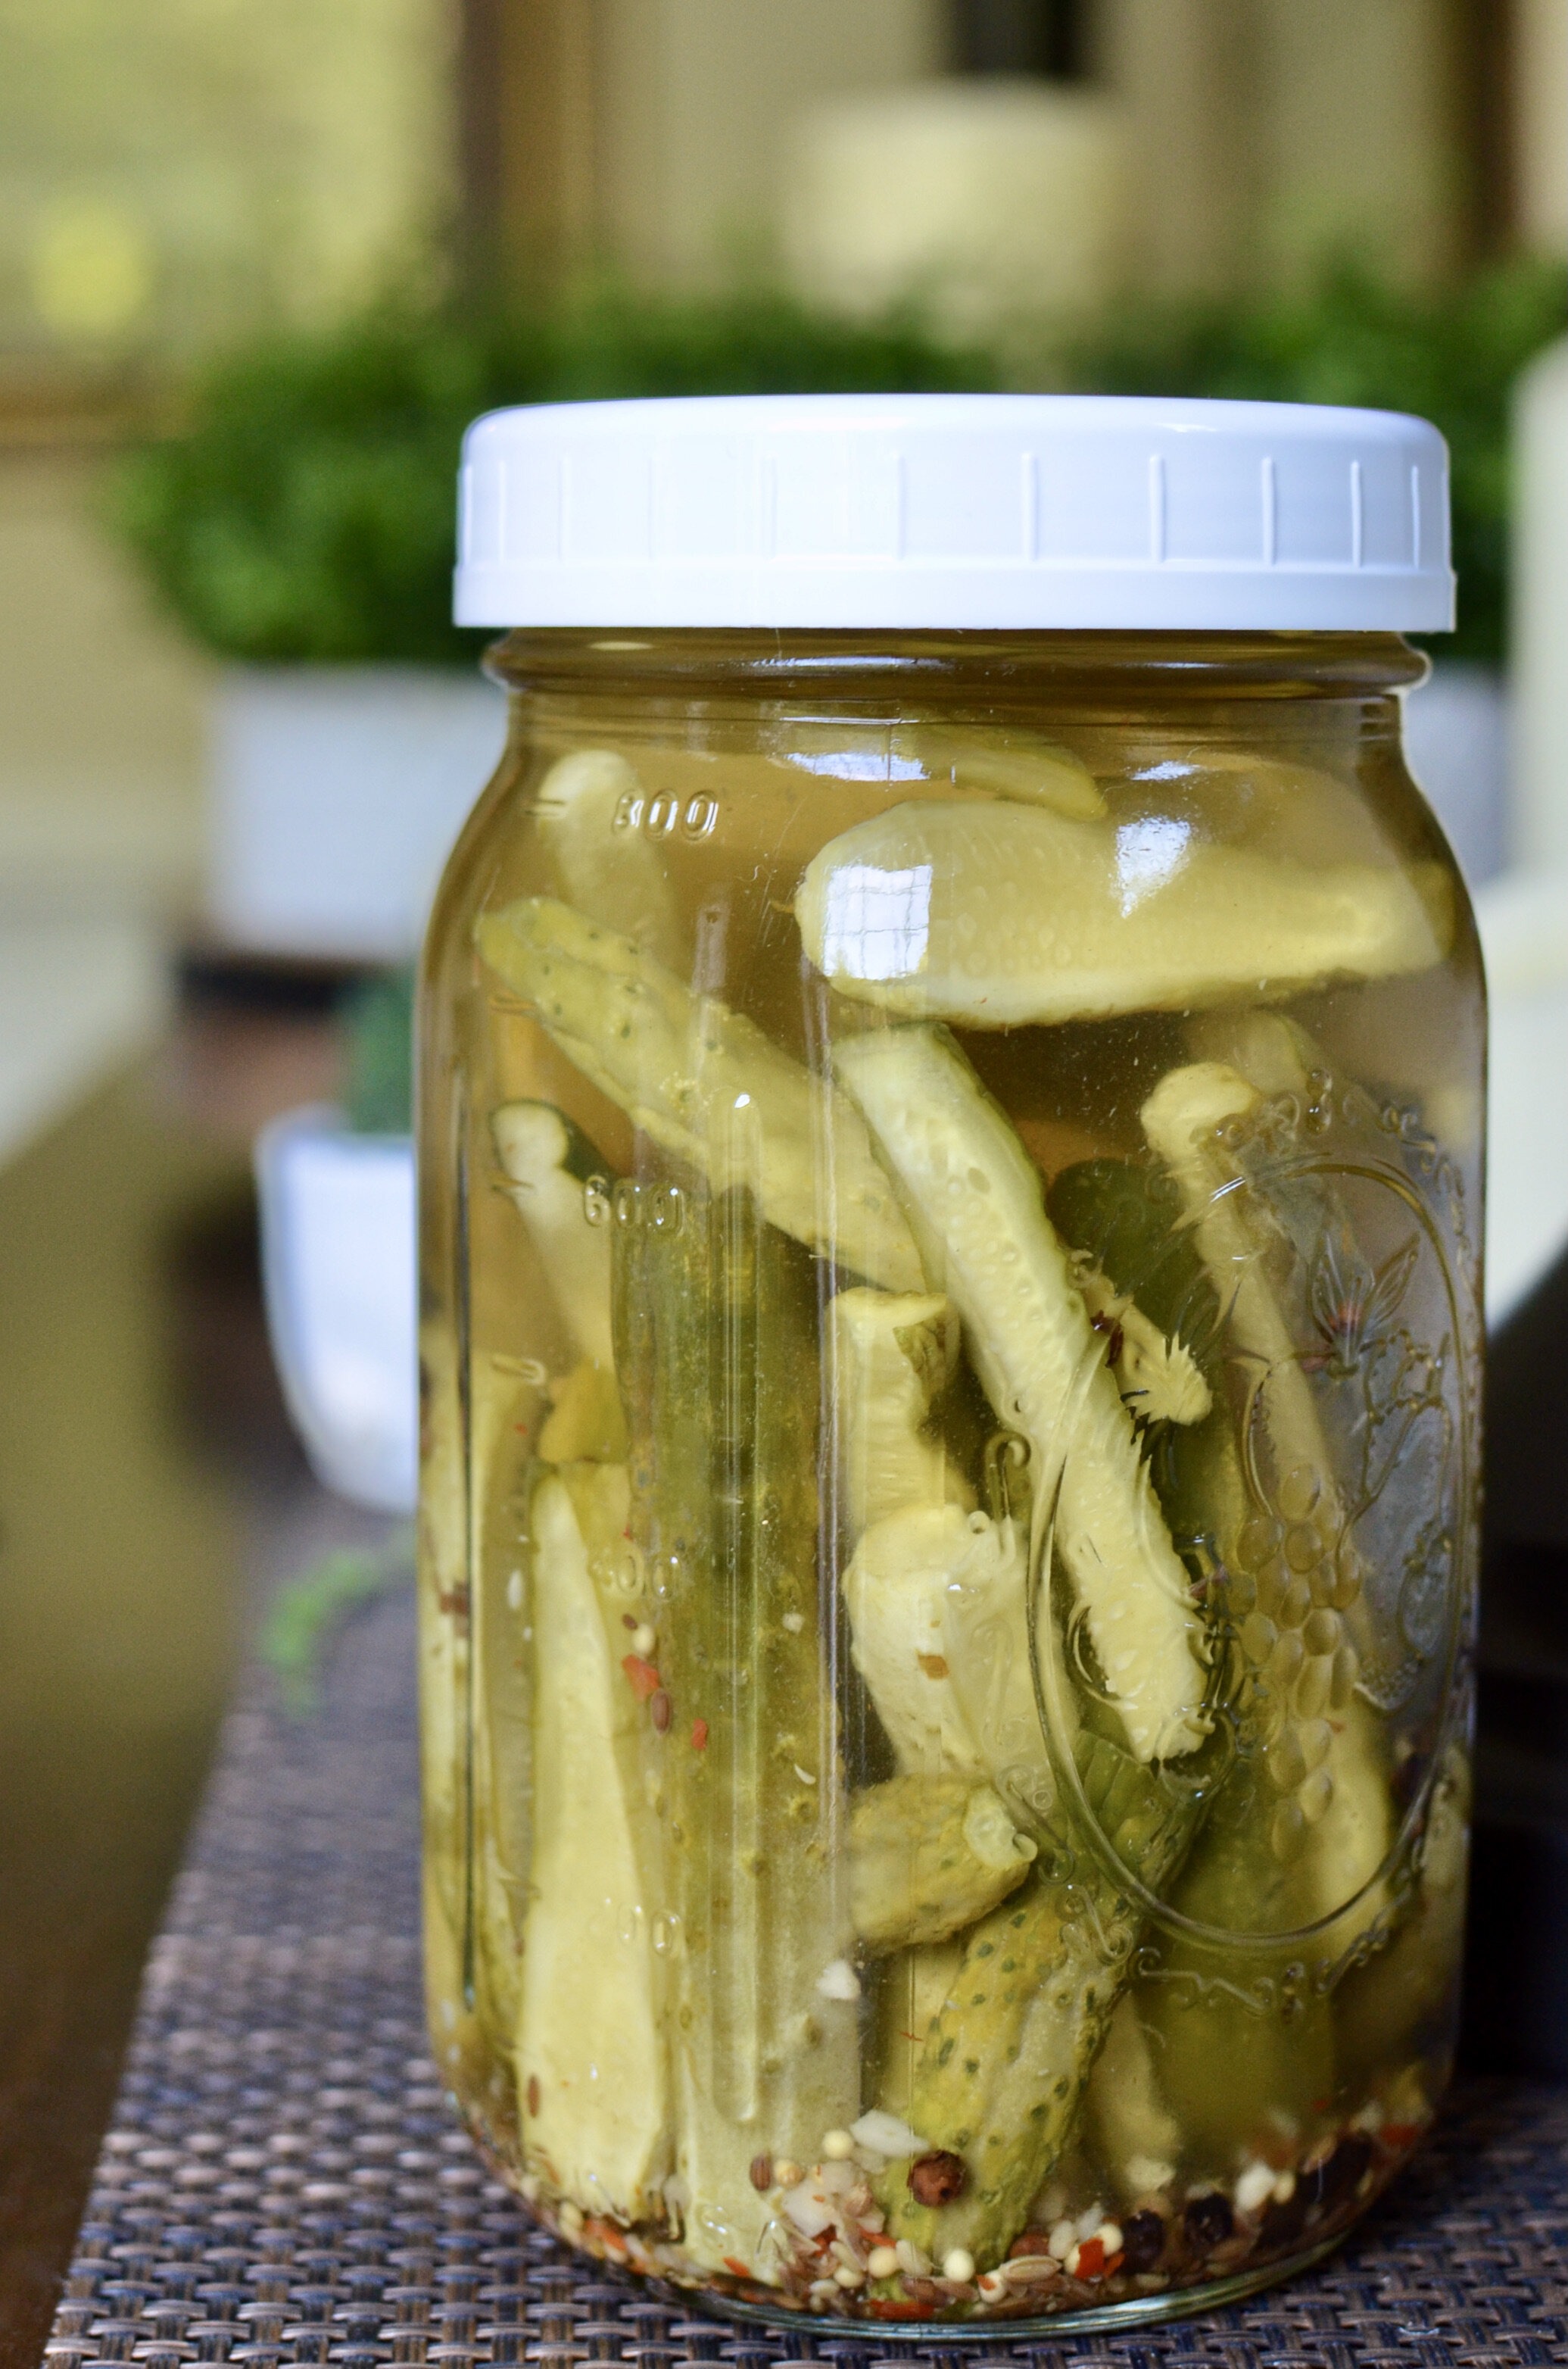
If you subscribe to my monthly newsletter, you know I promised to share this amazing steak recipe this month and today is the day! But first, a little background - a couple of times a year, we like to butcher a whole ribeye roast into steaks that we then vacuum seal and stash away in the freezer for special occasions and family get-togethers. This year, however, the rather substantial increase in beef prices left me with a serious case of sticker shock. Then I thought about a technique that would reportedly turn a fairly tough and inexpensive cut of beef (chuck) into a tender and flavorful steak that could rival a ribeye. A whole chuck roast was 1/3 the cost of the ribeye roast so that sealed the deal for me, and the results were nothing short of spectacular. I urge you to give this easy technique a try - you will not be disappointed!

sous.vide.chuck.steak.2_butteryum.jpeg

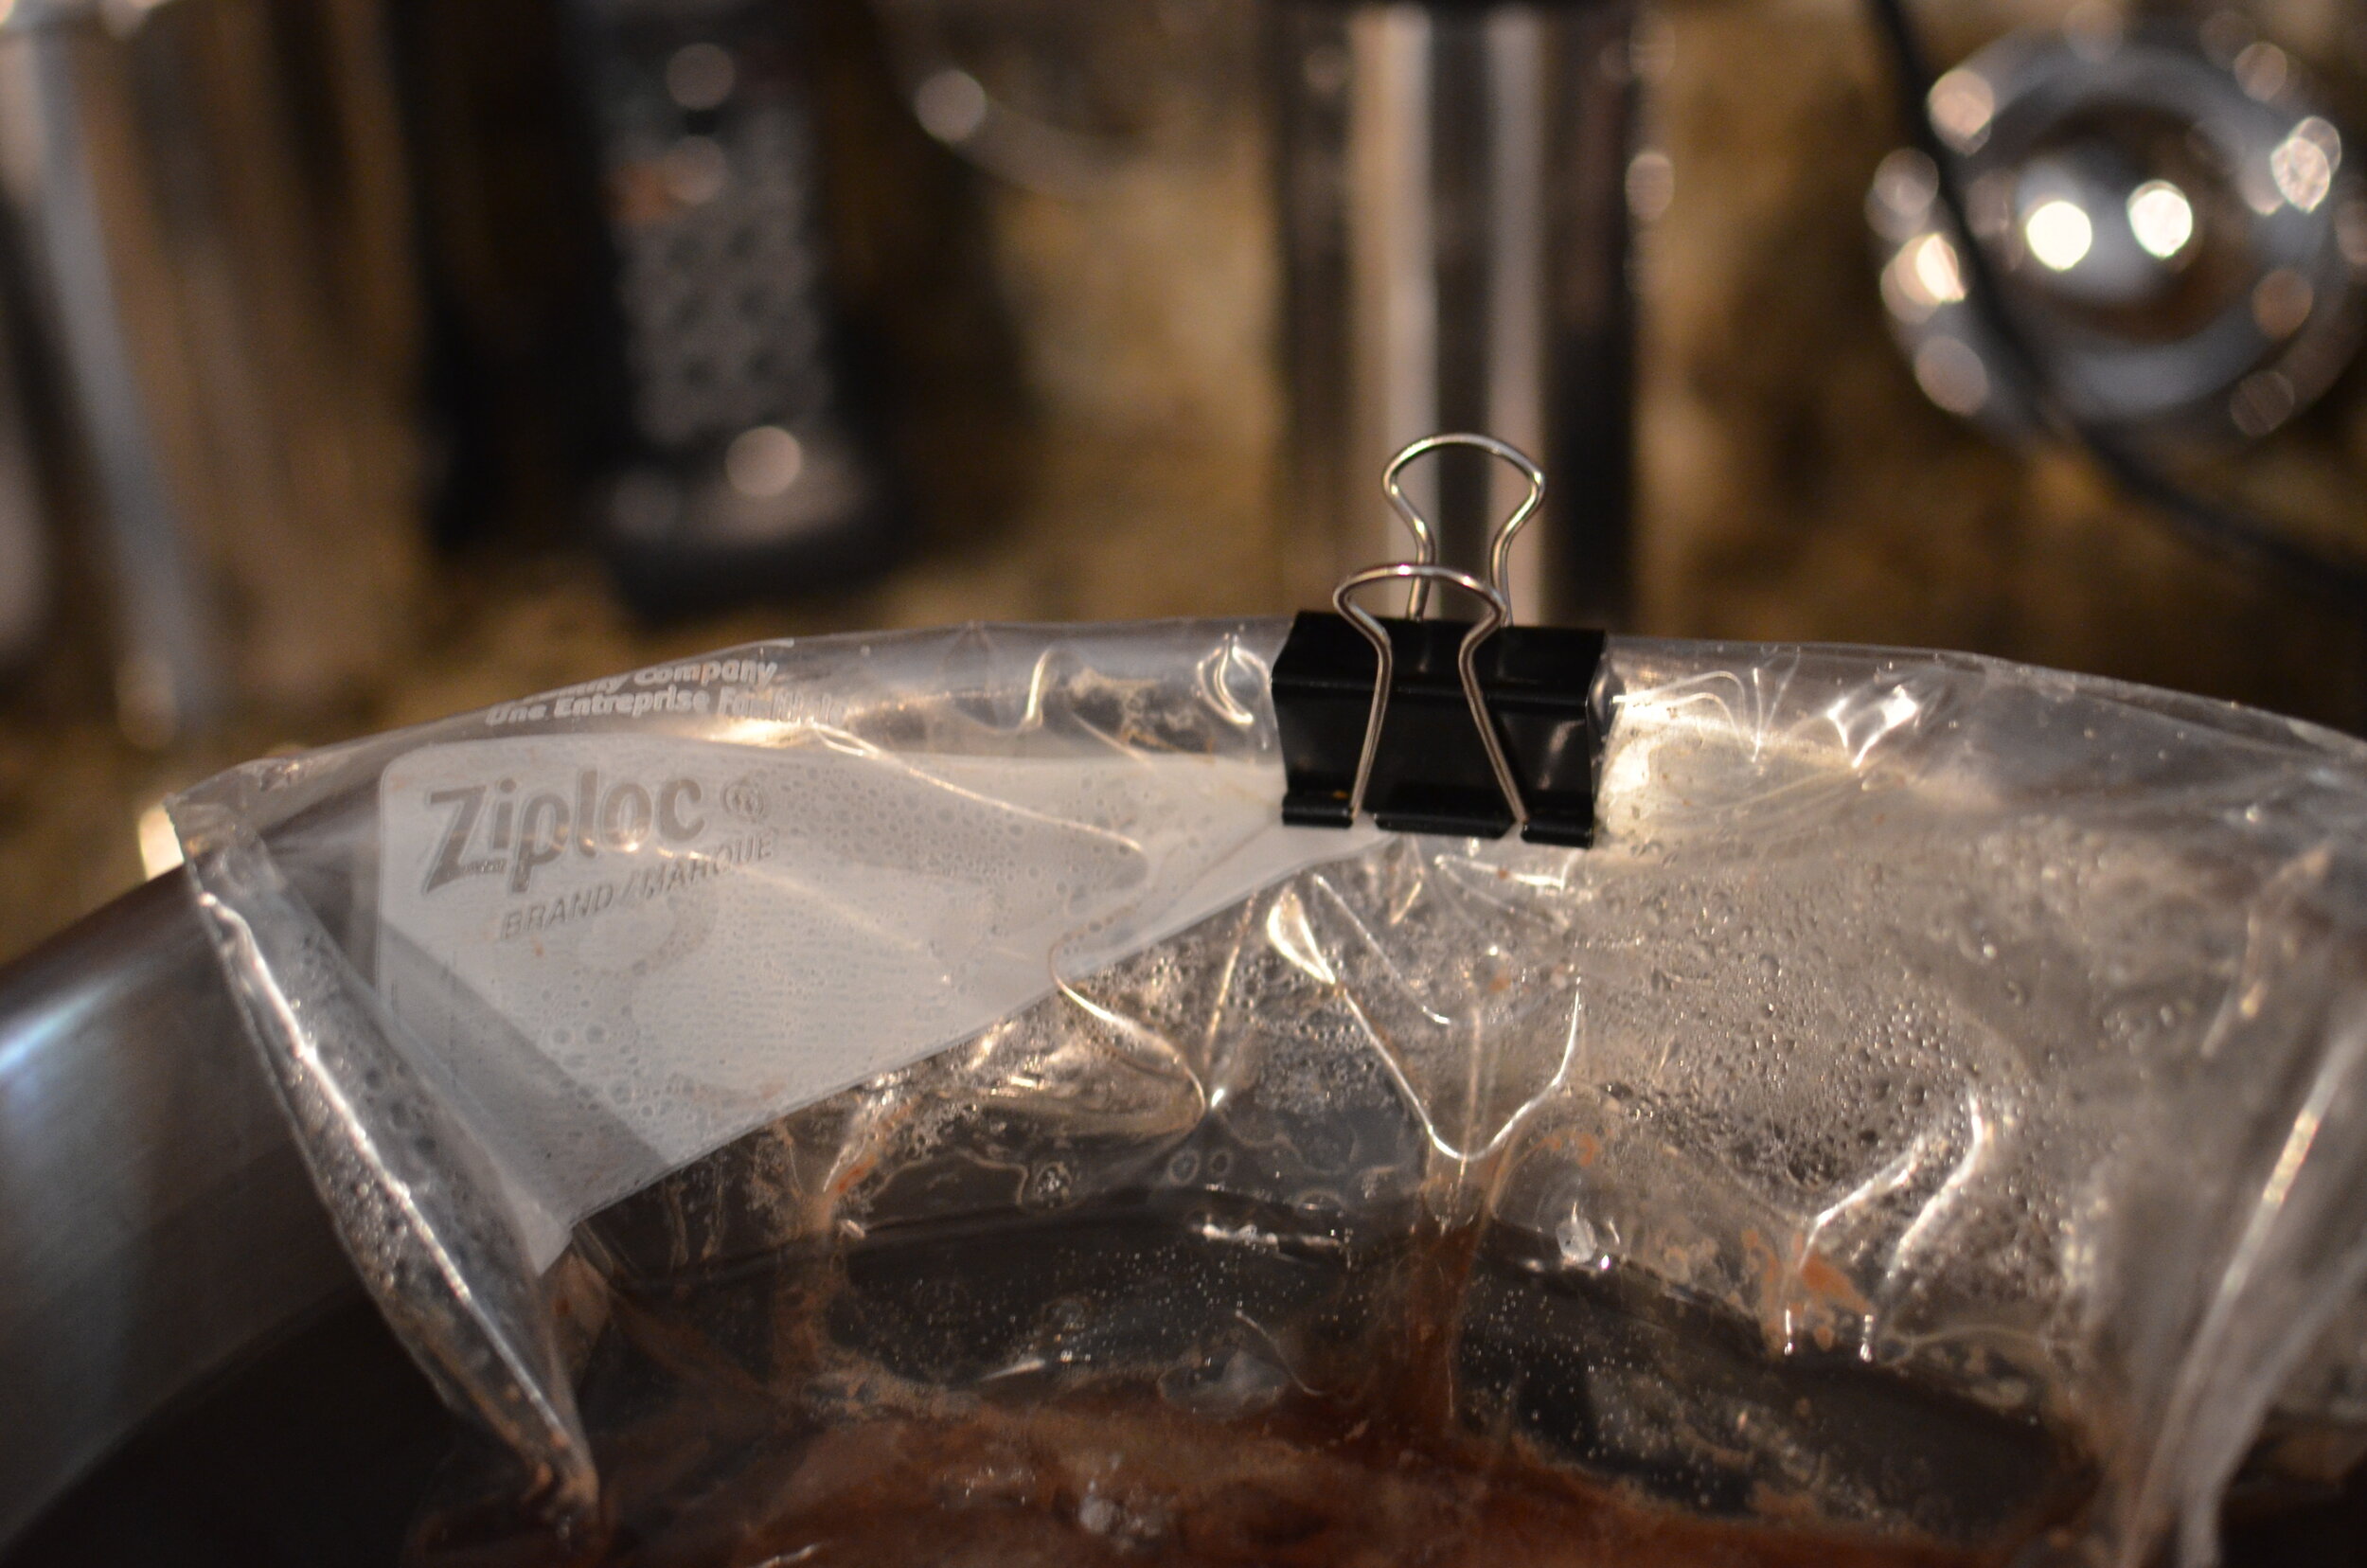
In case you haven’t already figured it out, we’re going to cook the chuck using the Sous Vide technique. Place bagged steak(s) into cooking vessel and clip to side to prevent the bag(s) from moving during the cooking process (which can interfere with water circulation). If you cook more than one steak, place each in its own bag. Be sure to remove as much air from the bag as possible so the steak(s) stay submerged under the water. If needed, you can weigh down the bag with a dull stainless steel butter knife or spoon. The stainless flatware will not interfere with the flavor of the steak.

sous.vide.chuck.steak.3_butteryum.jpeg

Anchor the immersion circulator to the cooking vessel and set the cooking temperature and time (full recipe at the bottom of the page). Be sure the water level is high enough to completely cover the steaks, but not exceed the maximum water level indicated on the immersion circulator. If your cooking vessel has a lid, use it to prevent evaporation (otherwise, monitor the water level during the cooking process and add water as needed). The steaks should stay submerged at all times during the cooking process.

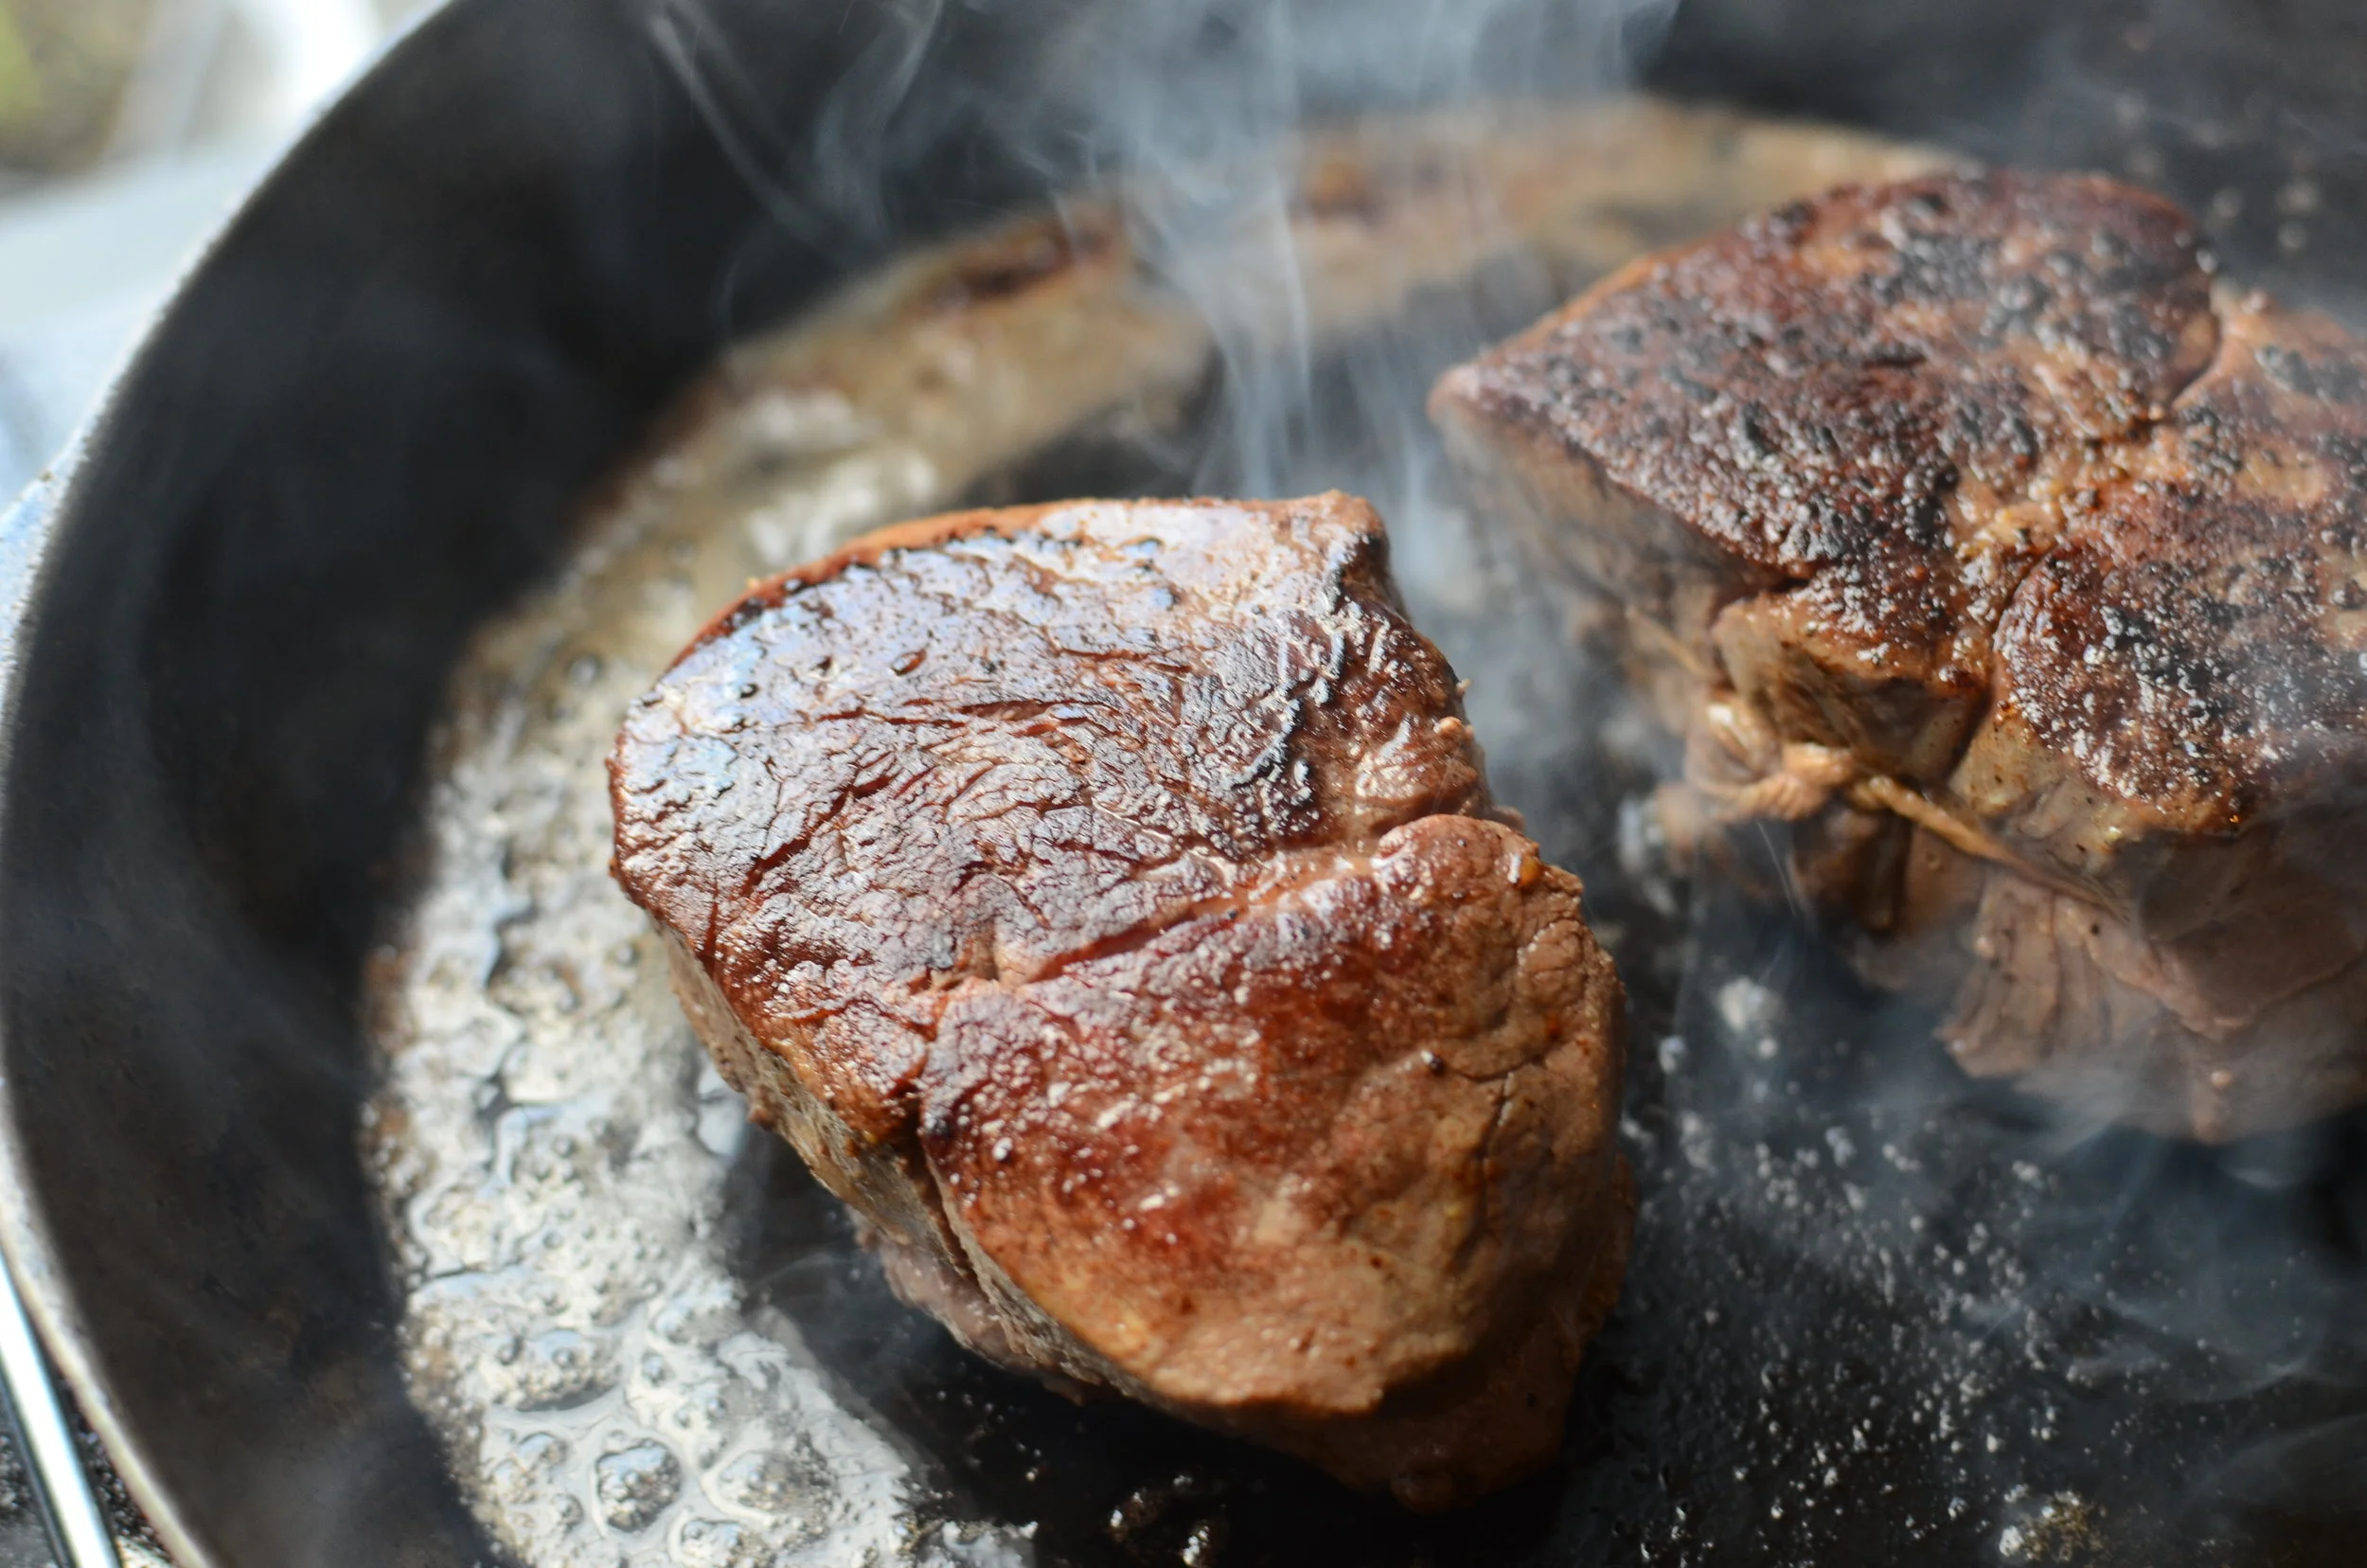
At the end of the cooking time, remove the steak(s) from the bag and pat dry. Sear on all sides in a very hot cast iron skillet that contains 1 tablespoon of oil. Searing should only take a minute or two per side. Don’t forget to sear the edges too!

Alternatively, you can sear the steak(s) on a hot grill or using a sous vide flame-thrower (carefully do this outside please).

sous.vide.chuck.steak.5_butteryum.jpeg

Sous vide steaks do not need to rest before serving so you can enjoy them immediately. Happy cooking!

Items used to make this recipe:

(affiliate links)


Sous Vide Chuck Roast Steak

makes 4-6 servings

Printable Recipe

Ingredients

  • 3-pound chuck steak (about 1 1/2-inches thick)

  • 1 teaspoon kosher salt

  • optional butter and flaked salt for serving

Directions

  1. Sprinkle chuck roast steak on all sides with salt and place in a gallon-size freezer bag; remove as much air as possible before sealing (alternatively, vacuum seal in appropriate vacuum bag (like a foodsaver bag).

  2. Clip bag to side of water-filled vessel, being sure steak is submerged under the water.

  3. Place the immersion circulator in vessel and be sure it is well anchored (an official sous vide vessel or a large stockpot); set the temperature for 135F and set the cook time for 24 hours. If your sous vide vessel includes a lid, you probably won’t have to worry about evaporation, but if your vessel is uncovered, monitor the water level during the entire cooking process and add water as needed (mine does not have a cover and I had to add 1-2 cups of water every 8 hours).

  4. Remove steak(s) from bag and pat dry. Sear in a very hot cast iron skillet that contains a tablespoon of oil; sear both sides for a minute or two, then sear the edges. Alternatively, you can sear the steak(s) on a grill or use a sous vide flame-thrower.

  5. If desired, finish with a pat of butter and a sprinkling of flaked sea salt.

Notes

  • When using zip-top bags, choose freezer bags over storage bags. Storage bags aren’t as sturdy and may leak during the sous vide process.

  • Be sure to remove as much air from the bag as possible so the contents stay under the water level. If needed, you can add a dull, stainless steel butter knife or spoon to the bag. The stainless steel will not affect the steak, but will keep the bag from floating to the top of the water.

  • The steak(s) should stay submerged the entire cooking process. If you have a sous vide vessel that includes a lid, use it. Otherwise, monitor the water level for evaporation during cooking and add more water as needed.

  • The sous vide vessel you use should be large enough to allow the steaks to be submerged without exceeding the “MAX” water level indicated on the immersion circulator.

  • Vacuum seal bags are a great option, but not necessary. I usually use gallon-size zip-top freezer bags.

  • Cambro containers are a clear polycarbonate that withstand temperatures up to 160F, making them a great vessel to cook using the sous vide method.

  • Some immersions circulators are magnetic, making a clamp unnecessary as long as you use a magnetic vessel such as a stainless steel stockpot.

  • Non-magnetic immersion circulators usually include a clamp to anchor to a vessel.

  • Some immersion circulators are waterproof, but not all are. Don’t be tempted to use an immersion circulator that isn’t anchored to a vessel - it can be severely damaged if the electronic components fall into the water.