Freezer-Friendly Apple Crisp
Patricia @ ButterYum
This apple crisp recipe can be prepped and frozen for up to 9 months — when you’re ready to enjoy it, just pop it into a hot oven, straight from the freezer. It’ll be ready to serve in about an hour. Top with a scoop of vanilla ice cream and your’ll be in apple crisp heaven.
Pile the prepared apples in a pan. You can bake this recipe in a standard baking dish, but when I’m making it to store in the freezer, I like to use disposable “half size” foil pans so I can keep my glass and ceramic baking dishes available for use in the kitchen. I cut the apples about 1/8-inch thick and 1 inch or so wide so they fit easily on a fork or spoon.
Fun fact - when consuming something that can be eaten with either a spoon or a fork, I’m team spoon.
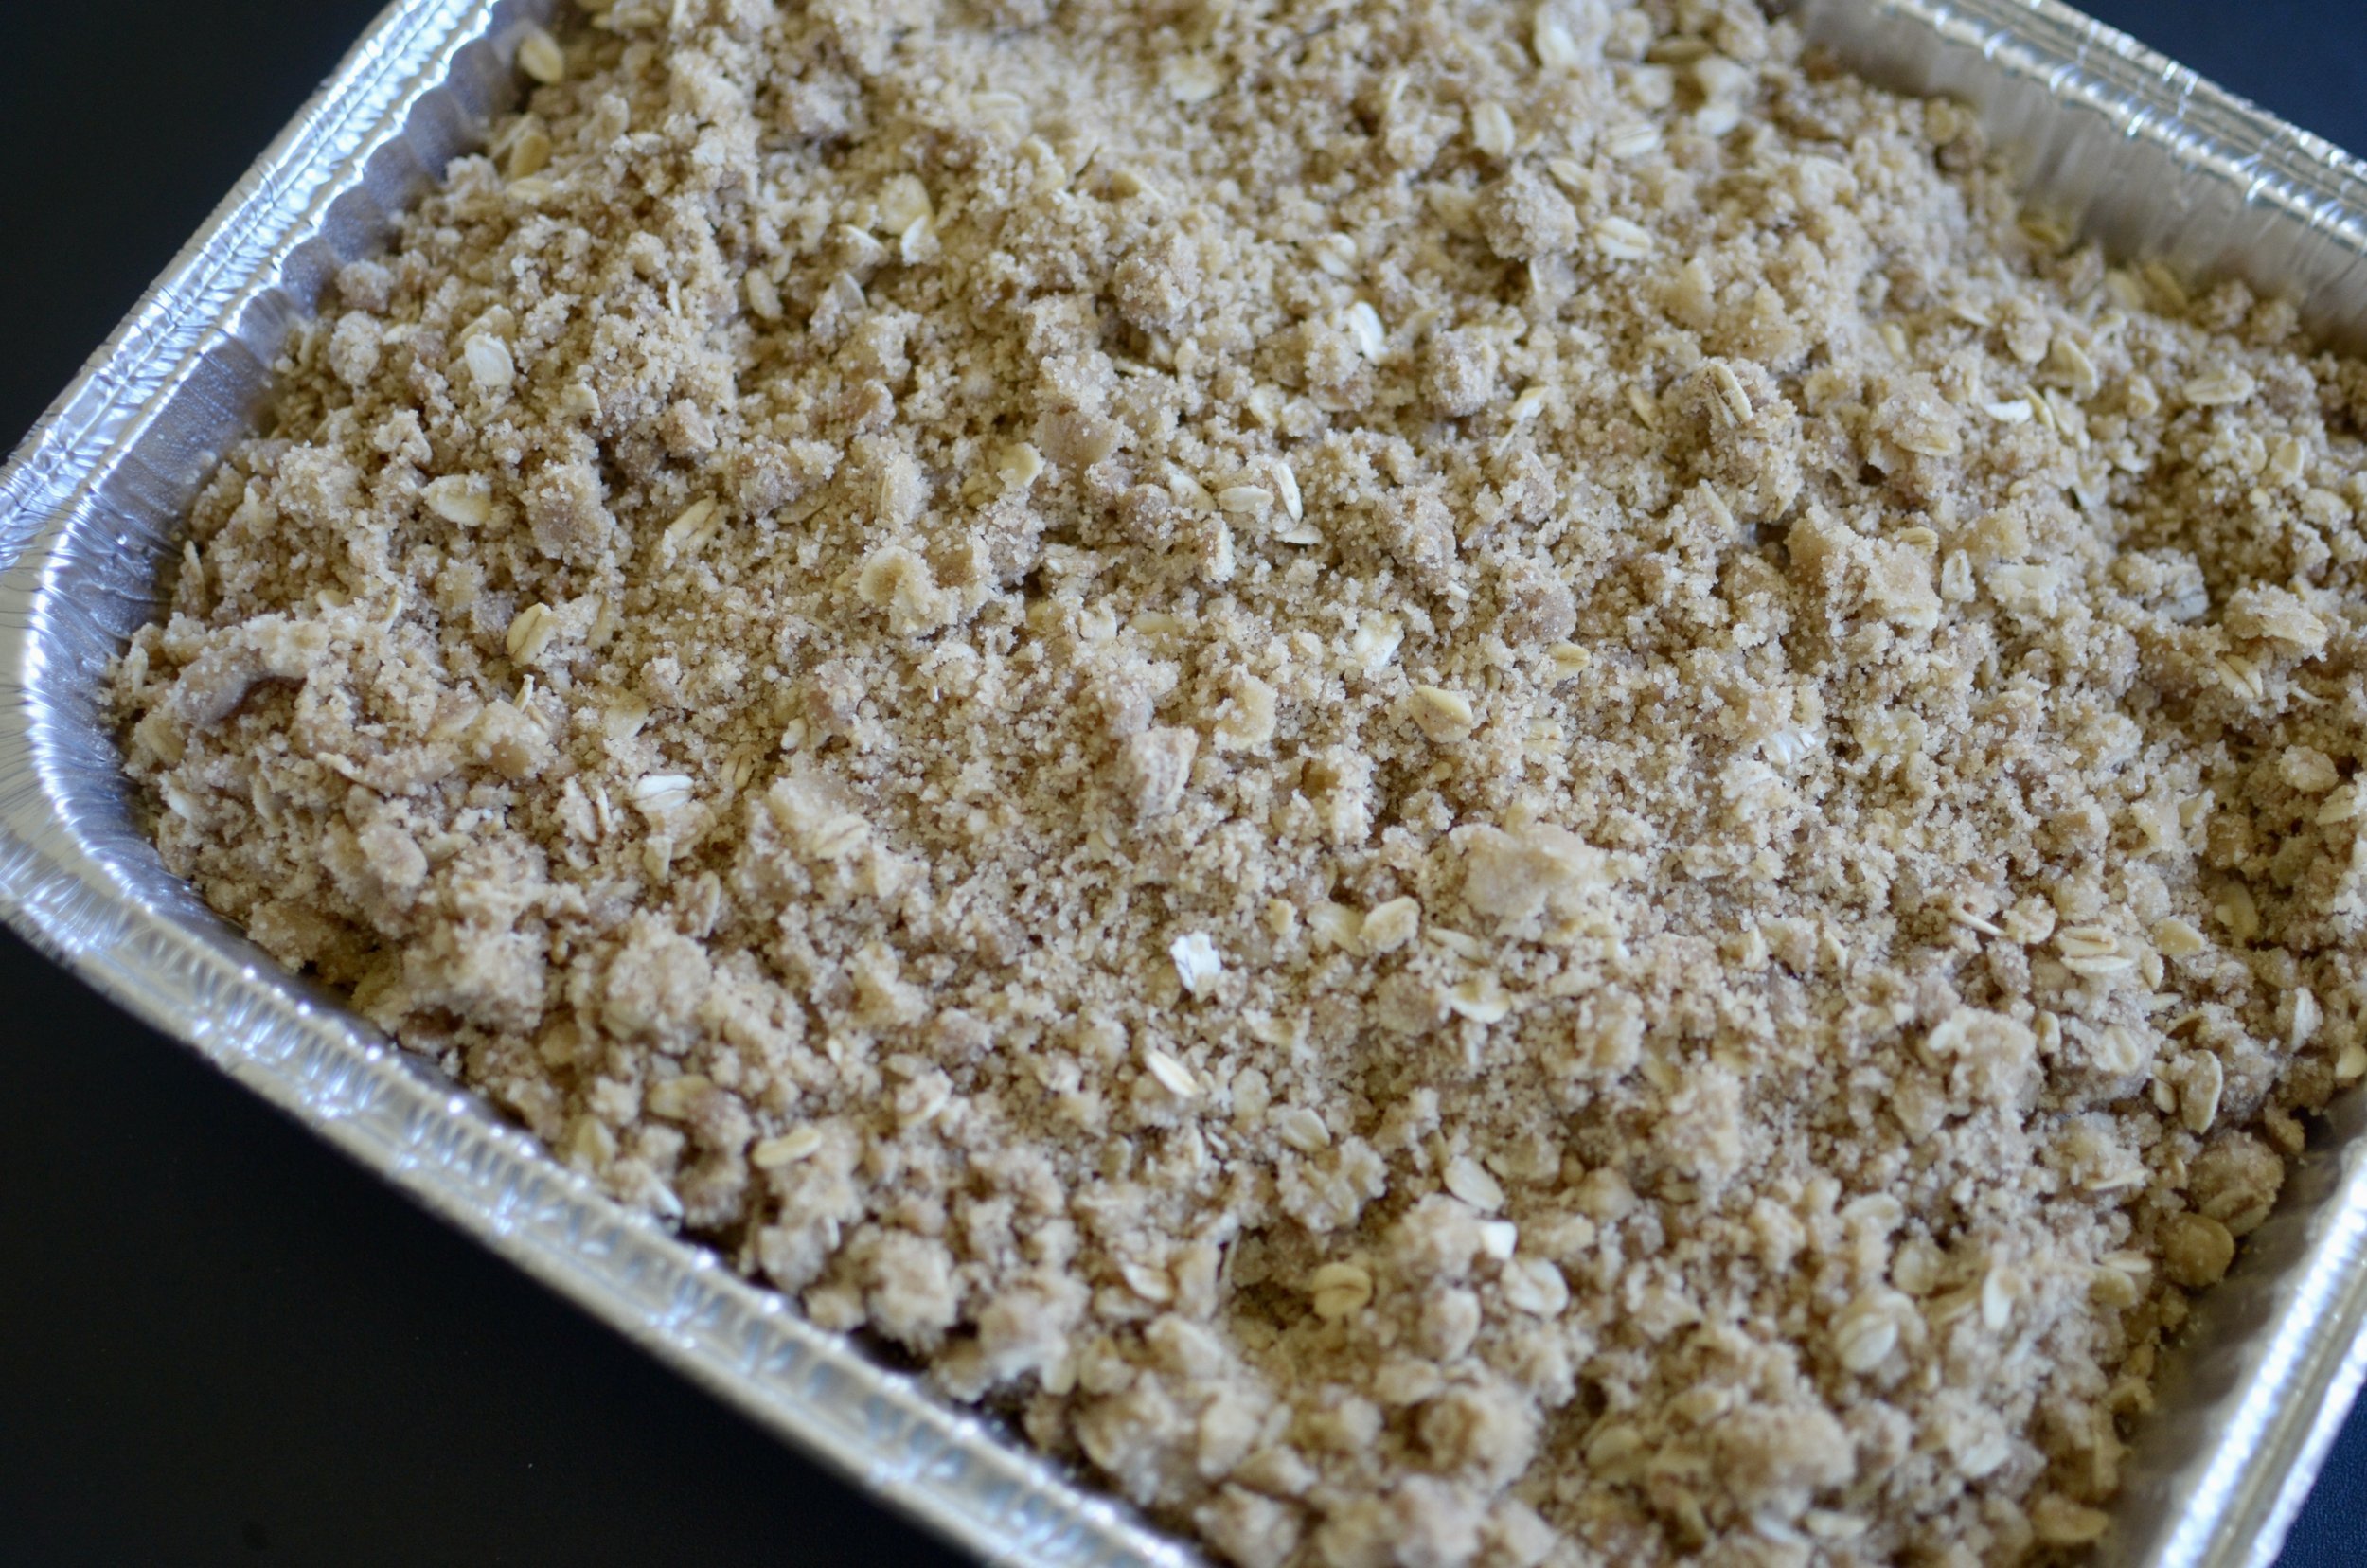
The topping is easily stirred together and spread evenly over the apples.
Seal the pan well with heavy duty aluminum foil and label with date and cooking instructions. If you don’t have heavy duty foil, use a double layer of regular foil and crimp it well.
Bake as directed and enjoy!
Items used to make this recipe:
(affiliate links)
my favorite apple peeler https://amzn.to/3HsvdVw
disposable “half size” foil pans https://amzn.to/3eCIUoz
9x13 casserole dish https://amzn.to/34aVZnf
heavy duty foil https://amzn.to/3FMcHY6
Freezer Friendly Apple Crisp
makes one 9x13 casserole dish
Ingredients
3 pounds apples, peeled and sliced thin (golden delicious or gala)
2 cups all purpose flour
1 cup brown sugar (light or dark)
1 cup old fashioned rolled oats
1 cup unsalted butter, melted
1/4 teaspoon fine salt
1/4 teaspoon ground cinnamon
1/4 teaspoon ground cloves
1/4 teaspoon ground nutmeg
Directions
Preheat oven to 350F and coat 9x13 baking dish with butter or nonstick spray.
Place sliced apples in prepared pan, spreading into an even layer.
Make the crisp topping by stirring together the remaining ingredients until no dry ingredients remain and clumps start to form.
Sprinkle the crumb topping evenly over the apples.
Seal pan with heavy duty foil or double layer or regular foil.
Bake immediately for 30-40 minutes. From frozen, bake covered for 20 minutes, then uncovered for 30-40 minutes more.
Notes
Slice apples 1/8-inch thick and about 1-inch wide.
I suggest using apple varieties that hold their shape well during baking and have a light, sweet flavor (such as golden delicious or gala). The only sugar in this recipe is found in the crumb topping so I avoid using tart apple varieties (like Granny Smith).
I like to make multiple batches all at once and use disposable half size, deep, steam table pans for storage in the freezer (equivalent to a 9x13 pan). Sometimes the pans come with covers, otherwise cover with a layer of heavy duty foil (or a double layer of regular foil).
When serving warm, I like to top with vanilla ice cream. When serving cold, I like to top with freshly whipped cream.

