Paul Hollywood's Brownies
Patricia @ ButterYum
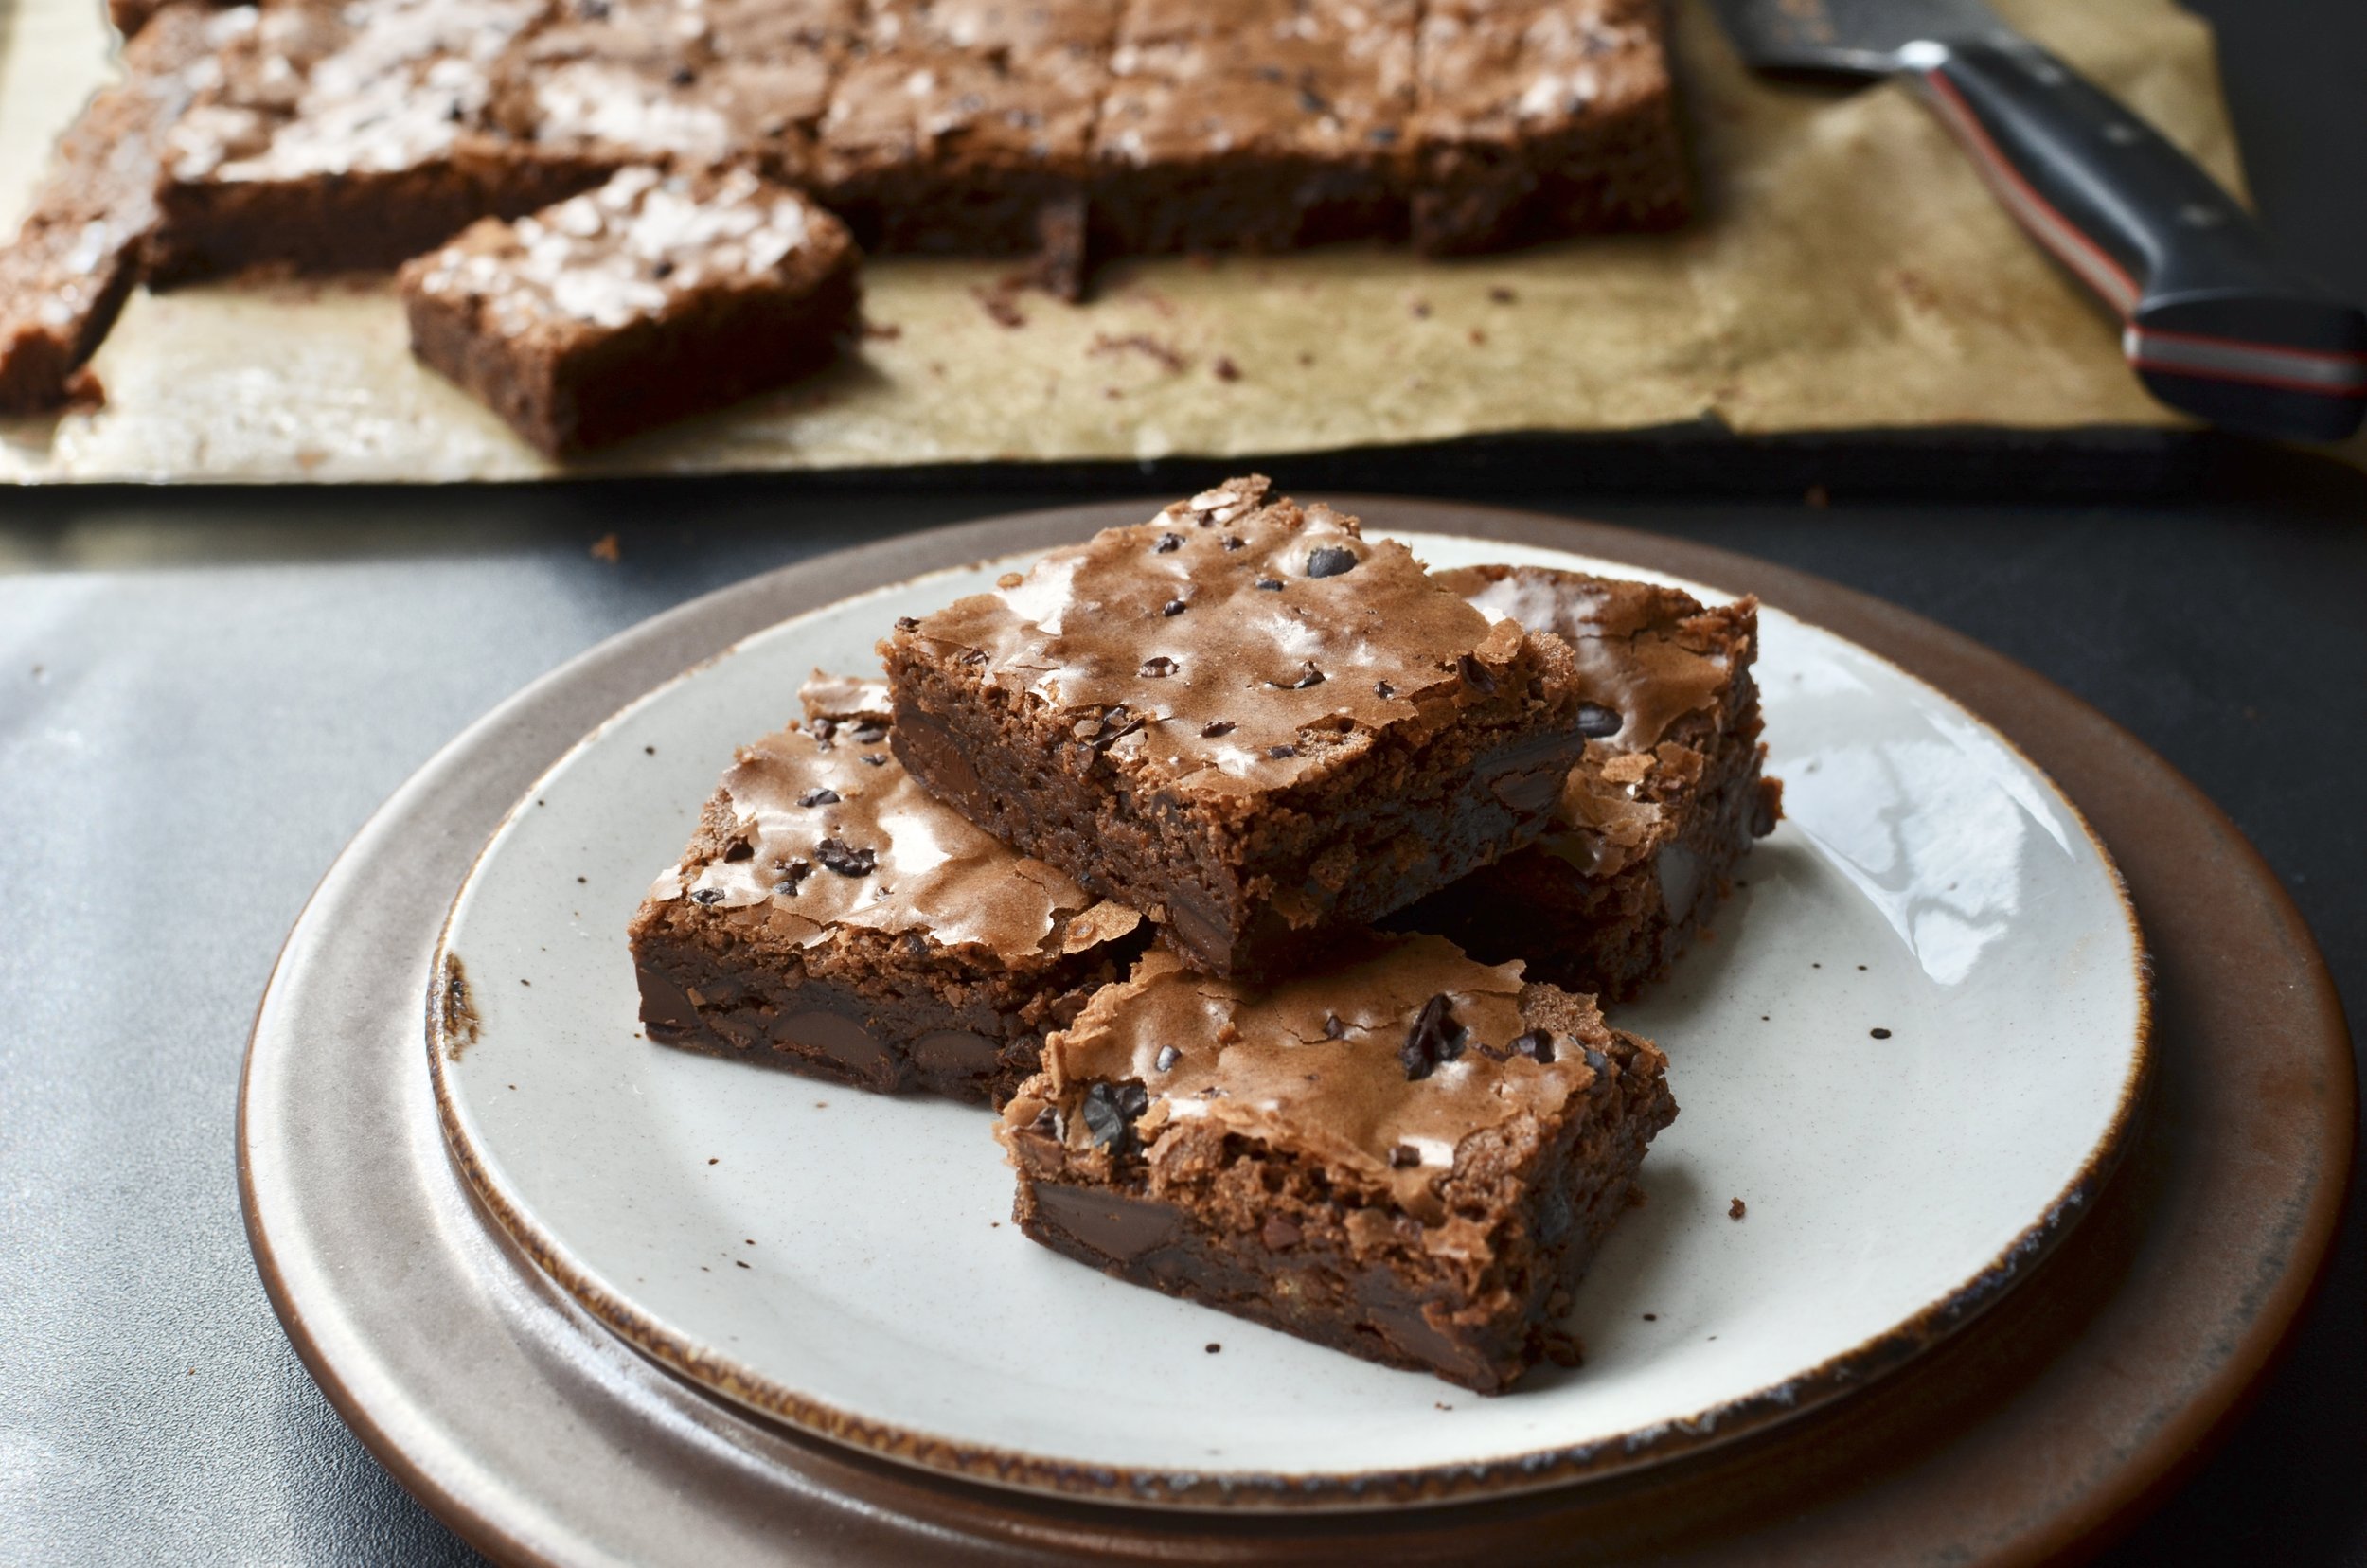
I recently read Dorie Greenspan’s review of a brownie recipe from Paul Hollywood’s new cookbook Bake: My Best Ever Recipes for the Classics. Dorie raved about the brownies which contain three kinds of chocolate (milk, semisweet, and bittersweet). The brownies also contain cacao nibs (aka cocoa nibs), dried bits of unsweetened cacao beans. I trust Dorie implicitly and was intrigued when she explained how the nibs added an edgily pure chocolate flavor and retained their crunchy texture throughout the baking process. I totally agree and really loved the way the finished brownies looked with the little nib flecks sprinkled about.
This recipe is somewhat flexible. I didn’t have any milk chocolate in the house so I replaced it with more semisweet chocolate and the brownies were just fine. These relatively thin brownies are deeply chocolate in flavor, dense and fudgy in texture, and they have that shiny, crackly top that everyone loves. I can’t stay away from them!
Fun fact - the brownie batter is much darker in color than the finished brownies are so you have to wait until the brownies are baked to see the beautiful color contrast of the dark nibs against the shiny, crackly tops. I think they’re Stunning!
Enjoy!
Items used to make this recipe:
(affiliate links)
cacao nibs (aka cocoa nibs) https://amzn.to/3MrhX7n
pure vanilla extract https://amzn.to/3rQIaTv
9x13 professional cake pan https://amzn.to/3SZGrXQ
flat parchments sheets https://amzn.to/3hsffUl
Baker’s Joy baking spray https://amzn.to/3PCQxgG
Bake: My Best Ever Recipes for the Classics by Paul Hollywood https://amzn.to/3VpMzKu
Paul Hollywood’s Brownies
makes a 9x13 cake pan
Ingredients
8 ounces (225g) semisweet chocolate, chopped
16 tablespoons (225g) unsalted butter, cut in pieces
3 large eggs (150g), room temperature
1 cups plus 2 tablespoons (225g) superfine sugar (see notes below)
2/3 cup (75g) all purpose flour
1 teaspoon baking powder
1/2 teaspoon fine salt
1 teaspoon pure vanilla extract
1/2 cup milk chocolate chips
1/2 cup bittersweet chocolate chips
1 tablespoon cacao nibs
Directions
Preheat oven to 350F and place rack in center position.
Line a 9x13-inch commercial cake pan with a parchment paper sling. Use a baking spray (like Baker’s Joy) to coat any part of the pan that isn’t covered with parchment paper.
In a glass or metal bowl suspended over a pan of simmering water, melt semisweet chocolate and butter together, stirring occasionally (see notes below); remove the bowl from the heat and allow the mixture to cool for at least 10 minutes.
In a small bowl, whisk together the flour, baking powder, and salt; set aside.
In the bowl of a stand mixer fitted with a flat paddle attachment, beat the eggs and sugar on medium-high speed until thick and very light in color. Alternatively, beat using a hand mixer for about 8 minutes.
Turn off mixer and add the cooled chocolate mixture; beat on low speed just until combined (a few streaks may remain).
Turn off mixer and add flour mixture and pure vanilla extract; beat on low speed until most of the dry ingredients are incorporated.
Remove bowl from stand mixer and fold in the milk and bittersweet chocolate chips by hand; being sure all dry ingredient are incorporated.
Pour batter into prepared pan and spread into an even layer; sprinkle the cacao nibs evenly over the surface of the batter.
Bake for 20-30 minutes until a toothpick inserted in the center of the brownies comes out clean (a crumb or two is fine). You many need to check in a couple of spots if you hit a pocket of melted chocolate.
Remove pan from oven and allow brownies to cool completely in the pan.
Remove brownies by lifting the sling straight out of the pan and transfer to a cutting board. Store leftovers between layers of wax or parchment paper in an airtight container.
Notes
If you don’t have superfine sugar, you can substitute an equal amoujnt of granulated sugar.
When baking brownies, I recommend using a professional quality metal cake pan. If you choose to bake in glass, stoneware, or ceramic, lower your oven temp by 25F.
In Step 2: I lined my pan with a sling of flat parchment paper. Flat parchment sheets are much easier to handle than rolled parchment. I spray the pan with a little nonstick cooking spray before adding the parchment sling - the spray will “glue” the parchment in place, yet remain easy to remove after baking. Any exposed pan edges that are not covered with parchment should be sprayed with nonstick baking spray (this is my favorite).
In Step 3: When melting the butter and semisweet chocolate together, be sure the water is barely simmering, and don’t let the bottom of the glass or metal bowl touch the simmering water in the saucepan below.
This recipe calls for 3 kinds of chocolate - milk, semisweet, and bittersweet. I didn’t have any milk chocolate so I replaced it with additional semisweet and was very happy with the results.
When folding the chocolate chips into the batter, I used two different chip sizes and really liked the texture each brought to the finished brownies. Half of the chips were mini and the other half were a flat discs (about the size of 2-3 standard chocolate chips).
Paul uses a hand mixer to beat the eggs and sugar in this recipe for 8 minutes! Dorie recommends the much faster method of using a stand mixer fitted with the paddle attachment - there’s a reason why I’m such a Dorie fan!
And lastly, crispy brownie edges are my favorite, true or false? True!
adapted from Bake: My Best Ever Recipes for the Classics by Paul Hollywood
