Decadent Chocolate Tart
Patricia @ ButterYum
Don't you love it when people make incoherent yummy grumbly food noises when they're eating something so utterly delicious that they can't stop long enough to tell you how much they love it? So yeah, that's what's going to happen when you serve this amazingly decadent chocolate ganache tart. And you won't believe how easy it is to make. Honestly, the hardest thing you'll have to do is wait for it to chill in the fridge.
I started by processing chocolate graham crackers into crumbs using my food processor. The crumbs are then mixed with melted butter.
The placed into a 9-inch fluted tart pan with removable bottom.
Press the crumbs evenly in the bottom and up the sides of the tart pan. I like to use a flat-bottomed measuring cup and my fingers to do this.
Place the prepared crust on a half sheet pan and bake for 10 minutes. The sheet pan doesn't have to be lined, but I lined mine with a silpat just in case any butter oozed out. Easy cleanup.
Cool the tart shell on a cooling rack.
Here's a tip I shared on my facebook page - to help the tart shell cool down quickly, place it in front of a fan. Seriously, I consider my tower fan a vital piece of kitchen equipment. I use it all the time to cool tart shells, cookies, cakes, pies... plus it cools me down when the kitchen gets hot. Bonus!
So now that the crust is cooling, it's time to whip up the filling. Start with 12 ounces of really good quality semisweet chocolate. Just remember, the better the chocolate you use, the better your tart will be.
You can use chocolate chips if you must, but remember they contain emulsifiers that help them keep their shape when melted. In other words, no matter how long you stir, the filling won't be as smooth as it would if you had used chocolate that doesn't contain emulsifiers.
This is a great trick - adding a touch of this wonderful espresso powder enhances the chocolate flavor. It's optional, but I really like it. If you use it, add it right to the bowl with the chocolate.
The recipe calls for heavy cream and a little butter. Here I used a 2-cup glass measure to heat it in the microwave just until it started to bubble. Don't walk away or it might boil over and make a mess in your microwave. (been there, done that!)
As soon as the cream and butter bubble, pour them over the chocolate and espresso powder. Allow the mixture to rest for a couple of minutes while the hot cream and butter melt the chocolate, then use a whisk to gently combine the two. The mixture will look really messy at first, but you'll be amazed at how quickly it transforms into the glorious bowl of luscious below.
Oh my..... be still my heart.
Now grab your cooled tart shell and pour that luscious ganache right inside. Smooth the top and pop it in the fridge to chill, uncovered, for at least 4 hours.
Mmmm. Once the filling has cooled completely, you can store the tart in an airtight container. If you put it in a container before that time, condensation will form on the underside of the lid, and the condensation will drip on your tart and destroy its lovely appearance. We don't want that to happen!
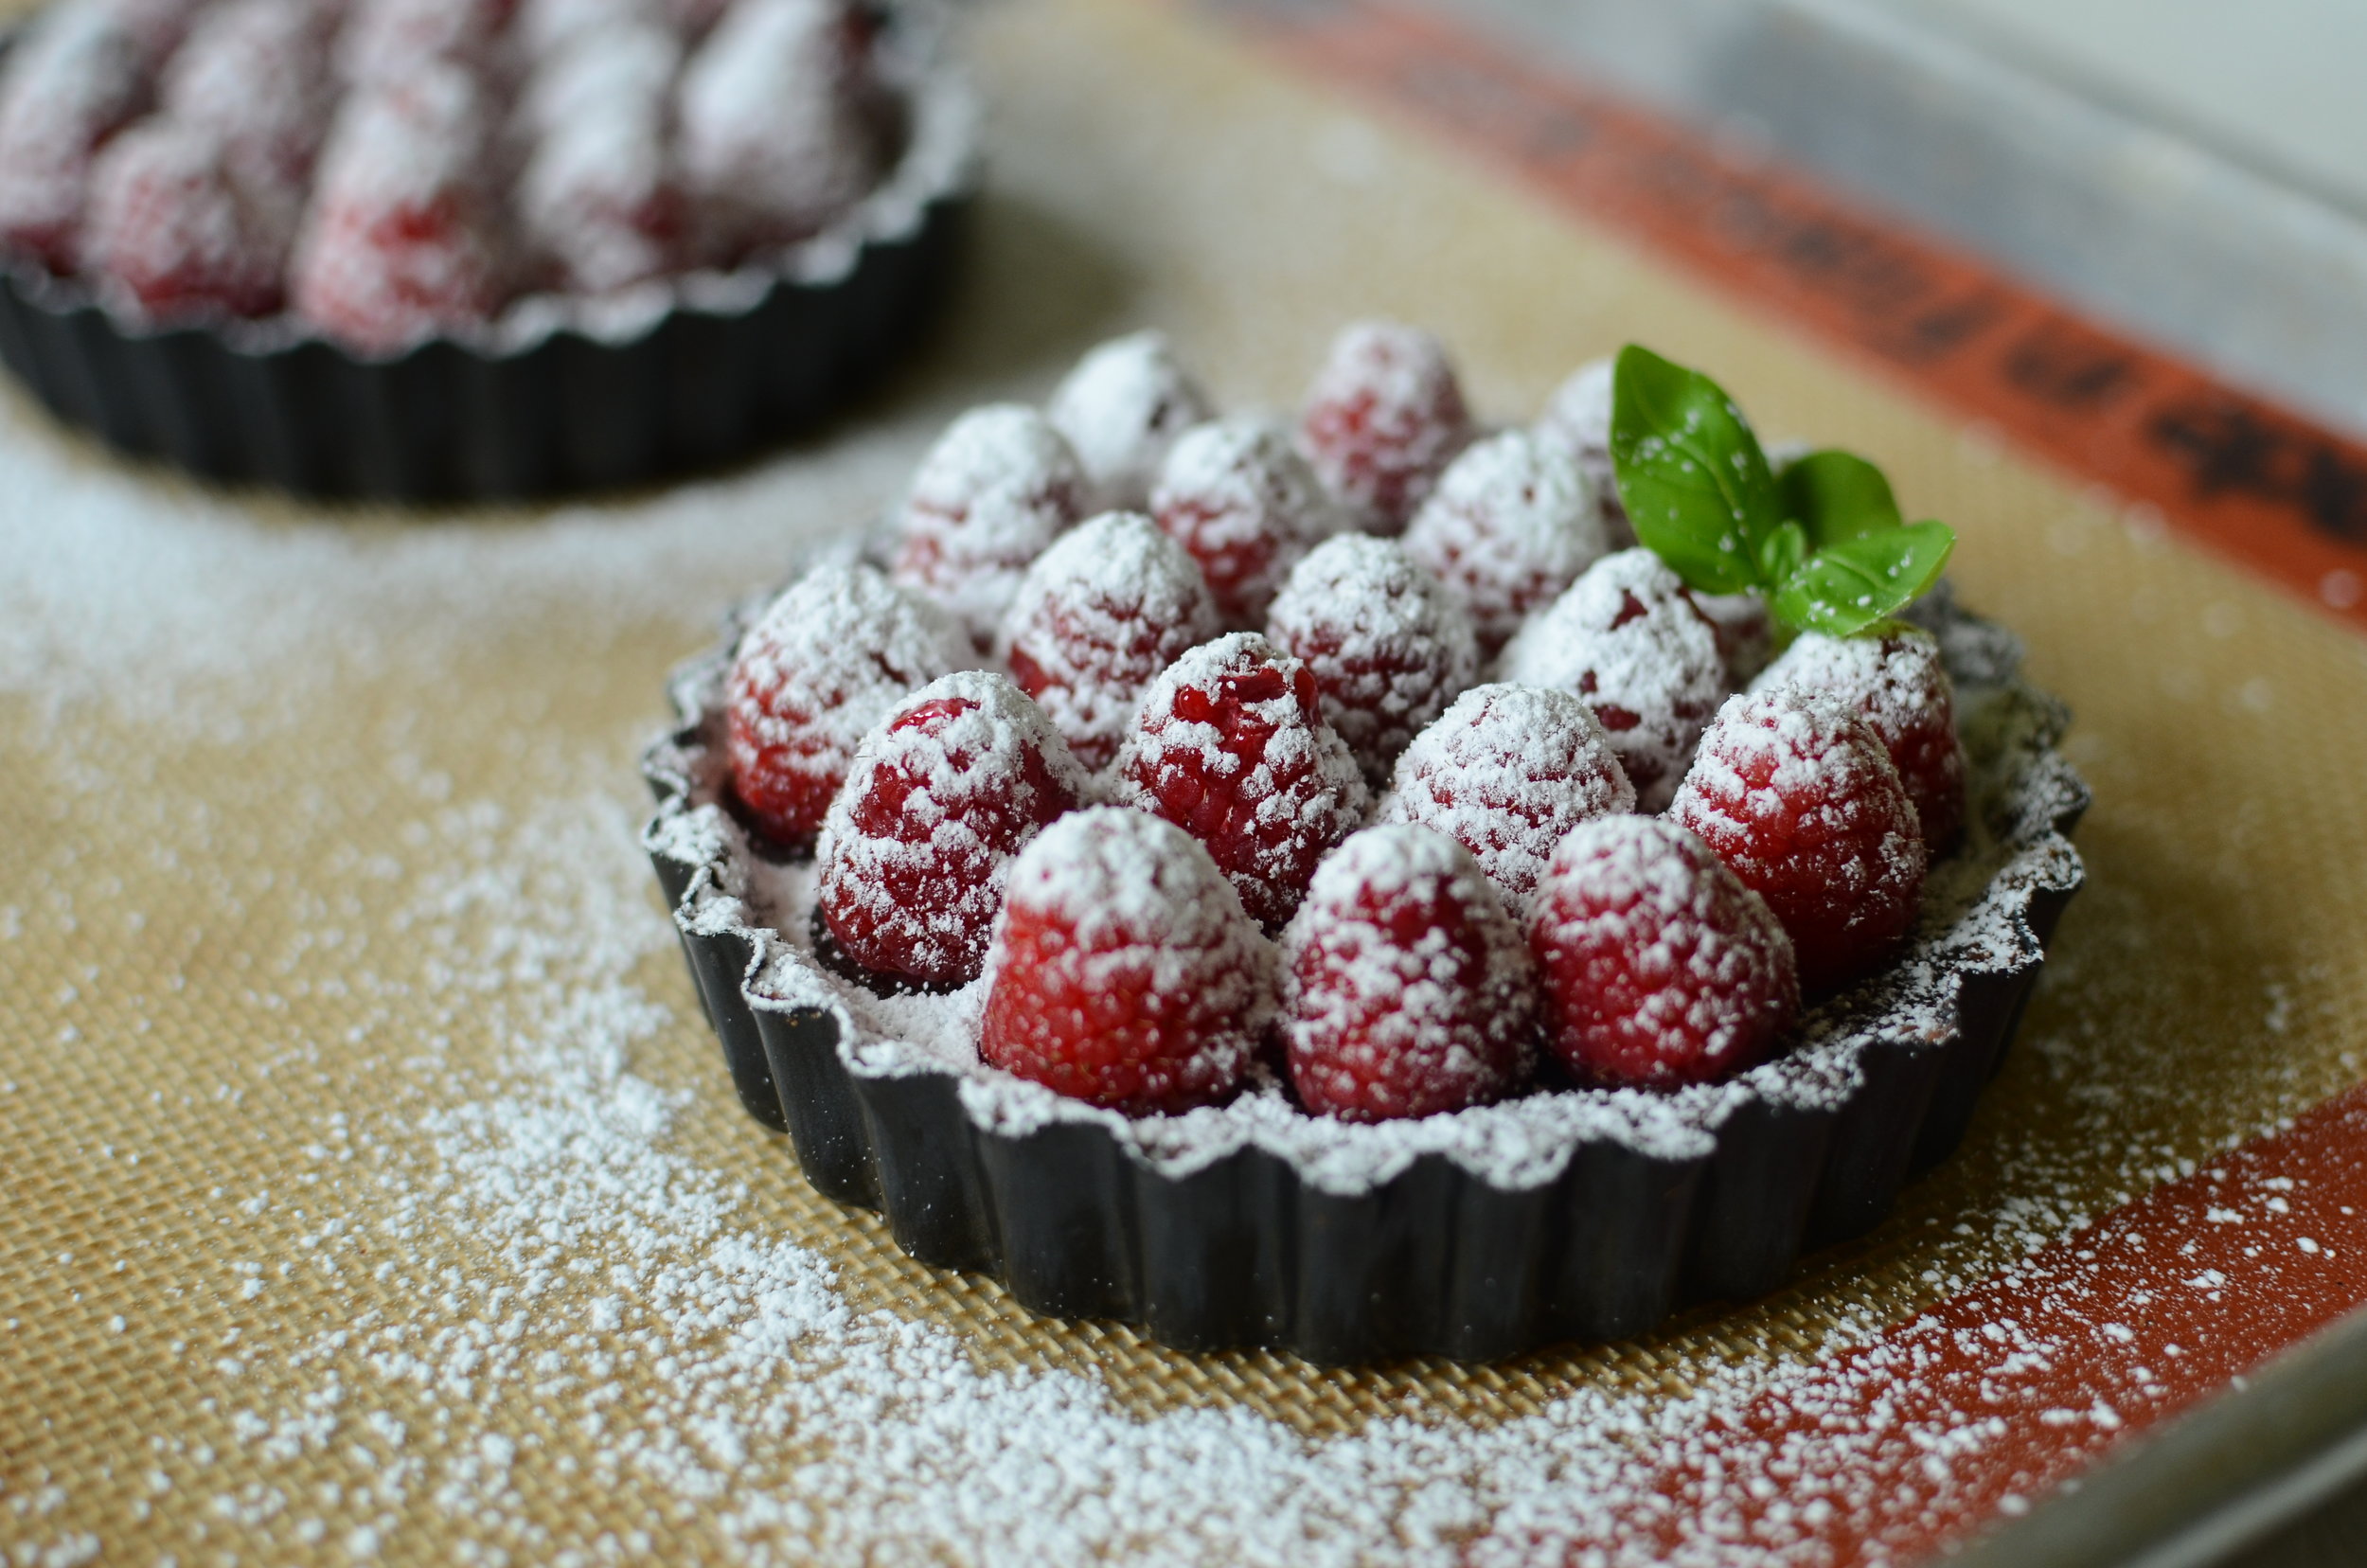
When it's time to serve, garnish with fresh fruit.
And maybe a sprinkling of confectioners sugar, but do that just before serving or the sugar will melt and disappear.
Slice small pieces with a hot knife - a little goes a long way. Enjoy!
Items used to make this recipe:
(affiliate links)
digital scale https://amzn.to/3AHBLNV
oreos https://amzn.to/3G4vX2g
high quality chocolate https://amzn.to/2OQxAJ8
espresso powder https://amzn.to/3u8UwIY
pure vanilla extract https://amzn.to/3udVX90
food processor https://amzn.to/3r9bqoQ
9-inch tart pan with removable bottom https://amzn.to/3IDN8tc
Decadent Chocolate Tart
Ingredients
Crust:
1 1/2 cup chocolate graham cracker crumbs (or oreos, about 27 cookies with the filling removed work perfectly)
6 tablespoons unsalted butter, melted
Filling:
12 ounces semisweet chocolate, chopped
1 cup heavy cream
4 tablespoons unsalted butter
1 teaspoon espresso powder (optional)
1/4 teaspoon pure vanilla extract
Garnish:
8 ounces fresh berries
confectioners sugar
Directions
Preheat oven to 350F.
Combine chocolate cookie crumbs with melted butter; mix until completely combined.
Press crumb mixture into the bottom and up the sides of a 9-inch tart pan.
Place the tart pan on a half sheet pan and bake for 10 minutes: remove from oven and set aside while preparing the filling.
Place chopped chocolate in a medium bowl; set aside.
In a microwave safe container, heat heavy cream and butter until it just begins to boil.
Immediately pour the heavy cream mixture over the chocolate and walk away for a couple of minutes to let the cream melt the chocolate.
Add espresso powder and vanilla extract to the cream and chocolate; whisk together gently until fully combined.
Pour chocolate mixture into chocolate tart crust; refrigerate for at least 4 hours or overnight.
Just before serving, top with fresh berries and sprinkle with confectioners sugar.
Note
To cut neat slices, dip a knife in hot water and wipe clean between each cut.


