Simple Heart Cookies
Patricia @ ButterYum
You don't need the skills of a pastry chef to make these adorable cookies - with just a few simple tools, you can make them too! Follow me into the kitchen and I'll show you how it's done.
To begin, you'll need waxed paper, a small fondant rolling pin, rolling guides (1/8-inch and 1/16-inch thicknesses to make these cookies)....
And fondant plunger cutters. There are all kinds of shapes available so have fun so this technique can be used for endless occasions.
You'll also need some good quality fondant. Some of the brands available in my area that I like are satin ice, fondarific, duff goldman, and fat daddios. I do not care for wilton.
I always keep white fondant on hand because I can custom color it any way I like, but it's also nice to keep darker colors on hand (red, brown, black) because it's hard to achieve the deep saturation mixing gel colors in manually.
(this isn't a necessary tool, but it sure is handy)
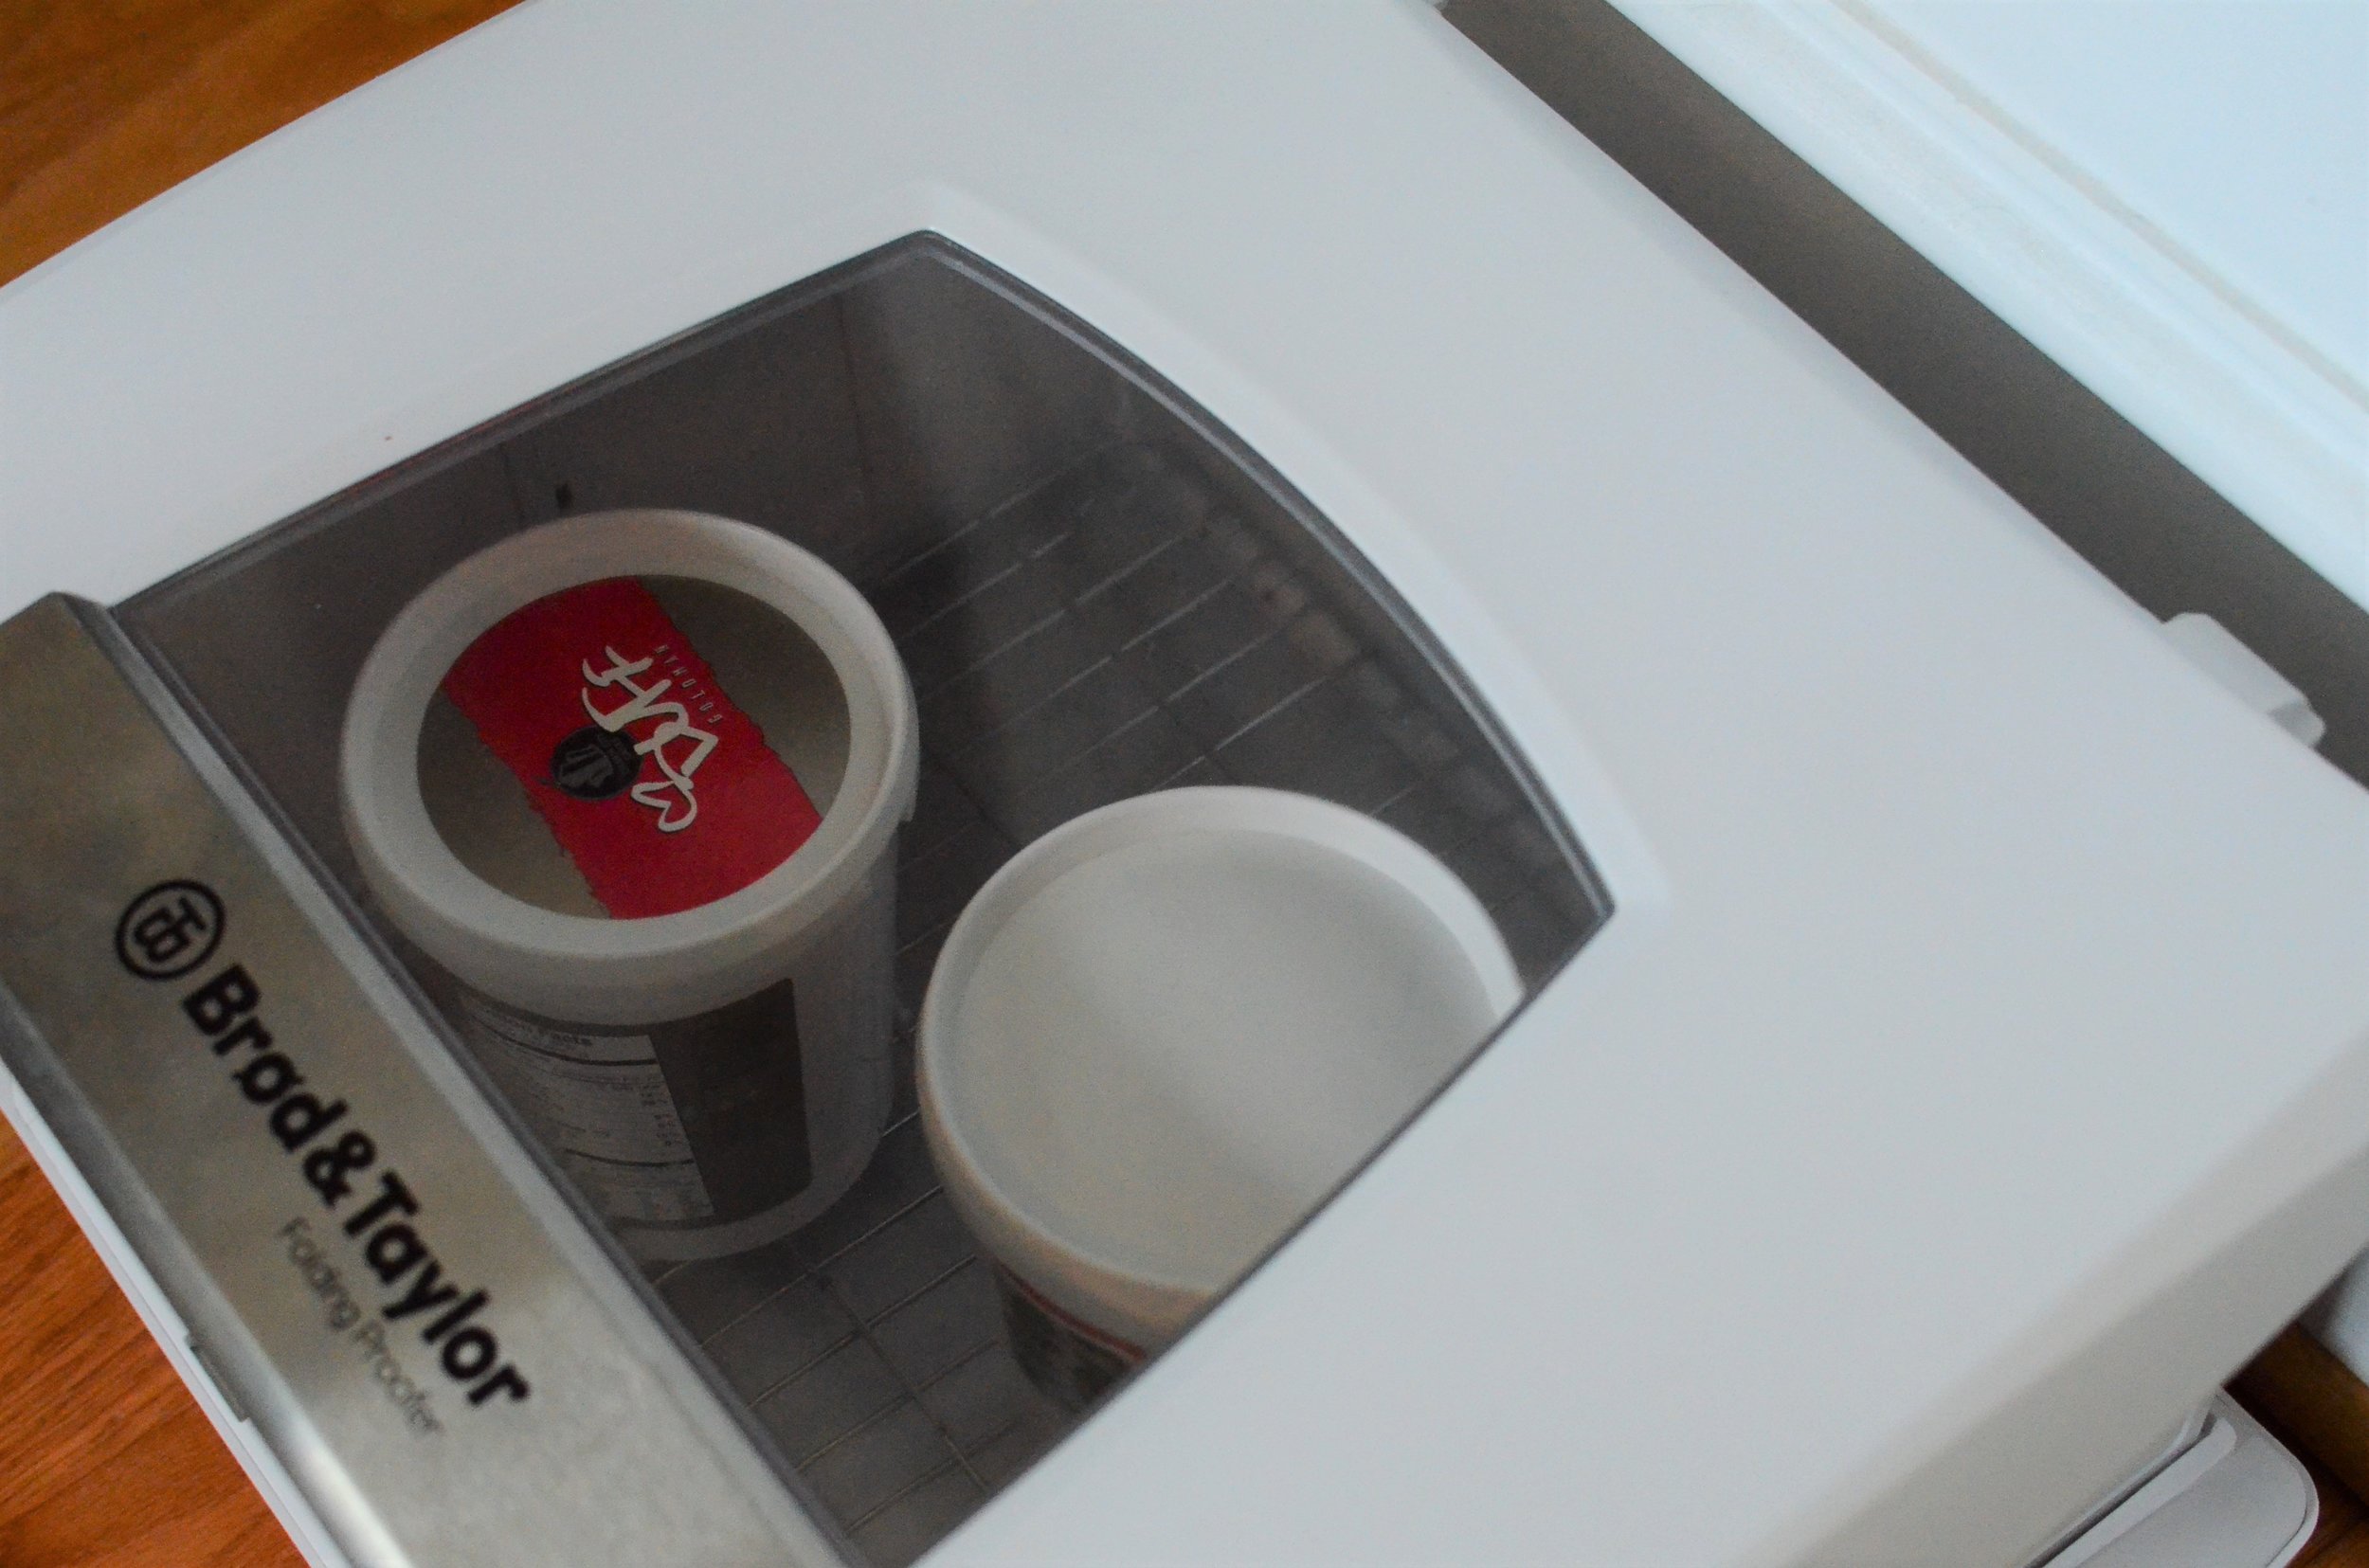
When I'm working with large quantities of fondant, I keep it in a bread proofing box set at 90F (keeping the fondant sealed in an airtight container the whole time). When I'm ready to work with the fondant, it's warm enough that I can roll it easily without first having to knead it until it's soft and workable.
Love my bread proofing box from Brod & Taylor. It's great for proofing bread dough, of course, but it has a temperature range of 70-120F, so it's good for making yogurt, melting chocolate, and keeping tempered chocolate in temper too.
Alright, while the fondant is still warm and soft, roll it out between two layers of waxed paper (1/16-inch thickness) and use fondant plunger to cut shapes and imprint designs.
Remove scraps and allow fondant shapes to sit at room temperature until needed (they'll firm up as they rest). Do this step before baking the cookiesbecause you'll want them ready to go when the cookies come out of the oven.
For the cookies: roll cookie dough between two layers of waxed paper (1/8-inch thickness) and use fondant plunger to cut out shapes (no need to imprint the designs here).
Note: If the cookie dough cutouts get too soft to move without getting distorted, slide the waxed paper onto a sheet pan and pop it in the fridge to firm the dough before transferring the cutouts to a silpat lined half sheet pan to bake as directed (as shown in this graham cracker post I shared a number of years ago).
Remove the cookies from the oven and immediately place the prepared fondant cutouts on top.
As the cookies cool, the residual heat will melt the fondant cutouts just enough that they will bond to the cookies.
Enjoy!
Items used to make this recipe:
(affiliate links)
rolling guides https://amzn.to/34qGmZi
small fondant rolling pin https://amzn.to/3LepFkt
heart plunger https://amzn.to/3j4UkXL
valentine plunger set https://amzn.to/3Lvr5aq
more valentine plungers https://amzn.to/3YviIlx
multi-occasion plunger cutters https://amzn.to/3Px2Evw
red fondant https://amzn.to/3B802wY
white fondant https://amzn.to/3hzErZ0
gel food coloring https://amzn.to/3HJ2rDF
silpat liner https://amzn.to/3GBKDWM
half sheet pan https://amzn.to/3GvYdek
folding bread proofing box https://amzn.to/3LkXosh
CHOCOLATE CUTOUT COOKIES
makes 40-60 cookies
Ingredients
2 1/4 cups all-purpose flour
1/2 cup Dutch-processed cocoa powder, sifted
1 teaspoon baking powder
1/4 teaspoon fine salt
1 cup butter, softened
1 cup granulated sugar
1 egg
1 teaspoon pure vanilla extract
Directions
To make the cookie dough:
In a medium bowl, whisk together the flour, cocoa powder, baking powder, and salt; set aside.
In the bowl of a stand mixer fitted with the BeaterBlade attachment, beat the butter and sugar on medium high speed for 30 seconds.
Add egg and vanilla; beat to combine.
Add flour mixture and beat until incorporated.
Remove dough from mixer bowl and wrap well with plastic wrap; chill for 1-3 hours.
Preheat oven to 375F.
Roll each dough portion to 1/8-inch thickness between 2 layers of wax paper.
Cut out desired shapes with plunger cutters, without plunging the design into the cutout (dust cutter in flour if needed).
Chill dough before transferring cutouts to sheet pan to prevent distorting.
Bake for 6-8 minutes; remove from oven and top with fondant cutouts (cut to 1/16-inch thick) that have the design pressed into them.
Cool completely before serving. Store in airtight container between with wax paper between layers.
Notes
Recipe makes 40-60 cookies, depending on size.
Plan to use about 1/2 pound fondant (I like to buy white fondant so I can color it any way I like).
Fondant cutouts can be made a day or more in advance if stored on wax or parchment paper in an airtight container.
If the cookies cool before fondant toppers are applied, you can warm the cookies for a few seconds in the microwave (but I recommend applying the fondant to cookies as soon as they come out of the oven).


